Transcripts
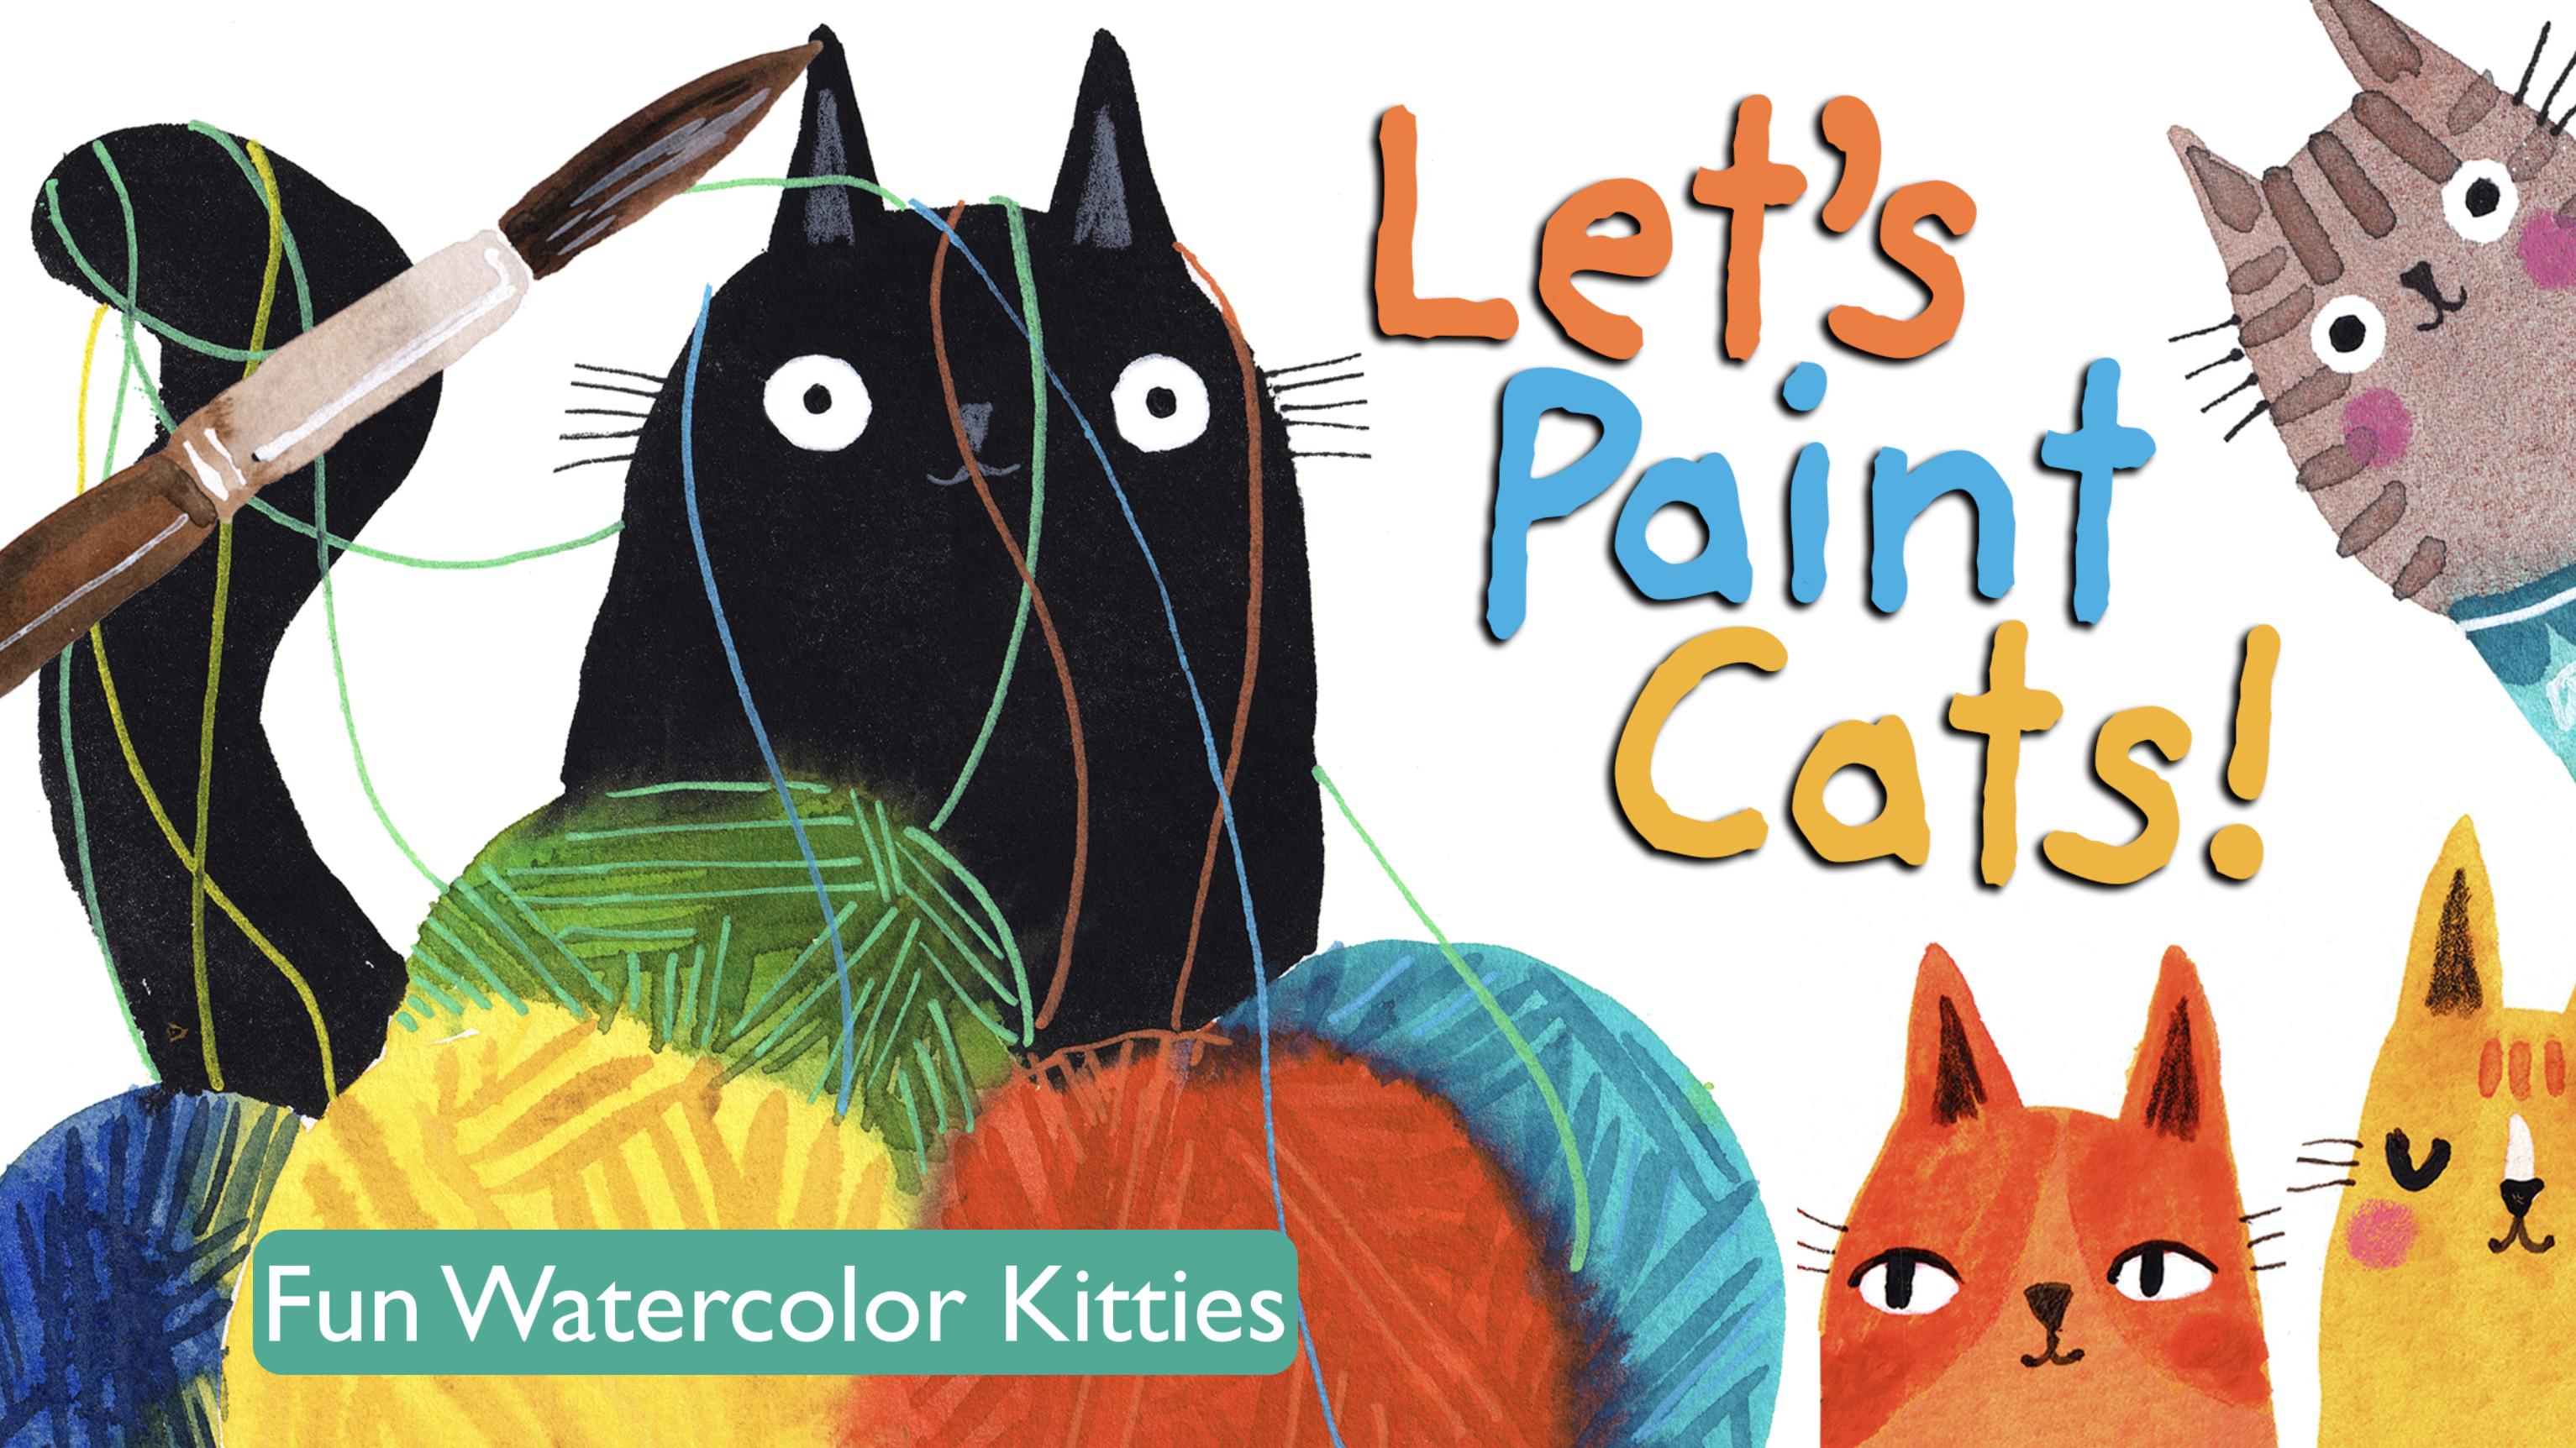
1. Introduction: Welcome to my class. Let's paint cats, fun watercolor kiddies,
Ontario Iranian. This is Tucker. And I'm a visual
artist, cat lover. Today, Tucker,
sitting next to me, will be helping to teach you several different
ways to pink cats. These paintings are
gonna be in real time mostly so that you
can follow along. I've been doing
cat art as well as all kinds of art forever. But I did get a lot of experience in my 30 years
at Hallmark working as a greeting card artists
and other types of art and also my
freelance business. I've got several books out. One of my favorites is painting happiness,
creativity with watercolor. But for this class, I am going to demonstrate to you different ways to paint cats. I'll be talking about
my process as I go. I use primarily
watercolors when I work, but I also bring in all kinds of different other supplies
depending on what I wanna do. Some of those are posca
pens, colored pencils, ink. So if you want to learn
how to paint cats, this is the great class for you. So you get those
watercolors out, get those pencils out, get whatever you want
to create some cats. And let's get started.
2. Projects and supplies: Before we jump into actually
creating our projects, I wanted to talk a little
bit about them and also the supplies that I'm
using for all of these. I'm going to be creating three projects in three
different sections. And I'm using
watercolor primarily, as I said before, with other types of supplies. The first one that we're
going to work on is maybe the easiest one and
it is yarn obsession. The second one is
a rainbow cats. And the third project
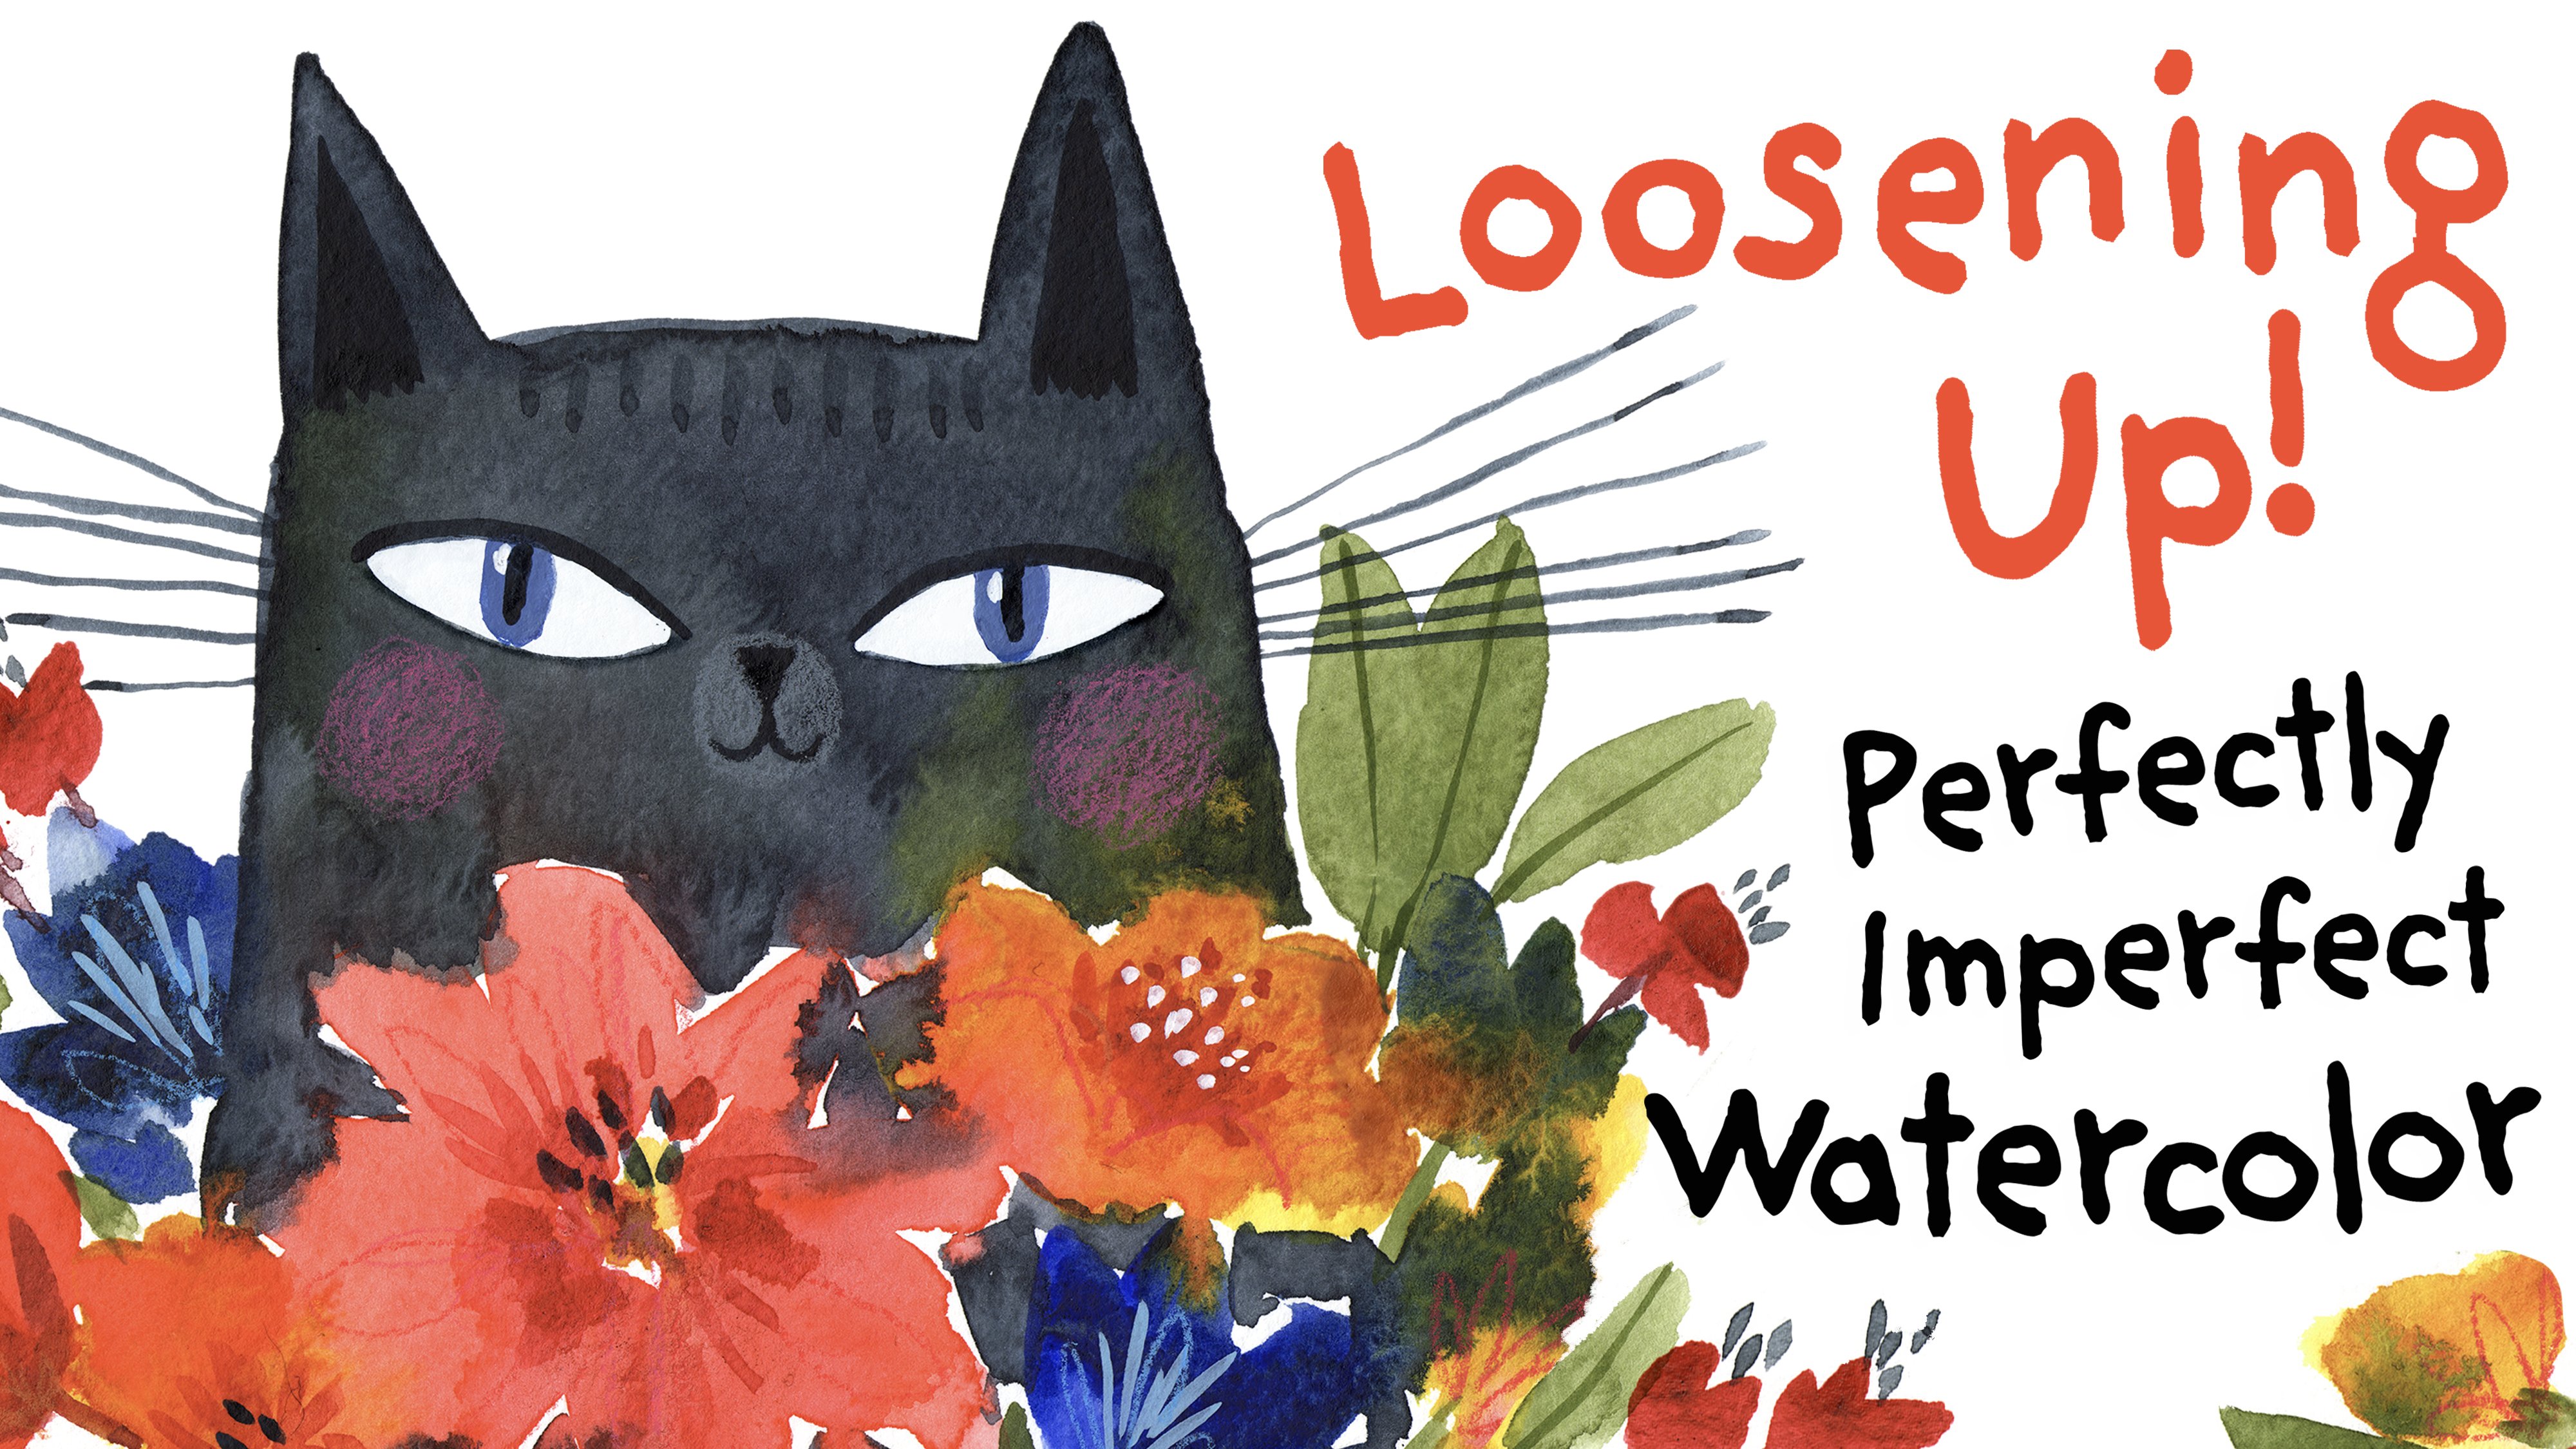
we're going to work on is called flower dresses. All of these projects, all of these videos
are in real time. Feel free to pause
the video if you need to have more
time to mix colors. I edited a little bit of
the mixing time out of these videos because
it was a lot of screen time where there
is nothing happening. So I will do a little pause and let you
know when I'm mixing colors. So you can stop there if you'd
like to mix your colors. Also, my intention is not to have you copy
what I'm doing. Although I think copying is a really important way to learn how to pink cats and anything
else you are interested in. But when you are
doing your projects, think of this as just
a warm-up exercise to what you might create next. Or you can change up the
layout or the colors or whatever it is to make it different enough
to call it your own. If you do follow along closely, please do tag myself at Terry Iranian when you
post your projects to Instagram or any other
social media to make sure that people realize where the source of your art
work has come from. With that said, let's move into what kind of supplies
we're going to use for these projects. I have a variety of supplies
here I want to share with you that are used during
these three projects. First of all, I've painted
all of these projects on fluid 100 cold press paper. It's 100% cotton, hundred and 40 pound archival are highly
recommend this paper, it comes in a variety of sizes. So if you'd like to
work a little larger, here's a little larger
size is a nine by 12. But I will be working
on these projects with this eight by eight. Feel free to use any
paper you'd like. Just know that a thicker
or 140 pound paper for watercolor is
better for buckling. And this paper also is glued on two sides so it
doesn't buckle up as much. Next, I will tell you about
the watercolors I use. I use both Winsor Newton and Daniel Smith only because I can't find all the
colors I want. And Winsor Newton. And I will have all of these in my supplies list that you can
find in the about section. Here's a transparent red oxide. This is created by Daniel Smith. Extra fine watercolor. I tend to use the
professional quality. Here's my favorite red. It's a kind of a warm
red scarlet lake, and it's made by Winsor Newton. Yellow ocher, also made by
Winsor Newton makes great, great cat color. Winsor yellow. This is a green gold, and I also use olive green. So either of these, the green gold is more
yellow than the olive green. This is Winsor Newton,
cobalt, turquoise light. And I can mix these and get a
nice More Kelly type Green. Got the Winsor
Newton ultramarine. This is a Daniel
Smith carb azole, violet, Payne's gray
and Winsor, Newton. And the lamp black is
a Daniel Smith color. So those are my
watercolors that I use. The brushes that I use are a
couple of different types, and I primarily enjoy
this Scharf brush. The problem with it
is it is animal hair. I know that's something I've
tried to stay away from. This is a brush I bought
ages ago with that in mind, here's the other brush I like
that is a synthetic brush and it's a mimic brush
made by Creative Mark. And it's a size ten. I really like large
size brushes, so that's why I'm choosing
those bigger sizes. I also use a ink
pen by Staedtler, permanent limited color ink so that I can paint back
in and it won't run. Occasionally when I need some ultra thin
details on a cat, I'll use a micron 01 size. I'm not really sure if these
microns are waterproof. I just don't ever paint
on top of them just in case it a few different
colored pencils I use. These are all made
by Prismacolor. These two are pencils that are watercolor pencils have
cool gray and French gray. They work great on a black
cat to do features and stuff. And of course, the regular
colored pencil rows is a Prismacolor pencil that
I love using fruit shakes. The last thing I want to
bring up is these posca pens. I use the white and black, mostly for eyes and
teachers and things. And these are a size 0.7 mm so that the
thinnest ones you can get in some of these videos use a couple or three or four of
these colored posca pens. And I'm not sure the name
of these posca pens colors because they came in a set
and they're all in Japanese. So you can find the
links to these, this set in the about section
with the other supplies. Lastly, for almost lastly, I do use a palette. It's fairly large. Just know you could
use anything. You use a plate out
of your kitchen. It's nice to use
a white surface. I have some see towels to wipe off excess water
or paint my brush. I have a couple of
water containers, one to add water to my paint that's clean and another
one to rinse my brush. Well, that's about it. And if I do find that I'm using something else in these demos, I will definitely tell you our flag you about that
in the demo itself. So let's go ahead and
get started painting.
3. Project 1: Welcome to your first project. I'm going to start this
one with Scarlett lake, let's say Winsor
Newton paint and I had a batch already mixed
up off to the side. So if you need to pause this video while
mixing up a batch, feel free to do so. This is just straight out
of the tube, scarlet lake. And as you can see, I don't have a drawing, so I'm just winging it. I'm switching colors
now to Winsor Newton. It's just the straight out
of the two Winsor, yellow. Now I'm switching over to
a cobalt turquoise light, but it's another Winsor
and Newton color. And I'm not worrying
at this point about touching colors one
wet into the other. I figure that, sorry
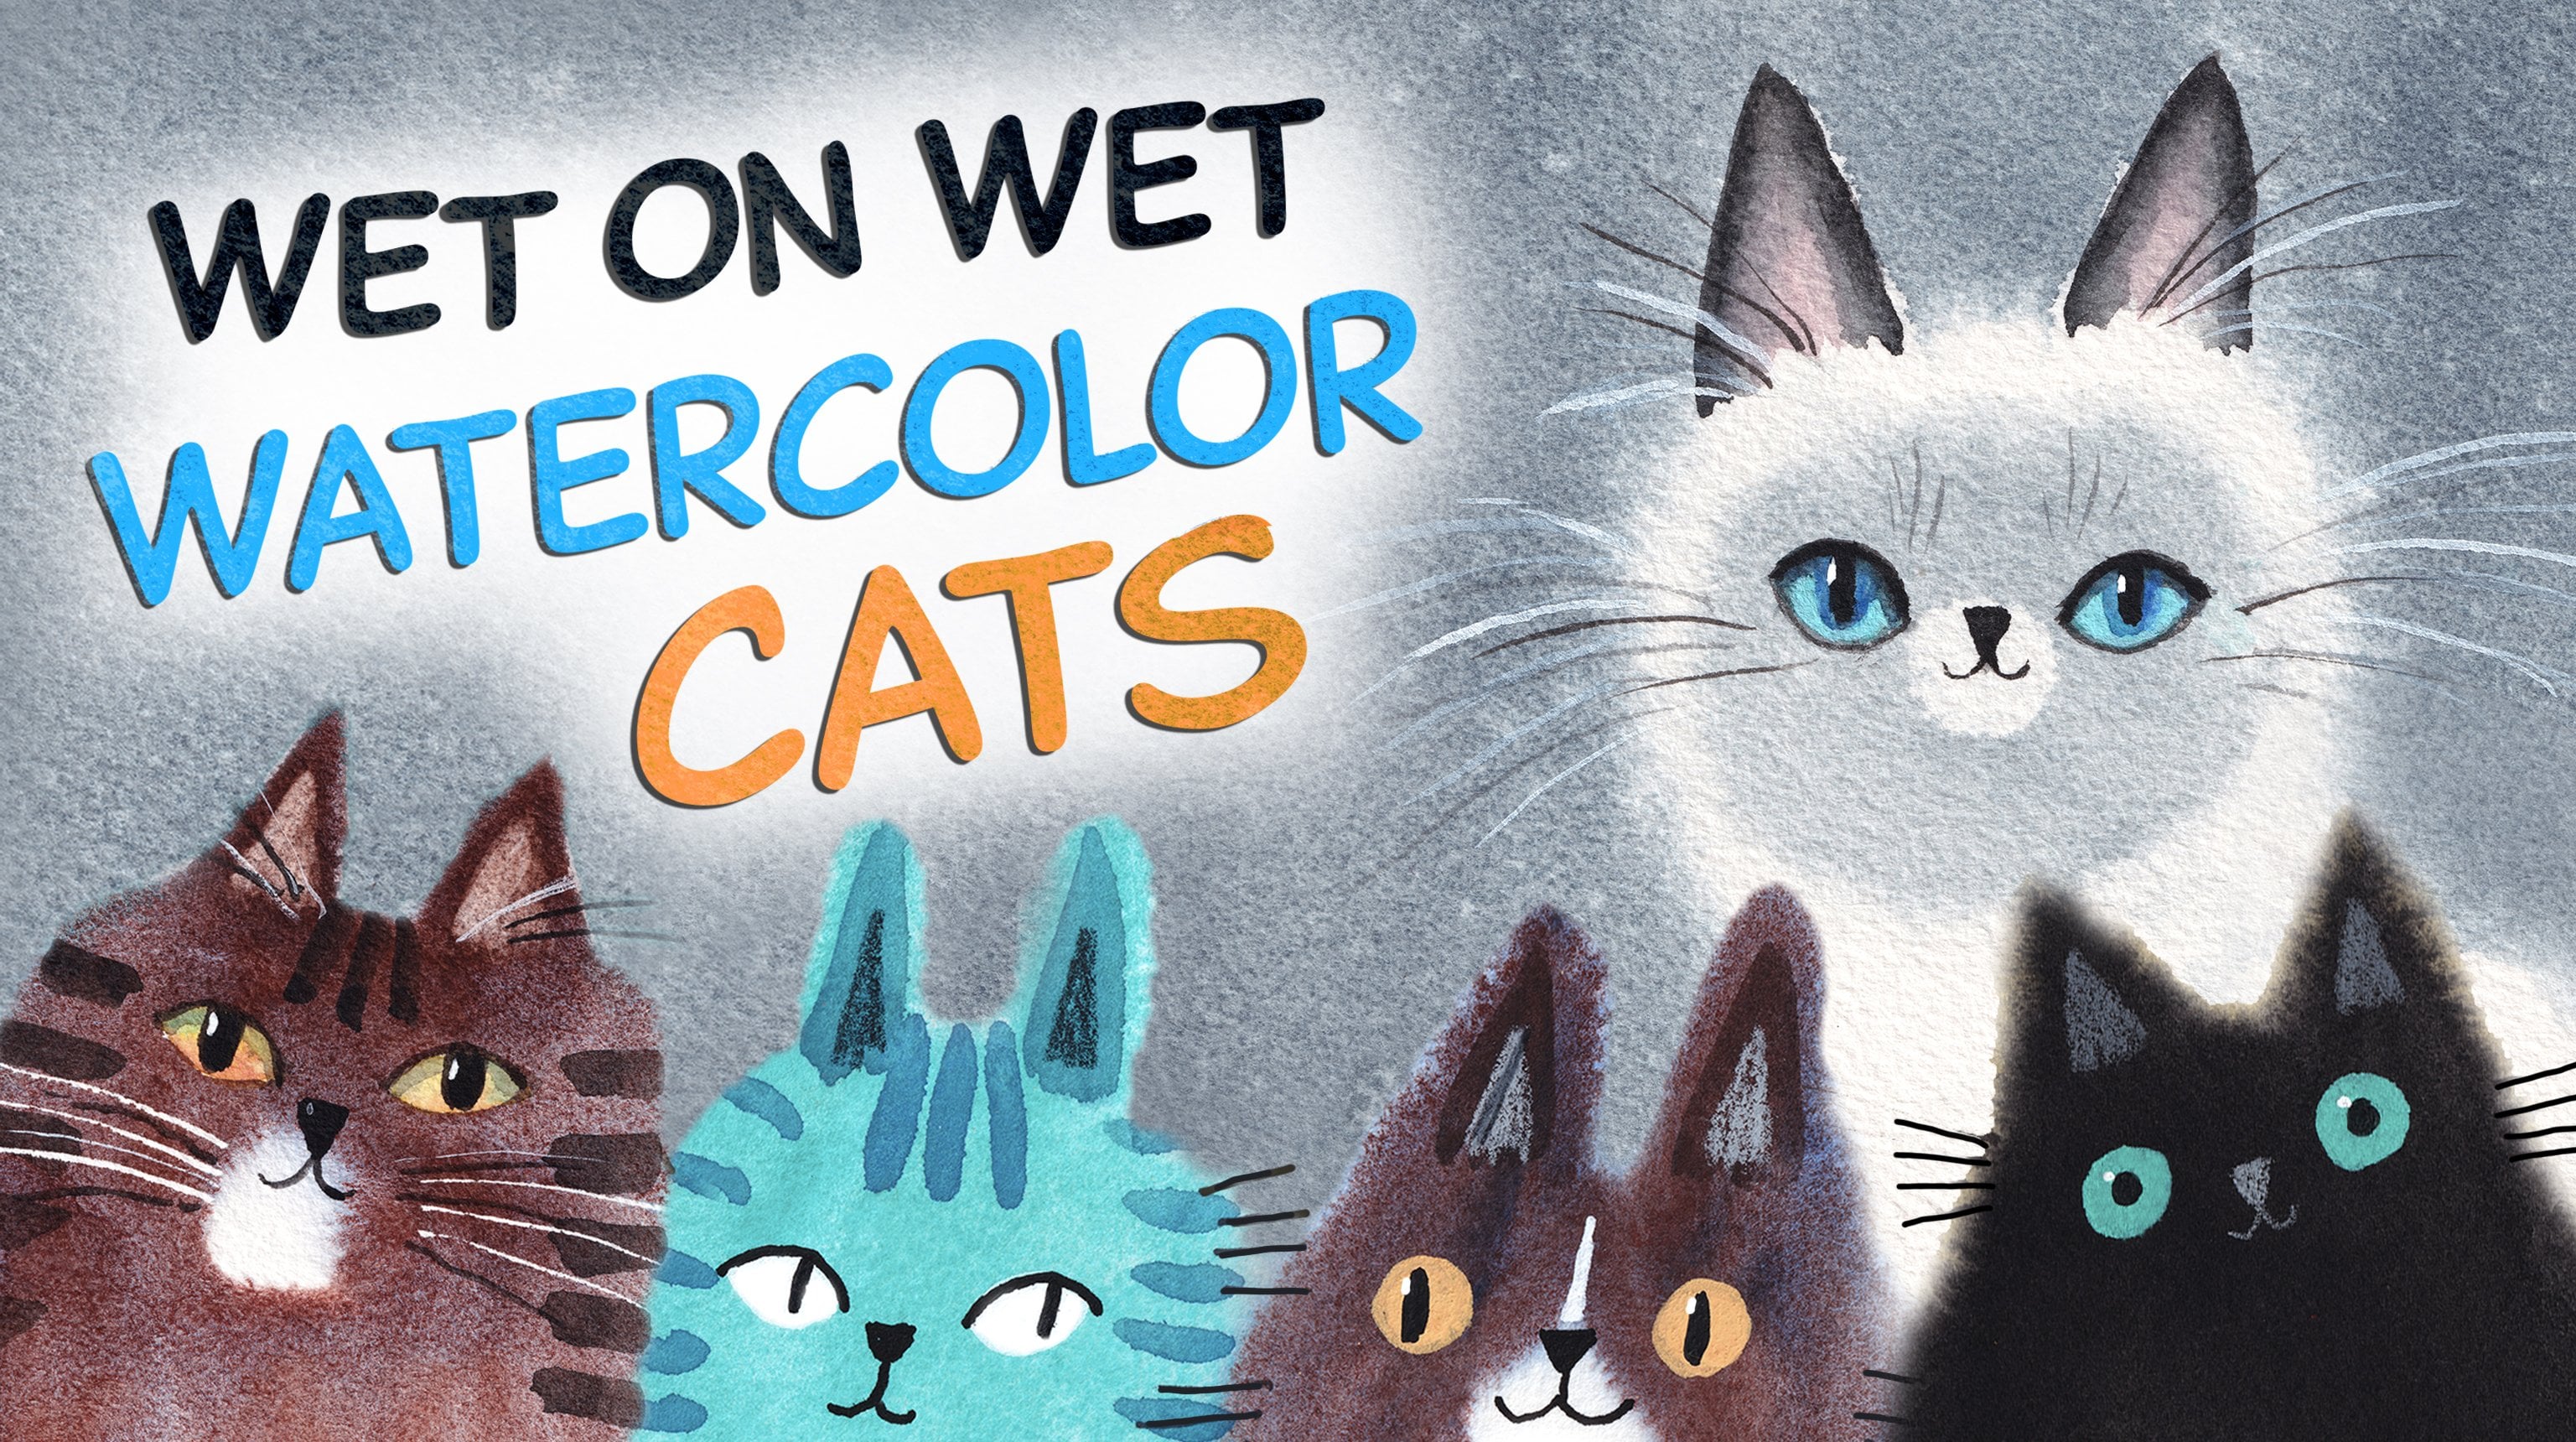
about the kitty. I figured this is gonna be sort of a wet on wet approach here. And I'll come in later
to define things. But I wanted there to
be some sort of little mushy up of yarns there. Now I'm working with the olive green and
turquoise Winsor Newton paints mixed up. The olive green wasn't
quite blue green enough. One more of a Kelly
green colors. So I went for that mixture
and coming back in now with some yellow, now some blue. And of course I've got
a cat here and there, so I'm trying to get
that out of there. Now, I really enjoy how these paints kinda
run into each other. At this point. I know I'm going to probably
have some hard time telling what's happening here with all these colors
mixing together, but I'm just going to keep
going and not worry about it. Now I'm going to
start on the cat. Some straight black Daniel
Smith watercolor paint here. And I started with
the ears this time sometimes I start with the
head and add the ears. But on this painting, I
started with the ears. You can see I'm being relatively careful
about my shape here, so it's not messy, although I am splattering
a bit here and there. I have a little black
and yellow splatter going on off to the side
onto my hand there. And I'm just going to go down, touch these wet paints
and probably get some blooms and things happening where they're
running together. This is on my mind, but I'm not giving it a
whole lot of thought. I'm just continuing on painting this kitty little adjustment on the left. They're going back for some more paint so I
can get the tail end. And I do have that blob of blue there
that I'm thinking about. Can I cover that with this tail and at least get rid of one
of the spots on the painting. Yes, I got it covered. So that's one of
the ways I kinda fix things as I go along. Later in this video,
I'll show how I removed that yellow drip
on the painting. I went back in and touched up there to grab some of that paint off so I can finish up this
spot here with the tail. And I'm thinking, Oh my, it's really hard to
tell where one ball of yarn and starts and
the other one ends. But I went ahead and mixed a little red in with my
yellow to make some orange and started painting
in the yarn details. Now this paint is
still really wet and I'm finding this
out as I'm going. I have not broken out
the hairdryer yet. And so things are running. Things are mushing together. At this point, you can panic
or you can keep going, which is what I like to do. I've added a little bit of
alizarin crimson and with the scarlet lake to
make the red more dark. And because it's wet on wet, I'm losing a lot
of the definition. Come back in now with this blue. I did add a little hair
drying in here to get the blue yarn dry so that
I can add this blue. As you can see, it's
still running together there and the definition
is lost somewhat. A little blue out to the side. Back. I have done a little
more drawing to get this turquoise ball ready
for some delineation. And I'm coming back in with turquoise mixed with
some ultramarine. Now I have dried again the
paint so I can come back in with some more definition on this green ball without it
running all over the place. I'm noticing I've got a lot. To paint running together
with the cat up here. And I'm thinking about how
I might handle that later. Thought we needed a little green yarn coming
out the bottom. So now that the red ball is dry, I'm coming on top with
some scarlet lake mixed with Alizarin
crimson to do the delineation again
because I lost it all since the painting
was so wet on wet. You can always modify things if they don't work out
the first time around. Not to fear, just keep going. The blood is dry now, once again, I'm coming
in and delineating. I've mixed a little bit
of Payne's gray and with my ultramarine to
make it a little darker, I'm loading up some
more paint coming in and finishing off the
bottom of the cat here. I decided to add a little
bit of shadow with the Payne's gray to ground this all to the
place it's sitting. There's nothing
exact about this. I'm moving rather quickly and
most of the pieces of yarn, I'm putting a little
bit of a drop shadow under some of them I miss. But you get the point. I think it's just sort of grounding the whole image
down at the bottom. I going back for some posca pen. I'd spent that time shaking the Posca pen to
get the ink inside. I'll even still, the thing with Posca
pen is really, or at least I don't get an
even coat to start with, particularly when I'm
drawing on black. The black keeps coming back up. So in my really fast videos, you don't see me spending this much time with
these white posca pens. It looks like I
just put it down, I'm done, I go to another thing. But in actuality I'm coming
back in and touching up a lot when I'm using white
posca on top of watercolor. Using a little hairdryer now
to get the process sped up. And once again,
I'm coming in with the Posca pen to
make it more opaque. So note that this does
take a bit of time. It's not completely magic. If you can't get a solid posca
pen, it's neither can I. I just have to keep
layering up with it. Now I'm going to come in
with some black and fix the spot where the Posca
pen splattered a bit. I'm coming back within
the green now to delineate this
yarn ball up here. This is a green posca pen. And as I'm going here, I'm thinking, oh,
that's not working. My inner critic was
kind of going crazy, but I ignored it as I tried to always do
with my inner critic. It really doesn't know
what it's talking about. And I really honestly did not know how this was
going to turn out. So I just kept going. At this point, I'm thinking
I'm probably going to add more posca pen in to kind
of tie this all together. So not just using all watercolor
and figuring out where I want these places where the yarn comes over the cat and
always makes it cute. Shake, shake, shake
those posca pens. Come in with the orange. Now I didn't want to use a red because the red posca
is really dark. So I'm using an orange posca, which has a little
bit of yellow in it. So it shows up a little
bit better on top of red. Of course it will show up great. On top of black. I'm defining that edge a
little there to still, I think a little bit
of craziness with my inner critic thinking I'm doing the wrong thing
and not caring. I'm just going to keep
going here and trying to figure out now where I want that yarn to come
up over the cat. Here comes the yellow posca. Shaking it up with
more posca pen. Delineate a little bit
on this turquoise ball. And deciding on whether
or not I want to do more yarn across the shape. And I decided to, this is all sort of
deciding things as I go. So that's why it's
pretty slow and methodical as I'm
figuring things out. Adding a few details with the pen on the yarn
on the bottom. A little bit of the yellow. It'll be the kitty. Yellow doesn't show up much. I'm finding this out
as I'm going I didn't know this was going
to be what happens. Now I'm coming in with a clean, damp brush and I am picking up that bit of paint there,
scrubbing it a bit. This is not the greatest thing
to do with your brushes. Later on I'll pick up a harder bristle brush to
clean the rest of the areas. First though, I'm coming
back in with the Posca to add just a little
bit more line. Figuring it out again, not knowing where those
lines are gonna go. And here I'll do
that last line and it has a tangent and
oh, well there it is. The white has dried now, so I'm adding the pupils to the cat's eyes with
the black Posca pen. Now it's time to switch over to my gray French gray
Prismacolor pencil to add the details to this cat. They're all cricket in there and I'm my mind is going
up their cricket. Yes. Thank you for your input. I'm just going to keep going. The inside of the ears done. And I'm switching over
to the black Staedtler, permanent lumen color
pen for the whiskers. Trying to get the
whisker semi even. I'm thinking about where
are they coming out relative to the I
on the other side. And so I'm placing them there. I bet you've had no idea. I had to come back
this much with the white posca pen to get
that as wide as it gets. That black just wants
to bleed up through. Now I'm coming in
with a bristle brush, and this is a short
bristle brush. This is what you
really should use, the scrub off spots that you
don't want in your paper, then come in and wipe it off
with a clean paper towel. Now I'm adding my signature, which I recommend you
do if you've changed the work enough so that it
looks different than mine. As I mentioned before, if it looks exactly the same as mine and you
want to share it, go ahead and tag me with that Terry Iranian
as inspiration. And I think we're done here. So let's move on to
the next project.
4. Project 2: Okay, Let's try these
rainbow cats to start using some red that is my
favorite scarlet lake. And I have a rainbow
actually up on my iPad to make sure I get
my colors sort of rainbow. And just using the same
technique as before. And I'm going back
and filling up this brush a lot because I want to make sure there's
a lot of paint and a lot of water on this cat. I'm not sure yet what's going
to happen with these tails. I'm just kind of winging it with everything mostly that I
do know drawings here. And yes, the red is done. So going back for some paint, this is a mix of Winsor
yellow and scarlet lake. I wanted it to be orangey, which would be the
next color we want to use in our rainbow cats. So whatever way
you get to orange, I like to use yellow and red to get my orange rather than
just using another tube. There's nothing wrong with using an orange out of the tube. But this way you
don't have to have yet another color on your
palette. You can just mix it. Again. I go back to my
palette a lot to fill the brush and keep it
wet and full of paint. Playing with tail shapes. There was a little pause there
before I did this shape, I was looking and
thinking for a moment, what am I gonna do
with this tail shape? Most of the hesitation where I'm letting the next
move come to me happened when I take those little breaks where
it says I'm mixing paint. This time I'm going for
pure Winsor yellow. There's a lot of yellow, lots of water in
this paintbrush. Again, I'm a firm
believer of making sure you're not stingy
with your paint and water. I use the tube paints so
it's a little bit easier for me to get it mixed
up in a thick way. Most of the paints
on my palette are dry by the time I get
to them because they were poured out on my palette a day or two or whatever
I go and they dried and what I'll do is come in with a spray bottle and spray them before I know I'm
going to paint maybe an hour or so before
I'm going to paint, I'll spray my paints with water and it gets some
so that they're not as hard to get a good day
amount of color into the water. Now it's time to go to a green. I'm using green, gold, and turquoise to mix this
green. Most of the time. I don't use greens
out of the tube because they're not as nice as what I want to
see for a green. Plus when you mix a green, you have a little bit more
variation in the green color. Did it out of the tube and there's nothing
wrong with the tube. I just prefer mixing greens. And you can see this paint
is very thick in there. What is that tail than I do? That was the
question in my mind. Let me know here at the end. And I finished it off
towards the corner. I know this shape
here is going to limit where I have the
place to put the blue cat. My turquoise and ultra marine
blue cat here, last one up. There's a little
bit more water in the paint than there
was in the green. You can see that green
is puzzling over there, which will make for interesting marks in
the paint as it dries. I'm using this sable
brush throughout these classes and
this particular brush is no longer available. I looked for it everywhere on the Internet is a sharp brush, which I mentioned
at the beginning. I'm really sorry that you
can't get this brush, but the other brush, the synthetic brush
that I recommended, the mimic brush, is just
as good an alternative. It doesn't hold
quite as much pain, but it holds enough to do the projects that
I show you here. We're needing to add
in a purple because purple will round out
this rainbow selection. So I decided to add this
little purple mouse here at the other end
next to the red cat, which would complete the circle. Rainbow. Most of the time you'll see this purple on the other side next to the blue, but it works here as well. That's a car basale violet and
it's made by Daniel Smith. On this particular tail, I started at the
top of it and moved around to where
it met the mouse. To get this darker red on
this cat for the stripes, I mix the scarlet lake
with the alizarin crimson. It's important to get a
darker color with red because red is really a
fairly dark color. Mixing in the alizarin
crimson really helped stand out
against that red. And it helps to flip your canvas to do some
of these stripes. When I can, I keep the Canvas straight when I'm filming
in that sort of thing. But it really makes it a little easier to be
able to just pull that strike down rather
than trying to do it sideways with wet
paint on the paper. Although as you can see,
I haven't been drawing as I go along during those breaks. I went ahead and flipped it
so I could put the arms in. It's got even more
Alizarin crimson in. It. Wanted to make sure
these arms stood out. Now I can start on the other side of the
cat with the stripes. I'm not that concerned
with making sure I have the same number of stripes
on both sides of the cat. It doesn't really
matter very much. It keeps it a little
wonky and not perfect, which is the way
I like to paint. I'm going to move on to putting some details
on this orange one now. I'm trying to mix it up so
they're not all the same, not all tab ease. This one is going to have some markings on
it that are spots. And I've mixed
Winsor yellow with scarlet lake for this
with a heavier dose. And the scarlet lake still
at a dark orange color, but it's more dark than
the first orange I put down so that it'll
show up with these marks. I'm a big fan of
skinny legs and a cat. It could be that as you learn
more about your own style, you prefer to do a fatter leg. Legs on a cat really are one of the big changes you can make when you're making cats
that are your own. As well as the faces, the eyes, all kinds of different things in the
overall shape of your cat. Being careful to keep that
panned out of that paint. I'm not always
successful with that, but I'm giving it
the good try here. I love to get some
more paint to work on this kitty in yellow
and that some Winsor yellow with a less amount of the scarlet lake so that it's not quite as dark as
the kidney next to it. I love doing these hash marks, something very
meditative about it. All these things as you do
in more and more painting. Or maybe you already have your own style with
painting cats, you'll start to learn
what you enjoy the most. So the green line here, I'm thinking, what am I gonna
do to make this different? Let's go for another
striped cat. I added the green gold and the turquoise
together to get a darker, more turquoise color
here for the stripes. And again, not perfect. I love to see the hand in it. And you can see how
this green cat dried. It dried a little wonky because I had
thicker paint in it. And it's loaded my
brush with even more heavy on the turquoise. Adding the stripes. I turned my paper. If you've watched
my sped-up videos, it looks like everything is just happening without any
contemplation or anything. Weapon it out extremely
fast without any breaks, without any kind of
inner questioning. And that's simply not the case. I do a lot of breaking while I'm painting to consider what
the next thing is gonna be. And I look at that as a
conversation with the painting. I don't necessarily or most of the time
don't have a drawing, so I don't know what
direction it's gonna go. So this is just me saying,
Well, what's next? Let's see and sort of being with it and seeing what shows up using ultramarine to get these
markings on this blue cat. And deciding whether
I want a spot on both sides of the cat's head
a little bit different than the other spotted
cat or skinny legs. Decided to mix this up
a little from how I did with the green cat and make
the legs a little longer. Variation is a great thing to
have when you're painting. Particularly when you're
painting all the same subject, the more you can mix it up, the more interesting
the artwork stays. You decide just use
my finger to pull that over painting that I
had out to the side there. This guy has smaller spots than the last cat trying to
fix that spot there. And more spots. Getting some more paint, keeping that paint brush
full of color and water. So not only is the paint more saturated with the ultramarine, putting another coat
of paint on top of this transparent watercolor
will automatically, even if you don't
change the colors, make it darker because you've got two codes instead of one. I'm going to add a
few little carbons, all violet and Payne's gray
on this mouth for details. Make sure when you go
to do your white pen. I spent a bit of
time off the side there Shaking my
pins and actually taken a black or dark piece of paper and making sure
that it's not going to blob out on my
artwork because that's a sad thing
when it happens. So it's easier just
to have control over your pen prior to
putting it on the paper. Covered up one of those
spots on the screen, cat with the eyes. I've decided I'm gonna
go ahead and leave that one cat to have different
size than the others. I didn't mix up the
eye shapes on these. A couple of round ones like
this little mouseY and then some other ones that are almond shape or oval-shaped. And I'm thinking about what
else I wanted to add here. These breaks are very common. Most of the time I'll add my noses before I add
the white like that, that white will be
above the nose. For some reason.
I went ahead and added it early on this one. I'm going to come in now with a black colored pencil and
add the inside of the ears. You can also do this
with the paint. I could use those darker
colors to do this part using the colored pencil
seemed easy alternative. You can also switch your
colored pencil colors. You could use a green
colored pencil, blue, dark blue colored pencil, and a yellow, dark yellow or
orange pencil on this cat. I think this works just fine. Now I'm going to start adding a few details with the
thinner micron pen. This little mouse is so small
if I use a thicker pen, which I often do, it's a little bit harder
to control the features. Got the eyes on there. I'm going to mark in
the nose now and I just found out that the Posca
pen was still too wet, so I'll come back to that later. Most of the time
my cats are happy. I love drawing them
when they're grumpy. But I'd like to have some
fun with some happy cats to God, still wet. So I'm gonna put this away. Oh, no, I'm not. I'm
gonna go ahead and do my nails on the cat's. A critical part of my style. Everybody gets three
or four nails. Back to the micron here. Decided to use that
for my whiskers instead of the Staedtler
pen, which is thicker. I think having the whiskers come out kinda all
over the place, it's sort of fun. They don't need to be even. All these little decisions
and ways of doing things comes naturally as you
do more and more art work. Some people like to be more
precise and that's good, that, that's just
the way you work. I'm going to move this
black Posca now and finish the nose on this little
guy that's finally dry. I'm also going to darken
the nose on the rest. This Posca gives you a darker black than the
Staedtler pen does. It also works really
well on top of other Posca pen because
it's the same Material. It's, it's acrylic marker. And mixing up how these cats are looking to give him personality. I thought I'd bring
in some more marks on his tail and a little bit
more on this one as well. I come back in to get
those whites whiter because that some of the paint underneath is bleeding
up through that white. Some posca pens mixup and
are more opaque than others. I have found that some
are not quite as opaque, so they're not
completely consistent. But if you just
keep shaking them, they usually will
get pretty opaque. More black Posca. Oops, that was still wet. So I'm going to have
to fix that and now try to tissue to begin with. And that just made it a little
worse and we'll just have to get on with it and
come back with the posca. Can see that blob and a
little there because I forgot to use the pasco off
to the side first. So I went ahead and dried
this with the hairdryer and now I'm coming back in to
define that a little better. And here's how I usually
do the wide I know is I added afterwards, I decided to add some black
eyeliner to the tops of these eyes because
the black pupil was coming up above the whites. And I'm going to do that
with this blue one as well. And do a bit of drying here. And come back in with that
black Posca one more time. Eyes on the cat, eyes on anything is a really important part
of the look, the style. So I spend a bit more time there than I do on
other parts of the cat. Always gotta do this. Rose Prismacolor pencil. It works very well on colors that are different
enough from what it is, which is happening with
all of these colors. Now when I go to draw on top of the red cat and the orangey cat, I'm getting a darker pencil. I think this is an Alizarin
crimson type pencil. Put my signature on here. If you're doing this verbatim, you don't want to put
your own signature on because it's a copy of
another artist's work, but you can put credit
to add to your uranium. So let's move on to
the next project.
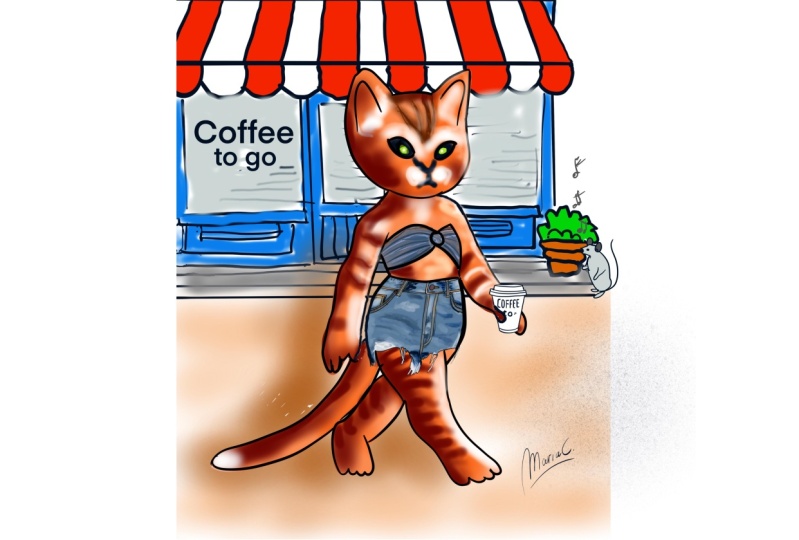
5. Project 3: Alright, we're going to add some close to our cat. This time. I'm using red oxide, Daniel Smith and Payne's gray mix to make this particular cat, the red oxide works as well. It's just a little
redder than I wanted. So I toned it down
a bit with the Payne's gray and I get this
nice chocolaty brown color. And the thought in my head right now this is going to be around tabby cat going off to get
my color for the dress, which is cobalt, turquoise. Turquoise I've been using
throughout these projects. One of my favorite colors. It goes really well with
more neutral colors. I don't have a drawing
for this one either, so I'm sort of figuring
it out as I go. I never quite know what
the shape is going to be. I just start painting
and seeing where it's going and whether or
not I like the direction. There's so many ways
you can paint a dress. This would be a great way to vary and make your cat unique. I'm going to use some
arms on this dress. So many things you could do with this dress to make it unusual. And I'm gonna go ahead
and add the shoes to. Originally thought this cat
was not going to be dancing, but that's what it
turned out to be doing. Going back to my kitty color, which is the red oxide
and Payne's gray again, to do the lens and the hands. You could have painted
these things first, but then the dress
would have had to find its place based on where you put the
parts and pieces. So I decided to do the arms and the hands
to the dress and issues. And of course, the tail can get a lot of expression
in a piece with the tail. The paint is still
wet on this dress, so there's a little
bleeding back and I can mess with it later to
make it less apparent. Using Payne's gray on this
pretty much straight. Payne's gray for the
shadow and ground. Payne's gray is
such a great color. If you use it really strong, it looks black and you can water it down to this
beautiful blue-gray. Got a little stronger dose of the same thing I used for
the cat to make the stripes. Not flipping my paper this time. It's not a lot of territory I need to cover with
stripes on the head. So I just went ahead
and painted a man. I've also dried this
prior to going back in. And so I wasn't as concerned with running
my hand through it because I use so much water
and paint in my brush. I oftentimes will have a little splatter
action happening. And I just let it be there. And if it's a bad splatter, I can work on it later. Picking it up with that
bristle brush and water. Now I'm going to add a
shadow. At this point. I don't know that there's
going to be anything else in this, besides this cat. But as is the case with most of my art by tend to
want to add friends. So we'll see if that
shows up later. So here's how I'm
defining the edges where the cat color mixed a bit
with the turquoise color. But even if I hadn't done this, it wasn't like the
bleed was that crazy that I felt like I
needed to do anything. Keeping the color palette
very simple on this. I've got an idea
for dotted dress. I don't know what this pattern is going to
look like when it's done. But I thought some
dots would be cute. Doing gods is
actually easier with a brush that doesn't
have as fine a point. Fine point brushes make it a little more
challenging to do dots. I haven't reloaded
my brush on this so the paint is getting a
little bit thinner as I go. Again, fixing things
with my finger. Whatever I'm going
to add to this. Well, mostly start
to even it out. I think not that
it has to be even. Now is when I just got to
add that friend in here, back with the turquoise, where are the little dress
on this character down here? Same sleeves, same duress
in miniature, some shoes. And I'm going to come in and
add who that character is. This is pretty much a
straight Payne's gray, a little bit darker
than the one I used for the ground and shadow. Paints always look darker when first applying
them to the paper. They lighten up quite a
bit when they're dried. I'm just picking
up a little bit of paint that's running into
the dress down there. Now I have the turquoise and
ultramarine for the details. And because this is so tiny, I'm just going to fake that
these are the same pattern, but I'm not sure
I'm gonna be able to do the exact same pattern. They do have primarily the
same look on their face, which is always fun. You're going to match
and we might as well match all the way, right? This started happening. I didn't know it was going to, but why not make
it a flower dress? This can be anything you want, these patterns on the dress. Maybe you don't want
anything just complicated. It takes a while to do this. It's kinda meditative
to do repeating things on a painting
because you're not contemplating the
next move as much. You're just kind of going along being mindful in the moment. I can always tell
when my mindfulness wanders because my
painting and my drawing gets a little sloppier and
I speed up and I don't have the patience and I'm thinking about the next move and I've still got all this stuff to do. So That's going on. And I noticed it's going on. And I go back to concentrating and focusing on
the task at hand, which is the lines to make
these little shapes flowers. I don't know if you enjoy
practicing mindfulness, but it's an awesome thing to do when you're creating art and staying present really
helps the process. Because this tiny
dress down here is too small for
all those details. I'm just giving it some spots. This a little bit more
because that makes the pattern look a little more even to fill in some
of these openings, you play at a piece of cat here on there. I
needed to get off. And is it done? Yes, it is. Let's put that second coat
a wide on these eyes. It's always a little
quote, unquote, risky to come back in because then you've
got to follow what you did and listens when glasses
for me are definite need. But I've put a few
little details on this. Mouse. Doesn't need much, just the size of the ears. Actin Staedtler for the
rest of the features. The last project, I think I used the micro pen for the,
for the whiskers. This little guy
and the whiskers I did with the Staedtler pens. So they're a little thicker
than the last project. Back to the posca black pen. And I found that those
eyes are not dry yet. So I'm giving a little
drive to them because you do not want to work
back in when it's wet. Because then you'll be
going back and forth a lot on beautifully
over other posca. You can also use your
Staedtler there. But what I've found is Staedtler pen on top
of the Posca pen, it gets a shininess to it. So I'm finishing off here with the colored pencil
rows for the cheeks. I really feel like I want
to have more going on here then these cute cat and
it's buddy amounts. So I've used this
Staedtler parent and make some standards and added the
pink to make the flowers. None of this being planned. I just noticed as I'm going, that something doesn't
feel quite finished. So I will just keep adding a little bit
here and there and see if it feels finished after doing these
parts and pieces. Of course, we know that
this is going to cause way more dancing if there's
flowers around. Part of the storytelling
aspect of this. Now I'm going to do my
signature like all the others. If you're copying
straight from this, always credit the artists. And back to the Posca pen just
to touch things up a bit. I wanted that wider
there at the color. So switching back and forth, I thought it would
be really cute to put a little bow
around their waist. So that's what I'm up to now. Little bows on the
shoes, also, art fun. I decided to add
leaves to the stems. It gives them more
of a flower look to have a few leaves on there trying to mix up
how these are put on, so they're not all
exactly the same. They also decided to add a
little bit more to the center with a cat has the tie around its waste. And then we're done.
6. Final Thoughts: I hope you've had as much
fun as Tucker and me. Peyton, these kitties. I'd love to see what
you're creating. Throw your projects there
in the project section. Let me know your thoughts
and what you've learned. And we'll look at
them together and enjoy seeing how other people paint their kidneys,
right, Tukey. Thank you so much for coming and joining me in these
paintings and class. It's been so much
fun hanging out with you while we paint our kitties. So keep painting and
I will see you soon.
 Terry Runyan, Visual Artist & Creative Encourager