Transcripts
1. Introduction: It's a time of the year when
gift giving is at its best. And we surely want to level up our gift giving by adding something that we
made ourselves. But we don't need to
put a lot of time and energy to make
something special. With just a few simple steps, we can share our creation with our family and friends
during the holiday season. Hi, I'm Elaine Vitikainen. I'm an illustrator and an
entrepreneur from Helsinki. I love to create simple arts
for the holiday season. I love to design
holiday greeting cards. But most specially, I love to make
personalized gift tags. Making gift tags is not
time consuming at all, and it doesn't involve
lots of effort, yet it is so fun,
and it will surely add joy to our gift giving
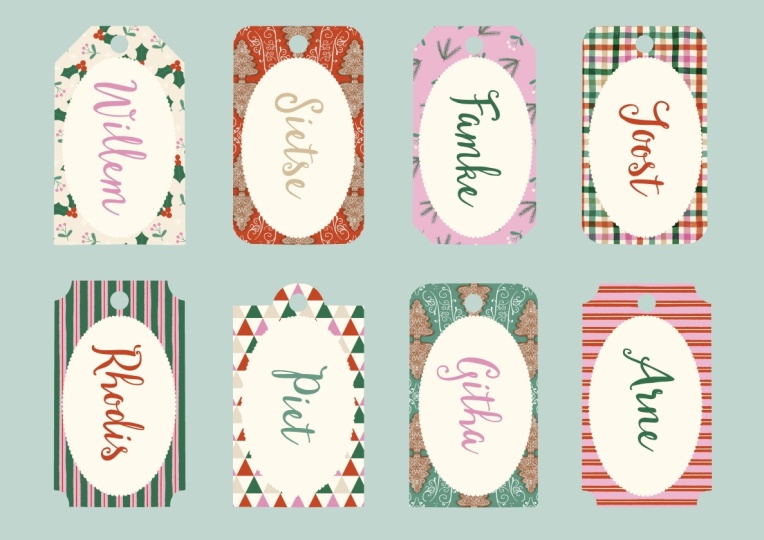
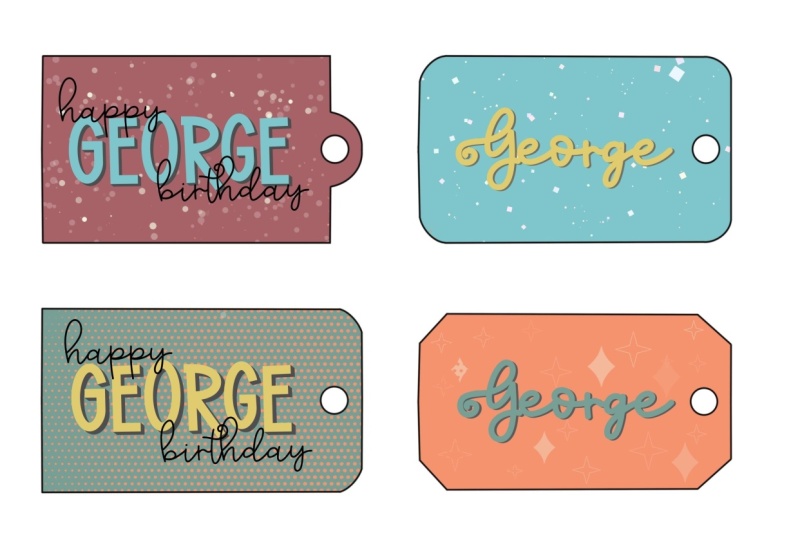
this holiday season. So in this class, we're going to make personalized gift tags. Because these gift
tags are personalized, it will surely bring smiles
to those who receive them. We will design our gift
tags on Procreate. Then I will cut mine
on the Cricut Joy Xtra. But you can easily
cut this by hand. I've provided a set of brushes
that I've created to use in our projects and
also the gift tag template. By the end of this
class, you will have beautiful gift tags that you've made yourself and ready for the holiday season. I really hope to
see you in class.
2. Class Project: For the class project, we'll be making personalized gift tags. We will design our gift
tags on Procreate, then I will cut mine on
a Cricut Joy Xtra. But you can also cut
them easily by hand. You just have to print them out and they're
ready for cutting. We would need an
iPad and Procreate. Also a printable paper, a printer, and a
cutter or scissors. If you're cutting them
on a Cricut Joy Xtra, you would also need the
Cricut Design Space and the Cricut Joy Xtra mat. I would suggest to print
them on a thicker paper. I've provided a set of brushes
that I've created to use in our projects and also
the gift tag template. You can find these resources in the class resources section.
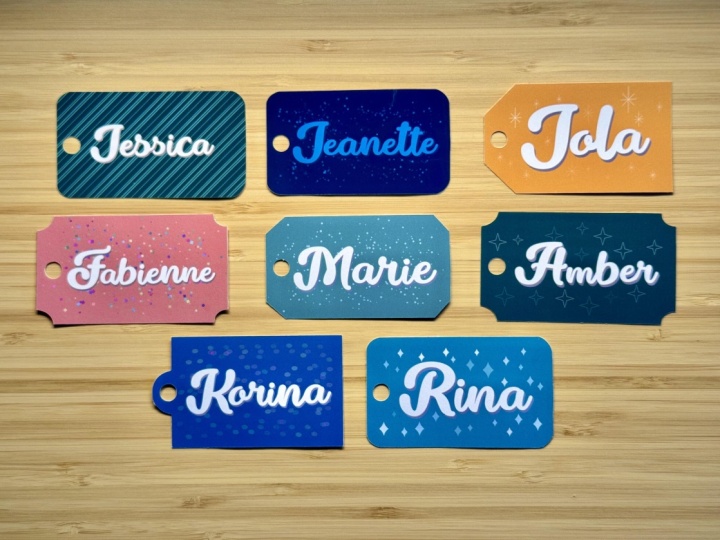
3. Designing the Gift Tags: Now it's time to design our
gift tags on Procreate. Let's open Procreate. Open the gift tag
template and the brush set that you have downloaded from the class
resources section. I will add colors
to the gift tags. To do this, set the template
layer to reference. Then add a layer below where we will drop the colors of your
choice to the gift tags. Now we can hide the template. We will write the names
on each gift tags. To do this, go to actions, add, then add text, then edit
style to choose the font. I will use the Drop
The Game font, but you can choose any
fonts that you like. I will type my text. I will write the name Jola. Then I will rasterize
the text by choosing the text
layer, then rasterize. When the text is rasterized, I can resize the letters
and move them as I wish. The goal here is to create
interest in the text where the letters are in
different sizes and not in a very
linear position. So I'm just going through every letter by going
to the selection tool, freehand and just going over the letter
with my pen to cut it. Then I will go to
the transform tool to resize and reposition the letter just so
that they don't look too rigid but more
organic and interesting. My main rule in working with the letters is to make
the first letter bigger, making the vowel smaller, and if two of the same letters
are following each other, I will make one of
the letters bigger. When we are happy with the text, we can start smoothing the connection between the
letters with the monoline pen. We can also add a shadow. To do this, just
duplicate the layer. Go to the layer below
to change the color. I will choose gray. First, I will alpha
lock this layer, then choose fill layer. Then I will deselect
the alpha lock. I will move this layer a little bit to create the drop shadow. Then I will connect the letters together with a monoline pen. After this, we will add
another layer below. And I will use the star brush to add a few stars of
different sizes. Then I will pinch all
the layers together. Let's make another
one. So go to actions, add, then add text. I will write Amber.
Then rasterize the text by choosing the
text layer then rasterize. Then smooth the connection between the letters
with a monoline pen. Add a shadow by
duplicating the layer. Go to the layer below
and change the color. Alpha lock this layer,
then fill layer. Then the deselect the alpha
lock. Move this layer a bit, then connect the
letters together. I will add another layer below, and with the other star brush, I will add some stars. Then I will pinch them together. Next one is Rina. I've also added Tammy, Jeanette, and Fabienne. I removed the background
color and checked that there are no textures
outside the gift tags. Please erase them
if you see any. Once we are done, save
this file as PNG, then send it to the
Cricut Design Space. If you're cutting this by hand, just print this out and it
will be ready for cutting.
4. Cutting the Gift Tags: So now it's time to
cut our gift tags. We don't need a Cricut
subscription to do this. So here we are on the
Cricut Design Space. Let's start a new project
with a blank canvas. Then upload the PNG file. Follow me in this process. On the right side, choose your paper size. I'm using an A4
Matte Photo paper. I will auto resized the image. Then check that the operation
is set to Print then Cut, and the Cricut Joy
Xtra is connected. Then make it. I will
save my project. Follow me in this process. For the printing, let's remove the Add Bled, but put the Add System
Dialog on, then hit Print. Look for the dialogue box, then check that your
printer is connected. Choose the paper size, the media type, and it's important to choose
the best quality. Also check that your printer
has the right settings. Then hit Print. The
printing is done, and now we will
place this on a mat. Please be sure that this arrow
is pointing the right way. Then we have to set the base material, and this really depends on
the thickness of your paper. I'm using a Matte Photo paper, and the cardstock setting
works well for this paper, then putting the
pressure to more. Then hit go. Unload, and now it's ready. We have created beautiful
personalized gift tags.
5. Thank You: Thank you for joining
me in this class. I hope you enjoyed making your own personalized
gift tags on Procreate and ready
to share with others. Please don't forget
to snap a photo of your gift tags and share them in the project
gallery section. I really can't wait to
see what you've created. Also, please leave
a class review. I would really appreciate it. And if you're posting
your projects on Instagram, please tag me. I would really love
to connect with you. Bye for now and see
you again soon. Oh