Transcripts
1. Vintage Cake Class- An Introduction: Everyone. Rosie here from
Rosie's dessert spot. I've been decorating cakes
now for over ten years. It is so much fun and
therapeutic creating a cake. And in this class, I want to demonstrate how to
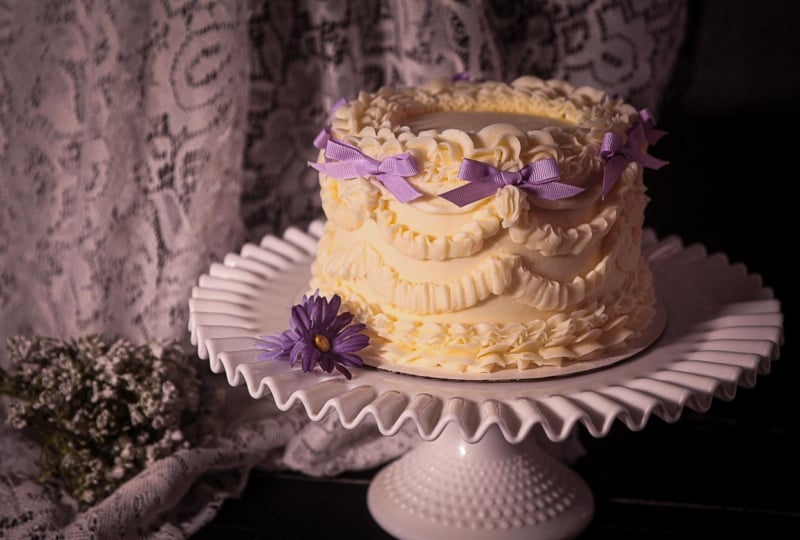
create this very trendy, very fashionable
vintage style cake. In this class, I will
walk you through how to create each of these
different piping techniques. I'll demonstrate how to achieve
those perfectly spaced, perfectly even arches
as well on your cake, and then we'll
finish it off with some beautiful ribbon details. Let's pop on your apron
and let's jump right in.
2. Covering Your Cake With Buttercream: Our cake is crumb coated. We're going to be applying
a final layer of frosting. So to do that, I have
my butter cream. Gonna add it right on the top. And then just using my Spechla to push and pull the
frosting away from me, towards me, sort of push away, pull towards, and turning the
turntable at the same time. So once that is sorted, and it's well and truly up and
over the side of the cake. I'm going to hold my spatula
right in the center. My index finger is lined up
with the center of the cake. There is a little bit of
a lift to my spatula, so 45 degree angle
raised towards me and go to turn turn turn
to create a nice flat top. From there, we can feed the frosting onto the
side of the cake. And then that same movement. So that 45 degree angle towards you and pull 45 degree angle away from you and push. And we're marrying this up with the turn
of the turntable. I like to start at the
top and then work my way down to the sides to
the base of the cake. I notice my arm remains to
be in the same position. It's a turn table that does all the work for us in
terms of spreading. Really layer it on the base. Just really populate that
space with buttercream. Beautiful. So it's not a matter of getting it neat per se. We just want to load as much buttercream onto
this cake as needed. So about half a centimeter
or so worth of frosting. And I'll take my scraper, make sure that it's nice and
flat with the cake board. It's not at that 90 degree
angle. It's tucked in. You have that
triangle that you see between the cake
and the scraper. So with that 45 degree, we are going to just press
gently onto the cake. And turn the turn table. I have my elbow locked into my side body just
to help stabilize. And then when I
have a whole bunch of frosting accumulated, I can either wipe it back onto the cake or use my
spatula to wipe it off the scraper and then place it into areas
that need some love. Notice I'm not working
it into those areas. I am just dumping the frosting
directly into that space, and my scraper will do the work in terms of spreading
it into those pockets. Just like so. Reload into those spaces. An excess that's
in your scraper. Then once you're happy with
the finish or thereabouts, you can offload
any extra frosting that's on your scraper. It's just my little spat. I'll glide it across to
remove that frosting. And then I'll do one
final sweep my arm. Oh one final sweep
around without stopping. Just like that. So
I'm going to make sure that I go in with
a super clean spatula. Find the lowest point of your lip for me that
looks to be about here. And that's where
I'll feed my spatula in and drag it towards
the center of the cake. Off load any frosting, always off load
after every swipe. And then half on
where I left off, and I'm going to
collect a little extra. So starting where I left off, overlapping there, and then
collecting extra frosting. Wipe it off each time. Collect a little extra. If it gets a little too
crowded on your scraper, you can just upset
it into the ball. And you can kind of
cut into that lip. So where you left off, cut into a little more until
you have completely removed that top lip of frosting. That's it. And if you just want
to go over the edges, just to knead it off a little. If you can see any grooves, just kind of try to
smooth those out. So I'm starting even further in to the
cake when I do this, whereas before we would maybe a little bit
further out here, just to collect any grooves and pull them into the middle. Sweet. So your cake is ready to go back into the fridge
at this point. Let it firm up, and then we can apply our stenciling
along the outside.
3. Marking Your Scallops / Arches: I had myself a little
tool here to help mark, but you could just use a
cookie cutter instead. So I'll do one with the
cookie cutter and one with that little tool. So we're just going to mark
halfway up the cookie cutter. Just a little pivot, little divot back and forth like this, just
to mark our cake. I am going to leave a little
bit of space in between, about half a centimeter
or so and just try to keep the actual grooves
level this way. Wight just redo that
one. I was slightly. And then I'm going to
work on the other side, and this is just gonna
help keep things level. So I'm gonna go ahead and
mark it at about there. No. Could have gone a little bit further
left, but that's okay. A, so Now I know that I have to
fit about three more. Well, it fit not quite. So I'm actually gonna make
this a little bit wider. Okay. So this might have a little bit more
width in between. However, by the time
we start piping, we can factor in
for that groove. So I'll show you what
I mean later on. But for the next row, I'll use my little
tool like this. I'll leave a link where
you can find one of these. And then I'm just going
to indent and try to keep it as level with what I've created
uptop as possible. If you don't have
one of these tools, you can still use
your cookie cutter. So, for example, you
would just make sure that only a little bit of it is touching so you'll have a little bit of kind of like
a working back like this. So just half of the cookie
cutter actually touches. So it can be done. I just find this to be a lot
faster, a lot easier. So there's my markings done. Yes, they are not perfectly. What do you call it space apart. But with piping, I'll show
you how you can fix that. Our next step then would
be to pipe onto our cakes.
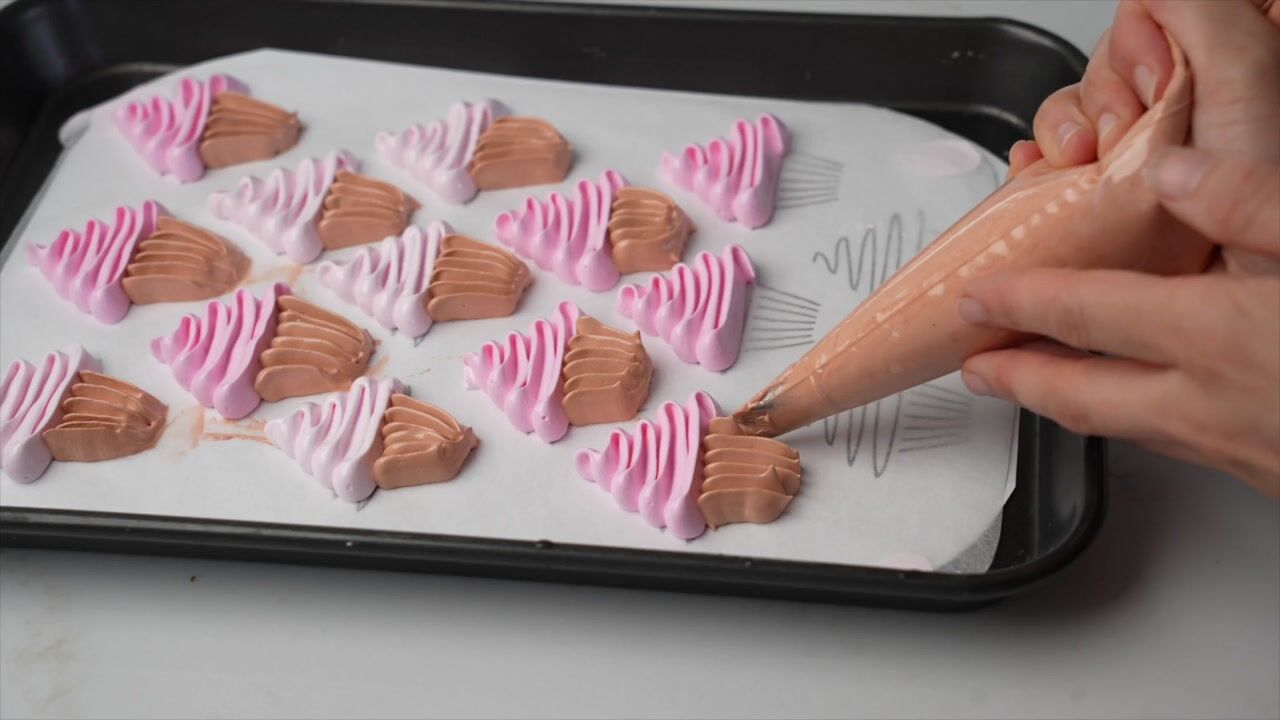
4. Piping Techniques 101: So for our first design, we're going to create a ruffle. This is the one oh
four piping tip. It looks like an
upside down teardrop. I'm going to make sure that
the larger end is always in contact with my project,
whether that's a paper, whether that's a
cake, and you'll hold it on angle like this, so we're not going
straight up like this. We are bringing that am down and I kind of like a 45
degree angle like this. We're going to
squeeze, let it touch. And then as we follow the line, we'll move up and down to create this really cool textured ribbon following that line as a guide. Then we'll start the next one. I am just up and down
motion, zigzagging, stop squeezing, pull away or, like, push up for
thumb just to cut it. And the ankle of my actual tip, imagine the skinny end of
your tip is facing your neck. So like this, it's facing
your belly bottom directly. If you raise it a little bit, you now facing kind of like the trajectories
towards your neck. So there's a little
bit of a lift. That just helps to
create a little bit more of a three D effect
with the actual ribbon. If you were to do it straight, this is the effect
you would get. So notice how that has
very little dimension. It's really flat, whereas
just having a little bit of lift will create a more
dynamic looking ruffle. The beauty about this stencil
is that if you laminate it, you can very easily. Remove that buttercream and pop it back into the bag
and continue practicing. The next piping tip that
we're going to be using is the number 32 piping tip. This will create Ooh. This will create our shells. So I've got a couple in there, and I just unscrew this, pop on the next piping tip,
and then screw it back on. Very, very easy to then change your tips as you go rather than having multiple
bags at once. So for your shell border, I'd actually recommend
working on this one first because the straight line is just easier to learn from. We just want to
create little dollps. So I'm still going
to be working with that 45 sort of degree
angle for my bag. So it's not up here at 90. It's more of a 45 degree. I'm going to squeeze
just like before. Let it touch, let it build, and then pull away and relieve the pressure
at the same time. Notice how my fingers
lift as they pull away. So we're going to do that
again, squeeze, let it touch. Build, build, push away,
and relieve pressure. And so you're marrying up
this pumping action with your fingers with a build and pull away, build
and pull away. There is a slight
lift when I build, and then I kind of cut away. So this one probably
looks a little chunky. It's a lot easier to do it fast. But basically,
maintaining that angle, squeeze and release. Make sure that it overlaps
so you hide the tail. And by releasing,
as you pull away, it creates a little bit more
of a tapered tail for you. So once you've mastered that, you can move on to the scallop, which is the exact same thing. But now we're following
a scallop line rather than a straight line. So this will be on
the base of the cake, and this will be along the sides of the cake
right up against the side. You just want to follow
this all the way across, maintaining that nice low angle, that pushing and pulling away. V motives are really fun. These will be along each
of the meeting points, basically just like
you did before. But this time, rather
than going side on, you're going down. So either here went horizontal,
now we're going vertical. So squeeze. Pull down, relieve the pressure
to create that tail. And now we have two
on either side. If you wanted to,
you could just leave it as a single motif. But if you want it
on either side, you do two tiny ones leading in diagonal in opposite direction. So coming from the
left to the center, going from the right
to the center, left to center, right to
center. Same technique. For our last piping tip, you could use like a four
B. I would work nicely. I'm going to just follow on with that same technique
from the number 32. It's the exact same method,
a little bit bigger. So squeeze, release
as you pull away. And this is again on
that 45 degree angle. So we're not working
up here at 90. We're lowering it a little. And then build and release. So have a try of all of these. It'll take maybe 5 minutes of
each before you master it, and then we can move
on to the cake.
 Rossana Aloi