Transcripts
1. Intro: Learn to Knit Beginner Scarf: Looping mango is editing
company based in New York. Make knitting fun
and accessible to everyone with our yarn
tools and classes. This class you will
learn how to knit a very simple scarf
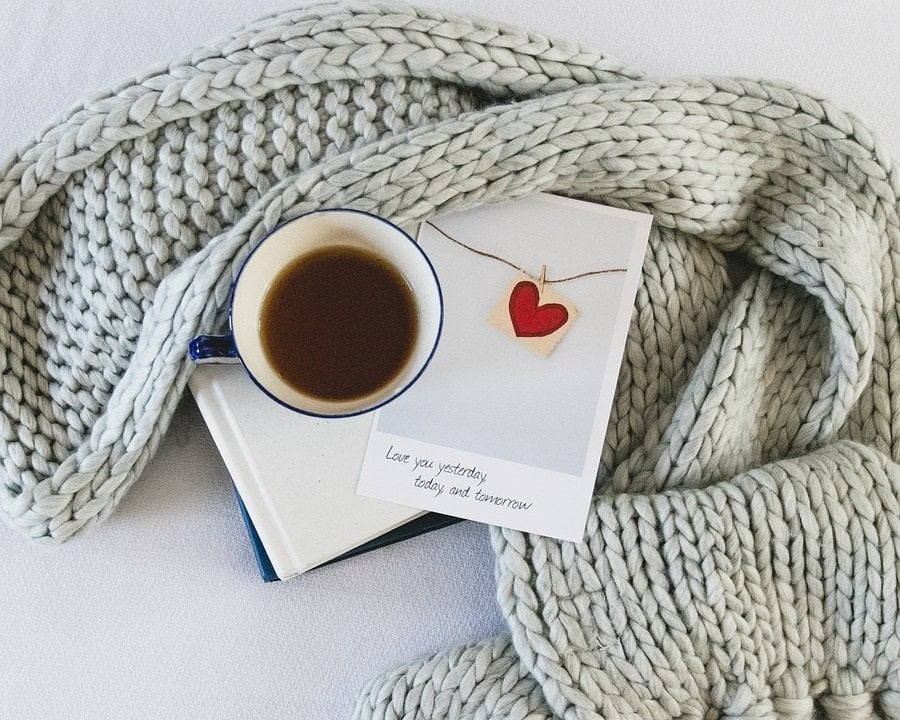
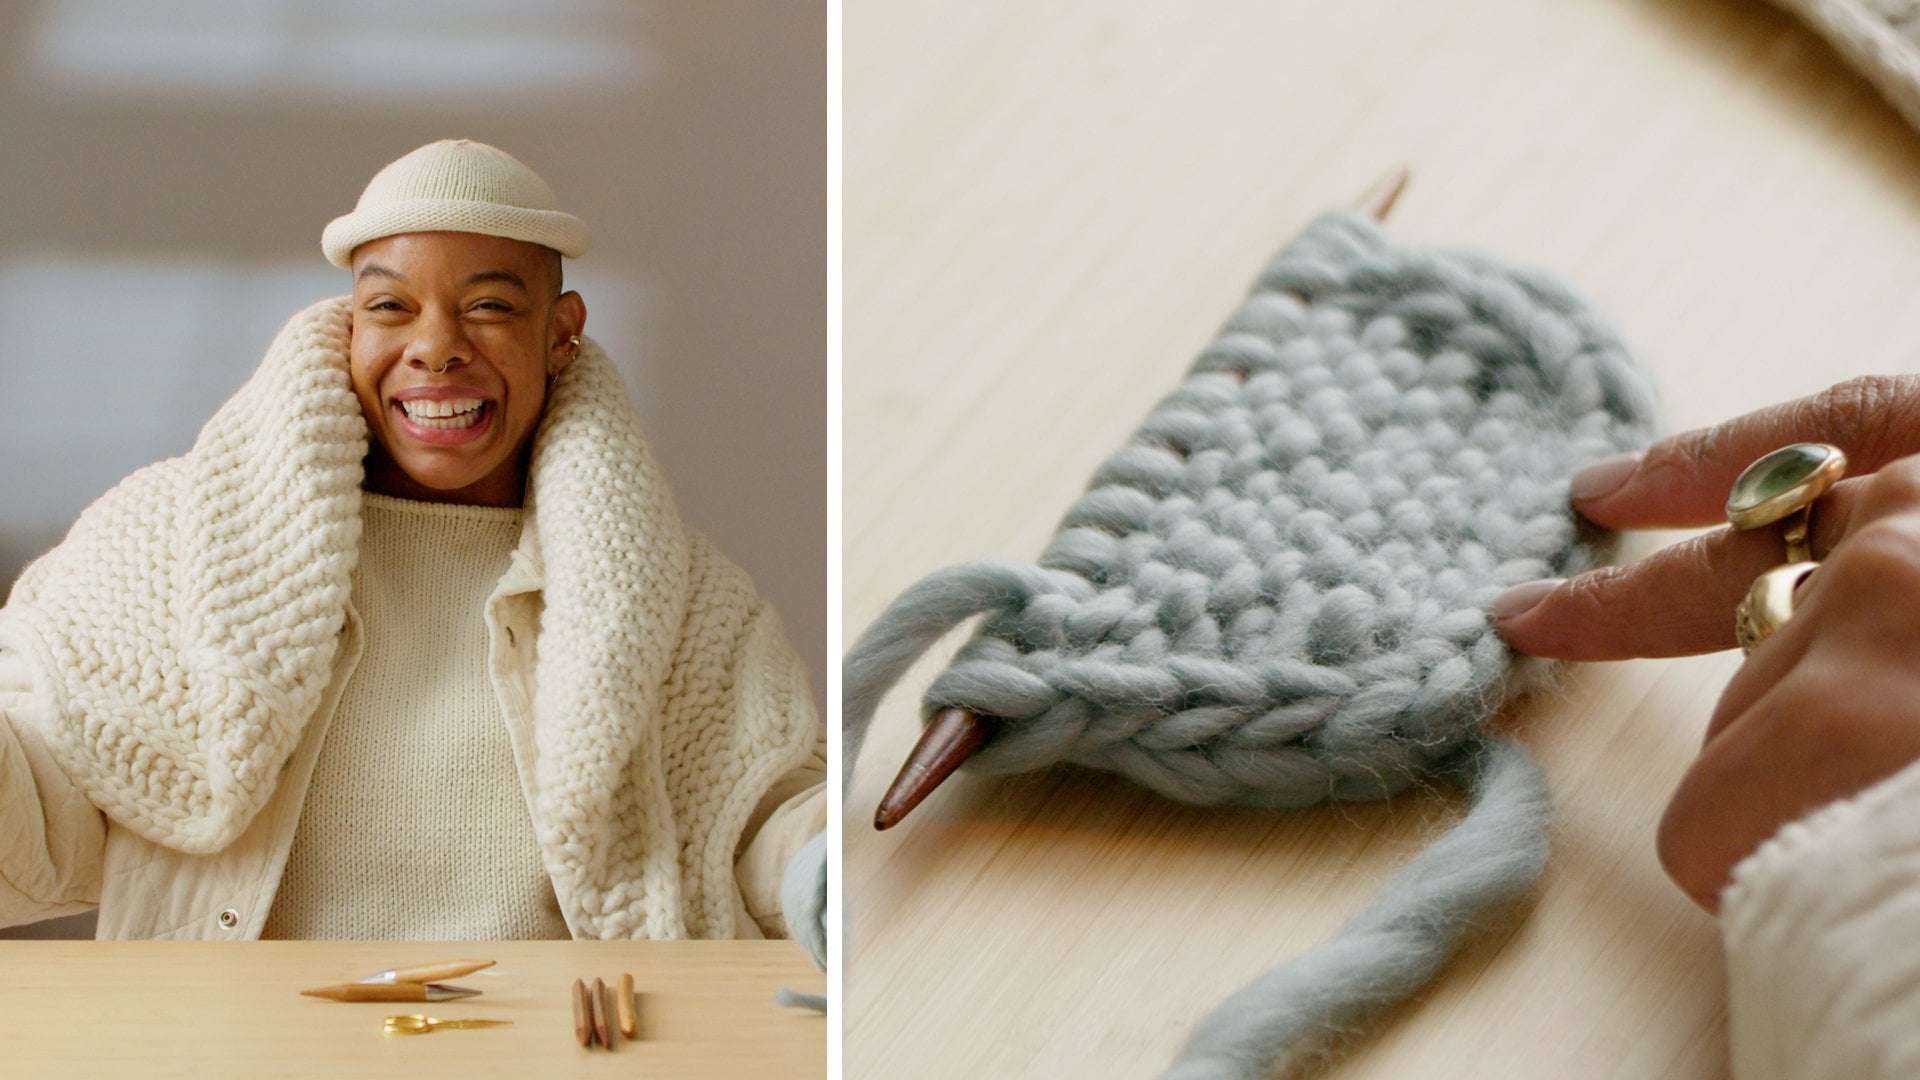
using a knit stitch. These are some examples of a finished scarf made with loopy mango Marion
on number five, which is a super
chunky Merino wool. We recommend that
you use a chunky, in other words, thick
yarn for this project. Since it will make it
very easy for you to see the stitches in your
knitting will go very fast. You should be able to complete this project in
just a few hours. There are many chunky yards from different brands available
on the market today. We will take you through
an entire process of making the scarf
step-by-step. Start your knitting
adventure today. Follow the instruction
and make one of these classy and pseudo one. And everyone should
own one of these. I have more colors. Here's another great
color, Dorian Gray. It's darker, shade
of gray. Is it soft? Very soft. Unisex anyone can wear it. This is super soft. I mean, they can stop.
2. Materials : Let's talk about materials. You will need yarn, knitting needles and scissors. Measuring tape or ruler is
optional but good to have. If you're going to use loopy
mango Marina number five, you will need two balls. This is a great yarn for beginners because
it's very thick. You can see how nice
and chunky it is. When you knit with
big and chunky yarns, It's very easy for you to see the stitches and to
learn how to knit. When selecting your yarn, you will note that it can
come into different shapes. Shape number one is what we have here is a
ball and you can easily unwind the tail end and then you use
it for knitting. This is same thing but
in a different colors. So you can see your yarn can
be in solid color or tweet. But it's all same
thickness, very nice. Super chunky thickness. You can have a
second kind of shape called a hang or escape. And these terms are
interchangeable. You can see here that you can't start knitting from
this yarn right away. You need to untangle it and then carefully
wind it into a bowl. You can also ask a
yarn store where you purchase it to wind it for you. But this is an extra step and if you're a
complete beginner, it's probably easier
that you stick with the ion that comes
in the bowl already. Here we have two examples
of different thickness. On the right we have super
chunky, very thick yarn. And this is what we recommend. You can see all kinds of
information about the yarn, such as fiber content with
yardage printed on the label. You see that the
yarn on the left is much thinner than
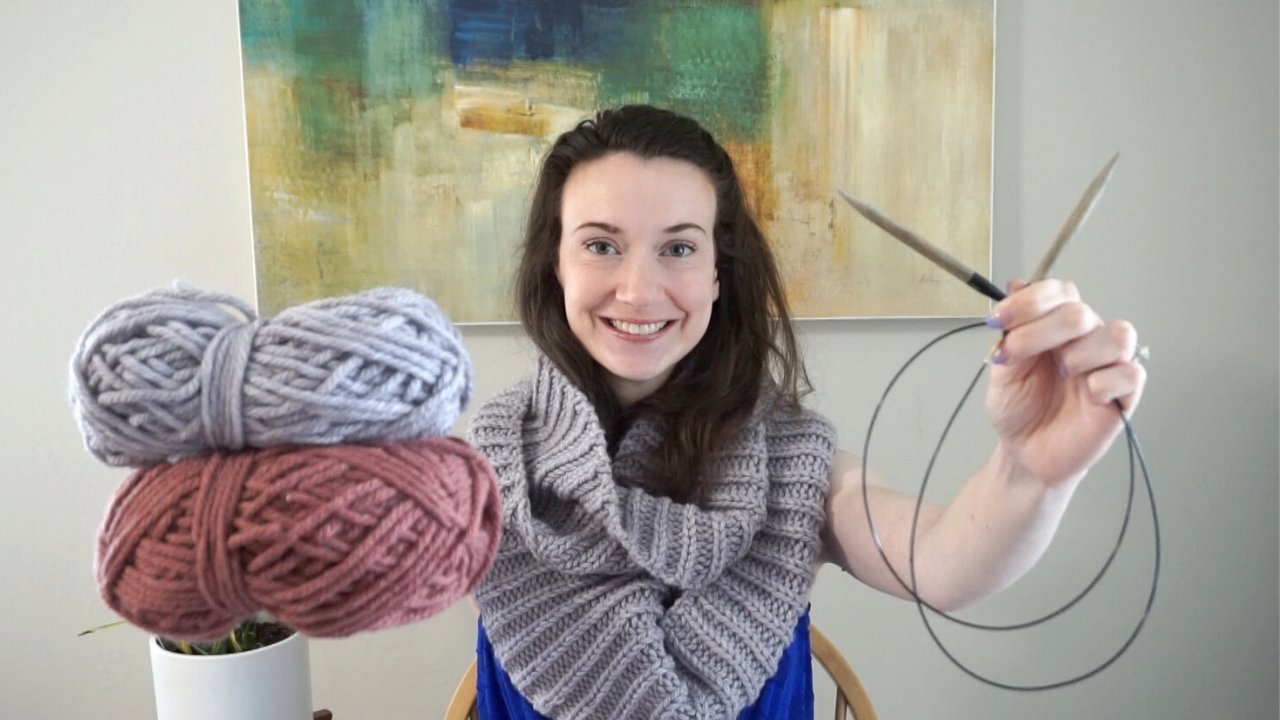
the yarn on the right. For your first project, we definitely recommend that you stick with a very thick yarn. You will also need
knitting needles. For super chunky yarns, we recommend that
you use size us 19. There are two types
of knitting needles. Straightening those just
two wooden sticks and circular needles where you have two wooden sticks connected
with a plastic cable. Here you can see that the straightening those and
the circular needles, they are the same thickness. Even though they look different. For this project, you
can use either one. The cable is there because if you're working
on a bigger project, you can hold more
stitches and also is good for knitting in the round
such as sleeves or hats. But for this project, either neither will work fine. Needing project
typically comes with instructions which are referred
to as a knitting pattern. In pattern will specify
the number of stitches you need to cast on
which yarn to use. Usually a pattern is written for a specific yarn or a
specific yarn weight. If you're using super chunky
yarn for this project, we recommend that you
cast on 12 stitches.
3. Step by Step Instructions: Learn to knit beginner scarf. First we need to
find the tail end. A ball of yarn has to tail ends, one on the outside
and one inside. It's usually easier to find
the one on the outside. Sometimes it's tucked in, in-between the yarn strands, but it's pretty easy to find and this is how
you would unwind it. But when you unwind,
notice how the ball of yarn keeps moving around. Another way to do
it would be to find the tail and the second
one on the inside. It takes a little bit
more practice and sometimes it's not
so easy to find. Here. You can see that
eventually we do find it. The benefit of using the
tail end from the inside of the yarn is when you
start pulling the yarn. See, when you pull the yarn out, the ball of yarn
stays in one place. It's up to you. If you're a complete beginner, maybe it's easier to pull
it from the outside. You know, you don't
want it. If you read bothers you that
it moves around, try to find it on the inside. Slipknot. Step one, we're going
to make a slipknot. Pull the yarn through the loop. Like so. Again. Make a slipknot. Make a loop, and put the long end of the
yarn through the loop. You can adjust the size of it by pulling on the two
ends of the yarn. Knitting needle and
put that first loop. This is your slipknot. Put it on the navel. We're going to count it as
your first stitch. Cast on. This is how to cast on
your wrap the yarn around your hand and put
it on the needle. And then adjust your
attention again, RAB and put it back
on the needle. Don't pull it too tight. If that happens,
loosen it up a little bit and keep going until
you have 12 stitches total. You can also wrap
the yarn around your finger if you
find that easier. When you're done,
make sure to count. We have 12 stitches on the knee. We're now ready for step three. Knit stitch, copier,
second needle, inserted through
the first stitch. From left to right. Take the yarn, wrap
it around the needle, and pull it through that stage. Then take it off. It's as simple
four-step process. Step one, insert the needle, step to wrap it
around the needle. Step three, pull the
yarn through the loop. And step four, take it
off the needle over. Pull it through the loop, and take it off the needle. Again. Yarn over. Pull it through the loop, and take it off the needle. And over, pull it through the loop and take
it off the needle. Yarn over. Pull it through and
take it off the needle. Make sure you always insert the needle from left to right. Yarn over. Pull through
the loop and take it off. Your turnover. Bullet through. And take it on. Yarn over, pull it
through and take it off, and keep repeating until you are done with every stitch
on the Neither. Your last stitch is
done exactly the same way as all previous stitches. Step for you just
needed your first row. What you're going to do
now is flip the needle. Now you're ready
for your next row. Step five is repeating these rows until you have only about 36 inches
of yarn left. When you're starting
the next row, it's very important
that you don't twist the yarn by accident. So make sure every
stage is aligned. Everything looks the same and
count them after every row. When you are a beginner, we recommend that
you pound to make sure you still at 12 stitches. Then we repeat the process. This stitch is called
the knit stitch. So you just repeating. When you insert the new though, make sure you always go
perpendicular and you're right. Needle is on the bottom. Don't go in parallel
or don't try to go on top of the left needle. Always inserted at
90 degree angle and don't pull the
yarn too tight. If that happens, losing
it up a little bit. Yarn over, pull it through. Don't attempt to
knit with your tips. Make sure you insert
the needle all the way. And only at that point release. If you knit with
your tips like this, it will cause your stitches
to become small and knitting will become very tight and uncomfortable to knit. Make sure you insert the
needle all the way over, pull it through the loop, and over, pull it
through and take it off. Again. When you are done, you want to count the stitches, make sure you align everything. Every stage has
to look the same. Then they go onto our next row. When you finish
first ball of yarn, you simply join the two ends. One from your is
Bolivian. You a second. You can simply tied into a knot. Then you just keep going. You can tuck in the ends
inside between Cast off. When you are down
to about 36 inches. Another trick you can do is if you have about four times
the width of your project, That's how much yarn you
need for your last step. We start by knitting
two stitches, 12. Then you take your first stitch, you pick it up with the needle. And pull it over
your second stitch. Then you need one more. Again. We have two
stitches knitted. You pick up the first, pull it over the next stitch. Again, knit one. We have two stitches
on the right, neither. You can also pull it
with your fingers, either with fingers
or with a needle. Make sure when
you're casting off, you're doing it a
little bit more loosely than even the knitting. Your edge is going to be uneven. Have you stitches a
little bit extra loose. Then you keep going until you
get to the end of the row. When you're down
to just one stage, you take the tail and pull it through that
last loop, like so. Then you can simply hide those loose ends
in-between the stitches. This is called weaving in. You just going in and out until you don't see
that tail end anymore. You can do the same thing for any ends that
are sticking out. So when we started the project, this was our slipknot. And it also has a little tail. We're going to women in
and hide it in-between the stitches to make sure
everything looks nice and neat. Congratulations
on your new scar.
 Loopy Mango, Learn to knit with us