Transcripts
1. Intro: Let's learn the WAVE pattern: Hi guys and welcome
to my follow up lesson of the Peruvian
macrome bracelet. In this class, you will
learn the wave pattern. In my previous class, we did the traditional pattern. If this is your first
time learning to make the Peruvian
macrome bracelet, I suggest you visit my
previous class first. In my previous class, I walk you through
all the basics. From the materials
that you'll need to the length you need
to cut your cords. A lot of the process is similar, no matter which pattern
you're trying to create. The main thing that changes is the order in which
you lay the knots. But if you have all
of that prepared, then you're ready
for the next step.
2. Prepping materials: Let's go over all the
materials that you'll need. Base cord color cords, a pair of scissors,
and a lighter. First we have the base cord, which is the thicker cord. Then we have the
thinner color cords. You want your base cord to be thicker than the color cords, but if it's too thick, then your bracelet is going to turn out a little bit chunky. Because we're learning
the wave pattern today, I decided to go
with ocean colors. But of course you're free to choose any colors
that you desire. I like to use materials
like nylon or polyester because you can
easily melt these down, which really helps with
the finishing process. If you are using non meltable
materials like cotton, then you'll need crazy
glue instead of a lighter. If you're making the
bracelet for yourself, it's easy to measure how long the base cord needs to be by wrapping it
around your wrist. Make sure to leave enough
length so that you can easily tie off
knots at the end. But if you're making
your bracelet as a gift for someone else, then a safe bet is to just
make it a little extra long. As for the color cords, a standard size is around
160 centimeters in length. But I have a little
trick that I use, which is to use the
length of my wingspan. I'll hold the end of the cord
with my left and stretch it out to my right with my
arm spread wide open. That's about the length
that works best for me. Once you have all the cords
cut down to the right size, the next step is to tie the color cords
around the base cord. First you'll fold
the color cords down the middle and do the
same for the bass cord. Then lay the base cord on top of the color cords and wrap the color cords
through its own loop, making sure to pull
the knot tightly.
3. Wave pattern emerges: Now let's go over the
basic knot once again, the number four knot. As you can see, when you lay the color cord over
the base cord, it resembles the number four. Then you wrap it around
and pull it through. Make sure you tie the
knot pretty tightly, but not too tight. If you make your
knots too tight, then your bracelet will become
wrinkly and oddly shaped. But if you leave too
much room in the knots, you'll notice your bracelet
becomes a bit floppy. For each color cord, we make two number 4 knots. And then we move on to
base string number two. In my case, I started with the left bas string and now I'm onto the
right bas string. Here we lay another set
of two number 4 knots, and then we're ready
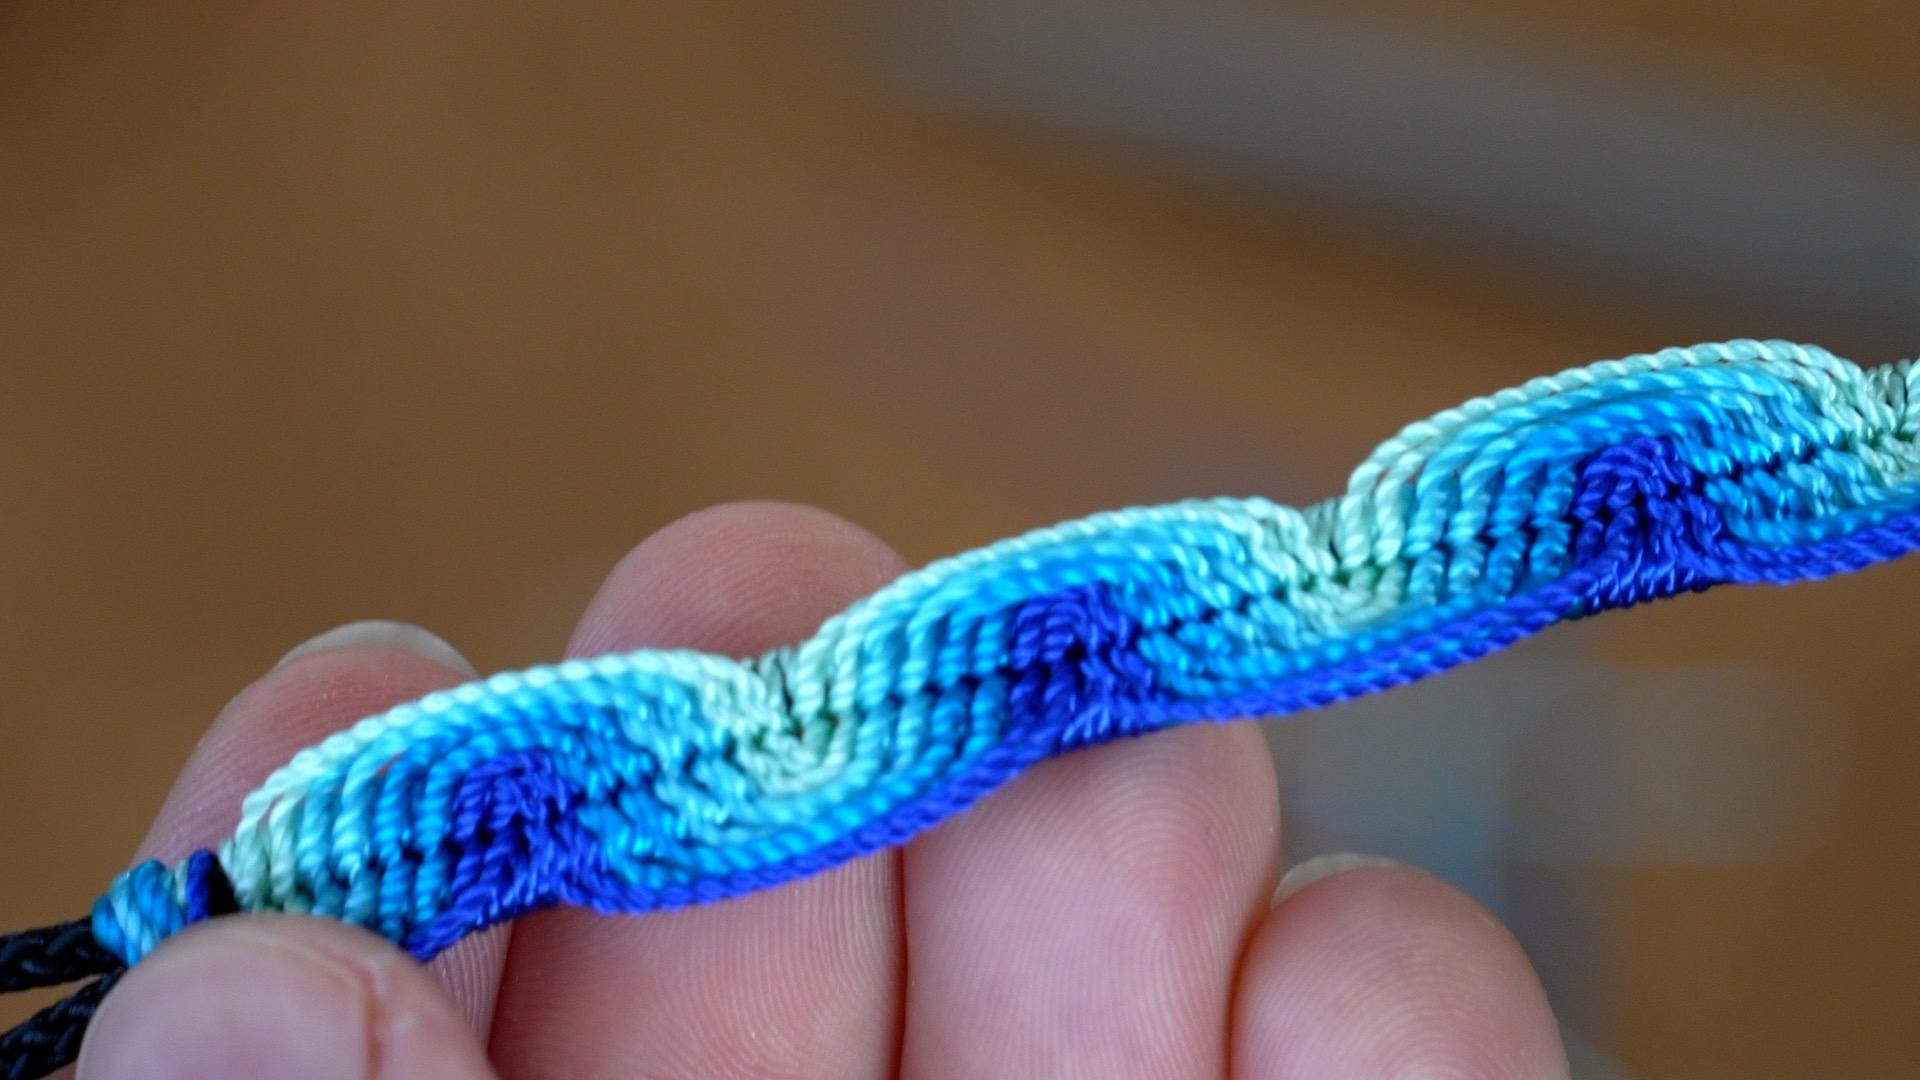
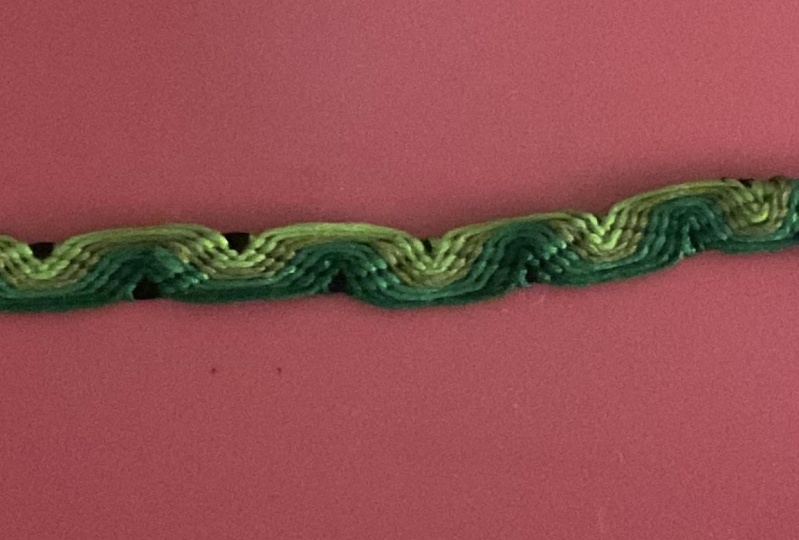
for the next color cord for this bracelet. I want the wave pattern to
go from light to dark blue. I'm sticking to the
lightest blue color Before moving on to the
darker shade of blue, I'll just show you
a couple more of the number 4 knots for you to
really get the hang of it. Just continue that process
for all your color cords. Now we've reached
the last color cord, and this is where we
need to pay attention. It's time to return
the wave back to the other end with the very last color cord
that you laid knots with. That's going to be the
first chord you start with. Now this time we're
going to start with the right base cord and
work our way to the left. But we're also going to
use the reverse 4 knots. As you can see, a reverse four is basically the
same but reversed. All right, let's look at
that knot more closely. You lay the color D
over the base cord, pull it through
and tighten again. You lay 2 knots for every color
cord on each base string. The way that the color
chords are laid out makes it pretty easy to see
which color is up next. But if you do end up grabbing
the wrong string and you only realize it after you've already laid a couple of knots, it's easy to just undo
the last row of knots. You simply undo
the last series of knots and then grab the
correct chord and go again. Now you can already start to
see a wave pattern emerging. We just keep going back
and forth from left to right until we get a nice
length on the bracelet.
4. Scissor method: All right, so here
is my scissor trick that I mentioned earlier. One thing that you will always
have in stock if you're making a macromae bracelet
is a pair of scissors. So if you have nothing else
to mount your bracelet on, this will do the trick. I do this sometimes
when I'm lying in bed and watching
Netflix or something. And I want to be
making a bracelet at the same time just to keep me kind of busy and multitasking. So I feel a little
less unproductive, but I've also used the hair
clip in much the same way. Just get creative and
use whatever is most available to you and
most practical for you.
5. Realigning : Sometimes in the
middle of the process, because of our
tugging and pulling the base cord can
get misaligned. If you want to correct this, you just pull on the loop on the side of the cord that is extending a
little bit too long, then you shimmy the
wave pattern part back up while holding
on to the shortest leg. Just tug and pull and keep shimmying until you've
reached the desired result.
6. Sizing up: All right, so let's
try it on for size. How much of the wave pattern do you want there to
be on your bracelet? If you're making the
bracelet for yourself, it's easy to just wrap it around your wrist and see if you
like where it lines up. My rule of thumb is
to literally have the space of your thumb
left over in the middle. I'm happy with how
this lines up, but some people might prefer
a little bit more room. If you're making your
bracelet as a gift for someone and you're unsure
about the size of their wrist, then you might want
to make the wave pattern a little bit shorter so that they have the room to tighten the bracelet
more if they'd like to.
7. Finishing ends: Once you're happy
with the length, or maybe you've simply
reached the end of the color cords and there's no more rope to tie knots with, it's time to tie off loose ends. Let's cut the
remaining color cords down to about a
half a centimeter. If you cut them too short, then the next step will
get a little tricky. It's better to cut them
too long than too short. If you've been using nylon
cords for your bracelet, then for this next step,
you will need a lighter. However, if you
use cotton cords, stay away from fire
and use crazy glue. We hold the flame up
to the loose ends, quickly moving it
along all the strings. And then pressing down the
metal part of the lighter onto the melted ends to push it down against the
rest of the bracelet. Merging them together.
Sometimes one of the strings does not
melt entirely right away. So you'll have to
do a second pass. But the shorter they get, the trickier this process gets. Remember that this is
a delicate process and you need to
practice caution, making sure not to
injure yourself. I also like to melt down
the tips of the base court, just so that it doesn't become unraveled as I
wear the bracelet. Again, this only works if you use nylon or similar material.
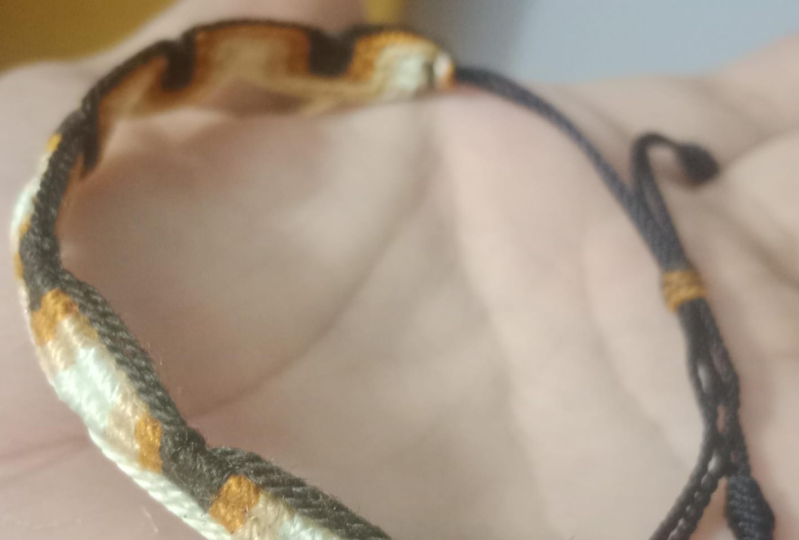
8. Voila: And we're done. Your bracelet
is now ready to wear. If you have a long
enough base court, it's pretty easy to
tie a knot yourself. I usually lay about 3 knots just because nylon is
very slippery material. So if I lay only 1 knot, then the bracelet
might come undone after enduring all the
activity in my day. If you prefer, you can cut
off the excessive length of the bass court after
you've tied it around your wrist.
Just remember that. Then you might want to melt the ends of the
bass court again. A voila. I hope you had fun
learning this new pattern. And as with all Peruvian
macrame bracelets, they are invertible, so you can wear them whichever
way you prefer.
9. Outro : And that's it. That's
all there is to it. Thank you for learning with me. Please feel free to share your progress or
your end result. In the project tab. It's always fun to see all the different
variations that people create because a
macrome bracelet truly is a form of
creative expression. I appreciate you choosing my class and I hope you
enjoyed the lesson.
 Shannon Solange, Inspired-life Muse