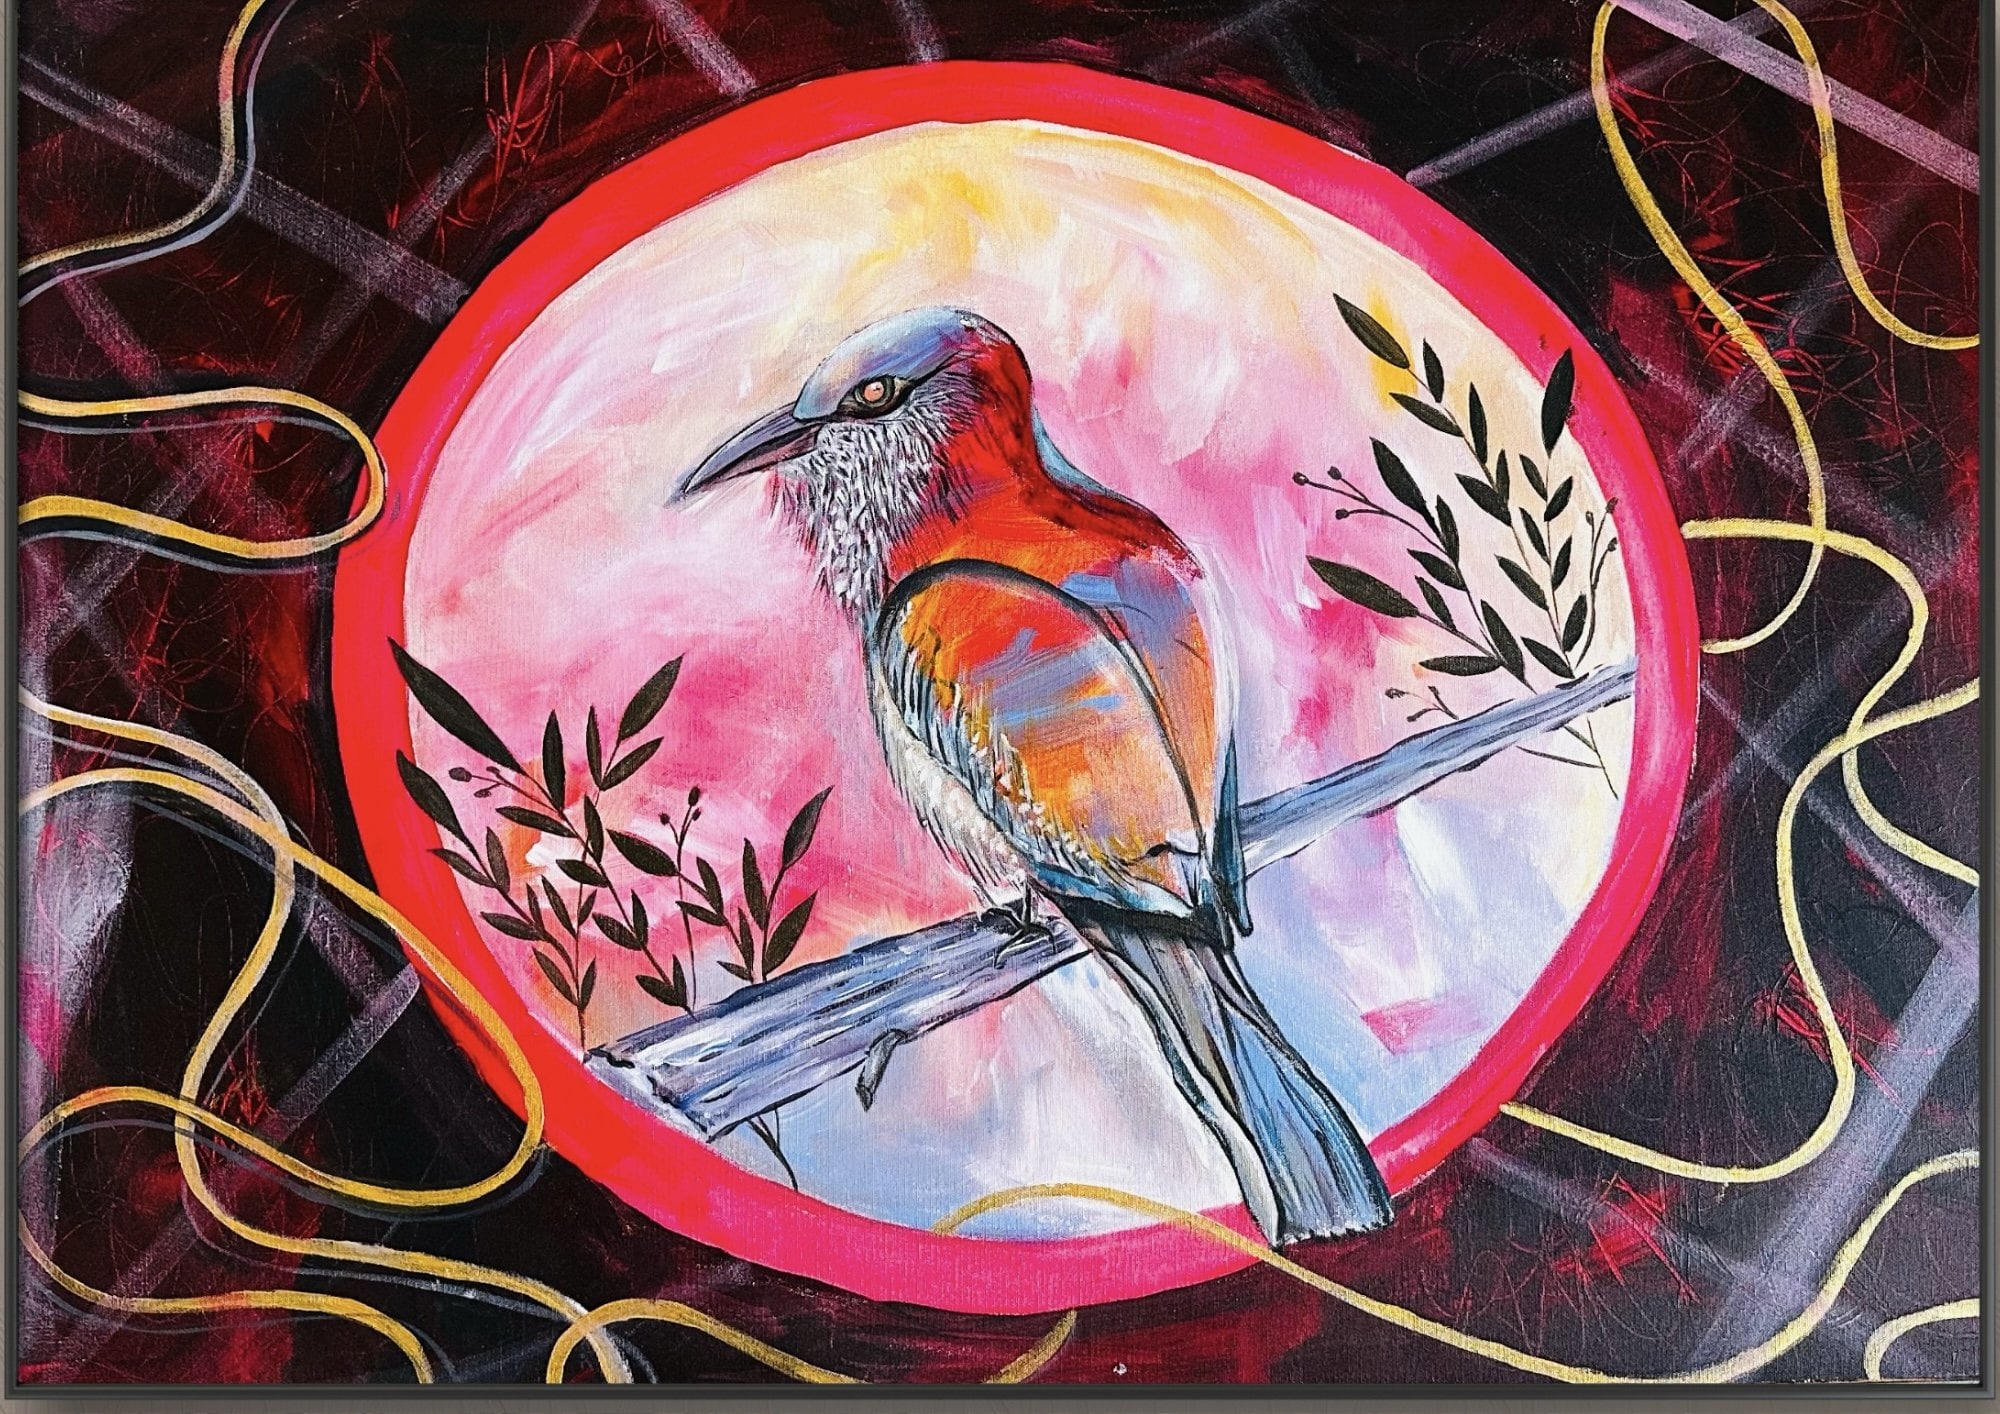
Learn Acrylic Painting : Create an Expressive Tree
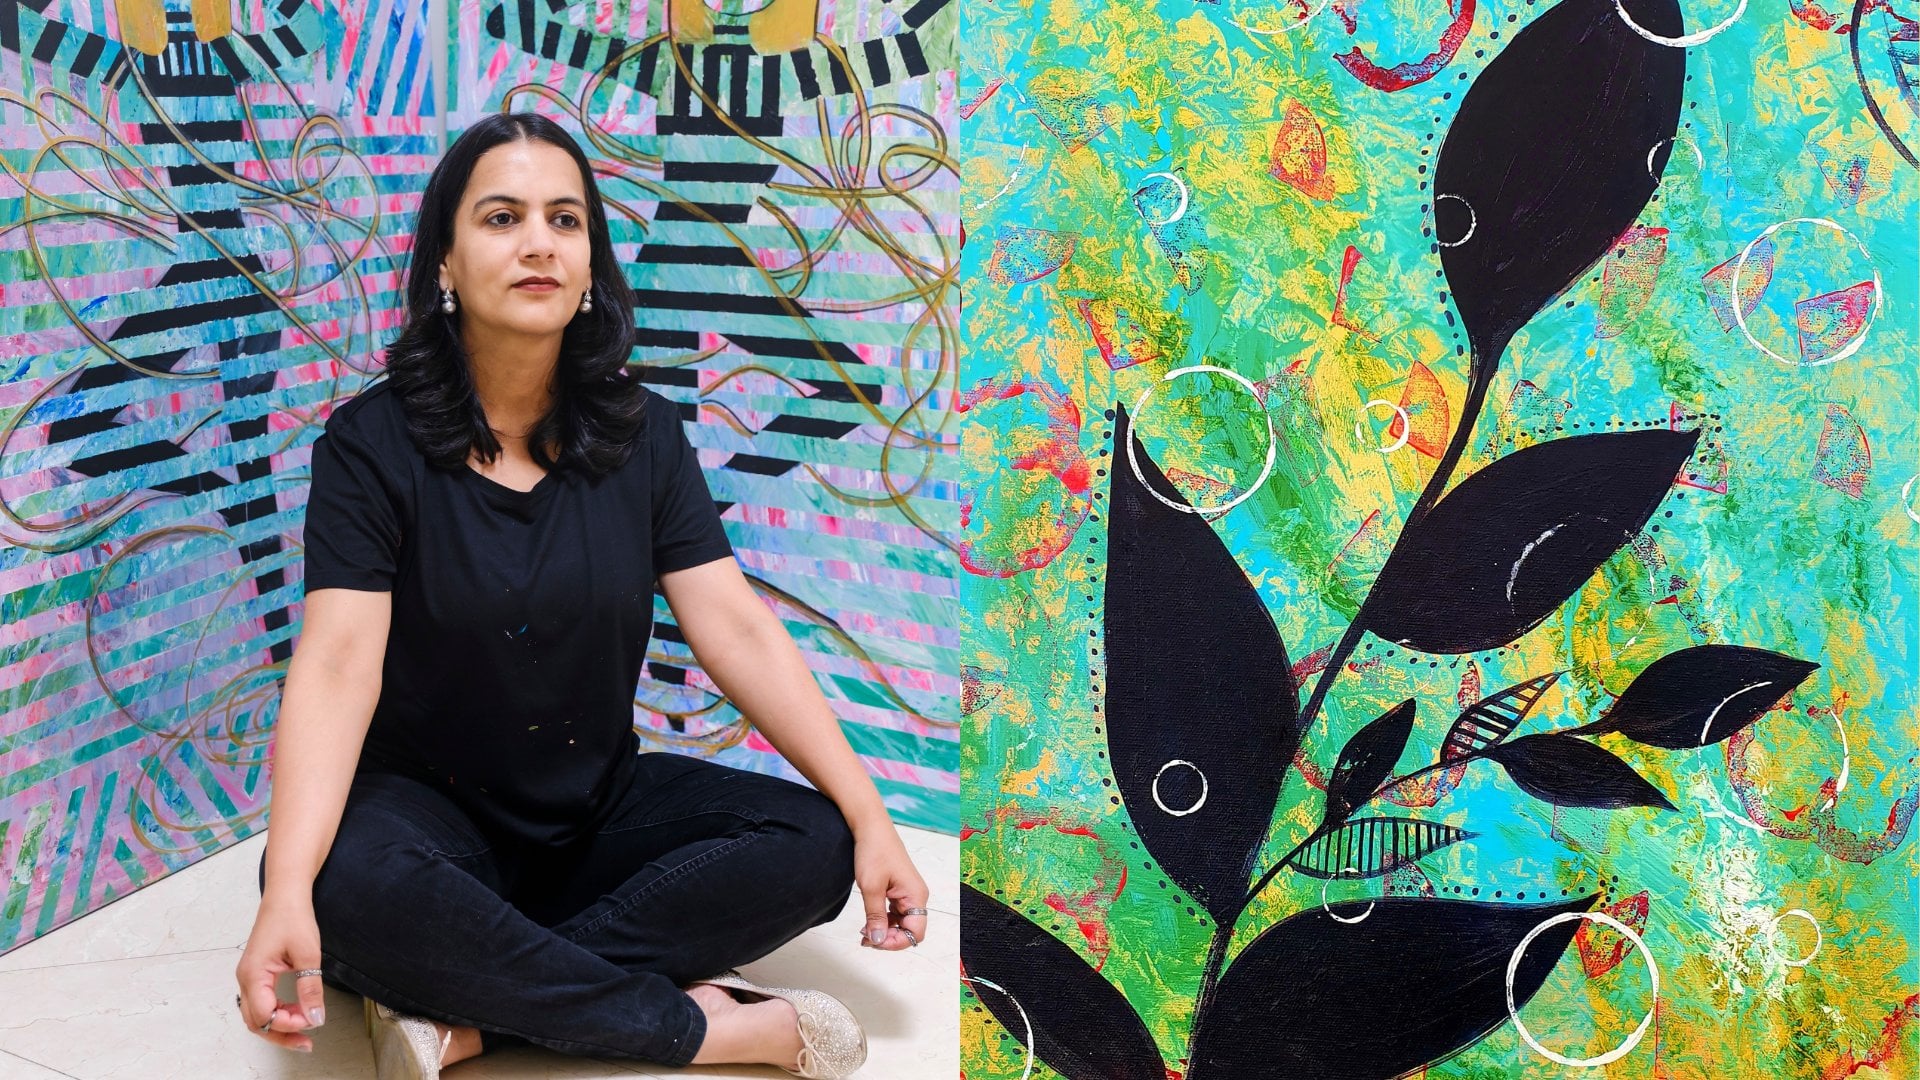
 Tina Khetarpal, Artist, Illustrator, Art Teacher
Watch this class and thousands more
Watch this class and thousands more
Lessons in This Class
-
-
1.
Introduction
0:30
-
2.
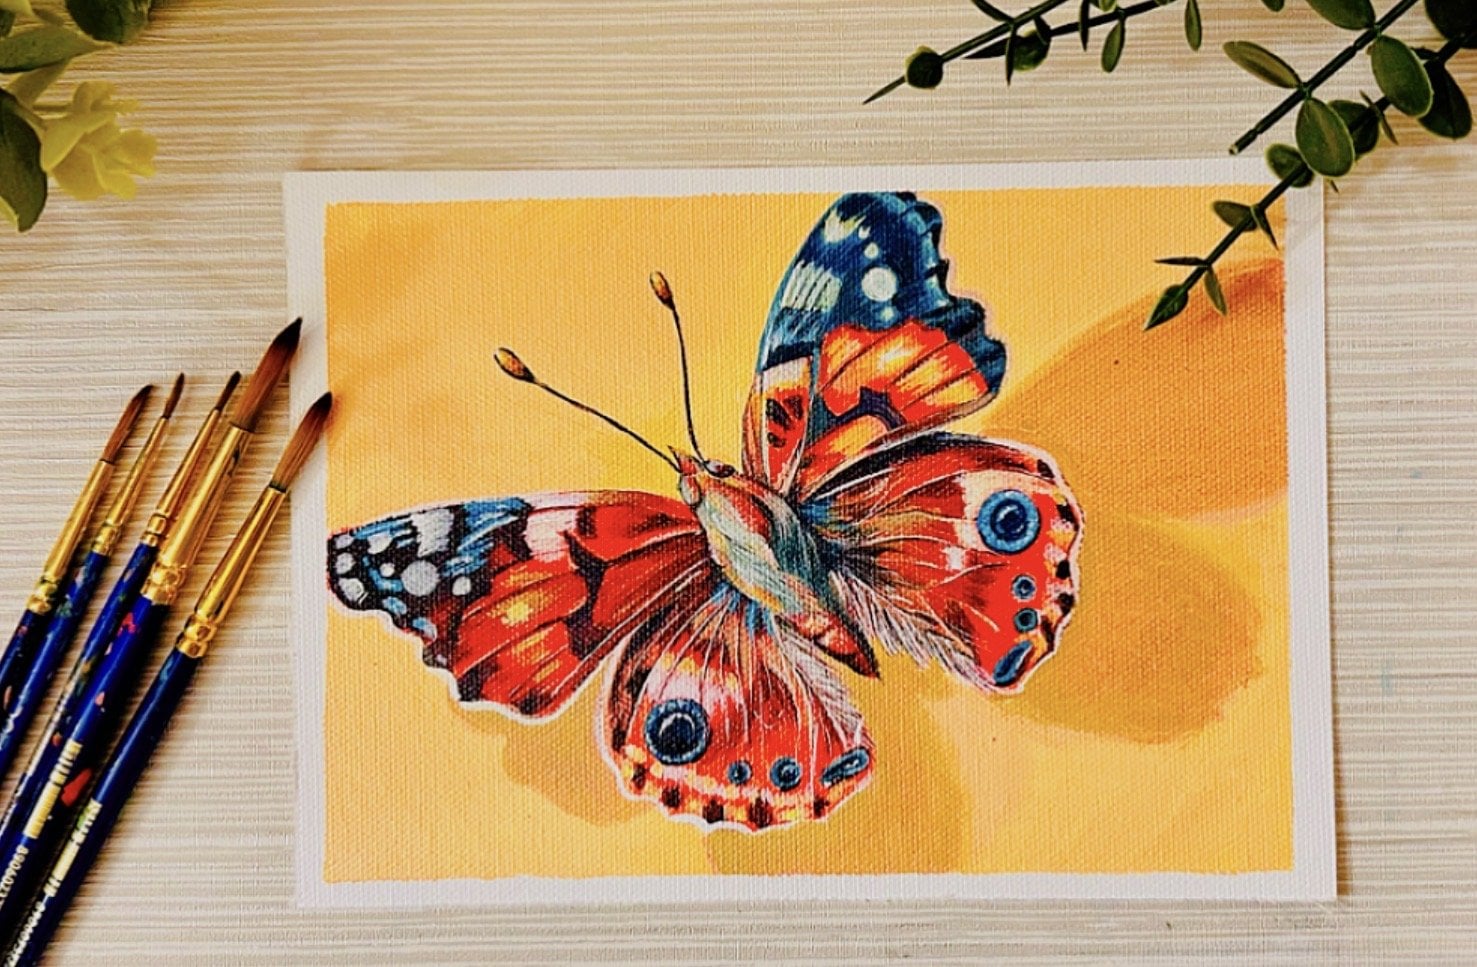
Art Supplies
1:50
-
3.
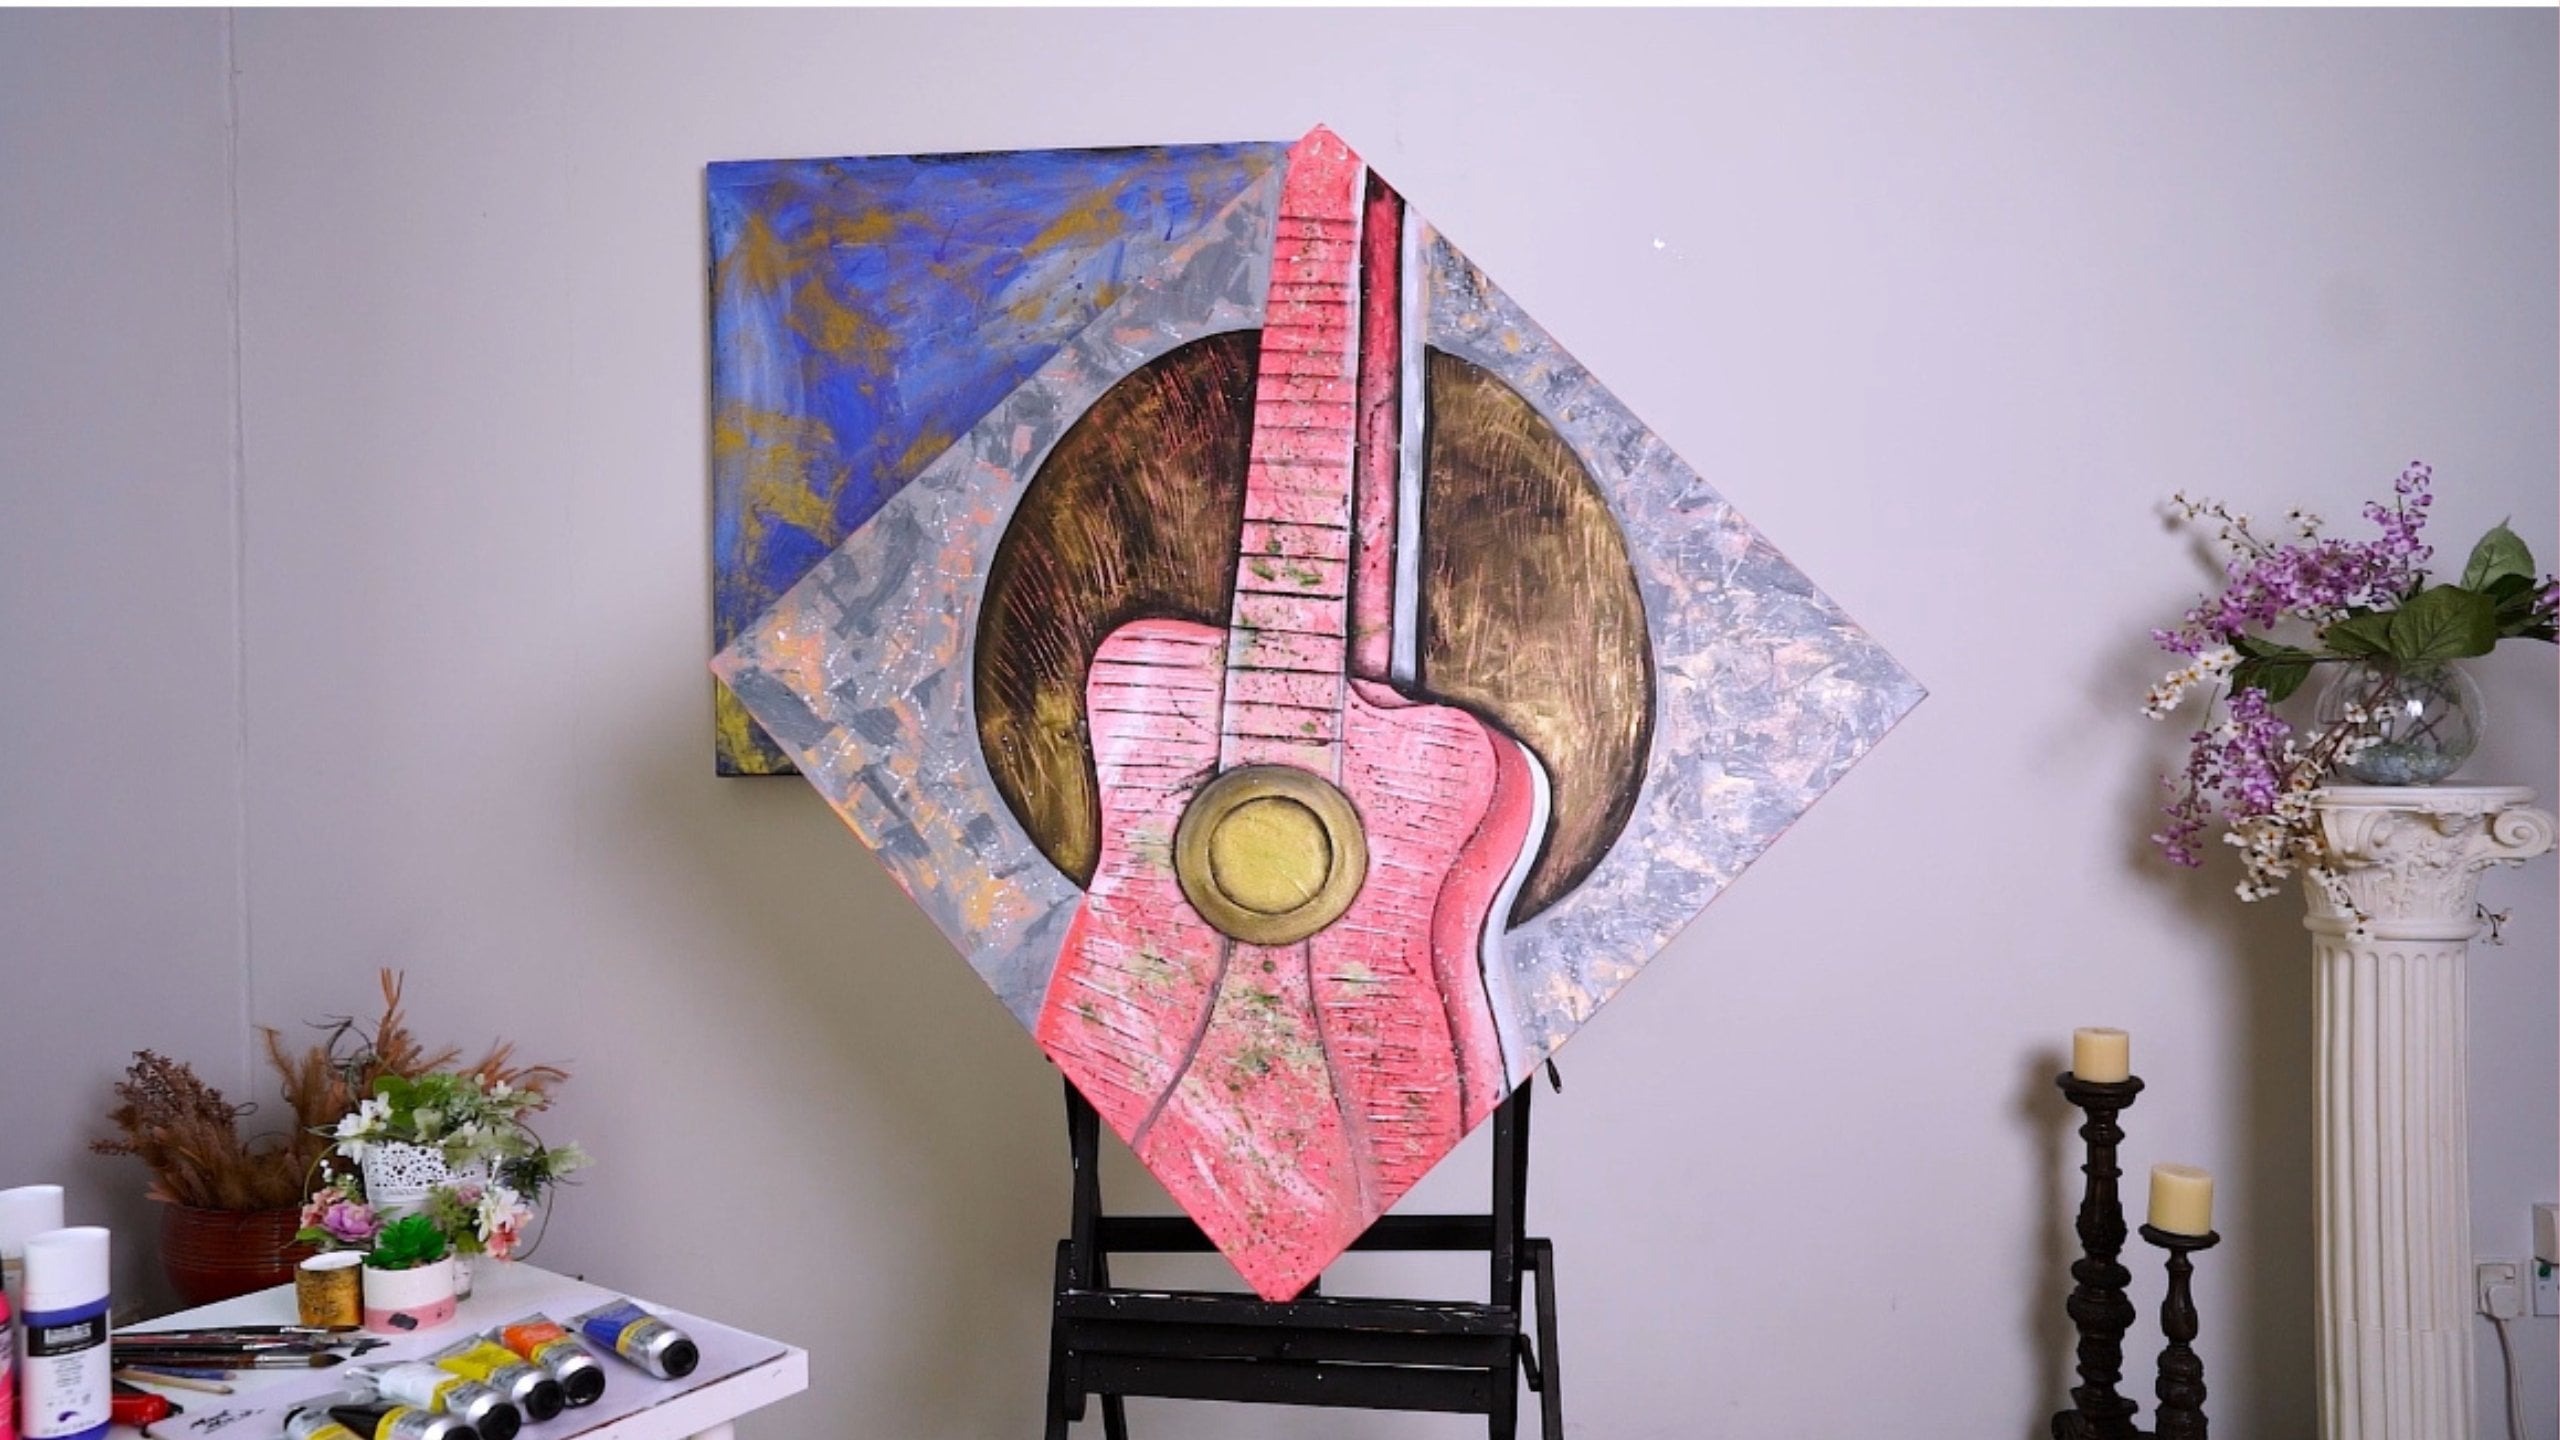
Prepping the Canvas
1:49
-
4.
The First Layer
1:52
-
5.
Drawing The Tree
0:59
-
6.
Painting The Tree
3:53
-
7.
Background
7:20
-
8.
Creating Textures
0:28
-
9.
Final Words
0:25
-
-
- --
- Beginner level
- Intermediate level
- Advanced level
- All levels
Community Generated
The level is determined by a majority opinion of students who have reviewed this class. The teacher's recommendation is shown until at least 5 student responses are collected.
6
Students
1
Project
About This Class
Looking for a calming, creative break from your busy day?
In this class, you’ll learn how to paint a flowing, expressive tree using acrylic paints, while enjoying a slow, relaxing painting process designed for beginners.
This is not about perfection or rigid rules. Instead, we’ll focus on movement, codor and mindful brushstrokes, allowing you to enjoy the act of painting as much as the final artwork.
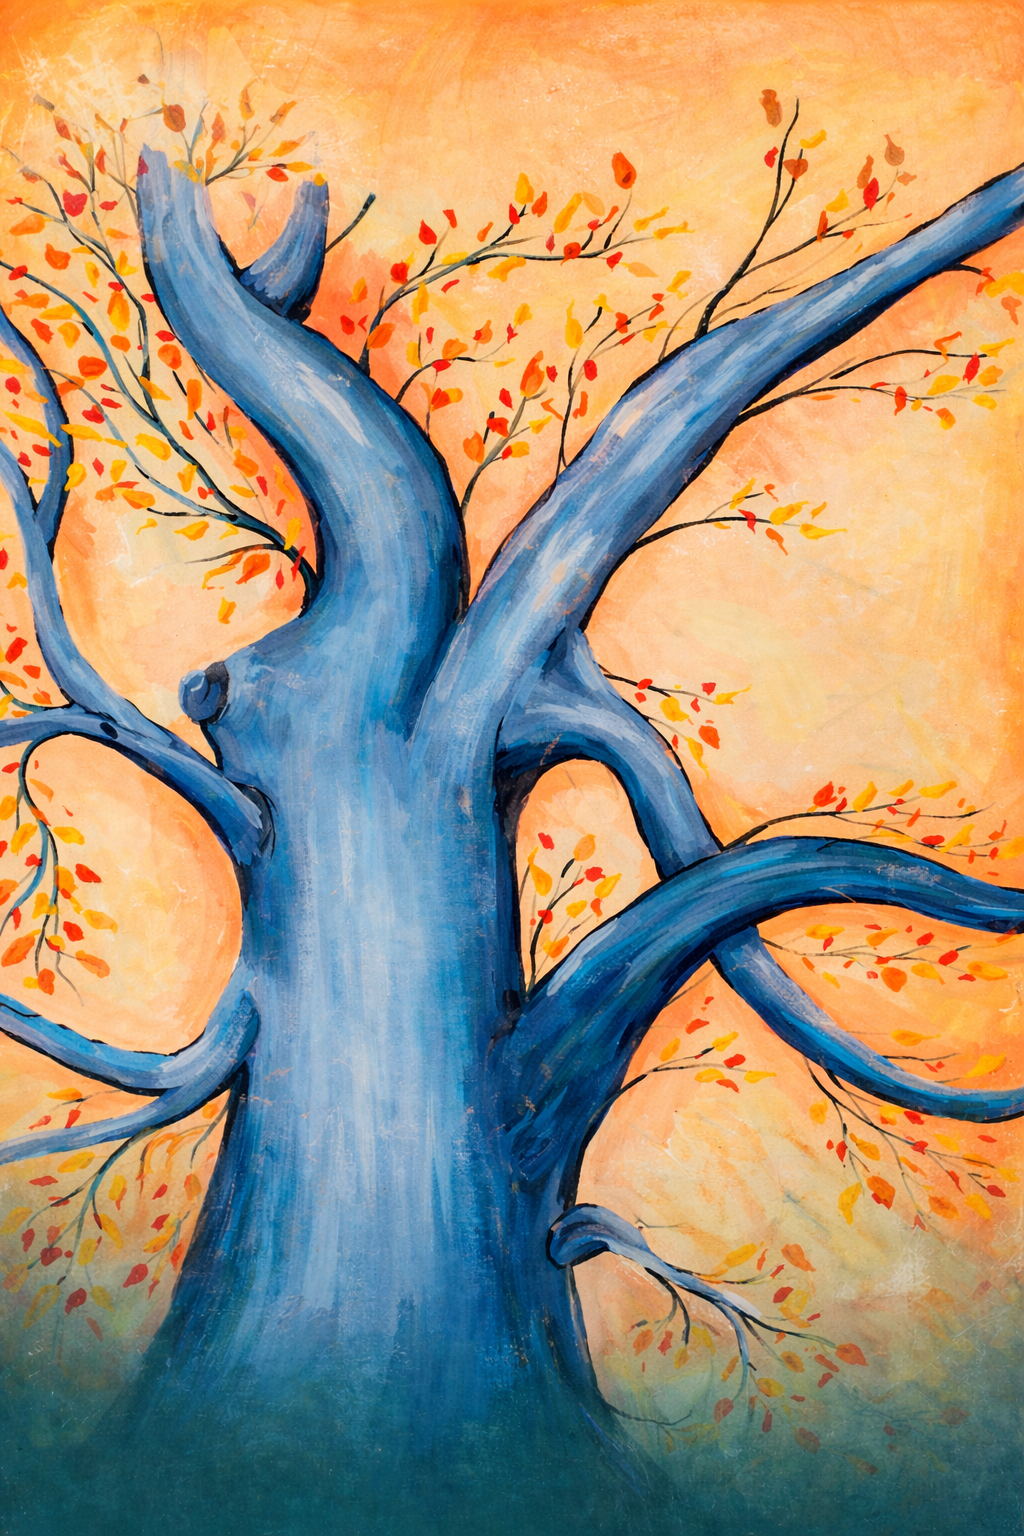
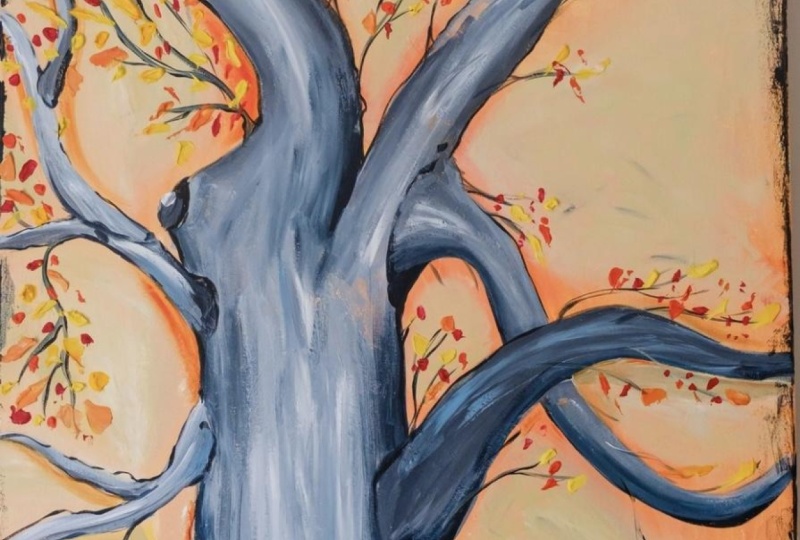
Together, we’ll paint a vibrant tree set against a warm, glowing background. I’ll guide you step by step, explaining each layer clearly so you can follow along with confidence – even if you’re completely new to acrylic painting.
What you’ll learn:
-
How to build a painting step by step using acrylics
-
Creating smooth colour blends and expressive brushstrokes
-
Painting a flowing tree trunk and branches with movement
-
Adding warmth, contrast, and depth using simple colour choices
-
Letting go of perfection and painting in a relaxed, mindful way
This class is perfect for:
-
Beginners who want an easy, stress-free introduction to acrylic painting
-
Anyone looking for a meditative, relaxing art session
-
Artists who want to loosen their style and paint more intuitively
-
Creatives who enjoy calm “paint with me” style classes
By the end of this class, you’ll have a finished expressive tree painting and a deeper appreciation for painting as a calming, mindful practice.
So grab your paints, slow down, and let’s create together 🌿

Hands-on Class Project
For your class project, you’ll create your own expressive acrylic tree painting using the techniques covered in this class.
This project is all about enjoying the process. There’s no need to copy the painting exactly – feel free to adjust the colours, brushstrokes, and background to make it your own.
Project Steps:
-
Prepare your canvas and choose your colour palette
-
Paint the warm background using soft, blended layers
-
Create the flowing tree trunk and branches
-
Add expressive leaves and details using loose brushstrokes
-
Finish with final highlights and personal touches
Take your time and paint at your own pace. You can pause the lessons whenever you need.
What to Upload:
Please upload:
-
A photo of your finished painting
-
(Optional) A work-in-progress image or close-up of your brushstrokes
-
A short note about your experience or colour choices
Project Goal:
By completing this project, you’ll practise:
-
Acrylic painting techniques in a relaxed way
-
Using colour and movement to create expressive art
-
Letting go of perfection and trusting your creative instincts
I’d love to see your work and hear about your process. Don’t forget to share your project in the gallery and support other students by leaving kind feedback 🌿

Class Ratings
Why Join Skillshare?
Take award-winning Skillshare Original Classes
Each class has short lessons, hands-on projects
Your membership supports Skillshare teachers
Learn From Anywhere
Take classes on the go with the Skillshare app. Stream or download to watch on the plane, the subway, or wherever you learn best.