Transcripts
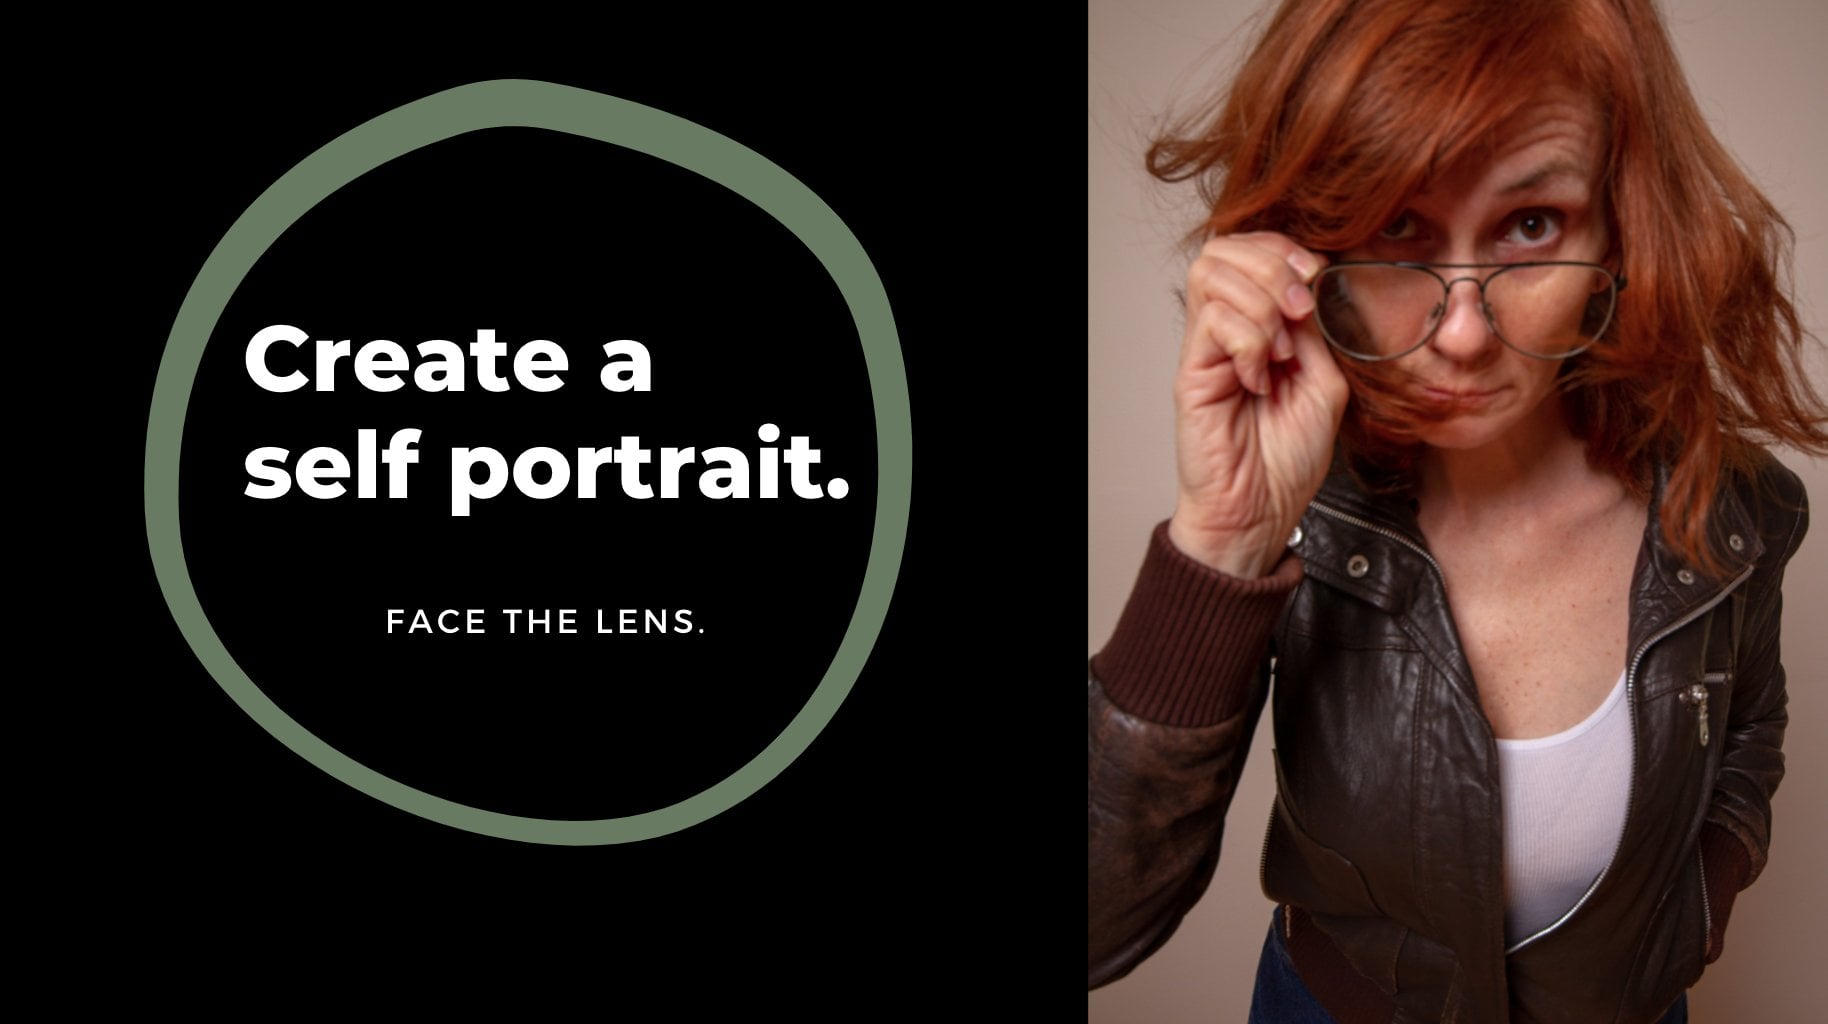
1. ISO and You: Hello and welcome to my Skillshare channel. I'm Deanna, a photographer and an illustrator. I'm coming to you from the West Coast, I rapidly east coast and today it is very cold. So I'm trying to stay warm. My turtleneck. Welcome to ISO and you. This is the second video and a three-part series of the exposure triangle. The first video is called aperture and new, check it out. Becoming a good photographer takes practice, and it also takes some technical knowledge and understanding. Learning about ISO is an important part of that technical practice. Iso is the second part of what's called the exposure triangle. The first video I did, the first class was on aperture. This one is featuring ISO. Third element is shutter speed. So that would be next month video. If you're a beginner and you're using auto mode or auto ISO. Welcome. I'm glad you're here, and I'm also glad you're using your camera. This is a great starting point. Using auto load gets you moving, it gets you familiar with your camera, and it also gets you familiar with what you really enjoy taking photos of becoming a good photographer, takes practice and some technical understanding. Learning about ISO is an important part of that technical practice. After some practice and some creative endeavors, you may get curious about manual mode. Manual mode is where you need understanding of the exposure triangle because you will need to adjust aperture, shutter speed, and ISO manually to take a correct exposure. It's where the rubber hits the road, as they say, in photography, using your camera in manual mode allows you full control over your photography. It also allows you to get really creative and start to have more fun because you have more confidence with more understanding. Even if you plan on using auto mode most of the time, having an understanding of how manual mode works will give you great confidence in your picture making. All you will need for this class is a way to take photos where you can control the shutter speed, aperture, and ISO. Any kind of camera that enables you to work in manual mode is perfect. Any kind of camera will do if you have an analog camera and you're using film. Yay, I'm excited for you because film is one of my favorite things to use. And it's important when you are using film to fully understand the exposure triangle. If you have a smartphone and you had a camera on that phone, that will let you adjust exposures. That's great given mirrorless or DSLR or some new camera that you're causing gave you or your uncle that's been sitting around gathering dust. Doesn't matter as long as you have a camera and a way to adjust settings like ISO, aperture, and shutter speed. For the class for you, ISO is a powerful element of photography to master. We're going to cover how it works in this class. You're more than welcome to subscribe. Catch a new class, a drop one. Everyone. So let's get going. In the next video, I'm going to share the class project. And you are more than welcome to share your class projects in the class project section, you'll find it down below. My examples are there. I welcome you to check them out. So let's go, let's start learning about ISO.
2. ISO and You Class Project: Hello and welcome back. This is the class project. We're going to do an exercise that helps us understand ISO. Modern cameras have an awesome range of ISO settings, but they still have their limits. This exercise is set up to help you understand what happens when you change your ISO settings and what limits might be inside of your ISO for your camera, that up a few objects on it, the table at one end and at the other end, set up your camera. Zoom in so that your frame is filled by the objects that you set up your frame. What we're looking through, make sure that your brain is full of the objects that you set up at the other end of the table. If you can include white and black objects and some other colors, have a couple of lights on in the room so that the room is normally lit. Overhead lights or find table lamps are fine. Christmas lights are fine. Anything you want to use, It's fine. Just make sure they're on. Set your camera to aperture priority mode and set your f-stop to f 5.6, set your ISO and at 100 and take a photo, make sure the cameras flash does not fire for this exercise. Without moving your camera. Set your ISO to 200, and take another photo. If you move your camera a little bit, that's okay. Then switch to ISO 400. Take another photo. I have so 800, take another photo, and so on and so on. And each time you will notice we're doubling our ISO. Modern cameras have an awesome range of ISO settings. Keep taking until you run out of ISO numbers or settings, examined the photos, preferably on a computer screen. Whatever software that you use to look at your photos is great. If you're going to look at the photos on the back of the camera, just make sure that you are confident and using the zoom feature when you're playing back, it's usually a plus sign inside of a magnifying glass on the back of your camera. You wanted to zoom in to those darker areas and take a look at those, see how they look, especially with the higher number ISO. What do you see when your ISO changes? Do you notice a difference between in the lighter areas or the darker areas? I would love to see your results. Feel free to share them in the class project area. I am shared mine. This exercise is good practice to get you familiar with ISO. Remember, ISO is what you need to understand in order to use your camera in manual mode. If you're using your camera and auto load, it's still good to understand ISO because ISO is how your camera measures light. This exercise should be a good example of how your camera measures light as you move through the ISOs that are available as you move through. In this. As a rule of thumb, if you have less available light, you use a higher ISO. If you have more available light, you use a lower ISO. Understanding what different ISOs do gives you creative control and confidence with your picture-making, with your photography. I look forward to seeing your examples I've provided mind. Please let me know if you have any questions I would love to run. So are you ready to learn? Let's head on over to our lesson 1. Our first lesson is learning how ISO works. And here's a little bit of trivia for you. Iso stands for International Standards Organization. Back in the day when they first started to manufacture film, they had to have a standard rating. And so they used ISO, the acronym for the International Standards Organization, to set those ratings. All right, and then for the trivia, let's head on over to the lesson 1 and learn how ISO works. Let's go.
3. How does ISO work?: Hello and welcome to Lesson 1, ISO and knew, how does an ISO at work? It's good question. Iso has existed long before digital cameras, but the concept is still the same back in the days of film, it referred to the light sensitivity of the film that you are using. A higher ISO number means it's very sensitive to light. A lower ISO number, not so sensitive to light. So in short, to try to make some sense out of this, a higher ISO, it is used when you do not have a lot of available light. And in lower ISO number is used when you do have a lot of available. I also control the amount of sensitivity to light, your camera display. This can range from 100, which is the least sensitive, all the way up to 25000. Some of the newer cameras have really high ISO numbers, and those are great to use. And darker situations like concerts, the settings increase and powers of two, they double, meaning you go from 100 to two hundred four hundred two a hundred, eight hundred to sixteen hundred sixteen hundred to 3200, 3200 and 6400. I think you get me each doubling of the number doubles the sensitivity of your ISO. This means the higher the ISO, the better it will perform in the light. Lower ISOs are great for really bright situation. There are a handful of common ISOs you can fall back on when you're shooting in manual mode. On a sunny day, try ISO 100 or 200 on a cloudy day, try ISO 400 or 800. It also means the higher the ISO, the more green you may see in your images, but more on that later. Those are good ISO gotos for you to keep in your back pocket. And remember if you are shooting in manual mode, you're going to have to experiment and see what works best for you, ready for more, alright, now that we know how ISO works, Are you ready for lesson 2? We're going to learn how I also worked with shutter speed and aperture in less than two. Let's go.
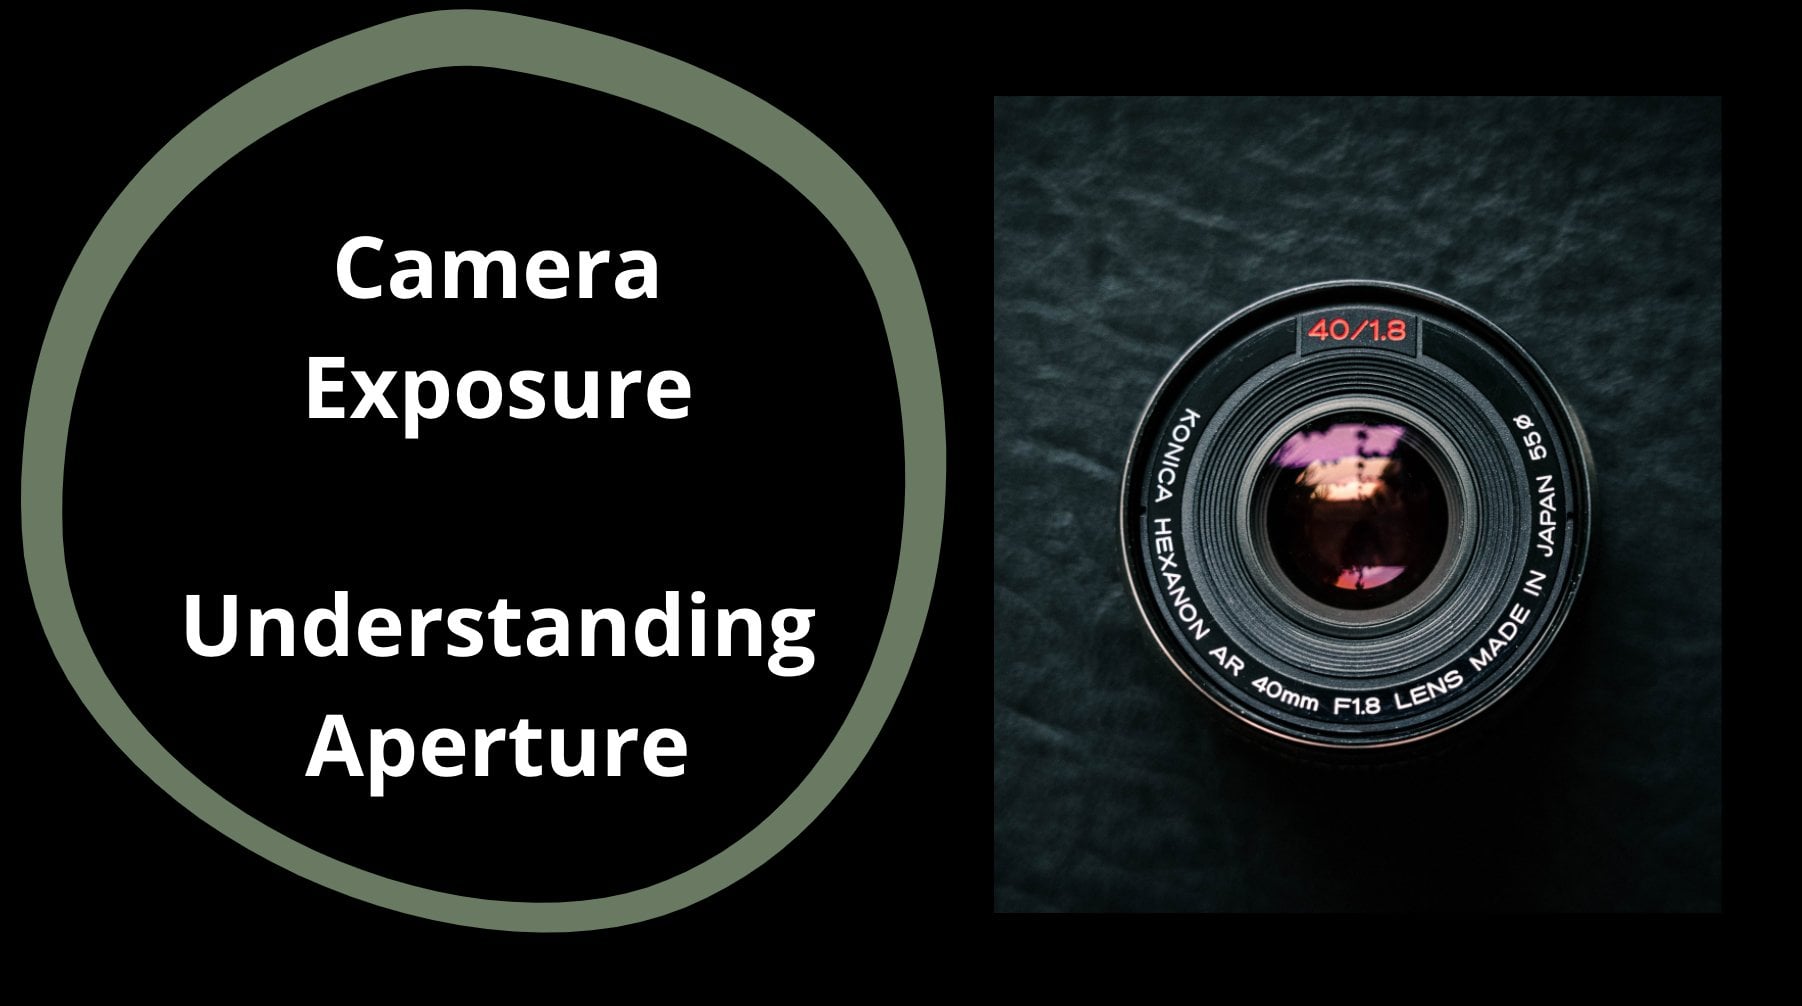
4. ISO with Aperture and Shutter Speed: Hello and welcome back. This is lesson 2. So how does ISO work with aperture and shutter speed? It's important to understand how ISO relates to aperture and shutter speed. Together these three elements make up what's called the exposure triangle. Avengers, commonly referred to as an f-stop. It's the size of the opening in which light passes through, fill them, exposing your film or the sensor, depending on your lens, have a variety of different f-stops, starting with F1, 0.8, going all the way up to F22. The lower the f-stop number, the larger the opening, the higher F-stop number, the smaller the opening shutter speed is measured in seconds, so it's always displayed are written as a fraction. So one over 125 is a fairly common shutter speed. Faster shutter speeds are great for capturing motion. Slower shutter speeds are great for getting creative and capturing blur. Shutter speed is the next class coming up in my exposure triangle series. So subscribe and stay tuned. That'll drop next month. I create one class among fitting. All three of these classes together will give you a great understanding of the exposure triangle. All three are interconnected, and shutter speed, aperture, and ISO, you change one, it does affect the others. You need to understand when to adjust your ISO, when to change your aperture, and when to change your shutter speed. Iso increases in powers of two. So you go from 100 to two hundred, two hundred to four hundred one hundred to eight hundred eight hundred to sixteen hundred, sixteen hundred and to 3200, 3200, 6400. Some cameras even have The higher than that. So if you use ISO 100 and exposed for 1 second, 2s ISO 200 and expose for 2.5th. This means when using ISO 100, your camera sensor needs 1 second to capture the image. But as you increase ISO, your camera sensor, when the less time to get the shot, maybe you're shooting outside at ISO 100 at 1 second and you're happy with the exposure human need, wouldn't the Cloud start rolling? You, change your ISO to 400 and increase your shutter speed to 1 over 4, keeping your exposure balanced. Slower shutter speeds are for getting creative and capturing blur. Let's move on to aperture, increasing your aperture number, making it larger. It's important to understand that lets in less light. The smaller aperture numbers lead in a whole bunch of light. The larger aperture numbers don't let in as much light if you want to increase your aperture so that your field of focus is greater. A great way to achieve that is to increase your ISO. That makes your sensor more sensitive to light. So you're letting less light in through the lens. But your sensor is looking for more light because you change the setting to make it higher, to make it more sensitive to light. If you want to brush up on your aperture skills, take a look at the class before this one, aperture of Europe. And remember, shutter speeds coming next. To fill in that exposure triangle for you to figure out the correct settings in manual mode, decide what kind of picture you want to make. You want to capture motion. Joint have a really sharp field of focus. Do you want to have a really shallow field of focus? How much available light too you have? Do not have any available light or you're trying to freeze a subject that's in motion. These are all questions that you should be able to answer when you're deciding on which settings to use, you will set first, set your ISO, then set your aperture, and then set your shutter speed. If you're shooting in low light and you want to start with a low aperture and high ISO, and you can figure out your shutter speed. If you want to freeze motion. A high shutter speed. From there, choose your ISO and aperture you want to use if you are unsure of what i, so you need follow the general guideline of lower ISO and lots of available light and higher ISO and lower available life. If you're shooting in low light, you want to start with an ISO that is higher. If you're shooting with a lot of available light, start with an ISO that is lower. If you want to freeze motion, start with a faster shutter speed and a higher ISO, if you're unsure of what ISO to use, follow the general guideline of a bright sunny day. Start with ISO 100 because there are a lot of available light and don't need your sensory to be so sensitive to light. If the clouds row n norm, you decide to photograph a concert or you want to freeze some motion where you need your ISO, your camera sensor to be more sensitive to light. Choose a higher ISO. Are you ready to start working and practicing with your ISO? I have six tips ready for you. So let's go.
5. Tip #1 ISO and you: Tip number 1 start by using ISO 200. Some cameras don't even have ISO 100. Iso 200 might be your lowest ISO. So start with that. If there's lots of available light, using ISO 200 will result in better pictures, especially if there's a lot of available light. And here's why it will allow you to use a faster shutter speed if you want to use a higher aperture, which means you have a greater field of focus. Great from landscape photos where everything is going to be nice. By using ISO to 100, you'll give yourself that little extra flexibility in shutter speeds and aperture. It's really great to start there, especially if there's a lot of available light, while more tips for practice, let's head over to tip number 2, ISO 400 for clouds or dusk. Let's go.
6. Tip #2 ISO and you: Tip number 2. Using ISO 400, four clouds or dusk or maybe just a grade. If you're outside, it's kind of cloudy. The sun isn't really anywhere to be seen. Try using ISO 400, using higher ISO numbers can introduce what's called digital noise. But you're not gonna see anything like that until you start to use ISOs that are really high, like maybe you 6400. Today's cameras are pretty awesome and digital noise isn't really that prevalent. If you zoom in and look at your images at about a 1000%, you might see it, but using ISO 400, 800, 1600, 3200. And I guarantee you're not going to see it in the dark area. Ready for tip number three. Okay, here we go. Crank up your ISO so that you can stop motion. Are you ready? Let's go.
7. Tip #3 ISO and you: Tip number 3. Crank up your ISO. Use those higher numbers when you want to freeze action, use a higher number, ISO, you're going to increase your shutter speed in order to stop motion so that you make your camera sensor more sensitive to light. Because if the shutter is opening and closing really fast, you want to have your sensor be ready to absorb as much light as possible. Using a higher ISO is going to help you with that. A faster ISO is needed to freeze action, increasing your ion so insures your success and shooting moving objects. Maybe you want to shoot. I don't know. Anything fast moving cars, horses, swimming, anything like that, any kind of sport. You're going to use a higher ISO and a faster shutter speed in order to freeze that motion, your shoulders not going to be letting him much light. So you need to make it as sensitive as possible to the life that you are letting him. And the way to do that is to crank up your ISO. All right. Tip number four is just around the corner. Are you ready? Let's go. We're gonna talk about starting with ISO 1600 indoors.
8. Tip #4 ISO and you: Tip number 4. Start with the ISO 1600 indoors. That's what I'm making this video. I use ISO 1600 if there's a reasonable amount of available light, I'm really lucky. I've got a lot of natural light coming in with the other side of my space is create dark. Take a few exposures and decide if you might even want to use a higher ISO than six year, I might perceive a lot more available light than your camera will. So it's, It's best to make sure that you have right ISO before you start shooting. And not really taking a look at your images and playback. Maybe you're shooting a family event or something happening inside and you choose one ISO and you just start taking photo after photo out for photo. And you don't realize that they're actually way too dark or underexposed. Make sure you notice if the ISO you're choosing is the one that you want to keep using as you move through the event. If you're photographing something static, feel free to use a try odd and adjust your ISO accordingly. Start with 1600. And if you're using a slower shutter speed, a tripod is really great because you won't notice camera shake. We shake naturally. We don't sit, stand statically still. So if you are using a slow shutter speed and your hand-holding, you're going to notice a little bit of camera shake. So a tripod is key, dart with ISO 1600 when you're inside, just before that family dinner or maybe that reunion or some monumental birthday happens. And make sure that's 1600 is where you want to be and where you want to stay. So take a look at your images. You don't have to look at all of them. Just be aware. All right. Tip number five is ready for you. Are you ready? Don't be afraid to use ISO 6400. What I know, Let's go.
9. Tip #5 ISO and you: Are you ready tip number five, Don't be afraid to use ISO 6400. You may be in a dark room and you want to capture some images. Maybe you're at a concert. There may be no other option than to use the highest ISO you have available. Start with 6400, may have something higher and zooming in to see how much digital noise you're going to capture it. That little bit of pixelation that happens in the darker areas. It may be there. Take a look. Maybe it's hardly there. You never know. It's just best to be aware. I suggest getting really familiar with your higher ISOs to be confident in knowing how much digital noise they're going to produce before you start to choose to use them. On a regular basis. It might be completely acceptable for you and you might also figure out a way to remove that digital noise in post-production. Just be aware and go crazy. Take photos in a dark room. I'd love to see your results. I have more tips for you. One more actually, tip number six. Let's go.
10. Tip #6 ISO and you: Tip number 6. The same applies for higher ISOs. And what I mean by that, people are going to tend to want to warn you against using higher ISOs because of digital noise. That's why I recommend getting familiar with how your camera handles it so that you can choose it with competence is they're all tips for you to have in your back pocket ready for you to use anytime. Are you ready to tie all this together? I have one more set of tips and tricks for you to use in your practice and getting familiar with ISO. In the next video, we'll go over questions, but you need to ask yourself before choosing your settings. Are you ready? Let's go. Okay.
11. ISO and you 4 key questions: Are you ready? These are the questions you should ask before choosing your ISO. When deciding what ISO to use, ask yourself these four questions. How much light is available to? I want to make a photo that might have a little bit of digital noise. If I use a higher ISO, am I going to use a tripod? Is my subject moving? Those are four key questions that are going to indicate what I, so you're going to be ISO is a key element to photography and having a good understanding of it will help you feel more confident and be more creative with your pitcher take. You'll be able to pick up any camera and immediately know and decide what ISO to use for pretty much any situation. Once you have practiced and built up that skill, experiment with the different settings and like I said, practice, practice, practice. Try to think of them in this order. Shutter speed, how fast is the subject moving that I am shooting? Is it a fast object? Try starting with a shutter speed of one over 4 thousand aperture. How much light do you have available? Remember, aperture is what lets the light in so that your ISO can recognize it. Is it a bright sunny day? Are you inside? Once you know how faster shutter will be, you can decide on your aperture, which gives you your field of focus. And then you can decide on your ISO because that is where the sensitivity of the sensor is. It will take you practice. But once you understand how powerful ISO is, you are going to not look back. You're going to feel so confident and start making some really incredible photos. And I can't wait to see them. Congratulations, you made it. Now it's time to practice.
12. Outro ISO and you: Thanks for learning with me. This is video number two of a three-part series in the exposure triangle. Today we learned about ISO. I'm really excited to have you learning rate alongside of me. I learn something new every time I make one of these videos for you. I'd love to hear your feedback. Don't forget to share your class project. Here in the class project section. I've shared some examples so that you can see I'm learning right alongside of you. I would love to hear your feedback. Please leave me your thoughts. If there's a class or something that you'd like to learn or something else that you would like to leave feedback about. I welcome your feedback. Now get out there and start shooting.
 Deanna Flinn, Photographer and Illustrator