Transcripts
1. Introduction Camera Exposure with Your Aperture: Hi there, I'm DnaA and welcome to my skill share platform. This is my sixth course on skill share. I love being a skill share instructor. I'm a photographer and an illustrator. I'm coming to you from my live work studio on the West Coast. I grew up in the East Coast and I'm really happy that you're here choosing to learn with me. Today's class, we are going to learn how to create a balanced exposure with our camera aperture. We're going to learn how to control our exposure with our camera aperture. If you are new to photography and maybe a little bit overwhelmed with where to begin to start learning. Exposure is a perfect place to start. Aperture is the first of three classes I am going to do to help you create great exposure. So this course covers aperture. My next two, we'll cover ISO and shutter speed. All three of those elements together create an balanced exposure. But learning what aperture can do is really powerful because it also enables you to get creative to one of the first things you need to understand and photography is exposure. Exposure is the amount of light your camera sensor captures when you take a photo, when you master the exposure of your images, your photography skills greatly improve. How do you know the exposure of your image? Your camera will tell you it has a built-in light meter. It has a built-in way to measure light. This is what a camera meter looks like. You can see it inside if you're looking through the viewfinder to take your photo, or you can also see it if you're using live view to take your photo. So whether you're looking through the eyepiece on your camera or you're looking at the back of your camera, you can see the exposure value meter or the exposure meter, the way your camera is measuring light, either way, you activate your exposure meter by half, pressing your shutter. Half pressing your shutter makes your camera wake up from sleep. Why should we care about the exposure of our image? It gives you great control over your image. It also builds your competence and photography because it will enable you to get creative. And it gives you more control over your camera functions to once your camera is awake and it can measure the light. It will show you on an exposure value scale, why should we care about the exposure of our image? Because you can control it if it's too bright or if it's too dark. It also gives you a really cool way to get creative and artistic with your photos. Knowing how to create the exposure you want, or what we call a balanced exposure will give you great confidence in your photography. You will need a camera for this class. Any camera will do, it doesn't matter. It will also help if you have a tripod. If you don't have a tripod and any stable surface will do. If you're using something like a stable surface, just make sure your camera is secure. So if you want to improve your photography skills, you have a camera away to keep your cameras still. This is the course for you. Each lesson builds on the next, and by the end you will be exposing your photos with ease. There'll be feeling more comfortable and confident and maybe getting a little bit more creative with your photography. Are you ready to start learning? Let's go.
2. Project Correct an exposure with aperture.: Welcome back to exposure. In this class, we're learning how to control exposure with our aperture. And this is our class projects or our class project. We are going to correct an exposure to keep old photos. I don't turn out great shoes one and recreate it with a proper exposure. Here's a pro tip for you. Do not delete in camera. You remember Bob Ross had this thing called happy accidents. They happen all the time in photography. And you can't always see those happy accidents when you're looking at your photos on the back of your camera. Remember that pro tip, don't deleting camera. Hang on to them. If they're really that, go in and delete, no problem. If not, keep on, look at him later. They might surprise you. Choose a photo from your archive that isn't quite properly exposed. Choose one that you can recreate and you're going to properly expose it. And that's our class project. You will need to figure out the exposure of the original photo. What was the ISO, What was the shutter speed? What was the aperture? We're figuring out exposure by controlling our aperture is the image you chose, overexposed or underexposed, too bright to dark. Overexposure is when too much light gets let in. Underexposure is when not enough light gets led in this class is going to teach you how to take a correct exposure. How did take a balanced exposure? Not too overexposed not to under exposed, but just right once you have chosen the photo that you want to recreate and you have figured out the exposure, you need to decide what the correct exposure is going to be. You can take several different exposures and decide which one is best. But remember, don't decide looking at the photos on the back of the camera. Leave them in the camera and upload them to your computer, tablet, whatever you use. I promise you, you will be surprised at how different they are going to look. Try your best not to delete in camera when you have decided that you have recreated the correct exposure, compare it to the original. Look at how different it is. Think about how much more you know about controlling your exposure. Note the aperture in the correctly exposed photo, and the aperture in the photo that isn't so correctly exposed. How different is it? What number is that? You should be able to recognize the f-stops and how adjusting them enabled you to create the final exposure. I've included examples in the class project. I look forward to you sharing your examples. I'd love to see your before and after what isn't logo before and after. I welcome your questions too. If you're stuck, please reach out. I will get back to you right away, upload your projects. Like I say, I love to see a good before and after. So let's get out there and let's get shooting.
3. Control your exposure using aperture.: Hello and welcome to Lesson one, exposure with your aperture. Wow, I know it's a good idea to figure it out. That's why you're here and I'm so glad you are. How can you control your exposure? I mean, you leave the house with clothes on in the morning. That's one way. How can you control your exposure? You control your exposure by using different combinations of the three elements inside of your camera that control exposure. We're going to start with aperture. The whole class is all about aperture. Aperture controls how much light reaches the center of your camera. It also affects the depth of field, which is also known as your field of focus. It sounds complicated. I know. Bear with me. We're gonna get through this together. If you think of it as what you focus on, image is controlled with your aperture, then you've got it. So think about what you're focusing on in your image. How much is in-focus is controlled by your aperture. Field of folk, shutter speed controls how your camera sensor receives light. Your shutter moves up and down behind the aperture. So your aperture is here and her shutter is here, and then your sensor is there. Iso controls the camera sensors sensitivity to light. In this class, we're gonna learn about aperture. It's important to understand that exposure has three key elements. So it's not just one concentrating on aperture in this course. And I will have two more courses coming up that will concentrate on shutter speed and ISO. Stay tuned. What I'm gonna do in this course is give you some exercises that will help you understand aperture and hopefully make it not so weird. The exercises will give you will enable you to start practicing, which I feel is a key way to learning anything. You have to put it into practice and make mistakes. And we learned from those mistakes and we keep practicing. Let's move on to lesson two, where we're going to learn what aperture actually is. Let's go.
4. What is aperture?: Welcome back to lesson two. What is aperture? What are we even a weird word, sometimes I like to think of aperture as the pupil in your eye. It opens and closes to let light in so you can see Avengers, The size of the opening that lets light pass through your lens so that it can hit the sensor. Aperture sizes will depend on your lens. Apertures are also called f-stops. Sounds complicated, right? If you want to keep, you just have to remember one thing, I promise you just one thing. Those lower the aperture number, the larger the opening inside of the lens, the higher the aperture number, the smaller the opening inside of the mole numbers mean lots of light is getting in large numbers. Not so much light is getting in. Smaller numbers, have a smaller field of focus. Larger numbers have a bigger field of food. In this example, you can see how aperture affects sharpness of the depth of field or field of focus. Open aperture, smaller number, more like it's in. So the depth of field or the field of focus, smaller. Closed aperture, less like it's in B depth of field, lot in-focus. Smaller numbers are great for blurring out backgrounds. Larger numbers are great for landscapes because it records all of the details. Everything is in focus as inquiry, field of focus, a great depth of field. Let's head over to lesson three. That's a lot to absorb about aperture. I understand Marina into action and get some exercises going so that it makes a little bit more sense. Let's go.
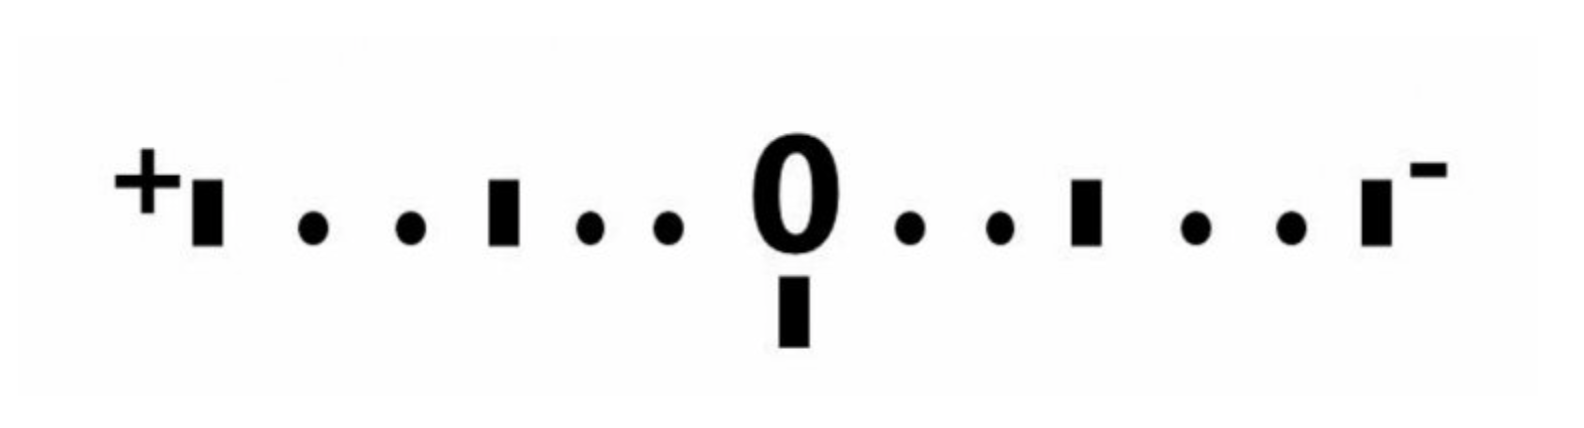
5. Let's put aperture into practice.: Welcome to lesson three. Let's do an exercise to help us understand how light passes in through the aperture and hits your camera sensor. For this exercise, you will need to put your camera on manual mode. Then set your ISO to a fixed number. Iso 100 or 200 miles were great. The key was ISO, and this is a protest. The smaller number means less sensitivity. So if you have a lot of light, you only need a smaller number, ISO. If you have less light, you need a higher ISO because you need to increase the sensitivity. Remember that exposure triangle I talked about. Iso is a key player in that triangle. Then you're gonna choose your shutter speed. So that's usually one over one to five. It's a fraction, and that's one over 125th of a second. Shutter speeds are measured in seconds, because they're measured in seconds are always written in fractions. Find something you want to photograph. A static subject will be great. You can use a person if you have a willing subject camera on a stable service or a tripod, Take a Photo using the highest aperture or f-stop. Maybe that's F 22. They could be F 16, F 11, whatever the highest number is. Take a photo. In my case, I am using a 35-millimeter f2. That's my smallest aperture, but I, my highest aperture is 22. So I'm going to start at F22. And I'm gonna take a photo and I'm going to keep taking photos, moving one stop every time. So I'm going to start at F 22, go to F 16118, f 5.6 at four, at 2.8 or F 3.5. whatever it is, go all the way down. Once you're done, go back and look at your images and see how your exposure to. Also notice how your field of focus changed the only settings that changed where your aperture. Because remember we set the ISO and we set our shutter speed. Now we can see the effects of the exposure on our images. Now let's learn how aperture priority mode works. Next up and lesson before we are going to do an exercise with aperture, priority mode. Let's go.
6. Aperture priority mode and you.: Welcome to lesson four, aperture priority mode. That sounds weird to write. For this lesson, you will need to grab your camera and put it in aperture priority mode that the ISO to a fixed number, ISO 100 or 200. If you have a lot of light available. If you don't have a lot of light available, tried 400 or 800 and find a new subject to photograph. Just to add a bit of variety to your photos. Put your camera on your tripod or your stable surface. Take another series of photos using all of the f-stops on your camera, all of the apertures from F 22 rate down to F2 if you got them, some lenses even have F1 0.8. Crazy. I now take a look at your photos. Your going to notice that they all look the same. Why? When you're using aperture priority mode, the camera adjusts the shutter speed to create a balanced exposure. It is a bit of magic that's created in this mode. If you want to use one aperture, maybe for an entire event or a creative project, or just to experiment and continue your practice. That camera is going to seat and create a balanced exposure by adjusting the shutter speed, look back at your exposures and check out the shutter speeds that the Cameron chose. You will notice that they will be getting slower to let more light in or faster to let less lightening. And it's important to know is that the longer your shutter stays open, the more likely you may experience a little bit of camera shake. Things might be a little bit blurry. If you have a tripod or a stable surface, or you're able to hold your camera really super stable like the human tripod. I like to think about that. Wing Zan, legs, both hip-width distance apart. And you're holding the camera close to your body, that's a great way to keep it stable. If not, you could have a bit of camera shake, but you might want it. It might be fun. It might be an artistic and creative license that you want to take with the photo experiment. See what you like, what you don't like. Try it, do it right the first time, and then do it wrong and, and see what happens in lesson five, we are going to discuss depth of field or field of focus. Let's go.
7. Depth of Field or Field of Focus.: Welcome to lesson five, depth of field or field of focus. For this lesson, we're gonna do an exercise. So set your camera to aperture priority mode. It might still be there from our last lesson, choose ISO 100 or 200. If you have a lot of light. If you don't have a lot of light, try 400 or 800, you will need three objects, stagger them in a row. My guy out here put your camera on a tripod or honest stables, arrange your objects and I staggered row, focus on one of the objects and take a series of photos. Changing your aperture with each photo. Started F22 work all the way down to the smallest one you have, then focus on the second object and do the exact same thing. And you know what I'm going to say next, right? Focus on third object and do the exact same thing. When you look back at these series of photos where you're shifting your focus from your first object to your second object to your third object. Where's the focus? Where's your field of focus as you're moving through it? Are all of them in focus or just what does the focus change with different apertures, you're going to notice a lot of different changes. The focus will change as your aperture changes. This is your depth of field or your field of focus. So just to recap, three objects, okay, so I'm gonna first object. Take a picture with all of the opportunities that you have been able to, you do the same thing for the second object. The same thing for the third object. Upload those photos and take a really good look at them. Look at the changes in the aperture. Did the exposure, What was your camera choosing to balance out the exposure? Also remember a smaller number arbitrary. There is less in-focus, so a smaller field of focus and a larger number aperture means lots more in focus. So a bigger field of focus. This is your depth of field pour, otherwise known as your field of focus. And the coolest thing about all of this complicated technical stuff is it's your choice. You choose how much you wanted to focus, how much? One in-focus. And now you understand that because you learned about your aperture. Let's head on over to lesson six, where I'm going to give you some tips and tricks.
8. Aperture tips and tricks.: Christmas is in a few days. So I thought I'd wear the hat just for lesson six, or we're going to share the tips and tricks. I like that. It's valid. Then Lesson six, my tips and tricks are mostly just suggesting by him practice, practice, practice, practice, practice, practice, practice. Make mistakes, make mistakes, make happy accidents. And key is to figure out and enough so that you create the competence to create a balanced exposure using your aperture. Remember, I have two more lessons coming. One with ISO and another one with shutter speed. The key with aperture is it's a really cool way for you to get creative with your exposure because it controls your field of focus, for your depth of field, apertures are really weird concept. And the biggest tip I can give you to just practice, practice in all sorts of situations, controlled and uncontrolled. Practice with people, practice with objects, practice with landscapes. Use your tripod or a stable surface and be consistent with the ISO that you choose and the shutter speed that you choose if you're in manual mode, like just get out there and practice. Thank you for coming along on this journey with me. I hoped at helped you understand exposure and aperture a little bit more. Stay tuned for my next two lessons.
9. Thank You for learning with me.: I'd like to thank you very much and say goodbye. And that wraps up exposure, controlling your aperture. Stay tuned for the next two lessons, ISO and shutter speed. Together, they create the exposure triangle. I'm really happy to have you on this journey with me. I love learning alongside of you because I learned to, I love it when you share your images in the class. Next section, I have some examples there for you to see. I love it when you drop me some feedback, it's great to hear from youth. I hope you're well and thank you very much sincerely from the bottom of my heart for coming along on this learning journey with me. Let's keep learning.
 Deanna Flinn, Photographer and Illustrator