Transcripts
1. Class Introduction: If your iPhone 17 Pro photos
still look flat, grainy, or kind of disappointing, it's not you. It's
your settings. The iPhone 17 Pro has brand new camera upgrades
Apple barely explains, and most people never discover the features that actually
change their photos. But don't worry
because in this class, I'll show you how to master
those new camera tools, so your photos look clean, cinematic and expensive
because right now, if you're relying
on "AUTO" mode using the wrong lenses or letting the phone
brighten everything, your photos are
never going to look the way they should
with this camera. Hi, it's Rose, mom, photographer,
Skillshare top teacher, and someone who
actually upgrades her iPhone mainly to teach you how to make
the most out of it. I've been shooting on
cameras for years, but I've also shot
entire classes, family trips, and meaningful
life moments on iPhones. In this class, you'll
learn the 1x, 2x, and 4x lenses
you should actually use, the upgraded portrait
mode nobody talks about, the low light engine that
blew my mind and the one tiny setting that instantly
elevates your photos. All simplified, all
beginner friendly, all real life examples. So if you want to finally unlock what your iPhone
17 Pro can really do and capture photos
that feel like memories, this class is for you. By the end, you'll capture
images that feel alive, moments that breathe
warmth, motion, and memory. Let's get started.
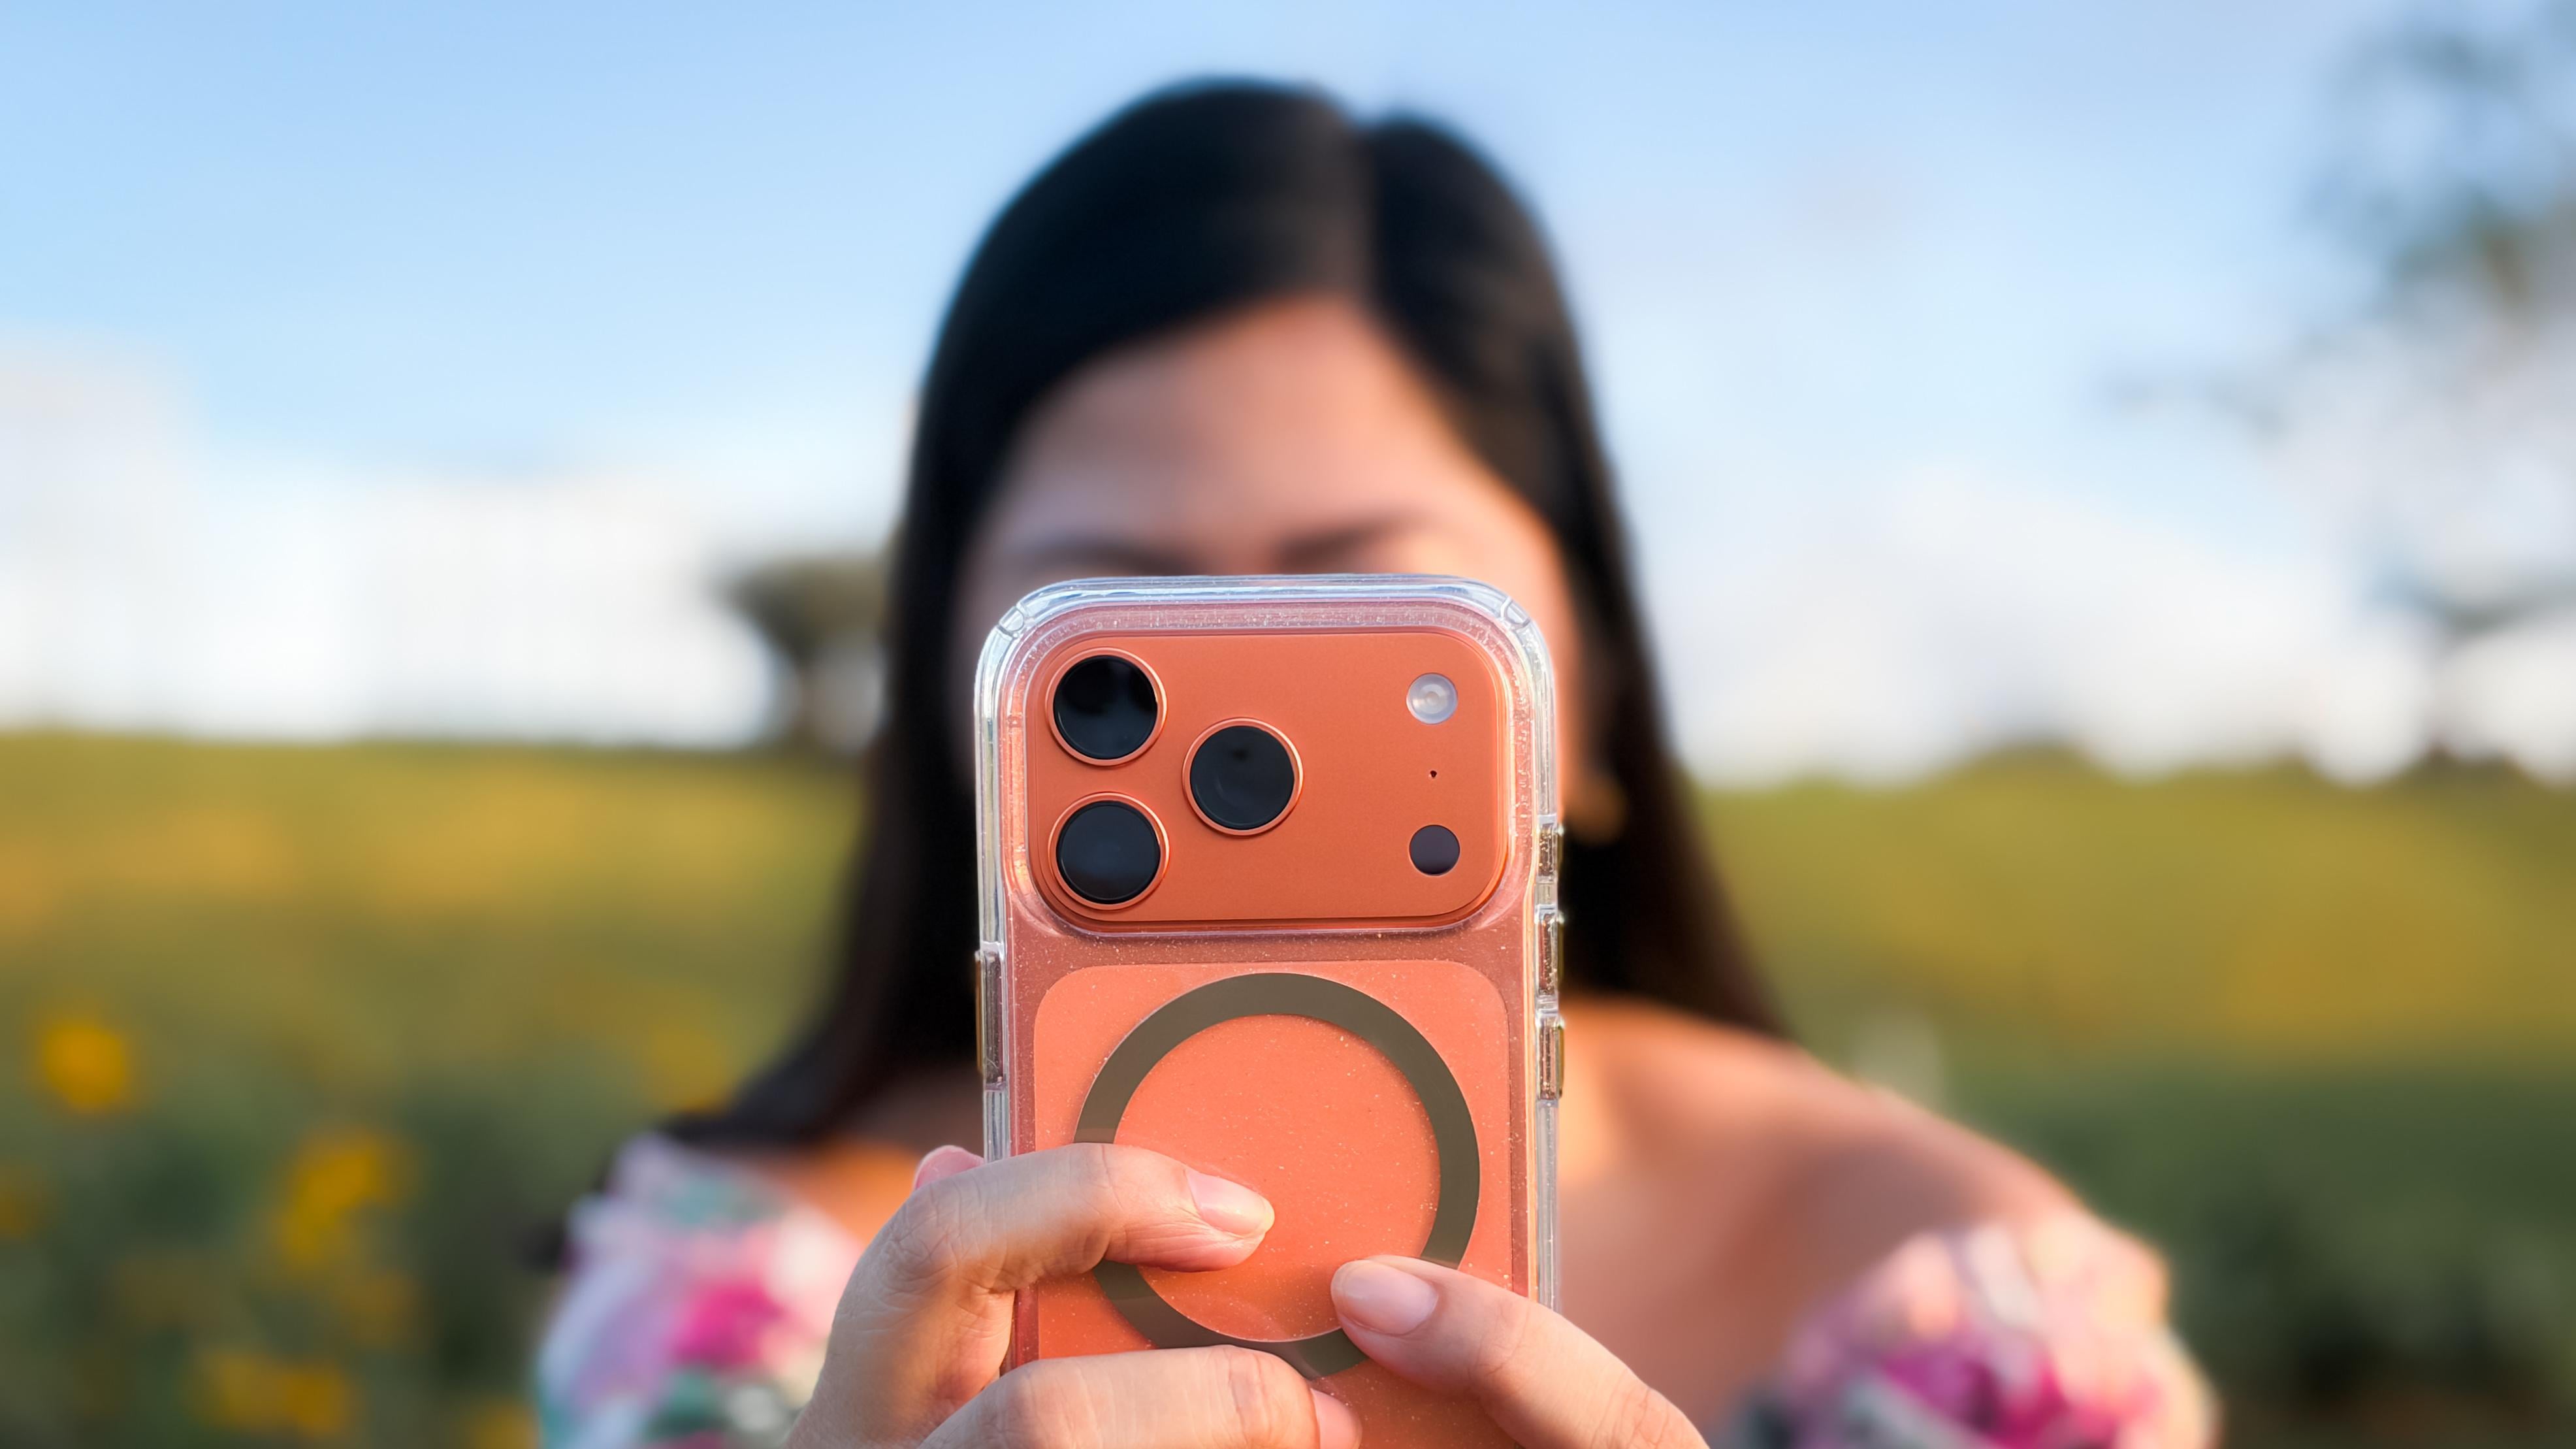
2. What’s New in the iPhone 17 Pro: Welcome to class. Before
we dive into lenses, low light, and all the fun stuff, I want to give you a quick
rundown of what's actually new on the iPhone 17 Pro
and why these upgrades matter for your
photography. Because here's the "tea"... A new iPhone isn't
just faster or brighter. It actually changes
how your photos look, how your camera behaves, and how you take
pictures every day. So let's quickly look at
the upgrades that matter, the ones you'll actually
feel in your photos. The iPhone 17 Pro main lens
got better noise control, cleaner shadows,
rich color accuracy, and a new image
processing engine. This means your photos, even everyday photos
like your kids playing, your morning routines,
your afternoon walk, finally look clean, natural
and soft, even indoors. This is the biggest quality
jump most people overlook. It's still a crop from the 48 megapixel
sensor, but Apple improved, especially the micro contrast,
skin tone rendering, depth mapping, and
color richness. This is why 2x looks editorial, cinematic,
and expensive. Don't worry because
we will break this down and I will teach
you how to use it properly because this lens is gold if you know how to
use it the right way. This is the upgrade
that really shocked me. The iPhone 17 Pro now gives
you warmer tones, less noise, cleaner blacks, more
natural shadows, and more realistic
skin at night. So, yes, no more overly bright,
yellowish night photos. Now, your low light shots
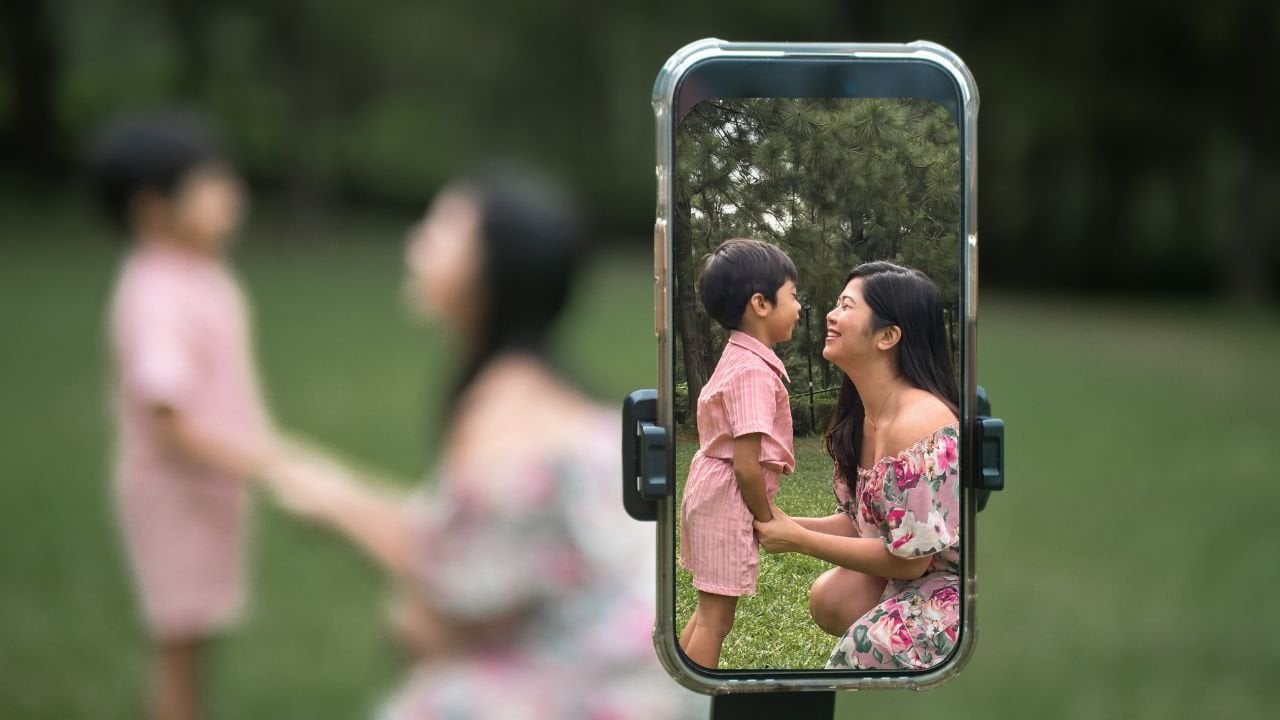
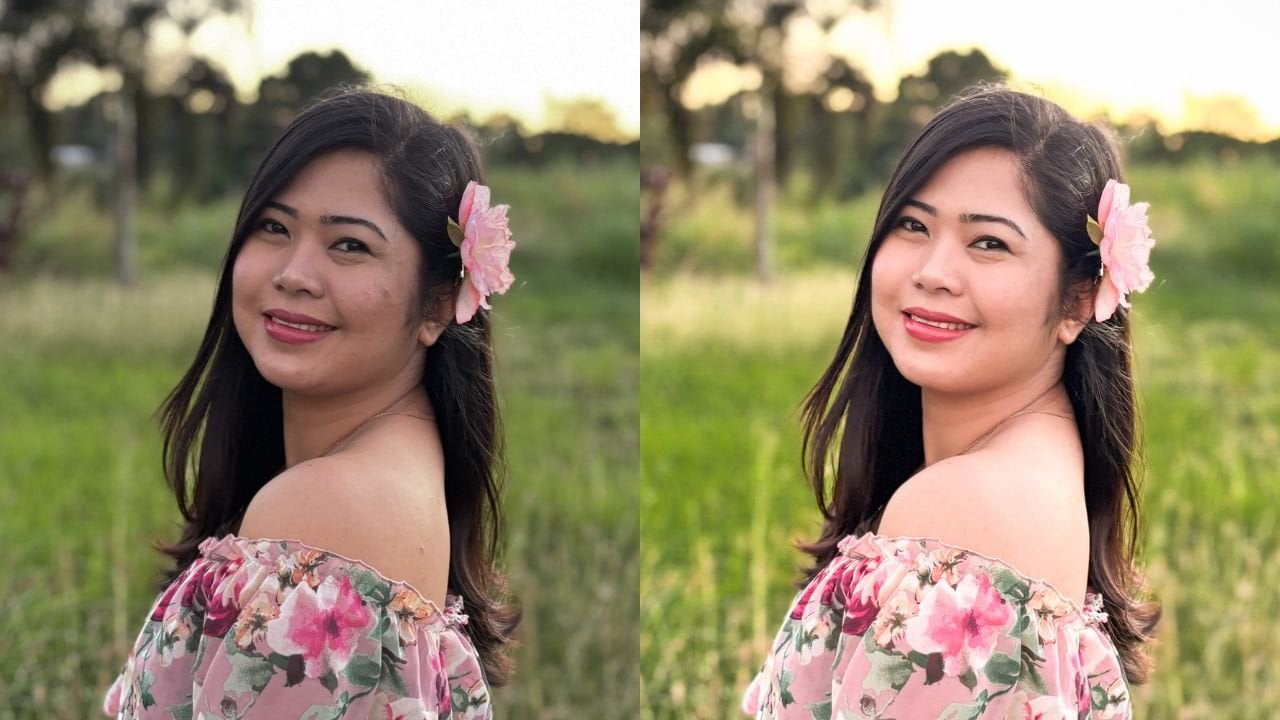
actually feel like the moment. The portrait engine
now has better hair edge separation,
natural blur, improved face lighting,
auto depth capture, even in normal photos, and tap to refocus
after shooting. With this upgrade, your
portraits stop looking AI blurry and start looking
soft, warm, and emotional. This new feature captures
movement like a dream, hair flying, fabric
moving, and kids running. We'll talk about
this in Lesson four, but it's basically
moving photography, perfect for memory keeping. Your photos finally look
cohesive across 1x, 2x, and 4x. Reds are not neon, skin tones stay soft, highlights roll off beautifully, and colors feel
cinematic, not crunchy. This matters so much for everyday and soulful
photography. The camera now chooses the
cleanest lens for the light. So your photos to better
without you even realizing it. But when you know how to
take control of the lenses, that's when your photos
start looking pro level. And that's exactly what we're
doing in the next lesson. So those are the upgrades that actually matter
for your photography. The ones that will change how your photos look starting today. And now that you
know what's new, let me show you the
most important thing. Which lenses to use
and which ones to avoid if you want
consistently clean, cinematic photos on
the iPhone 17 Pro. This next lesson alone is going to level you
up immediately. See you there.
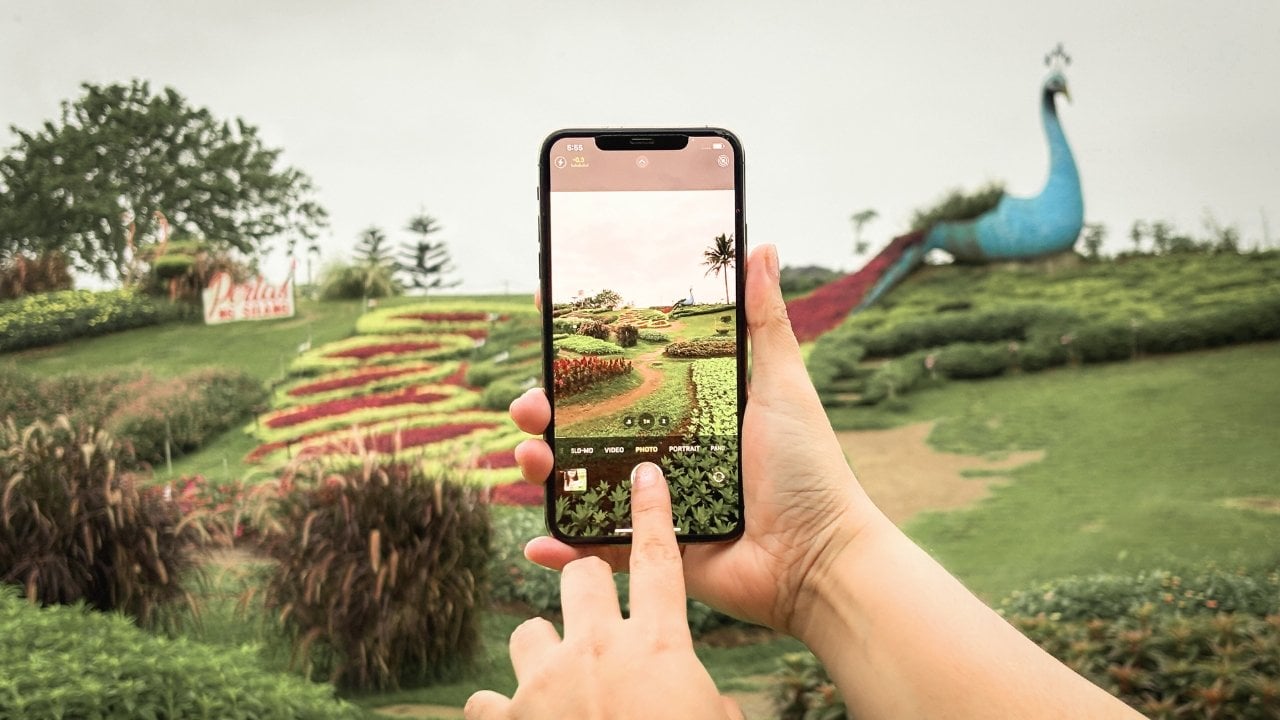
3. The 3 Lenses You Should Actually Use: In this lesson, we will
talk about lenses. The iPhone 17 Pro gives
you five options, 0.5x, 1x, 2x, 4x, and 8x. But most people don't realize
that only three of them are actually designed to give you consistently
beautiful photos. And today, I'll show you which
ones and when to use them. So you immediately stop fighting your camera and start getting
clean cinematic results. Now, let's start with a hero. This is the best lens
on the iPhone 17 Pro. It has the largest sensor,
the cleanest shadows, the most accurate colors, and the least grain,
especially indoors. Use this lens when you want
real honest everyday moments, your child running around, indoor lifestyle scenes,
low light shots, anything sentimental
or documentary. It captures life,
the way your eyes see it clean, natural
and emotional. If your photos often
look noisy or messy, switching back to 1x
usually fixes it instantly. Okay, this one shocked me. The 2x lens on
the iPhone 17 Pro is not a real telephoto lens. It's actually a crop from the center of the 48 megapixel sensor. But Apple perfected it this year. The 2x lens gives you natural background blur,
flattering face proportions, editorial level micro contrast, richer colors, and my favorite zero wide
angle distortion. This is the lens that makes
your photos look tighter, more cinematic, and
more intentional. So it's best to use it
for portraits, food, detail shots, flatlays, travel, and aesthetic
lifestyle moments. So if you ever look at
your photos and think, why does everyone else look expensive and mine look normal, it's probably because
they're using the 2x lens. The 4x lens can
look incredible, but only if you use
it intentionally. Here's the truth Apple
doesn't emphasize. 4x needs perfect
light to look clean. With that said, it's best to use it for outdoor
bright scenes, silhouettes, faraway details, minimal compositions
and storytelling shots. Avoid it if you're
in low light scenes, indoors, capturing fast
movement or portrait close up. Think of the 4x,
like a creative tool, not the lens you use every day. And here's a top tip. 8x is mostly digital zoom. It's not meant to be crisp, it's meant to be creative. Use it if you want dreamy grain, abstract shapes,
nostalgic vibes, or faraway shots with mood, but definitely not
if you want sharp, clean, high quality results. I know it's hard to keep
all of that in mind. But if you ever feel stuck, here's the easiest
way to remember it. Use 1x for real memories. Use 2x when you want
it to look expensive. Use 4x only when the light is perfect
and you want drama. That's it. These three
lenses will give you 90% of your best
iPhone 17 Pro photos. And once you nail lens choice, everything else becomes easier. Composing your shots,
finding good light, even editing becomes faster. In the next lesson,
we're going to look at the updated portrait mode and the new depth tricks
Apple added this year. Which honestly made me say, Wait, why does
this look so good? I'll see you in the next lesson.
4. Portrait Mode 2.0 + Hidden Depth Zones: Let's talk portrait mode on the iPhone 17 Pro,
because this year, Apple quietly upgraded
the Portrait engine, and the results look way
more natural than before. But they didn't really
explain how to use it. So let me show you
the few settings and distances that make the
biggest difference. One of the biggest changes
in the iPhone 17 Pro is that the camera can now capture depth data even when you're
not using Portrait Mode. That means if you take
a normal 1x or 2x photo of someone and
the phone detects a person, pet or object, you'll see a little F icon
appear afterward. Tap it and instant Portrait
Mode after the shot. This gives you way
more flexibility and fewer missed moments. Now, here's the thing
Apple never explains. Portrait Mode has sweet spots. If you shoot too
close or too far, the depth map gets confused. The magic happens at
1.2 to 1.8 meters, around four to six feet away. That's where hair edges look
sharper, blur looks natural, skin looks soft
without being smudgy and the background separation
feels like a real camera. However, if the distance between the camera subject is
less than 1 meter, you'll get distortion
and weird blur patches. If more than 2 meters, you lose depth completely. That's why this
one distance rule alone will level up your
portraits instantly. The 2x lens is not
a real telephoto, but the portrait
algorithm for 2x is now the best on
the iPhone 17 Pro. Why? Because 2x crops from the cleanest part of the 48 megapixel sensor. This means better
color, nicer depth, more flattering face shape, natural compression, and
no wide angle distortion. So I highly recommend using
it for almost all portraits. This one is wild. After
taking a portrait, you can now tap to change the subject or even shift
the focus completely. So if you accidentally tap the
wrong spot while shooting, you can fix it afterward
with one touch. It's like having a
tiny editing studio built right into your camera. For the best results, combine these three things. First, side light
or window light. Soft shadows equals
natural contours. Next, lower your
exposure slightly. This makes skin tones
warm and expensive. Third, is to keep the
background simple. Portrait blur works
best with separation. So these tiny tweaks make your portraits feel intentional, not artificial. And that's it. Portrait Mode 2.0 is simple once you know
how it behaves. Use the sweet spot distance, rely on 2x for
the aesthetic look, and don't be afraid to refocus afterward to play with the mood. In the next lesson, we're
jumping into one of my favorite upgrades
on the iPhone 17 Pro. 4k 120 slow motion, the setting that makes
everyday moments look dreamy and cinematic.
5. The Slow-Motion Upgrade: 4K120 & Why It Matters for Photography: I know this is a
photography class, but one of the
biggest upgrades on the iPhone 17 Pro
is a video feature, and I actually think it's one of the most important tools
for photographers too, because sometimes a photo
isn't enough, right? Sometimes the moment you want to capture is all
about movement. Hair flying, little footsteps, wind, water,
laughter, connection. The new 4k 120 slow motion lets you save that motion in
a way that still feels soft, cinematic, and
emotionally honest. Almost like a moving photograph. So don't just think of 4k 120 FPS as videography. Think of it as photos that move. Let me show you how it works. 4k 120 captures
120 frames per second, which means you slow it down. The movement looks silky and
dreamy without choppiness. But why photographers
should care? Well, because it captures emotion you'd miss
in a single frame. It makes everyday life look
cinematic and romantic. It's perfect for memory keeping, and it gives you moving
Broll for your photo albums, reels and travel stories. It's basically a hug
for your footage. But let's be real. When
should you use it? Use 4k 120 when the moment matters more
than the freeze frame. Like kids running, hair or fabric moving, hands
touching water, golden hour movement,
blowing bubbles, holding hands, quiet
moments of connection. It turns tiny memories into little films that feel magical. I know it's pretty
wild that we have a feature this beautiful
in a pocket sized device. But here's the catch. Slow
motion is very light hungry. Keep your footage
clean and dreamy, avoid using it in dim
indoor lighting, nighttime, lamp only situations,
dark rooms, because in low light,
you'll get mushy details, soft edges and lots of grain. But on the iPhone 17 Pro, give it strong daylight or soft golden hour light
and it's chef's kiss. Buttery cinematic and
absolutely magical. Here are the fastest ways to
elevate your slow motion. First is to shoot from the side. Side movement looks
smoother than front facing. Next, is to move slowly
with your subject. The phone stabilization plus
slow motion equals buttery. Third, is to lower
exposure slightly. Just like in photography, lowering exposure
makes everything look elegant and intentional. Fourth, is simple
backgrounds because movement stands out
more in clean spaces. Last but not the least, slow it to 50% or 40% after. Just enough dreaminess
without looking fake. The iPhone 17 Pro makes it possible to tell deeper
stories with your camera. Some moments are meant to be frozen. Some are meant to move. This new feature gives photographers a way
to capture both in the same storytelling style with the same device and the
same eye for beauty. Now that we've looked at the
moving side of photography, let's go into one of the
biggest upgrades this year, the new low Light engine, which completely changed
how I shoot at night. See you in the next lesson.
6. The Low-Light Upgrade: Low Light used to be the
iPhone's biggest weakness. The noise, the flat colors, the blur, the muddy
details. We've all seen it. But the 17 Pro changed this
in the most beautiful way. Here's proof. This was our night wind down
routine on the iPhone 15. And here's the exact same room and lighting on
the iPhone 17 Pro. The difference is
massive, right? Now, let me show you
how to get warm, cozy, cinematic night shots
with zero extra lighting. The iPhone 17 Pro quietly
got cleaner shadows, warmer tones, better
noise reduction, more natural contrast,
more realistic skin tones, smarter night mode timing, and deeper blacks that
don't crush detail. It doesn't try to brighten the
scene unnaturally anymore. It preserves the
mood of the moment. The 1x lens has
the biggest sensor, so it performs the
best at night. So use it for lamplit scenes, cozy indoor corners,
restaurants, nighttime family moments, quiet
routines and reflections. It gives you that natural
documentary look, the way the moment felt. The 2x lens actually performs really well indoors,
even in low light. So you can use it
for warm portraits, hands holding a cup, details like food, books, textures, cozy corners
with light source nearby because it gives you that elegant, intimate,
expensive look. For low light shots, avoid these if you
want clean results. 4x in low light because it's noisy, mushy and unstable. Next is shooting in
the dark without any light source because
the phone will over process. Lamp directly
behind your subject because you will get weird
flare and loss of detail. And most importantly,
avoid moving subjects in very low light
because it will be blurry. My top tip is to stick to soft, warm nearby light
sources like lamps, windows, candles, street lights, and let the iPhone 17
Pro breathe a little. Low light teaches patience. It's about learning to trust your eyes can't fully see yet, but your heart remembers. Sometimes the most
meaningful photos are taken when the
world is quiet, when the light is softer, and when the moment feels
too delicate to interrupt. The iPhone 17 Pro finally lets us preserve those
memories beautifully. Now that you know how to use the upgraded low light system, you're ready for my favorite
part of the entire class. The one simple camera
setting that instantly makes your everyday
photos extra beautiful. See you in the next lesson.
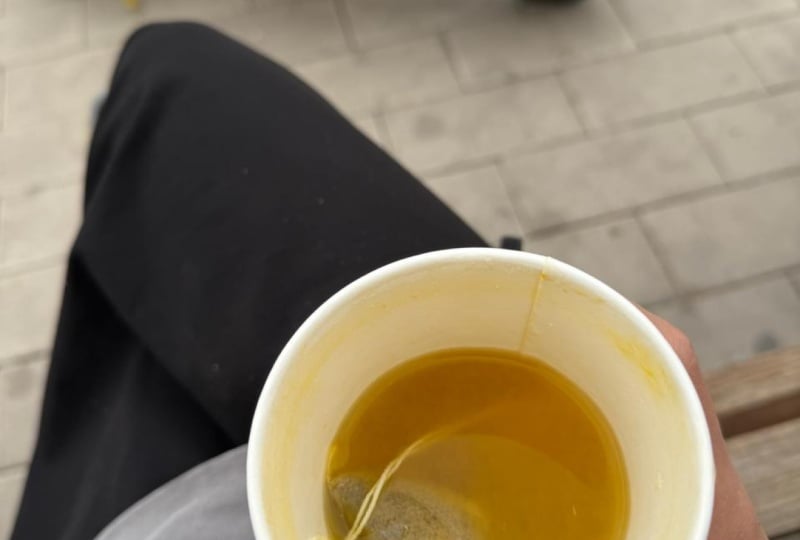
7. The ONE Setting That Makes Everyday Photos Look Expensive: You are about to
learn the one setting I use in almost
every single photo. The trick that makes your
everyday shots look cinematic, intentional and expensive,
even if you're just photographing your coffee or your kid drawing on the floor. The best part is it
takes 1 second to do. So here's how it works. Tap to focus, drag the little
Sun icon down slightly. And then, shoot,
that's literally it. What this does is
protects your highlights add depth and mood,
makes colors richer, improves skin tones,
creates natural contrast, hides messy backgrounds,
and instantly removes that "phone-ish" brightness. It gives your photo a quiet, professional look the
kind you normally see in editorial magazines or
Instagram creators you admire. The iPhone 17 Pro has a new processing engine that loves brightening
everything. Apple wants your
images to look crisp, but that often means washed out highlights and flat colors. Lowering the exposure
tells the camera. No, no, keep it real, keep it soft, keep the
tones warm and beautiful. This tiny adjustment give you film vibes without any editing. Here's when to avoid
lowering exposure. First is if you're shooting fast movement or if the
light is already very dim, or you want bright, airy photos. Lowering exposure is really
just about slowing down. It's like choosing to
see the moment softly, the way it actually felt. Not the way the camera
tries to brighten it. Your photos become less about perfection and more
about presence. And that's your 1 second trick. Simple, powerful, and
so transformative. Now let's wrap everything up
with a quick class project where you'll get to
try these new tools in a fun and easy way.
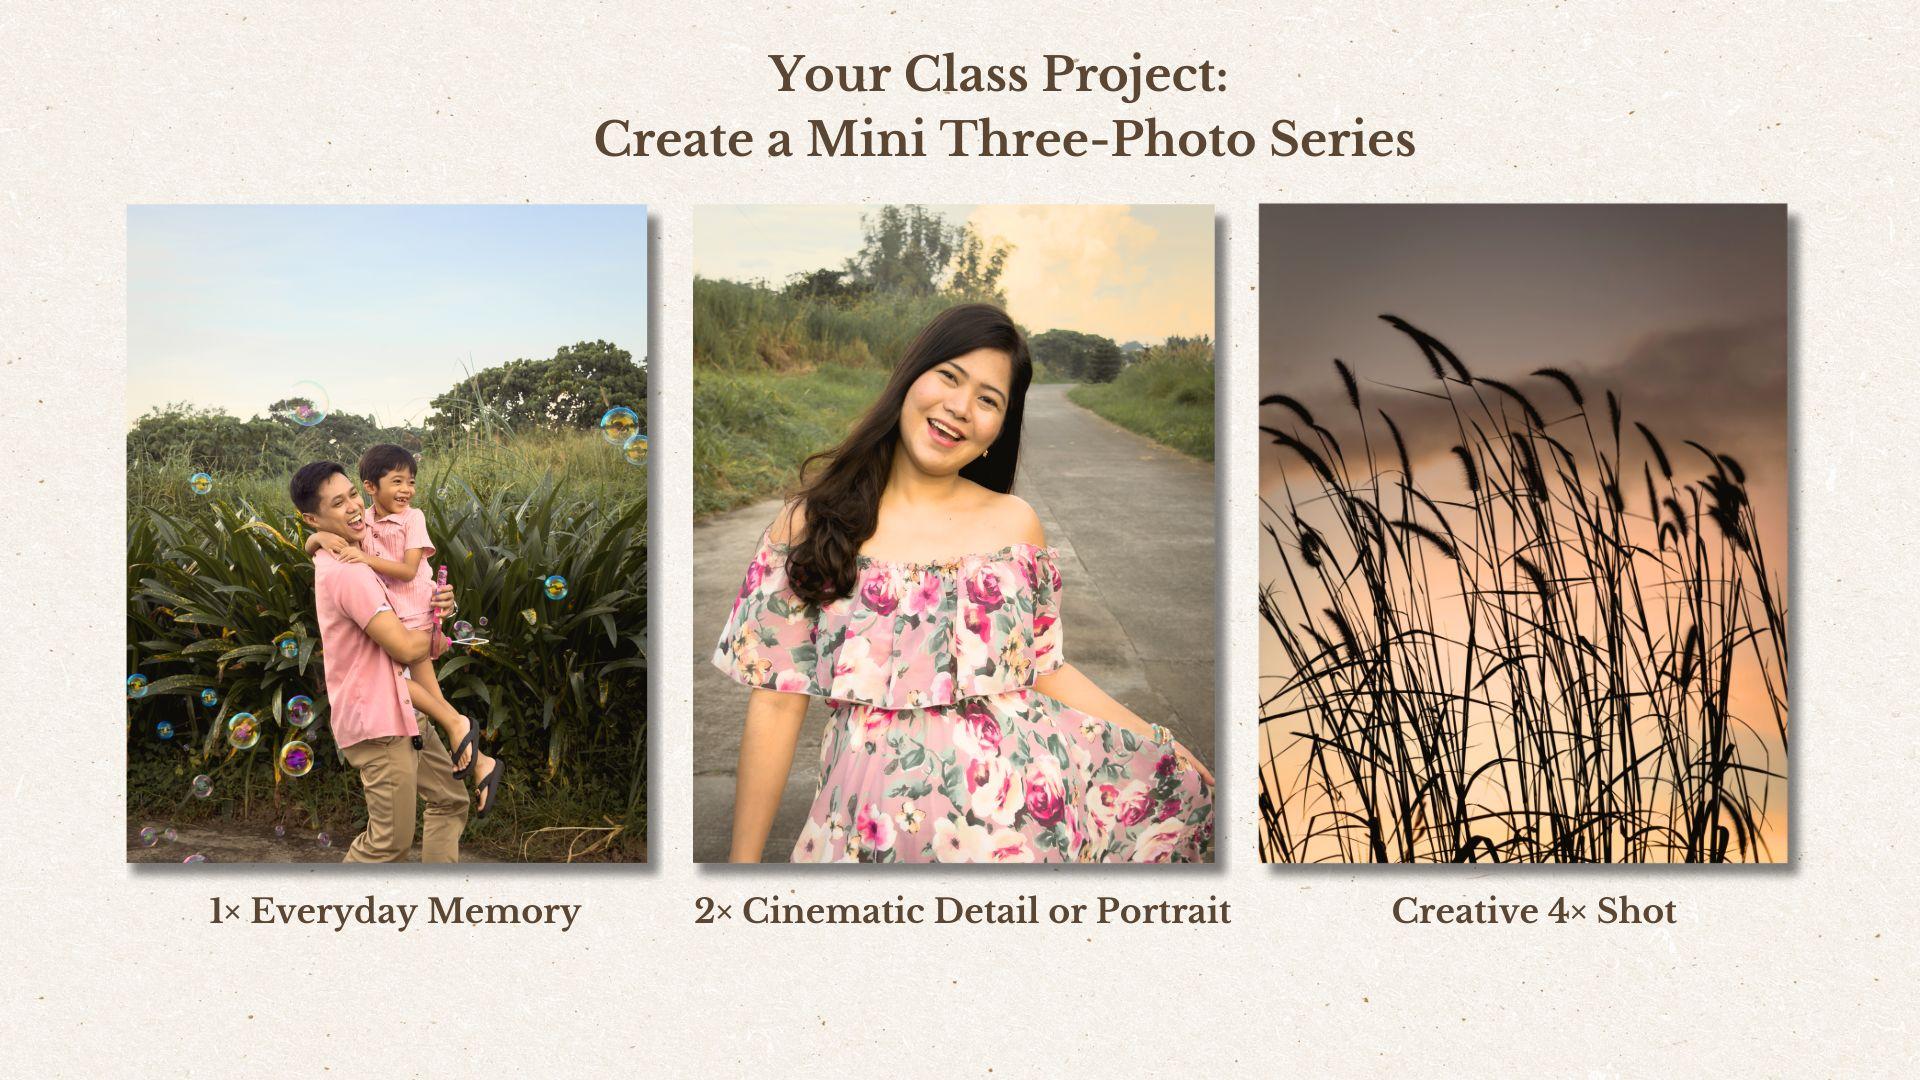
8. Your Class Project : Now that you've learned
all the new features on the iPhone 17 Pro, it's time for you
to play with them. For your class project, you'll create a mini
three photo series using the upgraded lenses.
Don't overthink it. Just explore, have fun and capture moments from
your everyday life. Here's your challenge. First,
a 1x everyday memory. Use the clean, sharp main lens
to capture something real, a quiet moment from your
day, your workspace, your pet, your child, your partner or something
that made you smile. Let this one feel
honest and documentary. Next is a 2x cinematic
detail or portrait. Use the upgraded 2x lens
to photograph a detail, your coffee cup, a book, your favorite meal, or a
portrait of someone you love. This lens give you that
expensive aesthetic look, so lean into it. Try lowering the exposure a little for those
warm, elegant tones. Third is a creative 4x shot. Look for strong light, shadows, silhouettes, reflections
or something far away that tells a story. This one doesn't
have to be perfect. It just needs to
feel interesting. Once you've taken
your three photos, upload them to the
project section. Tell me which lens surprised
you the most and why. I'd really love to
see what you create. This project is simple, but it's also a powerful way to understand the strengths of your iPhone 17 Pro and build your confidence
as a photographer. I'm so excited to see
your three photos story. Let's wrap up this class
together in the next lesson.
9. Final Thoughts: And that's it. You
made it to the end of this short iPhone 17
Pro photography class. I hope you're walking away
feeling more confident, more inspired, and
a little more in control of what this tiny
camera can actually do. The iPhone 17 Pro has so many new tools hidden
beneath the surface. And now you know
how to use the ones that really matter From the cleaner 1x lens to the cinematic 2x to the
dreamy slow motion, and those cozy low
light upgrades. You are now ready to
capture moments the way they feel, not
just how they look. Thank you so much for
spending your time with me. If you enjoy this class
and want to dive deeper into storytelling,
composition, lighting, and creating photos that
feel magical and meaningful, my full iPhone
photography masterclass is right here on Skillshare,
waiting for you. That's where we take
these technical tools and turn them into
beautiful stories. But for now, I am really,
really proud of you. Don't forget to upload your three photo mini
series because I'm genuinely excited to see what you create with
your iPhone 17 Pro. And if this class help you a quick review
would mean the world. It helps other students
find a class and supports me so I can keep
creating more lessons for you. Thank you again for being here. Go capture something
beautiful today, and I'll see you
in the next one.
 Rose Nene, Photographer & Videographer