Transcripts
1. Introduction: Hi there. Welcome to
introduction to natural dyeing. If you've been curious to learn about the process
of natural dyeing, but maybe felt it
was a little bit daunting to take on,
you're in the right place. The process of natural dyeing involves a little
bit of chemistry, a little bit of math,
and a lot of magic. Hi there. I'm Julie Rae. I'm a textile artist based
in Portland, Oregon. I've always been an
artist at heart. I began dyeing my
own fabric in 2023, mostly out of curiosity, but I loved the
process so much that today I work exclusively
with plant dyed fabric. With this course, I
really wanted to create a comprehensive
resource that shares everything I've learned about natural dyeing over the years. My intention with this course
is to walk you through each step of the process and break it down
one step at a time. Natural dyeing is the
ancient practice of extracting colors from natural
elements such as plants, insects, fungi, and minerals, and using that to color cloth. The earliest known records
of natural dyeing date back to China in 2,600 BCE, and evidence of humans using natural dye techniques can
be found all over the world. Natural dyeing is an
involved multi step process that requires time,
patience, and attention. The results can
sometimes be a little unpredictable. So why bother? After all, it'd be so
much easier to go down to the local fabric shop and
buy some yardage, right? Since I've started working
with natural dyes, I can honestly say
I'll never go back to purchasing
synthetically dyed fabric, no matter how much
more convenient it is. Here's a few reasons why I'm committed to the process
of natural dyeing. First of all, natural dyeing
connects us to nature. Since I've started dyeing
my fabric naturally, I notice myself paying a lot more attention to
the plants in my areas, learning about their
properties and benefits and observing
their life cycles. The soft, muted,
earthy color tones that come from natural
dye fabric create a depth and texture that I have not seen replicated in
synthetically dyed fabric. The process of natural dyeing
invites us to slow down. Being involved in the
slow process of dying requires patience,
attention, and intimacy. As our world becomes increasingly
automated and cerebral, I believe that our bodies
crave this slowness. Finally, the process
of natural dyeing is kinder to the Earth
and her resources. The process of
commercially dying fabric has a harmful impact
on the environment, most notably, in the release of toxic chemicals into
the wastewater system. With natural dyeing, I can
rest assured that nothing harmful is being used
in the dye process. It's a small yet
meaningful way to both honor and care for the
Earth and her resources. I'm so excited that
you've decided to join me on this journey
of natural dyeing. It's truly a magical practice, and I hope that it brings you as much joy as it's brought me.
2. Class Project: This class will walk you through the process
of natural dyeing. For the class project, you'll be dyeing a piece of fabric using a dye
stuff of your choice. Once you've dyed your fabric, take a photo and upload it
to the project section, sharing with us what
you used to dye your fabric and what you
learned along the way. The next lesson will provide a broad overview of the
process of natural dyeing.
3. Overview of the Natural Dye Process: This lesson will provide a big picture overview of the entire process
of natural dying. There's a lot of steps. Don't let yourself
get overwhelmed. In future lessons,
we'll be going into much greater detail
about each step. The process of natural
dyeing consists of four primary steps scouring, mordanting, dying the fabric, and then finishing
with the final rinse. Let's take a closer look
at each of these steps. Scouring is the process of cleaning the fibers
to remove any dirt, wax, and other
impurities that may be present from the
manufacturing process. This step is very important, as it helps ensure an even
application of the dye. The second step in the dye
process is mordenting. Most dyes won't
naturally bind to fiber, especially with
plant based fibers, which are known as
cellulose fibers, such as cotton or linen. The mordenting step prepares
the fabric to receive the dye and acts as a liaison between the dye
molecules and the fiber. There are various methods for mordanting cellulose fibers, but the process I use
consists of two steps. First, immersing the
fabric in a tannin bath, followed by a bath of
metal salts, usually alum. Proper mordenting is very
important to make sure the color is permanent and
to ensure color fastness. That is to prevent the color
from fading or washing away. Once fabric has been mordented,
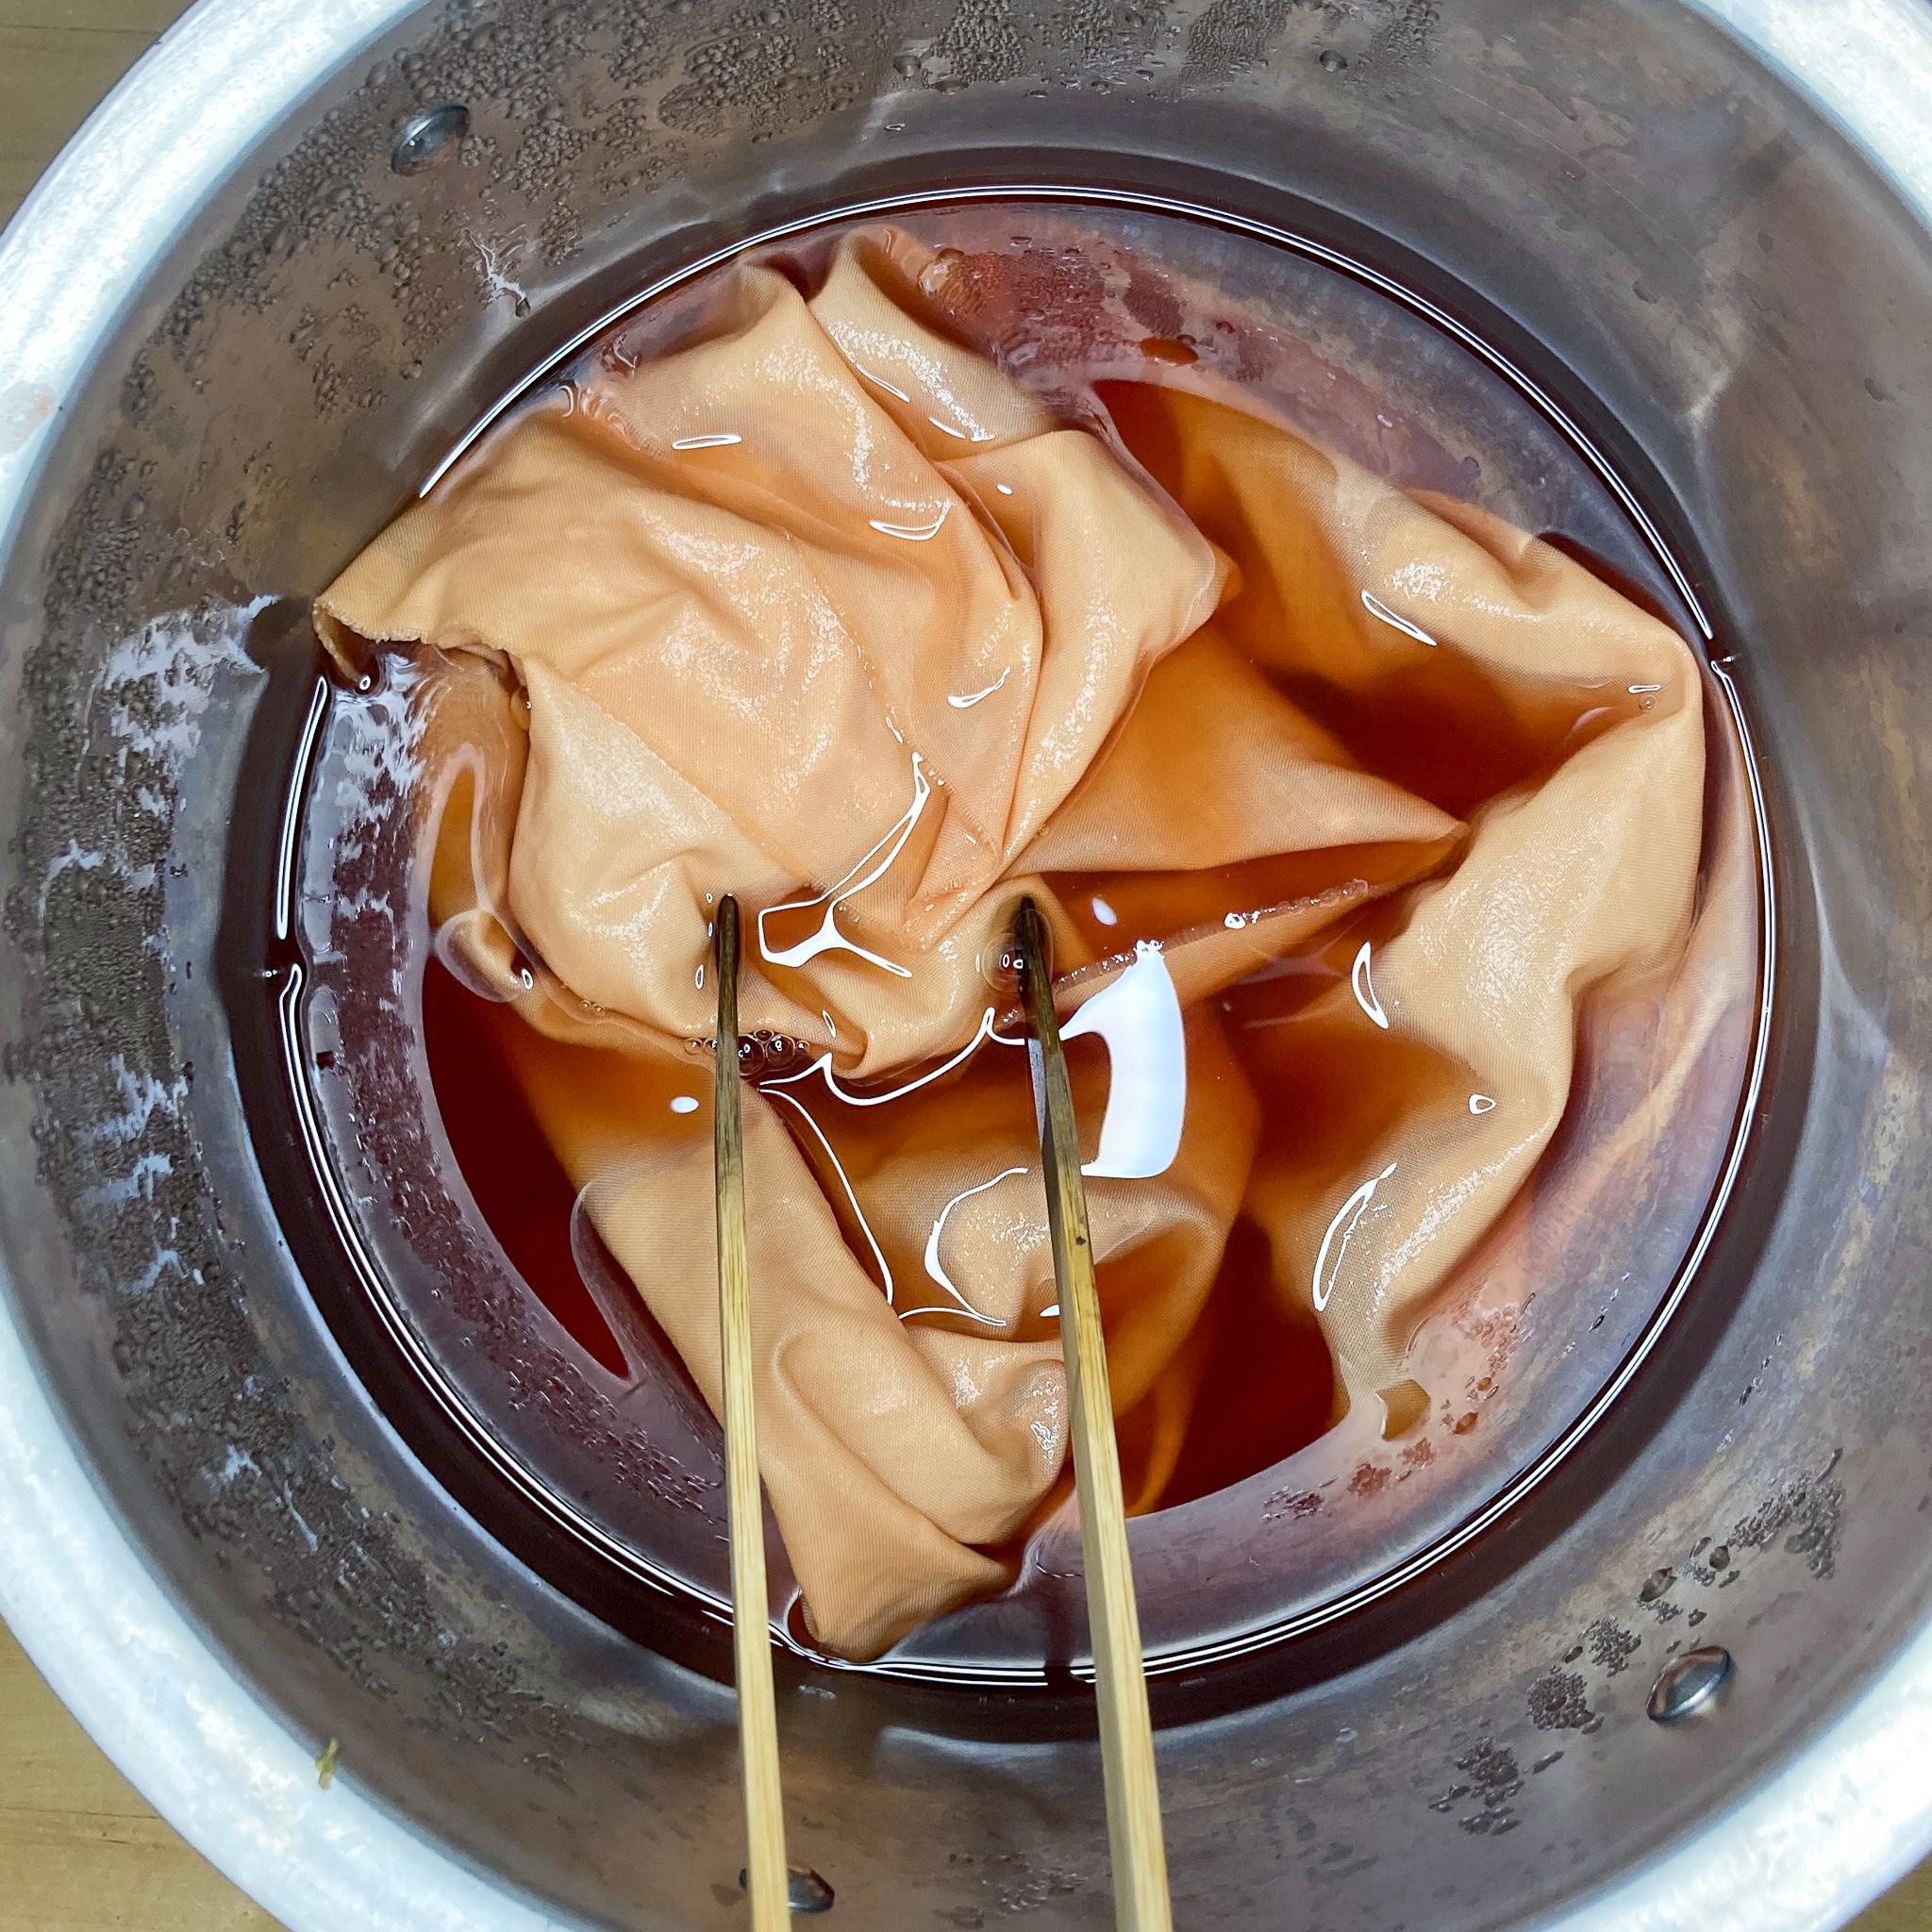
it's ready for dyeing. Once the dye has been extracted from whatever material
you're using, the prepared fabric is
immersed in the pot with the extracted dye
and enough water to allow the fabric
space to float freely. Generally, the dye
bath is heated and the fabric is simmered
for about an hour. Finally, the fabric is let to sit for a week or
two to let it cure. After that, I generally
wash my fabric with a pH neutral
detergent and rinse it thoroughly to ensure that all the unattached dye is removed and to prevent
the color from bleeding. Let's go over a few
important terms related to natural dyeing that I'll be using
throughout this course. Dye stuff refers to the material
that's used for dyeing. Different examples of dye stuff include roots, flowers, leaves, bark, or any other
materials that you either gather or purchase to
use to color your fabric. Throughout the course,
I'll also be referring to the concept of
color fastness. Is the extent to
which a material is resistant to fading from
light exposure or washing. The process that I use and the dye stuff that I
offer as examples in this course help to ensure color that's permanent and
won't easily fade away. Another important concept that I'll talk about a
little bit more in depth in a future lesson is
that of weight of fiber, generally abbreviated as WF. In natural dyeing, you'll
use the weight of fiber, which is generally measured in grams to determine
the quantities of dye stuff and other materials that we use in the
natural dye process. I hope you find this
overview useful. As I said earlier, don't let
yourself become overwhelmed. We'll take this together
one step at a time. In the next lesson,
I'll talk about some of the materials and supplies
you'll need for natural dying.
4. Materials & Supplies: Here are some of the
essential supplies you'll need for your dye studio. First of all, you'll need
some stainless steel pots. It's important that these are stainless steel and not
aluminum or cast iron, as these other metals will have an impact on the
color of the dye. The size of your pot will depend on how much fabric
you'd like to dye. Ideally, you'll
want a pot that's large enough so that once
it's filled with water, the fabric has enough space to float freely. You'll
need a heat source. This can be your stove
top or a hot plate. You'll want some
stainless steel or wooden spoons for mixing
the fabric in your dye. You'll need some
measuring spoons, a digital scale that
measures grams. You'll need some small jars or bowls for measuring
out dye materials, and two or 35 gallon buckets. You can generally get these
in any hardware store. A few other items you might
want to have on hand, include a chef's thermometer if you'd like to track the
temperature of your dye pot, some rubber gloves to
protect your hands, and a large stainless
steel strainer for straining out
whole dye stuffs. I also recommend a mask, especially when we're
working with fine powders. These next two
items are optional, but they're ones I use a lot. The first is a bucket heater. This works like a sou vid and is irsed into a bucket and
used to reheat the water. I use this for reheating
my mordant baths. It's also helpful to
have a water kettle if you need to top off a
bucket with some hot water. As a note, for pots, pans, spoons and
measuring supplies, I highly recommend keeping
the tools that you use for dyeing separate from the pots and pans
you use for cooking. This will help avoid
cross contamination. While, all the
materials we work with in natural dyeing
come from nature. They're not all safe
for human consumption. So have a dedicated set of tools that you use exclusively
for natural dyeing, just to be on the safe side. I've purchased almost all of my dye studio tools secondhand from garage
sales and thrift shops. See what options you have in your area for buying secondhand. Here are some of the materials
that you need for dyeing. Many of these might
be unfamiliar, and I can guide you to some online shops where
you can find these. First of all, you need
a dyers detergent. My preferred brand is synthropl, but any pH neutral
soap will work. You'll also need some soda ash, which is also known
as sodium carbonate. You'll need a source of tannin. We'll talk more
about options for tannins in the mordanting stage. You'll need alum,
which is also known as potassium aluminum sulfate. You'll need your dye stuff. This might be flowers from your garden or an extract
that you purchase online. You'll need cellulose fabric, such as cotton, linen or hemp. And there are some other
optional materials I'll talk about in the discussion
of modifying color. The one that I use the most is iron in the form of
ferrous sulfate. Three online natural
dye suppliers that I've used are listed here. Dharma Trading Company
and Botanical Colors are both based in
the United States, and Maiwa is based in
Vancouver BC in Canada. That was a lot. If you're feeling overwhelmed,
take a deep breath. You don't need to gather
these things all at once. I'll be covering the
process one step at a time, so feel free to gather
materials as you go. The next lesson, we'll
talk about fabric.
5. All About Fabric: Oh so let's talk a
little bit about fabric. The kind of fabric
you use matters. The natural dye process will
only work on natural fibers. Natural dyes will not
bind to synthetic fibers, such as polyester,
nylon or acrylic. Natural fibers fall
into two categories, cellulose fiber
and animal fiber. Animal fibers, as
the name suggests, are fibers that come
from animal sources, such as wool alpaca, and silk. Cellulose fibers are those
derived from plant sources, and these include
cotton, linen and hemp. Because the underlying
molecular structure of cellulose fibers and
animal fibers are different, they require slightly
different processes to prepare the fabric
for natural dyeing. I work almost exclusively
with cellulose fibers, and so that's what I'll be
covering in this course. If you're planning to dye wool, silk or another
animal based fiber, just know that the
process I describe in this class won't
necessarily work. Feel free to reach out and
I'd be happy to connect you with resources for dyeing
these kinds of fabrics. An important concept
in natural dyeing is that of weight of fiber, which is a number generally
represented in grams, measuring how much
your fabric weighs. Let's calculate the
weight of fiber of some fabric and see how we use this number to determine
the quantities of the dye materials we'll be
using throughout the process. To make these first
calculations easier, let's say I have a piece of
fabric that weighs 100 grams. This is the weight
of fabric or WOF. Let's say my dye
recipe calls for 10% weight of
fabric of gall nut. In order to calculate the
amount of gall nut I need, I'll take 10% of my
weight of fiber. We've already determined
that my weight of fiber is 100 grams. 10% of 100 is ten. Therefore, I would need to
measure 10 grams of gall nut. Now, the weight of
fabric isn't always a nice round number like 100. So let's look at
another example. In this case, I have
a piece of fabric that weighs 327 grams. The recipe I'm using calls for 15% weight of fiber of alum. Alum is what we'll be
using as a mordant. In order to calculate the
amount of alum I'll need, I'll take 15% of 327. This is where a calculator
comes in handy. 15% of 327 or 0.15
times 327 is 49.05. I'll generally round to
the nearest whole number. So in this case, I would
need 49 grams of alum. Once you've recorded
your weight of fiber, go ahead and make a note
of this number somewhere. You could write it on
a piece of paper or a sticky note or even write it in the salvage
of your fabric. In the next lesson,
we'll talk about the first step in the natural dye process, which is scouring.
6. Step 1: Scouring: The first step in the process of natural dyeing is scouring. Scouring is the process
of deeply cleaning the fabric to remove any
impurities such as dirt, oils or waxes that are leftover from the
manufacturing process. While this step is a little bit unglamorous, it is essential. Unscoured fabric will
yield uneven results, and it will prevent the dye from penetrating and bonding
with the fiber. As a note, there is a kind
of fabric you can buy that's generally labeled as ready to
dye or prepared for dyeing. This is sometimes
abbreviated as PFD. This fabric has been
processed without the use of oils or waxes and, in theory, should be ready to
dye without scouring first. I've purchased and used PFD fabric before,
and it works great. I would still recommend
running it through a hot water cycle in
your washing machine to make sure it's good to go. Here are the materials and supplies you'll
need for scouring. First, you'll, of course,
need your fabric. You'll want to make sure
it's cellulose fabric, which is fabric derived from plants such as cotton,
linen or hemp. You'll need a large
stainless steel pot. You'll need a scale
that measures grams. You'll need some
measuring spoons. You'll need a large
mixing spoon. The mixing spoon could be
wood or stainless steel. You'll need a heat
source such as a stovetop or a hot plate. You'll need synthropl or some other pH neutral
dyers detergent, and you'll need soda ash, which is also known
as sodium carbonate. The first step, if you
haven't done this already, is to weigh your fabric. Make sure your fabric is
dry when you weigh it. You'll use the
weight of fabric to determine measurements
throughout the dye process. So be sure to make a note
of this number somewhere. The recipe for scouring
is as follows. You'll need 1%
weight of fabric of synthropl or whatever dyers
detergent you're using, and 2% weight of
fabric of soda ash. Next, weigh the amount of synthropl and soda ash you'll need based on
the weight of fiber. My fabric weighs 327 grams. According to the formula above, I'll need about 3 grams of
synthropal which is 1% of 327. I'll need six to 7
grams of soda ash, which is 2% of 327. As a note, my scale only
displays grams in whole units, so I'll generally round up
or down to the nearest gram. Next, fill your pot
with warm water and mix the measured out synthropol
and soda ash to dissolve it. You will need enough water
to be able to completely submerge your fibers and
allow them to move freely. This will ensure
the solution can access every part of the fabric. Once your pot is full, add
your fabric to the pot. Be sure to open up the
fabric and shake it out, especially if it's been folded. Agitate the fabric a few times
to ensure it is completely submerged and that it has space to float
freely in the water. Next, place the pot on low heat and simmer
for about an hour, agitating the fabric
occasionally. Be sure to keep the fabric
completely submerged. Avoid letting the water
come to a hard boil. This attention will help
ensure the fabric is scoured evenly and that the cleaning solution can
access every part. After about an hour, turn
off the heat and allow the fibers to cool in the pot over the next several hours. So once your fabric is finished scouring and the
pot has cooled off, you can remove your fabric and give it a good rinse
in a bucket of clean water or run it through a rinse cycle in
your washing machine. At this point, you can hang it to dry and store
it for later use, or you can proceed directly
to the mordanting step, which we'll talk about
in the next lesson.
7. Step 2: Mordanting: In the previous lesson, we scoured our fabric, so it should be clean
and ready to go, and we're now ready to move
on to the mordentin step. A mordint is an
inorgatic material, generally a metal salt that is used to bind the
dye to the fiber. You can think about the
mordent as a liaison between the dye molecule
and the fiber molecule, creating a permanent bond that will not easily
fade or wash away. There are various methods of
mordenting cellulose fabric. In this lesson,
I'm going to share with you the process that I use. I find that it yields really rich colors and creates
really color fast results. Mordenting my fabric, I generally follow a
two step process. First, fabric is immersed
in a tannin bath, and secondly, it's immersed
in a alum and soda ash bath. To mordent your fabric, here are some things
that you'll need. First, you'll need
your cellulose fabric that you scoured in
the previous lesson. You'll also need
25 gallon buckets, a scale that measures grams, measuring spoons,
a mixing spoon, a source of tannin. I'll talk about some
different options for these momentarily. Alum, which is also known as
aluminum potassium sulfate, soda ash, which you
should have on hand from the scouring stage
and hot tap water. Let's talk a little
bit about tannins. The molecular structure
of plant based fabric, such as cotton and linen, do not readily accept dyes. Immersing fabrics in a
tannin bath prior to the mordinting step greatly increases the color
fastness of the dye. There are many sources
for tannins and lots of fun ways to use tannins to
achieve different effects. Depending on the type of tannin, it can give an undertone
to the fabric, which will in turn influence
the final color result. For the sake of simplicity, I'll share the three main
sources of tannin that I use. I like to think about tannons in three different categories, clear tannons, yellow
tannons and dark tannins. Clear tannins will give
the purest results, letting the true color
of the dye show through. My primary source for
clear tannin is gall nut. Galnut actually comes
from the oak tree. When a wasp lays an
egg in the oak tree, the tree will form a
tissue around this, which is known as a gall nut. It is very rich in tannin and an excellent source for
this step in the process. Yellow tannins will provide
a slight yellow undertone. Depending on the final
color you want to achieve, this may be one worth
experimenting with. I like to use Mrabllin
as a yellow tannin. Myrabllin are the ground nuts of a species of tree that's endemic to South
and Southeast Asia. Be able to find this for
most natural dye suppliers. The third category of tannins are referred to as dark tannins. And these can be used
if you'd like to achieve a deeper,
richer, final color. The source that I most commonly use for dark
tannins is chestnut, which I generally
purchase ground. So to mordent fabric, I
follow a two step process. First, immersing the
fabric in a tannin bath and then in a solution
of alum and soda ash. As you can see, this
mordint recipe offers a range of percentages for
both tannins and alum. The amount I use depends
on a variety of factors, including the type of
tannin I'm using and how much tannin is present
in the dye that I'm using. For the purposes of this course, I plan to use galnut for the tannin at 10%
weight of fabric, and I plan to use alum
at 15% weight of fabric. If you don't have
the weight of fabric recorded from the
scouring lesson, be sure to weigh your dry
fabric before proceeding. If you allow your fabric
to dry after scouring, the fabric will need to
be completely wetted out. That is, completely
saturated with water before adding it
to the tan and bath. Immerse the fabric in water and let it soak for
about 30 minutes. You can add a drop of
pH neutral dish soap to break the surface tension of the water and aid in absorption. If the fabric is not
completely wetted out, it will lead to
uneven mordanting and this will impact
the dye results. Next, measure out your tannin. As I mentioned,
for this example, I'm using gallnut which is a clear tannin and will allow us to see the
pure color of the dye. For this example, I'm measuring my tannin at 10%
weight of fabric. As I calculated earlier, my weight of fabric
is 327 grams. And therefore, I'll need
about 33 grams of gall nut. Next, take one of your five gallon buckets and
fill it with hot tap water, mixing in the tannin until
it's completely dissolved. It's important to note
that tannins can become damaged when exposed to
very high temperatures. You want to be careful
not to heat the water above 120 degrees Fahrenheit. Hot water from your tap is generally about the
right temperature. Once your bucket is filled, add your wetted out
fabric to the bucket. Be sure to open up the
fabric and shake it out before adding it in order
to eliminate any folds. Agitate the fabric a few times
to ensure it is completely submerged and to make sure it has enough space to
float freely in the water. While tannins aren't harmful, they can dry out your skin. So feel free to use gloves
or a spoon for this step. Once your fabric has been completely submerged
in the tannin bath, place a lid on the bucket
to help it retain heat. Leave it to soak
anywhere 6-24 hours. I'll generally
leave it overnight. Stir the fabric in the
tannin bath occasionally to help ensure the tannin can access every part of the fabric. Now I'm going to prepare
the alum and soda ash bath. I'll measure out the
alum at 15% weight of fabric and the soda ash
at 2% weight of fabric. According to my calculations, I'll need about
49 grams of alum. And about six to 7
grams of soda ash. So to prepare the alum
soda ash solution, I'm going to fill my
second five gallon bucket, about two thirds of the way
full with hot tap water. I'll add the alum. And then the soda ash mixing to
completely dissolve. Then I'm going to top off the bucket with water
just off the boil, bringing the solution
to a temperature of around 170 degrees Fahrenheit. You'll notice that
the water appears quite cloudy. This
is very normal. Once my alum soda ash
solution is prepared, I'm ready to
transfer the fabric. So I'm going to remove
the fabric from my tannin bath and squeeze to ring out any
of the excess water. I've prepared a
second bucket with clean water to give
it a gentle rinse. Then I'll wring it
out and place it directly into the alum
and soda ash bath. The tannin is not permanently
attached to the fabric yet, and you don't want
it to wash away. For this reason, don't rinse the fabric too vigorously
after the tannin bath. Additionally, you don't want
to let your fabric dry after the tannin bath
because you could lose too much tannin when
wetting it out again. Once the fabric has
been transferred, I'll cover the bucket to
help it retain the heat. And again, let it sit
for anywhere 6-24 hours, making sure the fabric
remains completely submerged and giving it a
gentle mix now and then. Okay, so my fabric
has been sitting in the alum soda ash solution
for about 24 hours, and I'm ready to remove
it from the bucket. I'll remove my fabric
from the solution and squeeze to wring
out any extra liquid. Next, rinse your fabric thoroughly in order to
remove any unattached alum. I generally take my
fabric and rinse it in a plunge bucket and then throw it through a rinse cycle
in my washing machine. Once your fabric
has been rinsed, you can place it directly into a dye bath or hang it to dry
and store for later use. One way to stretch
your resources is to reuse the tannin and the
alum and soda ash baths. You can reuse both of these baths as long as
there's no mold present. I'll generally reuse mine two more times after
the initial use. Beyond that, I find the
components begin to break down, and I'll start a fresh batch. You can assume that
about half the tannin or alum soda ash has been consumed during
the mordinting process. Therefore, you can either use the leftover mordintin baths to mordant half the amount of
fabric as the first batch, or you can recharge each bath with 50%
more of the tannin, alum and soda ash. Before re using, reheat the tannin bath to
about 120 degrees Fahrenheit and the
alum soda ash bath to about 170 degrees Fahrenheit. You can do this by
placing the bucket in a hot water bath and recording the temperature
with a thermometer. Or by using an immersion
heater or a bucket heater. Once the bucket has been heated to the appropriate temperature, add the additional mordant
materials if needed. Then add the new wetted
out fabric and proceed with the rest of the
mordinting process as normal. In the next lesson, I'll
talk a little bit about how I organize my scoured
and mordinted fabric.
8. Organizing Fabric: Because I dye so much fabric, I'll generally scour and
mordnt my fabric in batches. In order to help me keep track of where I
am in the process, I have these three bins to
help me organize my fabric. So this top bin I have
labeled as ready to mordent. So this is fabric that
has been scoured. Once fabric has been mordented, it moves to this second bin, which is labeled
as ready to dye. Each piece of fabric in this bin has information written
in the salvage. That provides information
about what I used as the tannin and Morten and what quantity
I used of each. Once fabric has been dyed, it moves to this bottom bin. And I don't generally have
much fabric in this last bin. This bin is simply labeled dyed. And I'll put fabric
here once it's been dyed and is perhaps
waiting for a final rinse, or perhaps I plan to use this fabric to modify
the color in some way. All of that fabric
will be stored here. And once fabric is finished
and I'm happy with the color, it moves to my fabric
stash on my shelves. In the next lesson, we'll talk
about all different kinds of dye stuff you can use
and where to source it.
9. Sourcing Dyestuff: If you've been following along with the lessons, at this point, you should have fabric
that's been scoured and mordented and is now
ready for dyeing. Saving kitchen scraps can be the easiest way to start
out with natural dye. Some great options include
pomegranate rinds, avocado pits, and onion skins. Red and yellow are both great and produce
different colors. I've heard used
coffee grounds and black tea leaves are
also good options. Although I haven't
personally tested these, it'd be worth
experimenting with. If you have a little soil
and a bit of a green thumb, you can plant your
own dye garden. Some flowers that I
grow include marigolds, hibiscus, cosmos,
dahlias, and weld. The pollinators will
appreciate this, as well. There are lots of
natural elements you can gather from nature. Some items that I gather each year include prunings
from fruit trees, fresh black walnuts
and walnut husks. Let's talk about
some of the plants that are commonly
used for dyeing. And I'm going to organize this
by the color they produce. Most of these are plants
that I've personally used and have been shown throughout history to have good colorfast. As a side note, while I've
organized these by color, know that the color
results can vary a lot depending on a
variety of factors, including the quality
of the water used, such as the minerals that
are present or the pH, the soil conditions that
the plant was grown in, and the dye process
that's followed. Some plants that
produce reds or pinks include mataroot which
produces a bright scarlet red, Koch, which is the heartwood
of a species of acacia tree, and this makes a beautiful
terracotta color. And the bark of
various fruit trees, such as pear, cherry, or apple will produce a light pink or
sometimes a blush color. Some plants that will
produce oranges include dyers reopsis which I found produces a
nice bright orange, cosmos, which produce more of a muted orange and onion skins, which will produce more
of a golden yellow color. A few plants that will produce yellows include
marigold and weld, which will both produce a bright yellow and pomegranate rinds, which will produce more
of a muted yellow. Some plants that produce a nice, neutral beige or
brown color include black walnuts and walnut husks. And a couple dyes that
make purples include logwood and two other
natural dye items that are not actually plants, but are insects are
lack and cochineal. And these both produce
varieties of purples, as well. In the resources section, you'll find a document
that provides a list of various natural dyes, along with some notes about what colors they
generally produce, as well as some notes of
where to source them. This is by no means
an exhaustive list, but feel free to use it as
a resource if it's useful. There are several items that I want to talk about that won't necessarily work well for dyeing using the process
described in this course. First of all, a lot of food stuff that seems like
it might be good for dyeing, such as beets or black beans or cabbage don't actually
dye very well. While these may seem like they would produce a beautiful color, they're not very light fast, and the color fades
very quickly. Mushrooms, especially in my area in the Pacific Northwest, are becoming quite
popular for dyeing. While these work well
for animal fibers, they don't work very well
for cellulose fibers, so I won't be referring to them as a dye source in this course. Indigo is probably one of the oldest and most popular
items from natural dye. However, the process
of dyeing with indigo is very different than the process I'm describing
in this course. I'd be happy to direct you to some other resources if you're interested in
dyeing with indigo. So spend some time gathering a couple of different
dye sources, whether it be from your kitchen, from your garden, or from an
online natural dye supplier. In the next lesson,
we'll talk about how to extract the dye
from your dye stuff.
10. Step 3: Extracting Color: There are three primary
steps to immersion dyeing, which is the process of
immersing prepared fabric into a die pot in order
to infuse it with color. They are, one, extract the
die from the dye stuff, two, dye the fabric, and three, rinse and finish. Let's talk about
extracting the dye. Dye material is generally
found in one of three forms, whole, ground, or as an extract. Materials are great because
these are the things you can grow in your garden or
gather from your community. These can be used fresh or dried and stored for later use. When dyeing with
whole materials, color will need to
be extracted from the dye stuff before
immersing the fabric. You can generally purchase
dye material such as roots or nuts that have
been ground into a powder. The color still needs to
be extracted from these, but the extraction
process generally takes less time than
with whole materials. Dyes can also be
purchased as extracts and are generally available in either a powdered
or liquid form. The benefit of an
extract is that the dye has already been
extracted from the dye stuff. These are generally very
concentrated and only require a small amount to
create really vivid colors. If you are using dye stuff
that is in its whole form, such as flowers, leaves, or bark or in ground form, such as dried and ground roots, then you'll need to extract
the color before dyeing it. This is generally
accomplished by simmering the dye stuff in
water for an hour or so. It's not unlike steeping tea. The amount of dye
stuff you need will depend on the amount of
fabric you're dyeing, the type of dye
stuff you're using, and the desired
saturation of color. Here are some general
guidelines for how much dye stuff
you might need based, of course, on the weight of
fabric for various dye stuff. Use this as a starting point, but feel free to experiment with different
quantities on your own. If you're using fresh
whole dye stuff, such as fresh flowers or leaves, you'll want about
100 to 200% weight of fabric for dried
leaves and flowers, you'll need about 25% of that or 25 to 50% weight of fabric. If you're using
ground dye stuff, you'll need about 15 to
30% weight of fabric. For extracts, you'll need
3-9% weight of fabric. In order to demonstrate
the natural dye process, I'll be working with three
different dye stuffs in three different forms, dried marigold flowers,
Himalayan rhubarb, which is ground, and
matter root extract. So in order to extract the dye, first measure out the amount
of dye stuff you need, and then place it in
a stainless steel pot filled with a generous
amount of water. You'll be simmering
this for about an hour, so you want to
make sure you have enough water to account
for evaporation. Place the pot on a heat source and simmer for about an hour. Avoid allowing the water
to come to a boil, especially for flowers,
which can be quite delicate. After an hour or so, turn off the heat and let
the dye water cool. Once the water is cool, you can strain out and compost the dye material,
reserving the dye water. As a note, if you're using dye
stuff in the extract form, you do not need to
extract the dye. This has already
been done for you. You can follow the
instructions provided from the source where you
purchased the dye extract, which usually
involves dissolving the extract in a little bit of warm water before adding
it to the dye pot. Once you have your dye stuff and you've extracted the
color if needed, you'll be ready to
dye your fabric. We'll explore that
in the next lesson.
11. Step 4: Immersion Dyeing: Oh Alright, we've done all
of the preparatory work, and we are ready for dyeing. The technique of dyeing
that we're going to be using is called
immersion dying. It's called this because
the piece of fabric is immersed into a pot that has
been infused with color. The process of immersion
dyeing involves three steps. First, extracting the
color from the dye stuff. Second, immersing
the fabric into the pot of extracted dye, and finally, rinsing
and finishing. We already discussed extracting color in the previous lesson, so we're ready to
move on to dyeing. Let's get to it. I'm going to begin by preparing
my Marigold dye bath. I have my pot where I've already extracted the die from
the Marygold flowers. I'm going to begin
by straining out the extracted dye
into a larger pot. I can then compost
the used marigolds. Once I've strained
out the dye stuff, I'm going to add water
to ensure that I have enough to allow my
fabric to float freely. You don't need to
be concerned about diluting the dye bath. Since we measured the
appropriate amount of dye stuff, the dye will find its way to the fabric regardless of how
much water is in the pot. Now we're ready to
add our fabric. If you allow your fabric to dry after the mordenting step, you'll need to wet it out again. Unfold your fabric and place
it in a bowl of clean water, allowing it to soak
for about 30 minutes. The fibers should be
completely saturated before proceeding in order to ensure even application
of the dye. If you're proceeding directly
from the mordenting step, then there's no need to
wet out your fabric. It should already be
good and saturated. Ring the excess water from the wetted out fabric and
add it to the dye pot. Mix it around to ensure that the dye can reach all surfaces. Then turn on the heat and heat the dye bath to just
below a simmer. I generally aim for around
180 degrees Fahrenheit. Hold at that temperature
for about an hour stirring periodically to ensure the fabric remains
completely submerged. After an hour, turn off the heat and allow
the dye bath to cool for an hour or for up to 24 hours for the
most saturated color. So for my second dye bath, I'm using Himalayan rhubarb, which I've purchased ground. So I've measured out
the dye material and added it to the pot, and I've had it simmering
for about half an hour. With ground material, I don't generally worry about
straining it out. I'll just add my
wetted out fabric directly to the die
pot once it's ready. You'll notice that
my morditd fabric is a little bit darker shade
than the previous one. During the mordant phase, I use chestnut as the tannin, which provides a slightly
darker undertone. I'm excited to see how
this color turns out. Again, once my fabric
is in the die pot, I'll mix it to make
sure it's completely submerged and let it
simmer for about an hour. The third die pot I'm
making is a MarootEtract. And since I'm using this
in an extract form, the dye material is
all ready to go. In order to prepare
it, I measured out my desired quantity and dissolved it in a little
bit of hot water, and then I'll add that
to a pot that I fill with enough water to
accommodate my fabric. Once my diepod is prepared, I'll add my wetted
out fabric and follow the same process that we used for the
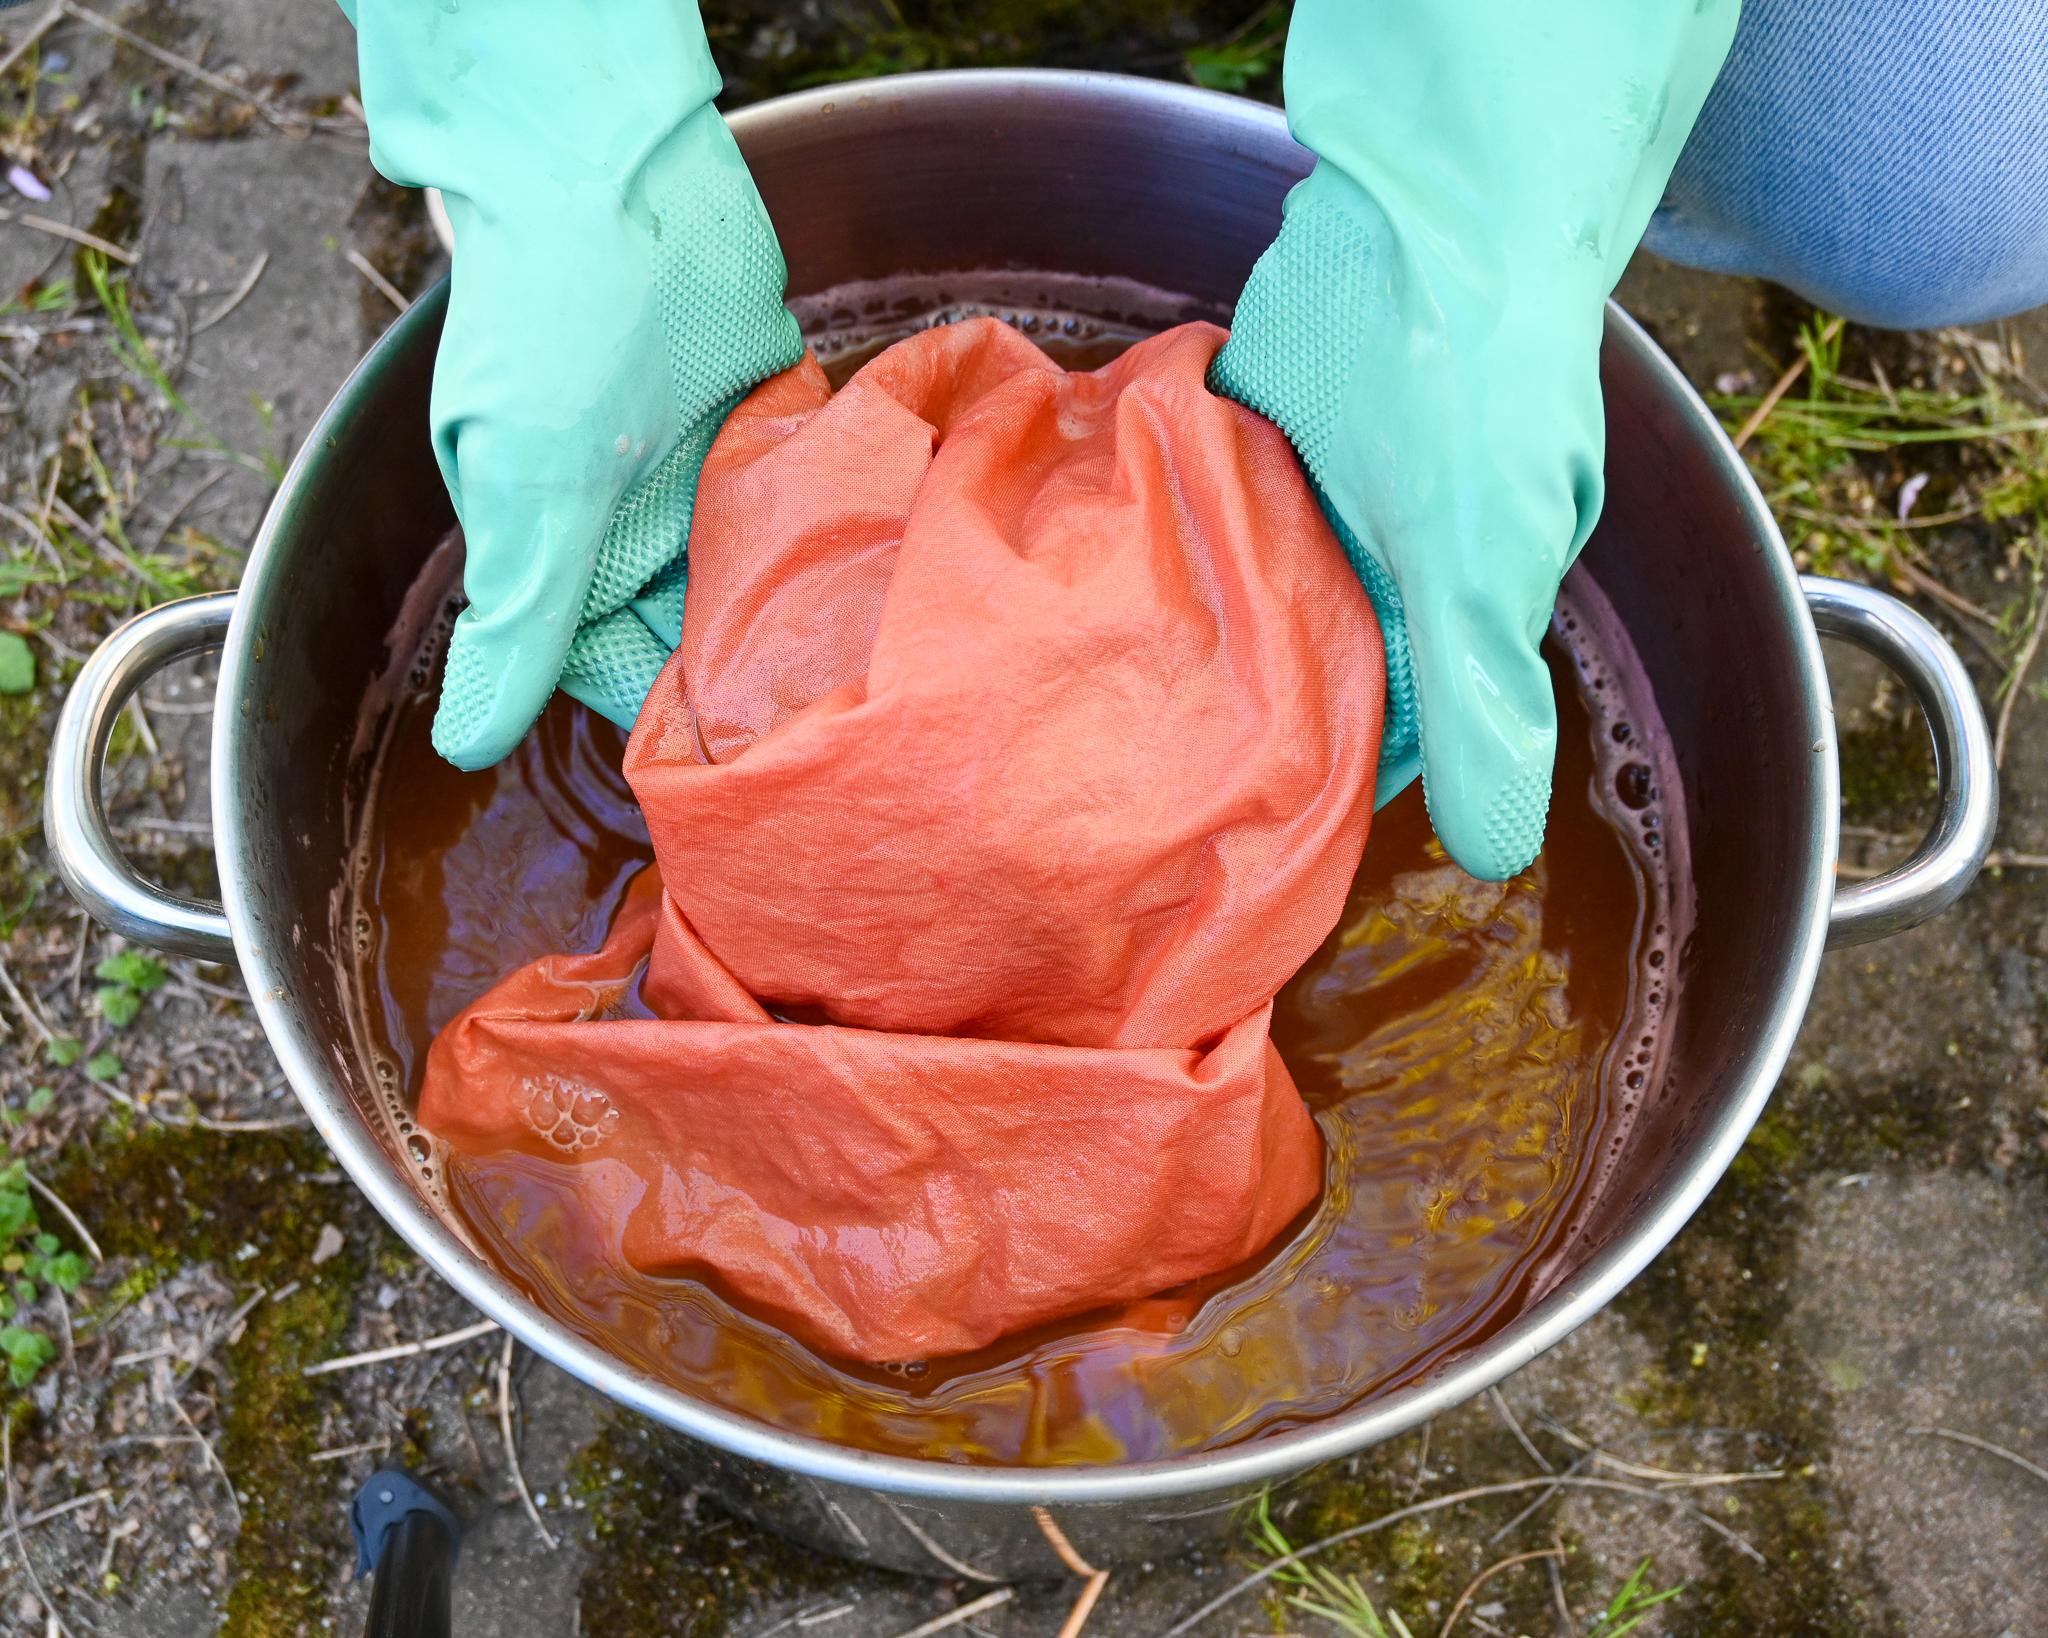
previous dye baths. Matarot is really rich, and we can see the color
transformation immediately. Such a beautiful color. So I've allowed all of my fabric to simmer for about an hour, and it's now cool
enough to handle. Once your fabric has achieved
the desired saturation, remove it from the depot
and rinse it thoroughly. I'll set up a plunge bucket and agitate it to remove as much
unattached dye as possible. Then hang your fabric to dry. Once my fabric is dried, I'll generally fold it up and let it sit to cure
for a week or two. If I haven't already,
before I store it, I'll make some notes
in the salvage about the process I use to dye
it just so I don't forget. After storing the
dyed fabric for a week or two to allow
the color to set, I'll do a final rinse. First, I'll place the fabric in a plunge bucket with warm
water and a little bit of pH neutral detergent and
agitate it really well to remove any
additional unattached dye. And then I'll do a
very thorough rinse, rinsing as many times as I need to until the
water runs clear. This will help
ensure that the dye won't bleed onto
any other fabric. I can't wait to see
the beautiful colors that you create from this
natural dye process. In the next lesson,
I'll talk about some different techniques
for modifying and shifting your colors in order to expand the range of colors you can achieve
through natural dye.
12. Expanding Your Color Palette: So in the previous lesson, we talked about the process
of immersion dyeing, and by now, you should have one maybe two or three
pieces of dyed fabric. Let's talk about
some ways to modify your colors and expand
your color palette. The first options for expanding your color palette
that I'll talk about are the exhaust bath, combining dyes, and over dyeing. After dyeing your
piece of fabric, you may notice
that there's still some color leftover
in your dye bath. This is called the exhaust bath. I will often dye a second
piece of fabric in the same vat to continue to use the color
that's leftover. The piece of fabric
that you dye in the exhaust bath will generally yield a lighter shade
than the original. Depending on the strength of the initial dye bath and the amount of fabric
you were dyeing, you may be able to
dye two, three, maybe even four pieces of fabric until the bath is
completely exhausted. This is a great way to
build a collection of natural dye fabric
with varying shades. Another option for expanding your color palette is
combining dyes or over dye. Both of these options are
based on color theory. You might remember back in high school art class that red and yellow make
orange, right? We can use these same
concepts to combine two dyes together to
create a new color. For example, if I were to use a combination of
marigold flowers, which produces yellow
and matter root, which produces red
in the same dye pot, I could in theory,
achieve an orange. Playing with the proportions
of one dye stuff and the other will produce a range of colors between yellow and red. Over dyeing is the same idea, but rather than combining two different dye stuffs
into the same pot, you'll use a piece
of cloth that you've already dyed and dye
it in a new color. For example, this is a
piece of fabric that I dyed in pomegranate extract. It's the pomegranate
rind, actually, that makes this kind of
very muted yellow color. But after I had
dyed this fabric, I created a matter root bath. As we discovered, matter
root creates red. Um, and this was the result. It kind of makes
this orange blush, this very beautiful
orange blush color. And this was the result of
taking fabric that I had dyed in pomegranate and
then after it was dyed, putting it in a
matter root bath. The possibilities and colors you can create from combining dyes, whether you combine them
in the same dye pot or dye it in one color
and then in another, are virtually endless. Have fun experimenting. PH is the measure of
how acidic or basic, which is sometimes known as
alkaline, a solution is. While not all dyes will
react to changes in pH, the addition of an acidic
or an alkaline modifier can shift to the color of
some dyes significantly. There are two kinds
of pH modifiers, alkaline modifiers
and acidic modifiers. Alkaline modifiers, such as soda ash generally shift
the color to a pinker tone. To try this, dissolve
a small bit, a quarter to half teaspoon of soda ash in hot water and
either add it directly to a dye bath or immerse dyed fabric into the solution for five to
10 minutes after dyeing. You can experiment with
more or less soda ash to see how the color responds. Acidic modifiers, such
as white vinegar, will shift the color
to a yellower tone. Add a very small amount of acidic modifier to a
vessel filled with water and soak dyed fabric for five to 10 minutes.
Rinse thoroughly. Modifying the color
of dyed fabric using iron is by far the method
that I use the most, and it's a great way to expand the range of colors you can
achieve from natural dyes. The addition of iron,
generally in the form of ferrous sulfate
or ferrous acetate, saddens the color, making
them more muddy and muted. Iron reacts with the
tannin in the fabric, and the effect will
shift yellow towards olive green and red toward
deep purple or brown. To modify a dye with iron, you'll need a source
of iron salt. I generally use this in the
form of ferrous sulfate. Add one to 4% weight of fiber
to a non reactive vessel, such as stainless
steel, ceramic, plastic or glass, and add
hot water to dissolve it. Place fabric that's
been dyed and wetted out into the vessel with the iron solution and stir it continuously for 30 seconds
or for up to 5 minutes. You should see the color begin to transform fairly quickly. Rinse immediately. You want to be sure to wash all items, including
bowls, spoons, and any surfaces that
were used to modify with iron very thoroughly in order to avoid cross
contamination. Iron reacts with tannin, and the reaction
is irreversible. If any fabric that's
been soaked in tannin comes in contact with even
a small trace of iron, it will react and create spots
and stains on your fabric. I keep a set of tools that I
use specifically for working with iron in order to avoid
contaminating other fabric. High doses of iron will
be damaging to fibers, so I don't recommend using
more than 4% weight of fabric or for letting the fabric sit in an iron solution for
more than 10 minutes. I also recommend wearing
gloves when working with iron as the iron
will stain your hands. I hope this brief
introduction to modifiers has sparked
some inspiration and gets you excited
about how you might expand your color palette
of naturally dyed fabrics. In the next lesson,
we'll talk about how to document the natural dye
process in a dye journal.
13. BONUS LESSON: Keeping a Dye Journal: H. As you step into the
world of natural dyeing, I strongly encourage you to keep a record of the processes and techniques
that you're using. Every dye will produce different results under
different conditions. And there's so many factors that can impact
the color result, including temperature, pH, length of time in the
dye pot, et cetera. Keeping a dye journal is a
great way to begin to notice how changes and different
factors impact your results. My dye journal is just a
mixed media sketchbook that I got from the
local craft shop, and it seems a bit chaotic. But let me tell you what I generally include
for each entry. So once I'm done dyeing
a piece of fabric, I'll snip a little
swatch from one of the corners and add
it to my dye journal. Along with the
swatch, I'll record some information
about the process I used to achieve that color. In my dye journal, I'll
generally include the date, some information about
the substrate or kind of fabric and
weight that I used. I'll make some notes
about the mordant, including the type of tannin
and the percent of tannin, as well as the percent of alum. I'll make notes about
the dye stuff and the percentage of the weight
of fiber that I used, as well as any additional notes, such as whether it was
the exhaust bath and perhaps even the temperature
of the water and how much time I allowed
it to sit in the dye pot. If I use any modifiers, such as a pH modifier or iron, I'll include information
about that, as well. You can get as granular and scientific as you want
with your dye journal. The more notes you take and the more information you have, the better you'll begin
to see patterns and understand how different factors impact the final results. In the resources section, I've provided a dye journal
template for you to print and use as a guide for creating
your own dye journal. In the next lesson, I'll share with you how
I achieved all of these colors using
only three dye materials, along with the
different techniques covered in this course.
14. Final Dye Results: Let me share with you some of the fabric that I dyed
during this course. I was able to achieve all of
these different colors using only three different
dye stuffs and a variety of techniques that we've learned
throughout this course. Let's break down all of these
colors that I achieved, moving from left to right. I achieved a really
dark burgundy color using MatarootEtract, modified with a
little bit of iron. Just above that is fabric dyed with MatarootEtract at
9% weight of fiber. Next to that was
another piece of fabric dyed in the
MatarotEhaust bath. Took half of the fabric dyed in the exhaust bath and modified that with iron
to get the next fabric. Moving on to the
fabric on the right, I got a beautiful deep brown, dyed with Himalayan rhubarb
and modified with some iron. The next fabric was made with
ground Himalayan rhubarb, dyed at 30% weight of fiber. And the next piece of fabric
was the exhaust bath. In this case, there was a lot of dye left over in the bath, and there isn't much
difference between the first piece of fabric and the fabric dyed in
the exhaust bath. I could have dyed
a third piece of fabric to achieve
a lighter shade. The last four pieces of fabric were all dyed
with marigold flowers. The first was dyed
with dried flowers, a 25% weight of fiber and
achieved a bright yellow color. The next piece of
fabric is a paler yellow and was dyed
using the exhaust bath. Olive green was achieved
by taking part of the fabric dyed in
marigold flowers and modifying it with iron. And the last color was
using part of the fabric dyed in the Marigold
exhaust bath and modifying that with iron. As you can see, from just
three different dye stuffs, we can really achieve a
wide range of colors. In the next lesson, I'll
share some final thoughts and discuss some options for further exploration in the
world of natural dyeing.
15. 15 Conclusion: Well, you've done it.
Hopefully, by now, you find the process
of natural dyeing a little less intimidating. And maybe you've
even come out of this course with a beautifully
dyed piece of fabric. I would love to see
the beautiful work that you create
from this course. So take a photograph of a piece of fabric that you dyed and share with us what
you used to dye it and what you
learned along the way. Be sure to submit your
final class project on the projects page. There are endless
opportunities for continued learning and exploring in the world of natural dyeing. Some techniques you
may want to explore further include eco printing, painting with natural dye
pastes, block printing, creating an indigovat or making lake pigments and creating
your own natural dye paints. In the resources section, I've provided a list of
books that can help you take what you've learned from this class and
expand it further. If you enjoy this course, I would really appreciate it
if you would leave a review. Reviews will help others find this class and will help provide valuable feedback for me so that I can continue creating
quality classes. If you're looking
for project ideas, to use your naturally
dyed fabric, check out some of
my other classes. I have several quilting classes
available on Skillshare for both beginners and for
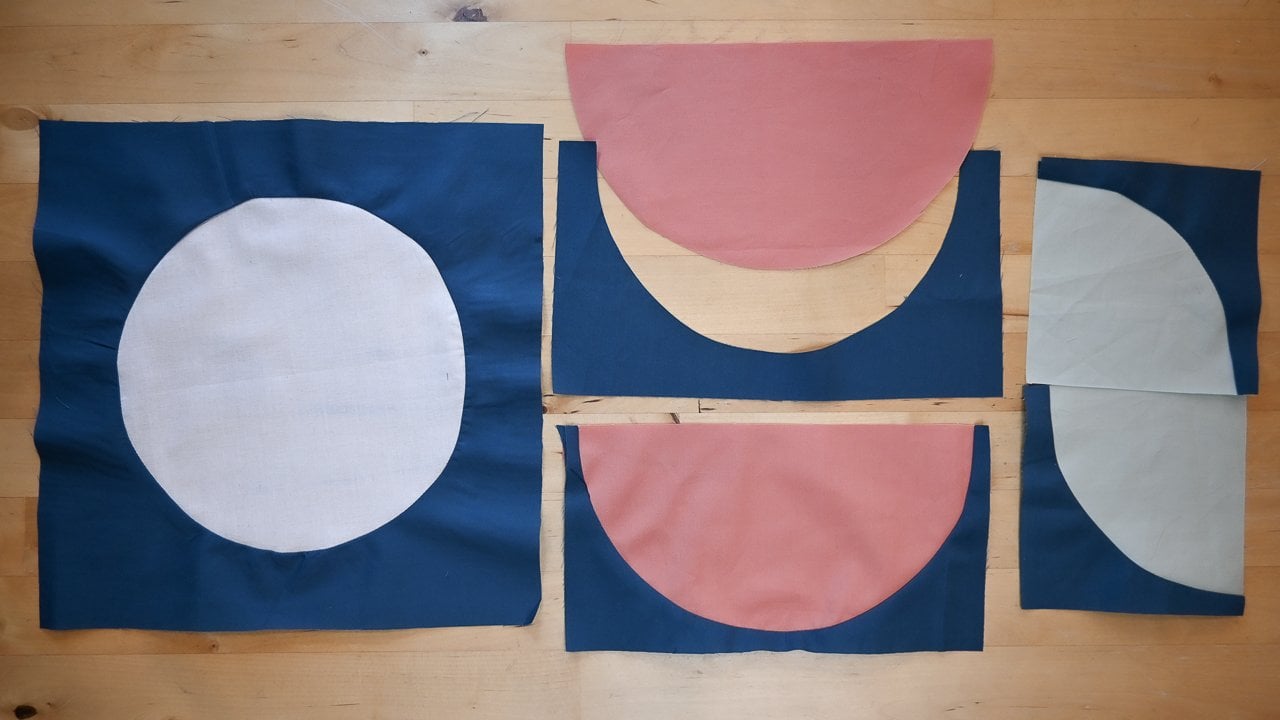
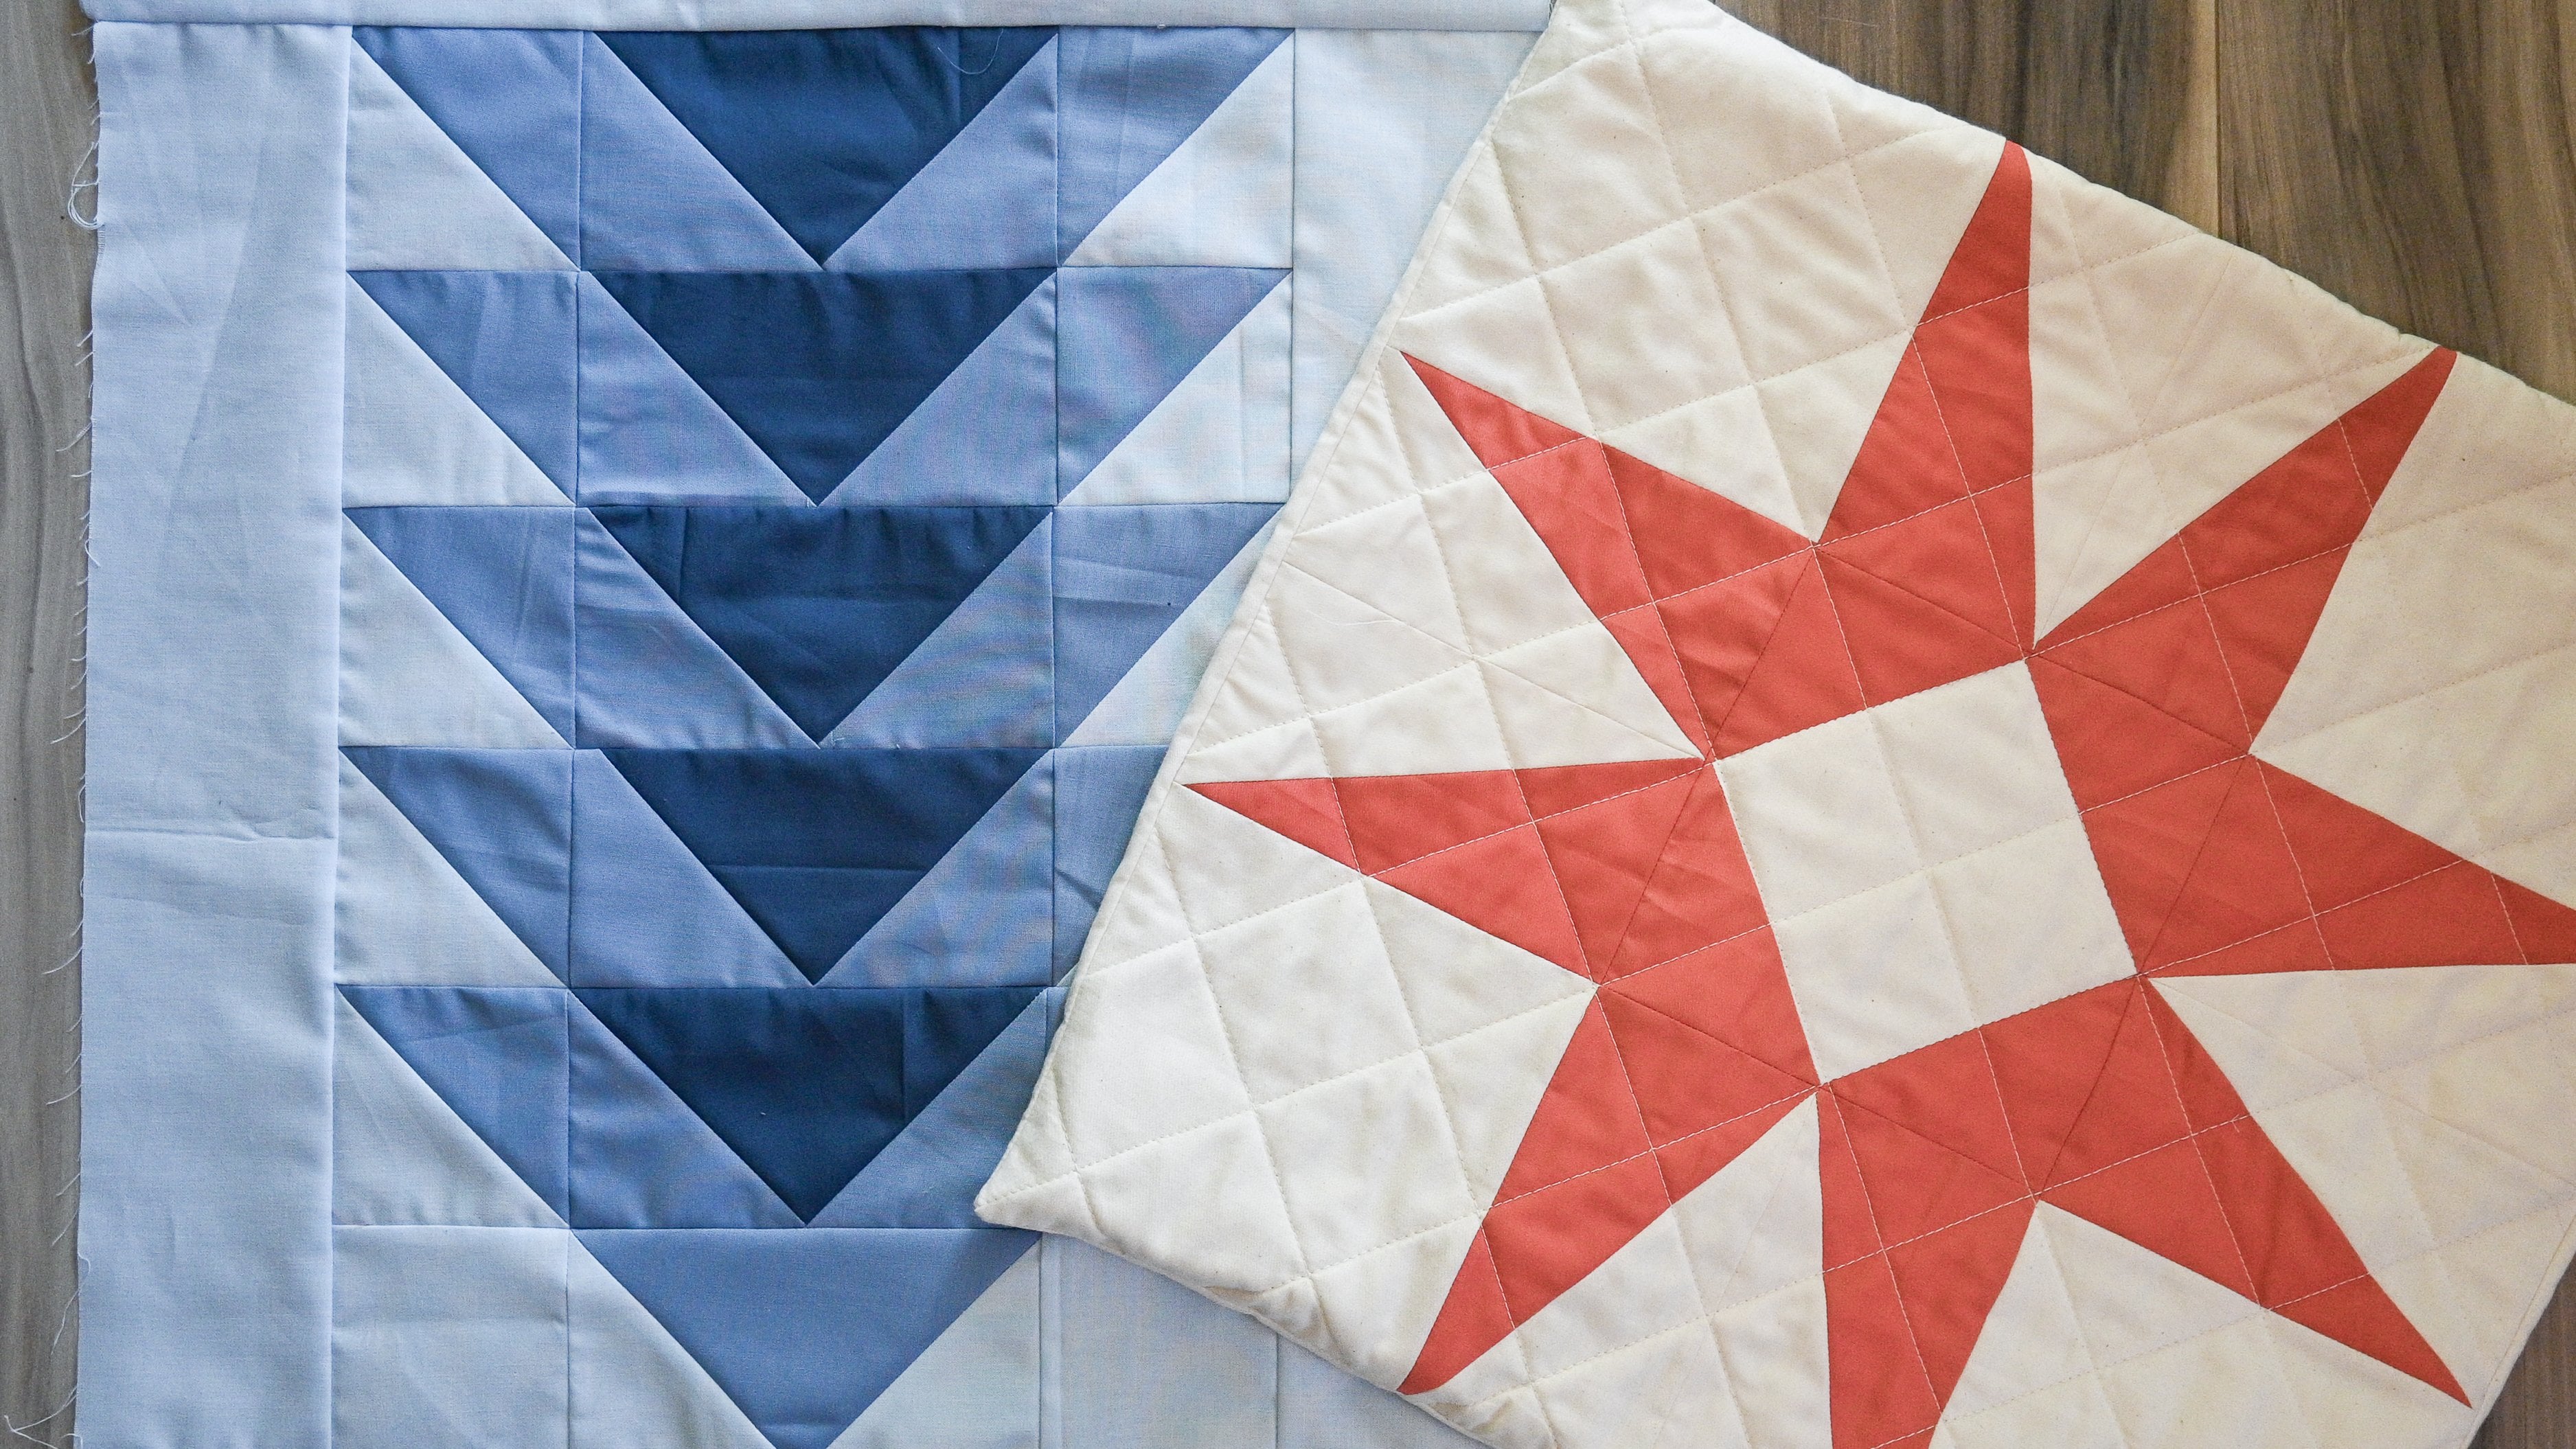
more advanced quilters. Imagine creating a quilt made entirely from fabric
you hand dyed yourself. Please don't hesitate
to reach out with any questions or
comments that you have. I'd love to continue
to be a resource as you dive deeper into the
world of natural dyeing. Thank you so much for
letting me be part of your journey into natural
dyeing. Bye for now.
 Juli Rae Vignola, Quilt artist, natural fabric dyer