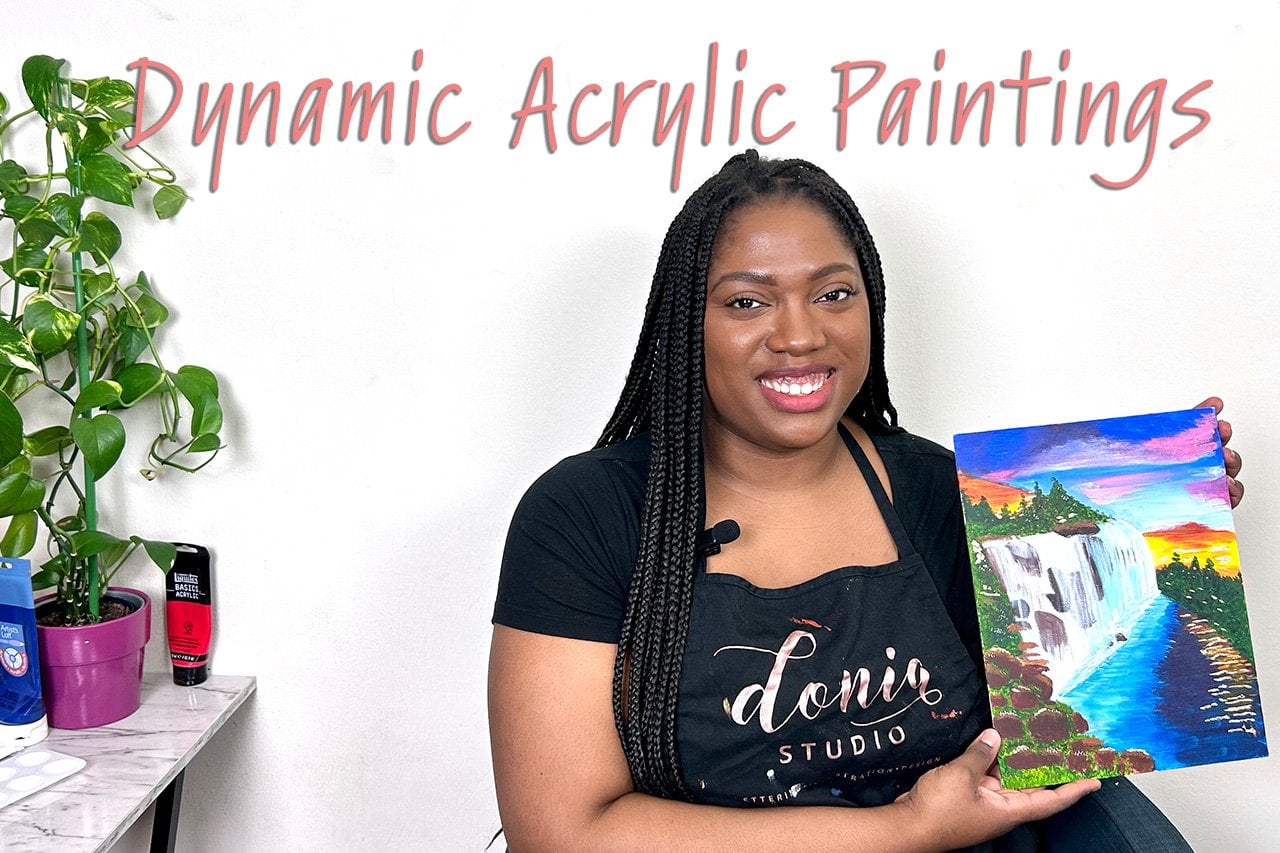
Intro To Acrylics - A Step by Step Guide to Creating Modern Pop Art
 Keshna Donia, Artist | Designer | Illustrator
Watch this class and thousands more
Watch this class and thousands more
Lessons in This Class
-
-
1.
Introduction
0:31
-
2.
Tools For This Class
1:57
-
3.
Blending Techniques
9:10
-
4.
Your Final Project
12:41
-
5.
Closing Remarks
0:35
-
-
- --
- Beginner level
- Intermediate level
- Advanced level
- All levels
Community Generated
The level is determined by a majority opinion of students who have reviewed this class. The teacher's recommendation is shown until at least 5 student responses are collected.
134
Students
1
Projects
About This Class
Do you struggle to try new mediums? Do you want to create paintings that pop with vibrant colors?
Join me in this class where I’ll go over the main elements and techniques of using acrylics to paint.
Watch me draw and explain everything I know about this interesting topic.
Learn the basics of acrylic and how to create simple and complex paintings with a versatile medium.
Learn to enhance your work with details and overcome your fear of acrylics. This course aims to help
you have fun and show you the techniques of acrylic paint. So, prepare yourself for making wonderful
works of art. Create a strong foundation for your painting process and from there make art that your friends and family would love to see on their walls.
● Gather up materials such as pencils, paint, canvas board, water, table covers. Set up your
workplace and start practicing.
● Make simple exercises to master the feel of acrylic paint.
● Learn new things about acrylic paint and how to control.
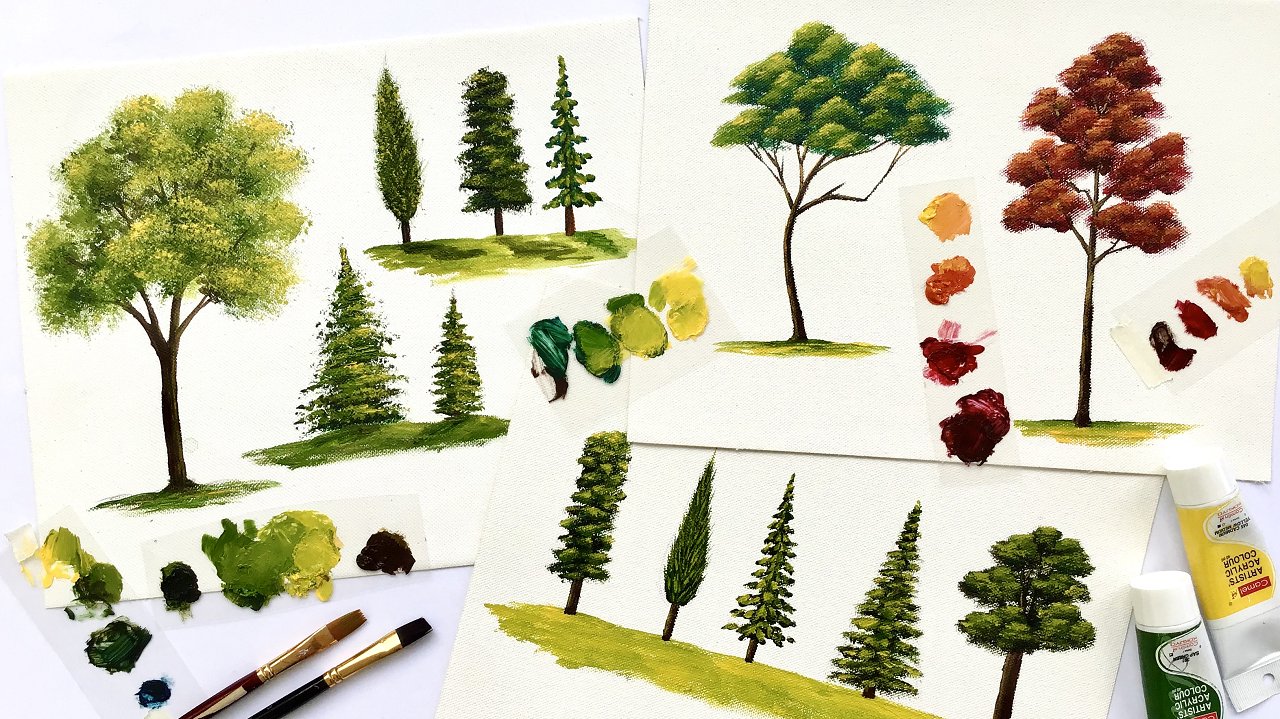
● Experiment with different techniques.
● See how the different textures make a painting pop
Intro To Acrylics: A step by step guide to creating Modern pop art paintings.
Learning a new medium can add excitement, creativity and joy to your art making projects. Using acrylics
is a safe and fun way to add dimension to your paintings.
Creating something out of nothing is a very satisfying and in time you’ll achieve more and more
confidence in your artistic process. In this course we’ll cover much of drawing hands and split it up to
easy to follow steps that can only benefit your work, whether it's in graphic design, illustration or
painting.
Don’t forget to follow me on Skillshare. Click the “follow” button and you’ll be the first to know as soon as I launch a new course or have a big announcement to share with my students.
Meet Your Teacher

My name is Keshna Donia and I'm an illustrator and designer. Based out of New Jersey. I'm a full-time artist, mom, and wife on an entrepreneurial journey and I love teaching and hosting workshops when I can.
You can follow me here on SkillShare to know when I publish a new class or on my other social media profiles to keep up with my day-to-day.
See you in class.
See full profile
Hands-on Class Project
ASSIGNMENTS
Now it’s time for your project:
1. Finish watching the course or paint along with me in each lesson.
2. Make exercises that are showed in the videos. Post them in the project gallery and I’ll leave a comment as soon as I can. The more you do the better you’ll get at painting.
3. Expand from there, keep on painting and applying the skills that you learned in this class, ask for
feedback
4. Practice, practice, practice.
I would love to see what you came up with and help if you run into any kind of problem.
DELIVERABLES
Here are the deliverables to share in the project gallery for feedback:
1. Painting exercises
2. Work in progress images
3. Finished painting
Don’t forget to follow me on Skillshare. Click the “follow” button and you’ll be the first to know as soon as I launch a new course or have a big announcement to share with my students.
Class Ratings
Why Join Skillshare?
Take award-winning Skillshare Original Classes
Each class has short lessons, hands-on projects
Your membership supports Skillshare teachers
Learn From Anywhere
Take classes on the go with the Skillshare app. Stream or download to watch on the plane, the subway, or wherever you learn best.