Transcripts
1. INTRODUCTION: Let's talk roses. They are beautiful. They're trendy, colorful, and believe it or not, they're very easy to paint. I am going to show you today in this class, a very simple method. Painting roses and leaves and greens with acrylic paint. It's easier than you think. And I know that you can do it. The classes designed for beginners, so no experience is necessary. I'm gonna cover supplies you're gonna need, so you're gonna be all set up to do some acrylic painting on your own. Even after the class is done, you're going to gain the confidence and the techniques to move forward with exploring acrylic paints. Take it as far as you want. The class is going to cover some basic information about acrylic paints, brushes to use the brush strokes to use. I'm gonna talk a little bit about color continuity in a painting and composition so that once you are comfortable, comfortable and confident using acrylic paints, you can put together some lovely, exciting and beautiful paintings fall in your own. I'm Bonnie look hot. I'm an artist and designer. You can find me online at Bonnie Lockhart designs dot com or on my Etsy shop where I sell my artwork and prince and gift. And also, of course, you could find me here on skill share. So please follow my channel and check out my other classes. I have been painting pretty much my entire life, and I have done many, many things and a lot of them have included acrylic paint. I want to share that knowledge with you and show you how easy and find acrylic painting can be. If you have tried, maybe some watercolors or some oils and you're looking for something that's maybe a little more approachable. I think acrylics are the way to go. So if you are ready to learn and paint some roses, I will see you in the next video. Thanks so much for joining me.
2. ROSE CLASS SUPPLIES: Here's everything you'll need to complete the class. You're going to need some acrylic paints in the following colors. Deep red, medium green, dark green, yellow and white. I'm using golden fluid, acrylics and meat in my demonstration. Feel free to use any acrylic paints that you have on hand. There is no need to buy the more expensive paints. If you'd like to use craft paints while you're learning. If you're just beginning, that's fine differences, and the paints are the more expensive paints have more pigment in them. But to just get started. The craft paints are great. I have included a link to Amazon, where I have created a supply list for you to refer to or just go ahead and order. If you don't have a craft or art supply store near you, you can find a link to the Amazon supply list as well as a complete list of the exact products that I used in my demonstration. In the class printouts. You're also going to need a painting palette. You can just use a phone plater, a ceramic plate or an inexpensive plastic painter's palette, which is also on the Amazon list. You're going to need a clean absorbent rags, sponge or paper towel to dry your brushes and wipe off your brushes. You're also going to need some small round on medium round Synthetic paintbrushes, as well as some small, flat and medium flat synthetic paintbrushes don't need to spend a lot to do this class. You can buy just a kit that has a lot of Pete brushes included. You're also going to need something to paint on. If you have some stretched canvases and just want a paint on those that's totally fine in the class. I am using some canvas panels, some eight by eight inch boards. You're going to need three of them if you want. Follow along and do it is just a zai. I've done it in the class. Those are very inexpensive, and there is also a link on Amazon of ordering a pack. I like to have the panels on hand just to practice on, and then I paint over them when I want to paint something new. So there you go. That's all you're going to need. So go ahead and gather your supplies and I will meet you in the next video
3. BRUSHWORK PRACTICE: Okay, So once you have all your supplies gathered, we're gonna practice some brushwork. I'm gonna start with our flat brush. And as I've said, you're gonna want to choose the the size of brush that correlates with the size of flowers that you want to paint. Right now, we're working on this little eight by eight panel. So this fresh seems plenty big to paint my roses. If you were gonna paint, say, on a 16 by 20 panel, you might want a bigger flat brush. So the kind of marks you can make with this flat brush, you can make some straight lines. First thing you want to do is wet your brush and dry it off so that it's pliable and it comes. You can see this brush comes to like a really nice point, which is gonna help with making our lines. So if you hold the brush straight up and down, might have a hard time seeing all kind of tilt my brush so you can see. But if you hold it straight up and down, you can make this really nice line work. And if you twist your brush and push up and down you get these other kind of interesting shapes which that's what's gonna help us when we're doing the rose. Let me show you what I mean. You also can use that the corner off the brush here to make little marks and kind of draw with, Oh, I made a little happy face. Um, but that's how we're going to do our roads. So let me show you What you're gonna do is you're gonna take the corner like I just demonstrated, and you're gonna turn and twist your wrist. And don't worry if it doesn't look perfect. That's what's gonna make your rose look better. You're gonna push and pull and twist your wrist, and you're going to start to make thes lovely shapes that are reminiscent of a rose. And this sort of looks like what you see when you look down the shadows between the pedals . So that is what we're going to use this brush for. We're also going to use this brush to make leaves and the kind of Marx you're gonna need to make for that. I'll use the green so you can remember. This is what we're using for our leaves when we make the larger rose leaves. You're going to use the tip again and you're gonna pull down and you're gonna kind of create an outline that has thes little marks. And then you're just gonna fill in the center. That's what's going to give you the outline of your leaf, just like so you could also use this type of brush if you wanted to. Just make are more rounded leaf. So basically this flat brush, you could make lines and you can also fill in an area. So this is a really good one to have. Now I'm going to show you how to use the round brush to make our rose. Okay, In particular, I'm gonna show you how we're going to be doing our ferns, and we'll review this when we're actually creating our final piece. But for now, I want you to get comfortable using this round brush in which what you want to look for in a round brush. You want it to come to a nice point like that and you want it to be a little bit flexible, not too stiff. This is actually a brush that could be used for watercolor or acrylics. And since I'm using fluid acrylics, watercolor brushes would work just fine. If you use heavier body acrylics, you want a stiffer a stiffer brush. OK, so I've got my round brush and to make our fern leaves what we're going to dio. And this is really the same techniques that you use if you're if you're doing a watercolor painting. So if you've taken some of the other classes on skill share or anywhere that kind of show you how to paint leaves, it's really the same technique. So what? What you're going to dio is just touch the tip of the brush, push down and pull up and then practice making some nice lines on your practice panel. And these are actually super fun to do, and you can make them twist and turn any way you like. So that's a really handy one to have at your disposal. If you like painting florals because it's it's super simple and easy to dio and is very effective. Okay, so you can also use this brush to kind of make little stamp marks for leaves. If you just sort of pushed the end, you kind of make a little stamp so you can stamp the end and then pull your your stem in and just go all the way along the edge there. So that's a really handy technique to one other thing we're going to dio with our line brush is actually draw. One thing that I'm seeing a lot in modern florals and floral illustrations are a combination of different techniques within the same painting, and that gives it a lot of interest. And so I want you to practice drawing your shapes out, like as if this were a market. So just practice using it as if it were a marker or um or brush or even a pencil. So it's It's just really good practice to kind of see how much paint you need on your brush to practice how much pressure you need to put down. So just draw, get out your practice panel and draw all your shapes. It's a really good way to gain some confidence when you're not on an actual project. So, for instance, like if you just wanted to draw a rose shape like this, that would actually look really cool incorporated into ah finished piece, just really quick and easy like that. So I'm gonna encourage everybody to kind of find their own things that they like and feel the most comfortable doing when you do your finished piece of art, when you do your finished okay or re ther swag. You know, add in your own little touches, practice here and see what looks good to you and what feels, you know, you can even get, like, really loose water down your paint like that if you want. That sort of gives it a more water coloring. Feel to it. So whatever you know, make it yours. Add your own style. So that said, for practice, fill up your panels with all kinds of brush marks until you feel ready to start on the roses and then grab a fresh panel and I'll meet you in the next video.
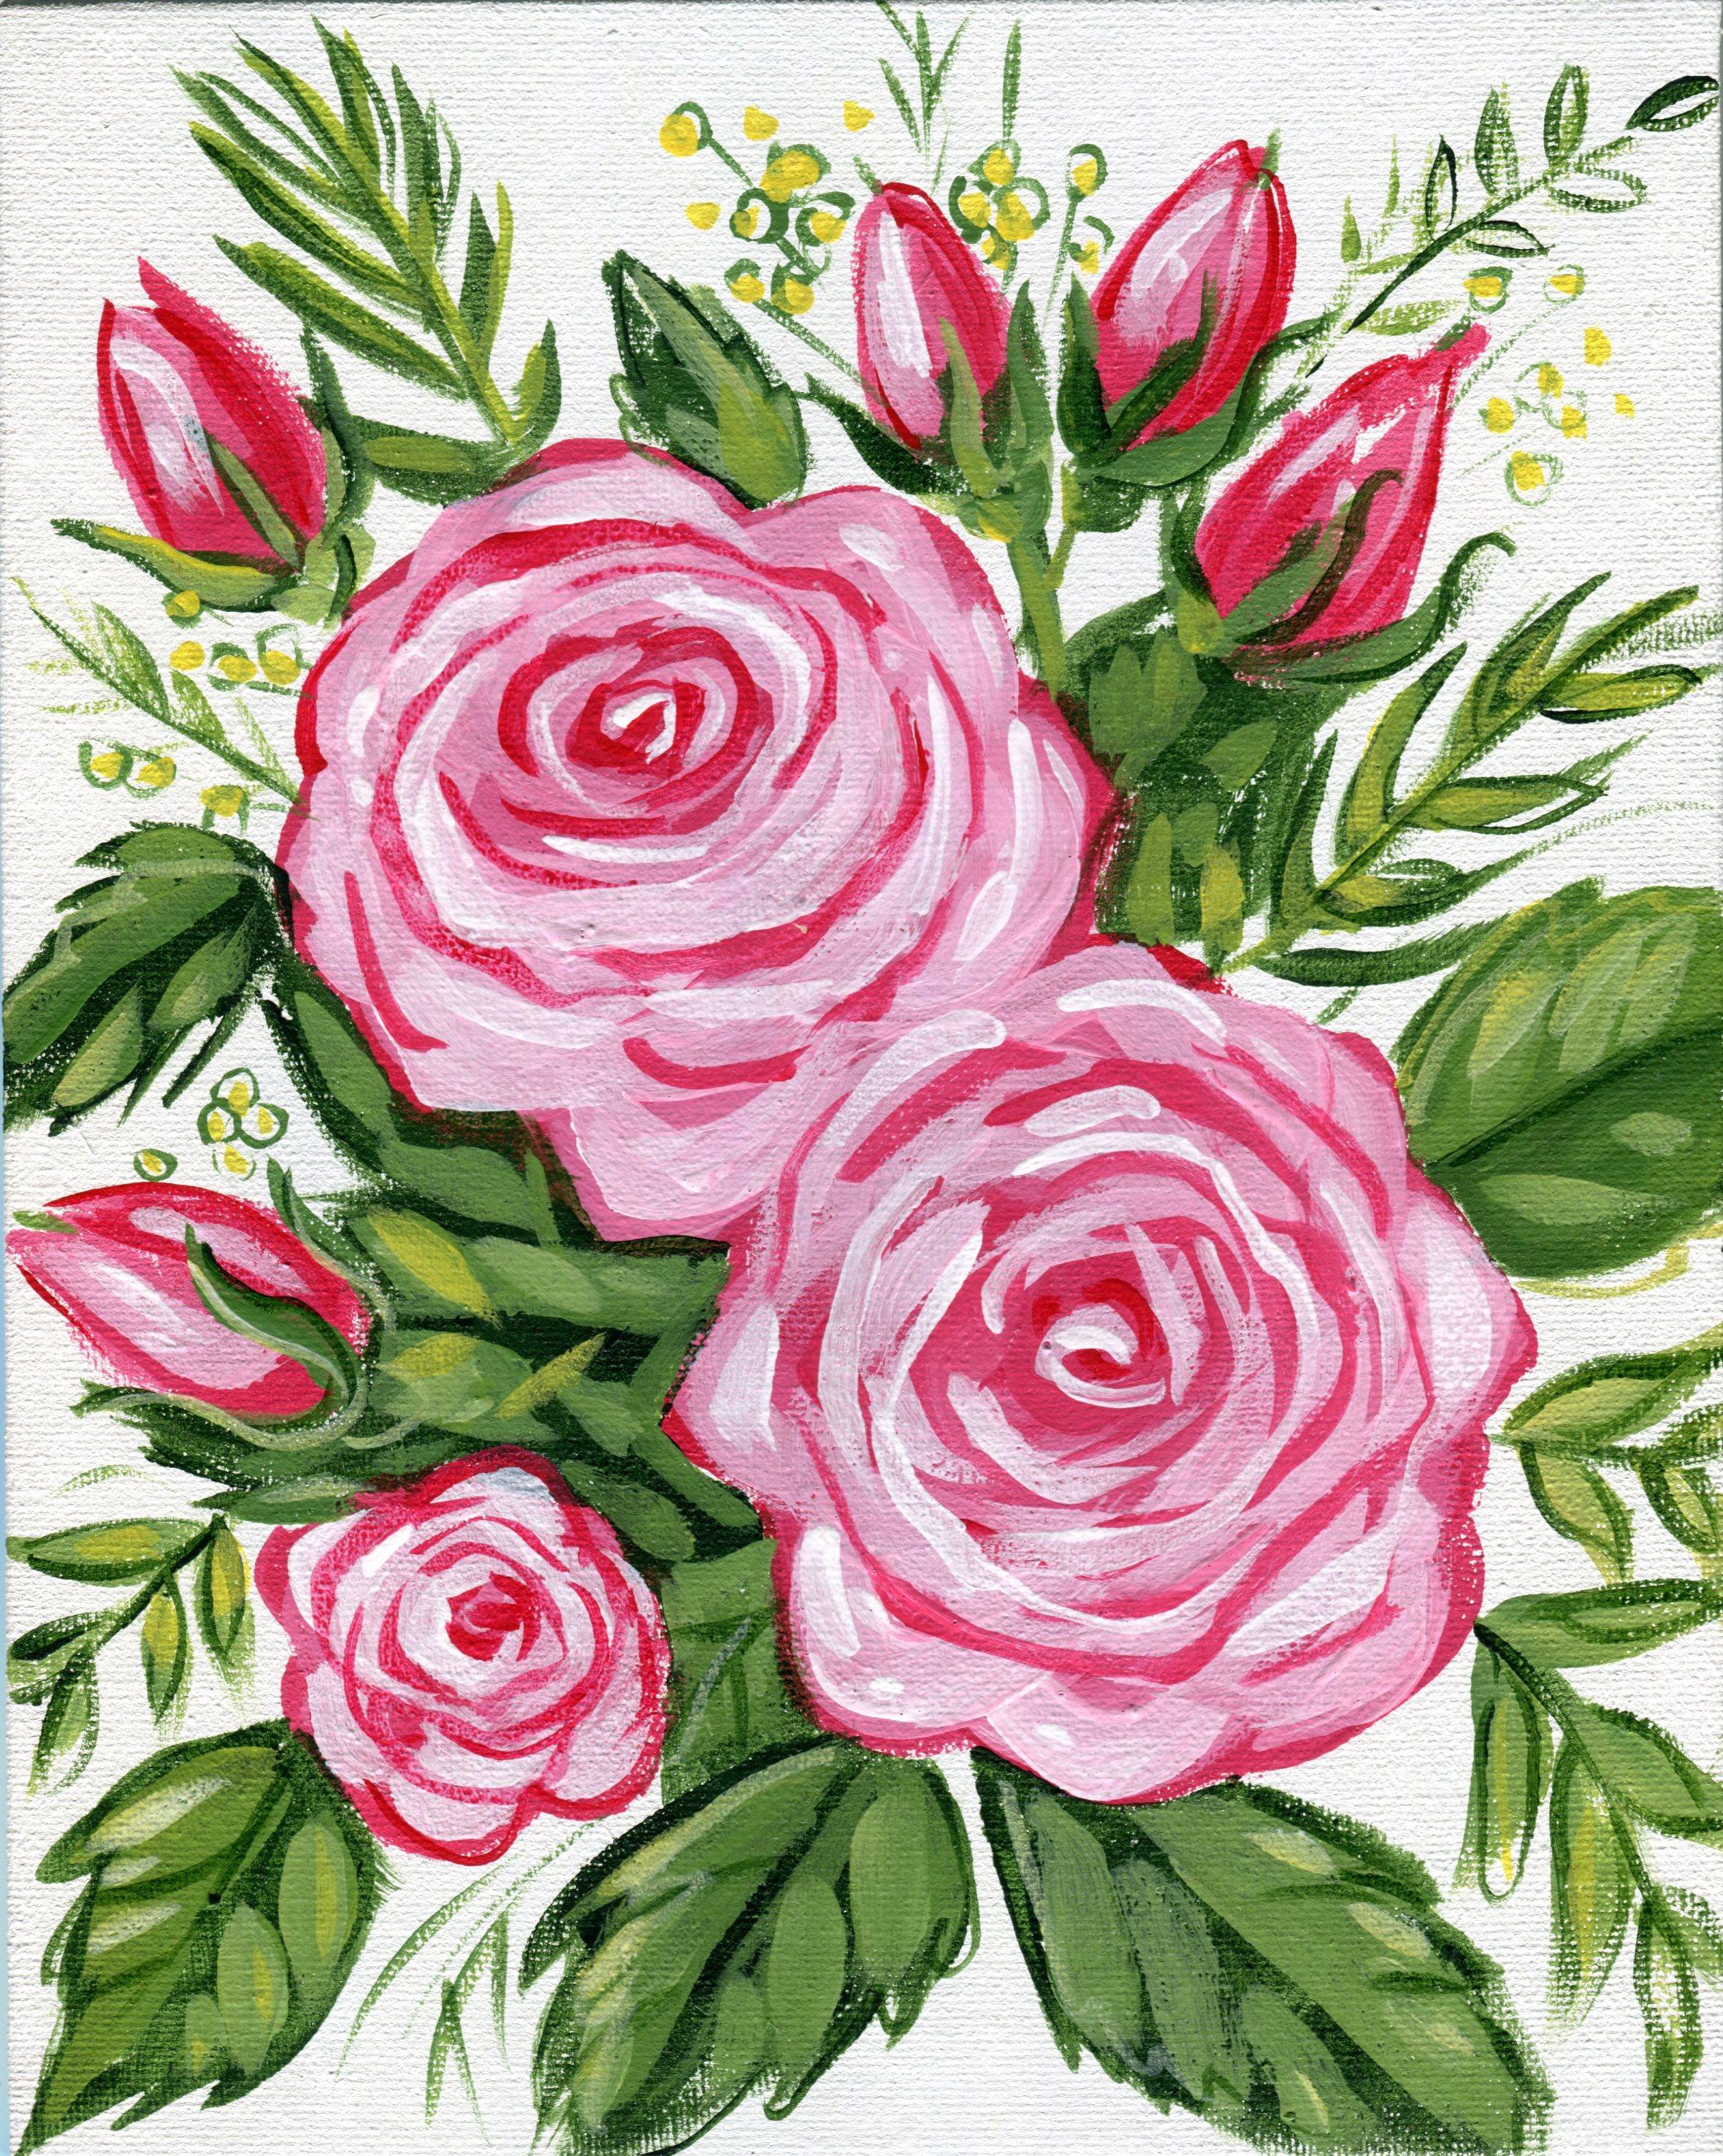
4. PRACTICING ROSES AND LEAVES: all right, so the first thing we want to do, just like before, make sure your brushes pliable, wet it, dry it off. And we are going to add a little bit of white on to our painting palette and a little bit of Jenkins green and a little more red. Okay, so the technique we're going to be using to to paint these roses is called the mid tone method. It's one of a few different methods of acrylic painting, and to me I feel like it's really easy and approachable. It's a method where we're going to choose the different values and tones and the colors of a rose to sort of build up and layer her colors to form the shape of a rose. Let me demonstrate what I mean. We're going to start with one of the middle tones of the Rose. And to do that, I'm gonna add a touch of white to my napped all red to make it a little bit more opaque. And by the way, you can do any color rows with this technique. For instance, if you were doing an orange rose, you would start with orange and maybe some yellow and lighten up your orange color so you have a mid range orange and you start with that. Okay, so we're gonna go and we're gonna make the shape of a rose. And to do that, we're going to use our flat brush toe outline and fill in like we did in our practice. So to make the rose shape you want to think of what does a rose look like? Well, it's kind of circular, but it's sort of irregular around the edges. And if you want to download in the class notes, I have included some examples for you to look at and refer to when you're painting your own or always feel free to come back. You know, watch this again. Slow it down. Watch how I make the shapes how I hold my hand, how I use the brush. And you can see I'm just sort of varying the size of the shapes making. Some of them are a little more pointy. Some of them are little more large, which is actually how roses look in nature, and I always encourage you to look on Pinterest. Look online, get yourself some actual roses or whatever it is you're painting and look at the real thing before you start. Even if you're not painting a realistic painting, you are. You want to get the basic feel of the object that you're trying to represent. So looking at real pictures or riel riel roses is going to help you in the end so you can see there. That's that is the first layer. That's our middle tone, and we've created now the base for a roses. So we're gonna let that dry, and in this type of painting, you have to let every layer dry in between. Once acrylic paint is down on your surface and it dries. It's immovable. It's not going to reactivate. The advantage there is that you can build up many layers as you want. You can paint out things that you don't like just by painting over it. So as a beginner, acrylic paints are a really good place to start to get comfortable mark making and learning about tones and values. And if if you have tried to do roses in watercolor and have struggled, this is a really good place to sort of get your footing or, you know, just just practice making the marks and feel successful. You could also paint with acrylic paints on many different surfaces, like wood, glass, metal things other than paper that you can't really paint with watercolors up. So all right, I'm talking. While this is drying, it's still pretty wet, but we can move on and go over the leaf shapes now. So for the leaves, we're gonna have a few different types. The first leaf type we're going to do is theatrical rose Leaf and a rose leaf. We already demonstrated in the other video. But I'm gonna show you again. You use the flat side of the brush to kind of draw the outside of the leaf with and then pull your brush in to kind of make this lovely leaf shaped just like that. Really easy. So that is it. That's the first layer of the leaves. Is a solid color like this. So now that we practice the brush strokes on the first practice panel, this panel is about practicing the actual shapes before you put it into your own composition. All right, so those are going to be our rose leaves. We're gonna let this layer dry just like this one, All right? We're also going to add some fern shapes to our final bouquet. So I'm gonna go back to my round brush, get my green, and I am going to start by touching end, pushing down and pulling up. And if you're making a wreath, this is a really handy one, because you can make it all the way around your wreath. You can make leaves center or thicker because there's many different kinds of ferns, thes air, sort of just decorative and basic. For this, this style of roses and greens that we're doing so practice a few different sizes and styles of leaves and of, um, firms. And you can kind of overlap sleeves if you want, try different things and see what works for you or what you like to dio. So that's our first layer. We're also gonna come back with another layer on the firm's all right, we're going to add some other types of greens also, and we're just going to make some decorative. Doesn't have to be anything particular greens, and I'm gonna go back to doing some stamping. This just gives us some sort of tools in our tool, toolbox, When we're doing our painting that we can go back to If we need have areas we want to fill in for you want to add ah, variety of shapes and textures. Once you have these techniques down, it is like having tools in a toolbox when you're doing a painting. So we have those. I also want to use some flying work in our finished piece like we practiced. So we're gonna practice that one more time when we go over the second and third layers off thesis. Oh, why don't you let these dry and I will meet you in the next video? All right. So moving long, we have our first layer these air dry, so I'm going to move on and show you what the second layer is. So what we're gonna want to go to after our mid tone is our darkest tone. So to create our darkest tone for our flowers, I'm going to add a touch of this Jenkins green. Any dark green paint will dio dark or green is the complimentary color of red. So it's a great way to darken up, as opposed to adding, say, a brown or a black to dark in your color. It also the fact that we're using green elsewhere in our finished paintings also makes it a great choice to darken are red because it's going to bring some color continuity into your finished piece if you use all the same colors. Okay, so I've got a nice dark red here and I'm gonna go in. And now I've got I've got a flat brush. It's a little bit smaller This time I'm gonna show you different the different brushes in the different effects to see if it makes a difference. When you're choosing your brushes again experiments, see what you lie. See what works best for you when you're painting, You can use these techniques that I'm showing you and and make them your own. So I'm going to start with the tip of the of the edge of the brush and I'm gonna make the center of the flower make a little curved line. That sort of varies in weight by pushing and pulling, and I'm gonna go around the edge of the rose stopping and starting. I got a little glove of paint there. It's sort of push and pull, stop and start overlap all the way around the edge. And it's already starting to look like a rose. I mean, really, you could even stop there and have of fun, little decorative rose. Now, on this one, I'm just going to show you the difference. If you use the same size that you used to create the outline, you might get a little bit different effect. You might like that more so by using this bigger brush, it sort of looks like a looser rose. Some roses are very tight and compact. Some have fewer pedals, so that makes a little bit interesting to have your roses in your finished piece. If you have more than one to make them look a little bit different is always a good idea. All right, so we're gonna let this layer dry before we come in with the lightest lighter shade of pink lighter than the base layer. Certainly lighter than the layer we just did. Okay, so now we're gonna do the same thing with our rose leaves, and I'm gonna take my smaller flat brush, and I'm gonna get my darker green. I'm going to use my Jenkins green which, as I've said before, you can use any Any dark green you have. It doesn't have to be these exact colors unless you you are going for like, you want to do exactly what I did. Okay, so we're gonna take are flat side of our brush and draw a line down the center of the leaf and then kind of repeat this shape, leaving a little bit of the green showing through. And this can be pretty painterly. It does not have to be exactly filling in the space. That's what makes it a little more fun. An interesting in the end. So just kind of make your marks, I The way I do it is I feel in one side you could fill in the whole thing if you want to try some different things. But this is the way that I'm gonna teach it here. And I would love to see if you come up with some variations and add those to the class project. Actually, I would love to see your layers as they develop. If you want to take pictures and post them in the class project off each step of your roses , I think it's really interesting to see people's the way they make marks and see the differences and everybody's flowers in the end. Okay, so now we're gonna dio use some of our others techniques and we're gonna do some outlines. All right, So I'm gonna take my round brush, and this time I'm gonna add a little bit of yellow. We can go darker or lighter to do our line work, and I'm gonna show you both. I'm gonna use both in my finish piece. All right, so I've got a nice lime green, and I'm gonna go go onto my fern and I'm gonna very loosely and not exactly do a Leinart version of my fern over the top, which gives you a little bit of something a little more interesting than just the solid color. So that's what we're going for here. I'm going to take the darker green, and I'm gonna dio once again to get some more practice. I'm gonna do an outline, a darker outline of a fern and these are all different variations. As I said, tools in our toolbox to make your bow K's and actually what it's going to do, it's gonna give you enough leaves that you know how to paint that. You can paint so many different variations off bouquets. So there's that Another thing we can do is add some little dots and stamps around ARB. Okay, I'm gonna take some light. Very light lime green. I'm gonna mix up some yellow and green and add a touch of white. And for these flowers, I'm just gonna add a little highlight by repeating the stamp on the top. And I'm only gonna do it on one side because I'm the artist. And that's what I encourage you to dio maybe do it on every other one or this one. You could do the whole thing, or you could do just a light version to add. You can also make some tiny little plants by just having a stem with just some little stamps like that. All right, so let's see if our I think our darker layer is ready to go. So I'm gonna again grab my small flat brush, and I'm gonna make a lighter version than my original mid tone. This is a lighter version of that paint. So by to get that lighter version, I'm gonna take my naps all red and add more white to it than I did originally. Okay, so I've got kind of a nice pinky color here, and the value is quite a bit lighter, all right? And I'm going to just go back in like I did before. And actually, I'm gonna start around the outside edge of the Rose because roses are generally lighter on the outside, darker on the inside. And I'm gonna do my twisting and turning, and what I'm going to do is concentrate more on one side where my light source is coming from, and that's going to give your rose some dimension. So I'm going to do the same thing once again for you to see him to start on the outside kind of following these shapes that I've created, but not it doesn't have to be Exactly. And every rose is going to be different, and that's a good thing. So don't worry if yours don't look exactly like mine, I think I want one more little area. And then to finish those off, we're gonna add a tiny, tiny highlight around the edge once this layer dries. Okay, so now we're gonna do the same thing with the rose leaves and I'm gonna take my same flat brush. I'm going to mix up my lighter yellow green again and I'm just gonna deck sort of decorate outline thes leaves. And to do that, I'm gonna go through, and I'm gonna use this to make a little bit of line work. And I'm gonna add some interest. Teoh each of thes. If you add too much water to your paint, it's going to start to beat up. What happens is the acrylic paint falls like a part in the pigment starts to spread, so you need more paint on your brush if you see that happen. But don't worry, it's that your paintings not ruined. You just go back and add more to it. So I'm gonna do the same thing here and then, yeah, just continue to play and continue to practice by. You could do more line work. You can take a look at what you've done and see if you want to add anything different to it . Like maybe I want to add some dark to this one just to vary it up a little bit soon as this is dry this time I'm gonna take my round brush and I'm gonna add a little more white to my lightest pink that I've used so far I've used three shades This is the fourth shade and the lightest shade I'm going to use and I'm gonna make very few marks but I'm just going to add a little bit of highlight using the same sort of brushwork I've used. But I'm using my round brush this time And for one last final thing If you'd like, you can go back and dark in the center again with that darkest color that you used. So I'm gonna go in and just add a little bit of dark marks to my center and that's it for the roses, folks. OK, one more thing we want to dio is pain tsum rose buds and they are really easy. And we're gonna use this same mid tone method and I'm gonna comment and get me mid tone red and use my smaller brush to make just a little oval like this. Ideally, you want this to dry, but I'm gonna go ahead since it's just a small thing. I think I can get away with with showing you how to do this while it's still a little bit wet. All right, so now I'm gonna take a little bit darker red and add a little shading to one side. That's really, really dark. And if that happens to you, I'm gonna go in and just like that up a tiny bit, they're so you can kind of see what happens if you don't wait for it to dry. It sort of blends in, which is fine. If you want, you can let this dry and go back to add more definition. You just wait for it to dry and go over the top, and it won't blend in with the previous layer. All right, so then I'm gonna take my lighter of the three, and I'm gonna add a tiny highlight to one side. How easy is that? That gives it some shape and some dimension. All right. And then the final thing for the Rose is we're gonna add the leaves that kind of are opening up around the rose. But I meant to say All right, so to do that same thing, mid tone method, I'm gonna take my middle green and I'm gonna use my round brush, and I'm gonna add these little leaves that are opening up around the rose, but same brushwork we used to make the fern. You could even give it a little curly Q. Or you could add a little bit to the end if you want and give it a little bit of a base. Andrew Stump, Remember middle tone, dark tone, then light tone and highlight, if necessary. That is the mid tone method. All right, I'm gonna quickly put a highlight on, and you could see it's kind of blending in because it's wet. But in my finished piece, I will show you. It's kind of good for me to demonstrate that so you know the difference. All right, so we are ready to paint are OK, I'll see in the next video.
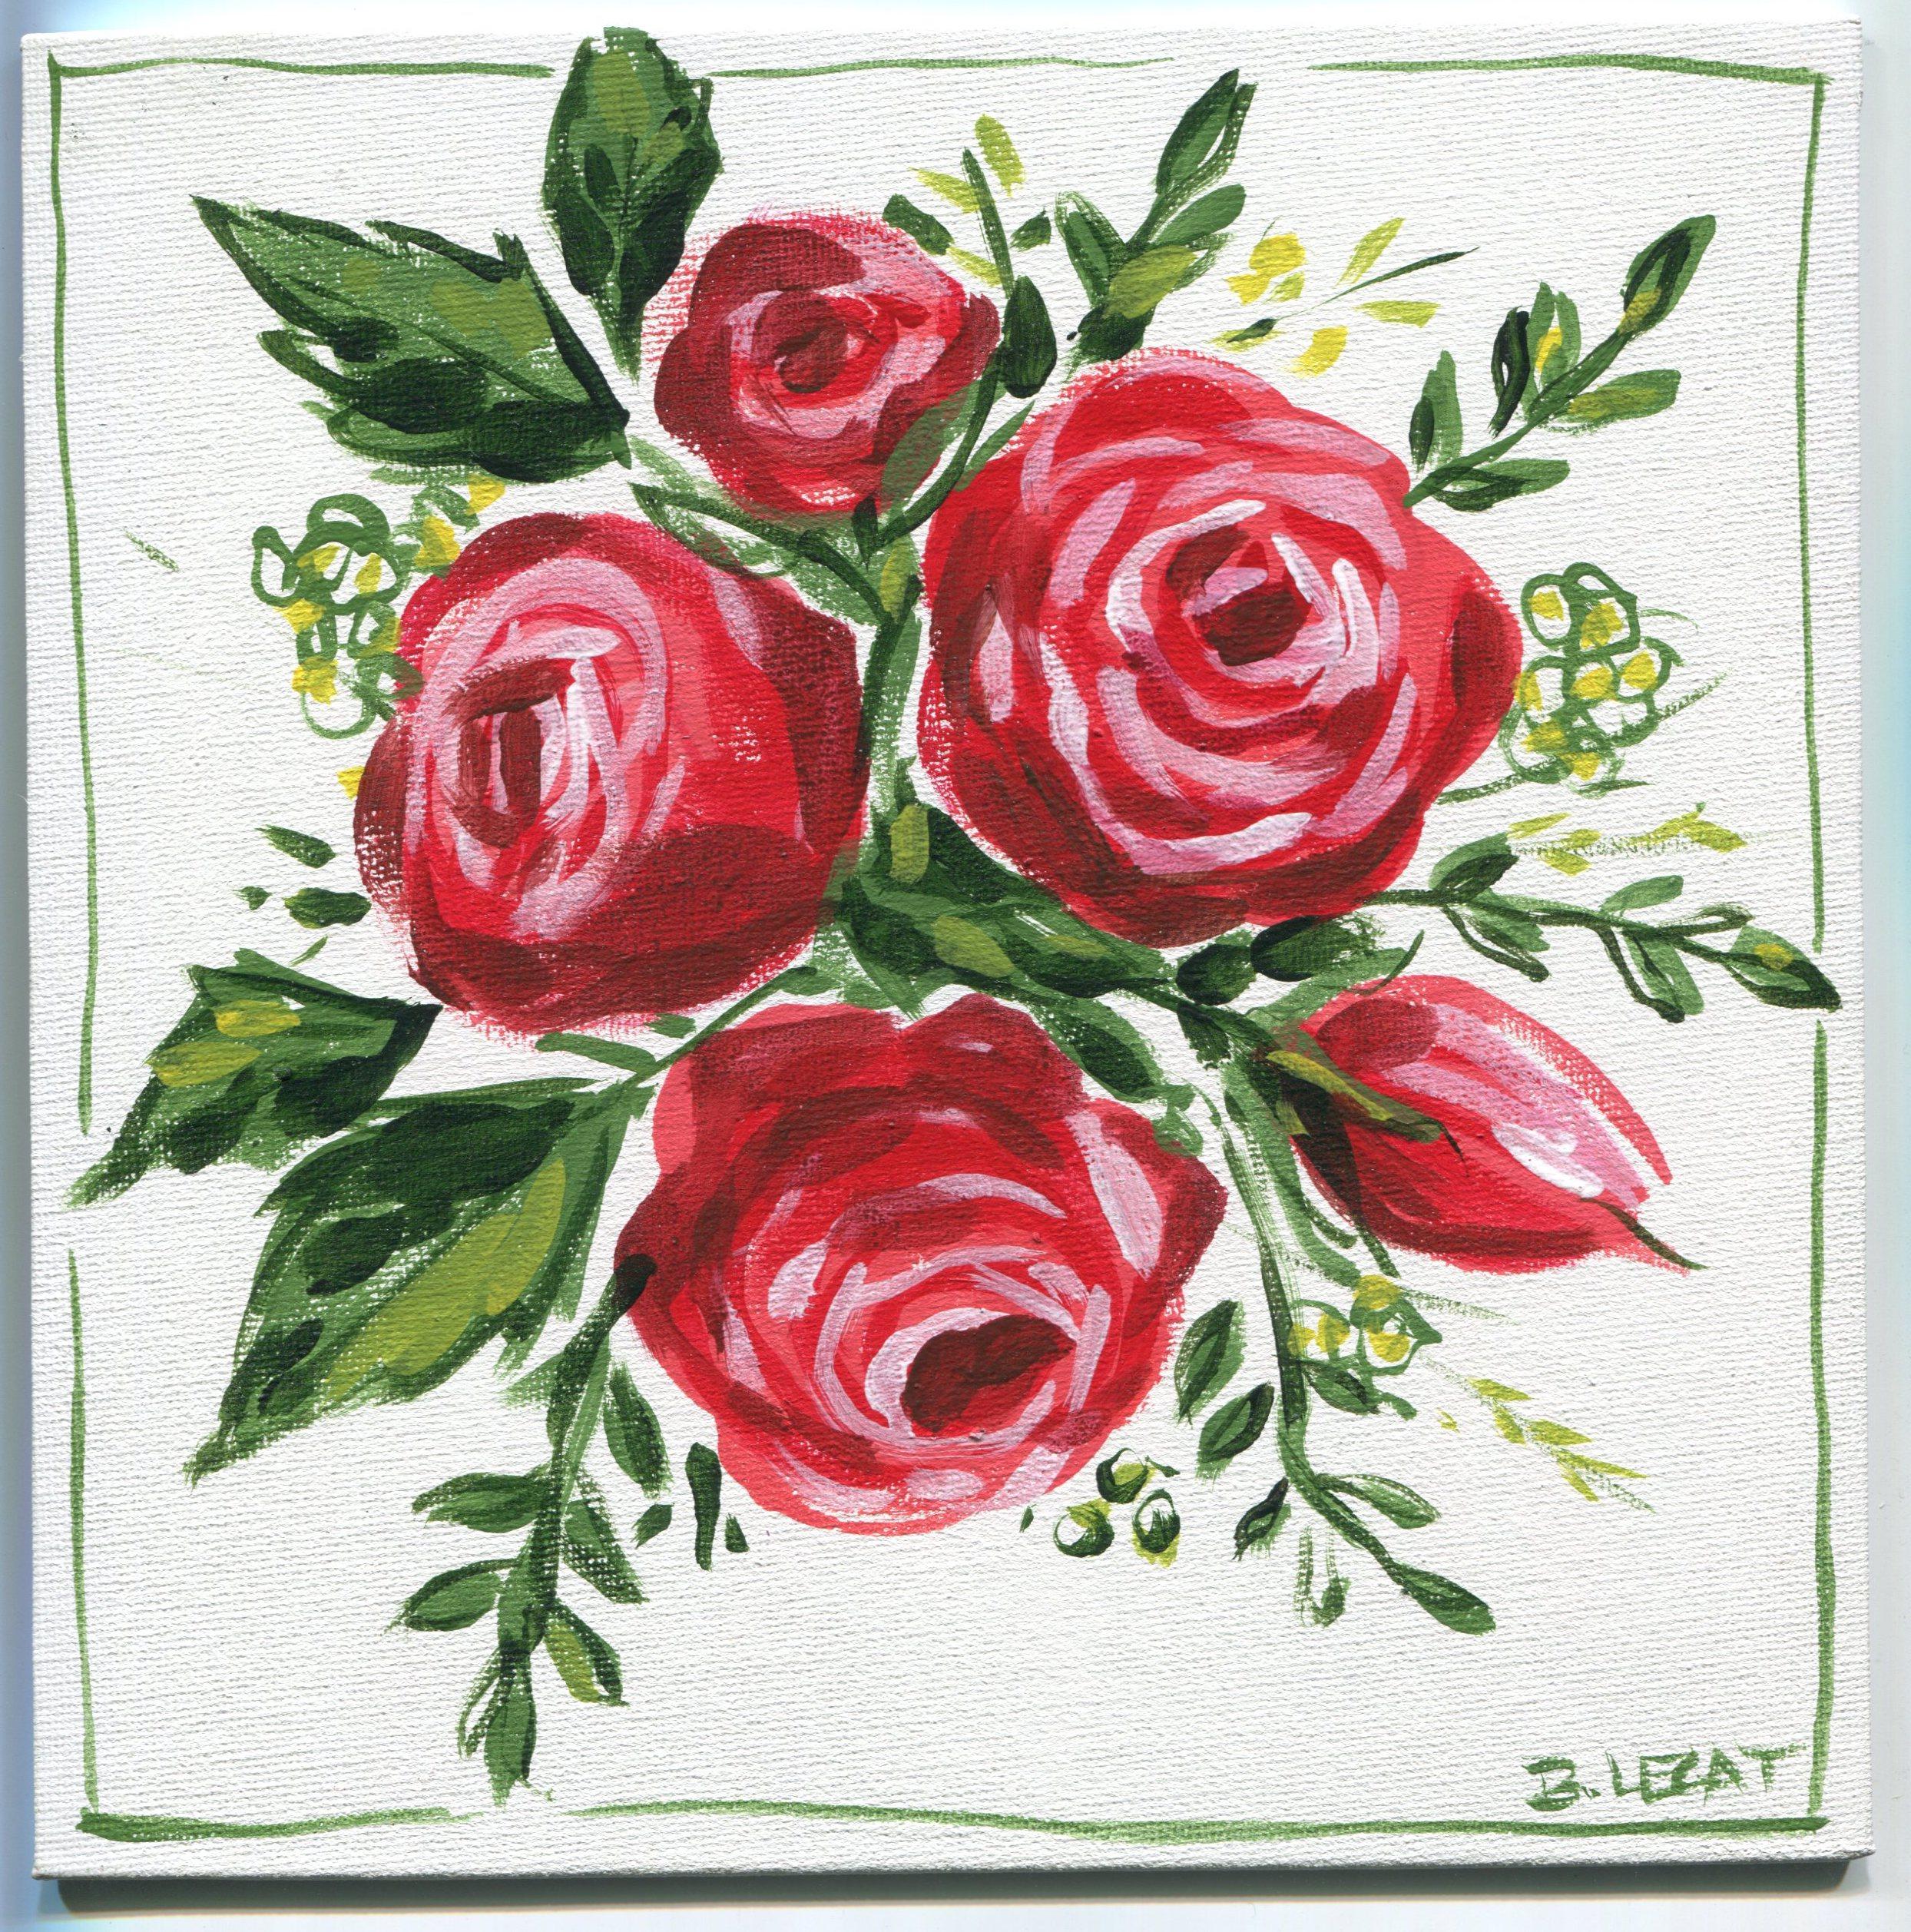
5. PAINTING A BOUQUET: Now that you know how to do these roses and leaves, you can paint lots of different things you could make. Maybe some monogram are you could make. You could paint this on a wall or obviously a canvas. But the important thing is now that you know these different elements is how do you pull it all together to make an attractive painting? So I want to talk a little bit about composition, just some basics. What we want to dio is we want to vary the sizes of our roses. We want to remember to sort of add things. There's something called the rule of threes, and it will make your painting interesting and dynamic. If you don't sort of, um, double things up or add them in even numbers, it's better to add them in odd numbers. You can see here I've got three roses and then two more that so it's five roses altogether . You could do clusters of two, but you want toe practice learning to balance out the lights and the darks. The shapes and the line work to make an interesting composition. This is an example. See your class notes. I'm gonna add this to the class notes. If you want to actually use this to kind of practice with follow, you know, to sort of imitate what I did before you do your own is always a good way to learn. So there it is. I'm gonna put that aside and I'm gonna make a new one. All right, So I've got a fresh eight by eight canvas panel, and I'm going to start by just I'm gonna start with my roses. That's how I did the one I just showed you. And I'm gonna use my flat brush. I'm gonna get my mid tone red, so sort of review everything we've gone over. So this is the third time that we've kind of talked about it in the class. I hope it's you're getting a better understanding of what the mid tone method is and feeling really comfortable that it's something you could copy. If not, I encourage you go back, You know, watch it as many times as you need to to feel comfortable that you can do it on your own. I'm gonna make my circle. I'm gonna vary the edges like a real rose would be using the edge of my brush to create a nice clean line. I'm not outlining it. Just gonna fill that in. Okay, so that's my 1st 1 I'm going to do three main roses. I'm gonna remember my rule of three, and I'm gonna vary the size of each of them. And the shape will be varied just by the fact that and creating each of them separately I didn't trace something down. And that's what's gonna make it much more interesting. My final paintings. I'm trying to repeat a lot of these same concepts so that they sink in and you remember them later. All right, so there is my second rose, the colors a tiny bit different, which that's great. I'm mixing up. Ah, fresh mid tone with each flower. So it's a little tiny bit different, but it's basically the same colors I'm using. I'm not changing my palate, so that will give color continuity to your finished painting when you're starting. It's really good to keep a limited palate three or four colors or even fewer to practice with and to start with before you start adding new ones in. All right, so that's my first layer of my roses. I'm gonna look at where this needs balance, and I'm gonna plan where to add my leaves them. So I'm going to go back to my paint, get the right consistency at a little bit of my darker green, and then I'm gonna consider Okay, this is the size of my rose. What would the size of my pedals be? So I'm thinking about that as I'm adding that in if you have to turn your brush or turn your canvas to make yourself at a at an angle where it's easier to paint, by all means do that. Sometimes you have to go back and sort of refine your shape. That's fine, too. All right, I'm gonna add a little one right here and now. I'm just gonna love can see Where would I like to balance this out? So I'm gonna try to balance out my green by adding another flower right here, Okay? And I'm not I don't think I'm gonna add another. I might add a rose bud right here, but I'm gonna gonna put another leaf coming out of here. Remember, we've got a lot of other different types of shapes to add so we don't have to add too many of thes to begin with. We can always add more later later. So I feel like my composition is already looking pretty balanced. And if you can sort of maintain that throughout by making making choices, remembering the rule of threes, remembering to balance, to vary your colors and your line work and your shapes, you're gonna be much happier with your finished paintings. All right, Now, I think I'm gonna add some ferns. So I'm going to take my middle size round brush, and I'm gonna twisted in my paint, get just the right amount of pain. I don't have too much water on there. And I am going to look where dough. I need something. Where do I feel like I want to had something different and I'm gonna start with my stem. Add a little fern leaf right there. I think I might put one right here kind of bending and curving down. You can see if you sort of turn your brush like that. It makes your fern a little more interesting to. And as I said before, you can overlap your leaves. That looks nice to think I'm gonna hold off on the ferns. Now, I'm going to add an a couple more a couple of rose buds before I do any more leaves, I'm gonna take my small flat brush, go back to my middle tone red, and I'm gonna add a little bud right here. Get a little more paint on my brush, because see, when you get those white marks like that, it means your brushes to dry. So I'm gonna add one. But there, I think I'm going to add once this is dry, might put one on top here. All right, this is still wet, so I'm gonna add a little more stuff to the outside before I do my next layer. Okay? I'm gonna look back at some of my line work and brushwork that we practiced and get some other ideas. All right, so I want to add something maybe a little more wispy. So I am going to dio a stem here and here, and I'm gonna use my little stamp. I don't really know what kind of leaf did it. This is, but it doesn't really matter because this is more decorative than realistic. You could see I'm not making them turn the same way. I'm not making them exactly the same size. Some down here. Maybe one right here that's really really lightened. Wispy, Still a little wet. I'm gonna let that drive for a second and then come back. Okay? I think I used a hair dryer. Feel free to do the same. If you if you don't wanna wait between await for your layers to dry. Now it is time to go in and do our second layer are darker layer on our roses So back to the red with the touch of the dark green. And to review, we're going to start in the center using the edge of our flat brush and create this little circular kind of a c shape pushing and pulling our brush pushing down and up. And they don't all have to be perfectly curved. Some straight marks will make it a little look a little more interesting also. So there's my first rose, and I'm gonna but that dry, actually, I'm gonna go ahead and dark enough. The center. All right. Now, this one, I'm gonna start a little bit. Not in the very center to make it look sort of like the roses pointing in a different direction. Maybe I'll go to the side here. Same technique, but I'm just starting, not in the center, pushing and pulling overlapping. Here we go again. I'm gonna dark in the center a little bit, all right? And I'm gonna do the same thing here. I think I want this to kind of start kind of facing that way. There we go. I like the way they look. Even just like this. Maybe you do too. So that could be your technique. Two steps, if you want it. All right. My leaves air dry. Gonna do the same thing. Add my darker and using the flat side of my brush Come down the center and I like to leave a little of the first layer underneath this kind of decorative and interesting. And I I can't wait to see if you come up with some different ways of doing the leaves. Because that's what makes a piece of art your own. Our little rose Bud needs the darker layer. And on this one, he's dry. So it's not gonna be like on the practice. You see the difference now I'm going to continue to add some more interest to the leaves by adding I'm gonna add a lighter outline version of kind of a limey light yellow green around some of these ferns does not have to be perfect. Does not have to be exact on each one. If you want to just make it a highlight. Go over the top. You can do that. I'll show you that. Here. I'm gonna add some different line work. Now, on my finished piece, I'm going to just do some little circles around the edge. Be careful to hold your hand up and not to get into anything wet on your painting for this . Actually, I like to hold my brush back. Kind of far too. Gives it a little bit of imperfection that I find exciting in a painting. Just dance of dots. Start having fun when she gained confidence. You're painting skills. You'll come up with lots of different ways to make your painting look fun and interesting. That are different than mine. I had some dots. All right, let's see. I'm gonna add some outline leaves like we did here too. So I'm gonna take, I think, for fun. I'm gonna take this really dark green this time and I'm gonna use my line work again. And I'm just gonna invent some little leaf shapes here. These air kind of gonna be drooping down. All right, so third layer of the roses, we are moving almost done with this painting. That's how fast you can do something like this. He's also would look great, like, as a really big painting. So if anybody tries that, I'd love to see it in the class project. Alright, so I've got my lighter shade. I'm gonna start again on the outside, putting down and pulling up my brush, twisting and turning, not worrying about making it to perfect. And I'm concentrating on the light coming from this side So I'll keep that consistent on all my leaves and roses once I've chosen where the light is coming from So same thing here . All right, The only thing left on those roses are a tiny highlight. Once this layer dries gonna go back to my leaves, I'm gonna add a little bit of yellow into my dots to just add 1/3 color into our mix. We've got pink green and then we're gonna accent it with yellow, which we've already used within the painting to highlight the leaves. So again, more color continuity. I'm not introducing a totally different color. And there's three different main colors that we're using. Add a little bit of yellow highlight onto this shape. Also, I'm gonna add another rose bud, because they're just kind of to fun to not have some more. I'm gonna put him in right here and maybe one little baby one right there. See if I can add a little highlight in before it Dries Cano to add my finishing highlights . I think I'm gonna use my larger round brush because my roses a little bit bigger. I'm gonna take some white, add it to my last light shade so it's even lighter, and then it just a couple little highlights. You know, if if you're happy with your rose, you don't even have to add this part. And now I'm going to give a little bit more interest to my leaves by doing an outline. If you remember, I said it's a good way to if you feel like you're painting, needs a little more interest. Had a difference. Brushstroke somewhere within it. Angular lines like that always make your paintings at a little dynamic movement. Now, just to finish this off, I am gonna give it. I'm gonna frame it out a little bit with some green.
6. FINAL THOUGHTS: Congratulations. You did it. I knew you could do. It wasn't so hard, right? Don't forget to leave pictures in the class projects. Leave any comments or questions below class. Please leave me a thumbs up and follow along with Beyonce. Kill share so that you can stay up to date whenever I offer new classes. Don't forget to download your materials. Keep painting. It's been an honor and a pleasure to paint with you today. And I hope to see you again sometime real soon. Thanks.
 Bonnie Lecat, illustrator, designer, teacher