Transcripts
1. Introduction: Hello and welcome to my class intention or mixed media art for beginners, make your own Jonah and connect with your joy, which I'm very excited about. My name is Christina. I'm a watercolor and mixed media artist based on what a situs Argentina. In this class, I want to introduce some basic concepts of intention on art and mixed media creations. Over the last year, I started to dive into these topics. And the focus of my creative journey is shifting more and more from just making something pretty, to discovering how making art can help me overcome difficult situations. How I can connect with my feelings through art, and how I can infuse a piece with deeper meaning about things that are important to me. I also learned to really enjoy and embrace the process in, without varying about or focusing on the outcome so much. This helped me a lot throughout this very difficulty at 2020. And I'm eager to share some of these techniques with you. So I invite you to embark with me on the study journey where we will create and the first step, a little art journal from toilet paper rolls. Yeah, that's right, and it's a lot of fun too. Afterwards, we will create a mixed media page and this handmade journal about join. I will show you my process step-by-step, but also give you a lot of alternative tips to go. So you can change the process To accommodate it to your needs and to what feels good for you. This class is for beginners. All you need to start. Awesome toilet paper rolls, some basic art supplies. Curiosity to explore what Joy means to you and enthusiasm to creative on it. Join me in the next video to take a closer look at the genre and the page we will be creating them and then talk about the class project. See you there.
2. Your Class Project: Let's take a brief look at how your class project can look like. I want to encourage you to create your project and add to it. As you follow along with the different lessons. The finished project can obviously include your handmade journal and you're finished joy page. But you can already start it with images of the materials you've gathered at home. And you can include approach, process pictures while you're working on your joy Page. And it is always interesting to see how mixed media pieces evolve. They often have several layers that change the piece completely various times during the process, as you can see here. So you can post images of all the steps you are taking if you want to do so. And as long as you feel comfortable about it, then there's the option of only creating the journal and using it for something else. Or you can create only the mixed media page connecting to your joy. In any case, I'm certainly very excited to share this process with you and would be really happy to see what you are making. So now, let's go over some supplies in the next video before we start creating.
3. Supplies: Okay, so let's go over the supplies for the journal. You will need six toilet paper rolls. If you want to pick a journal, you can use more paper rolls or if you want a bigger one, you can also use the tubes from the kitchen roll. Next, you need a ruler and a pencil to make some marks and measurements. Then you need a tool to punch holes for the thread. And bookmaker terms. This would be an all but I have the similar tool instead that I don't know the name of wax thread in the color of your choice. A big needle, some masking tape, and a pair of scissors. For the joy Page, you can use many different supplies. I will show you what I will be using, but you can change a lot of these two other supplies you might already have. Here are some of the supplies you can use. Obviously your handmade Jonah, or if you only want to create a joy Page, sturdy paper or cardboard and mixed media or watercolor paper. Then you need one or different writing tools, pens, pencils, markers, whatever you like to write with some collage material. For example, colored paper, newspaper, magazine pages, tissue paper, things like that. The surface of our journalists not very big. So you really don't need a lot of it. And nothing too fancy because it's mostly about creating interesting textures on the page. So whatever you find at home will work. Then you need some brushes for applying glue and paint. I use some cheap brushes here, so I'm not worried about ruining them with glue or acrylic paint, palette knife. Or if you don't have one of these, you can use an old bank or credit card, some kind of glue or medium for collage, my Gesso. Or you can use white acrylic paint instead that works perfectly to then have some acrylic paint in various colors at hand. You can also bring in colored pencils, crayons, squash, and you can add water color, inks, markers, whatever you have at home. If you have kids, you can just snatch dash school art supplies. They are totally fine to work with. In addition, you will also need some kind of mixing tray or other surface where you can mix colors on and a jar of water. I also will be using water from a spray bottle, but it's getting quite crowded here, so I haven't included it in the pictures. You will see it in the class videos. And lastly, I have a carbon racket hand and some paper towels. This might seem like a lot of suppliers, but don't worry, use whatever you can find at home and get started. Remember, this is not about fancy supplies to create a masterpiece, but a process to connect with your joy and have fun while you create. And that's what we will do now starting with a journal, can wait to see you in the next video.
4. Make your Journal: The first step to make the journal is to prepare the pages. In order to do that, I take my toilet paper rolls one-by-one, flatten them on one side and cut them open with my scissors. Then I bend them in the opposite direction so they will lay flat. I do this was all a six toilet paper rolls. And the reason why only flatten them on one side is that I want to have longer pages. I want my journal to have a landscape format. So this way we won't have a crease in the middle of my pages. Once I cut open all my roles, I meant them even further in the opposite direction using the surface of the table, like you can see me doing here. Another way to do this has to pull each one, each page on the edge of your table, which is what I normally do. But it wasn't easy to film. So I do it this way in the video. Now I have prepared all my pages. Now if you wanted to make a smaller genre, you could just take three roles and fold them in the middle and bind them there. This is actually where I got the idea for these journals from, because I saw Iris from iris impressions art. Make a little journals this way. And I wanted to try this myself, but I I wanted to have a bit of a bigger, a bigger surface, a bit of a bigger genre. And this is why I came up with this method of finding my journal where I only fold a little bit off the page in words in order to get enough room to have a spine for my former Jonah. And you can see that I'm not measuring this really. I just eyeball it. I fall at the first one and then I took it to measure all the other ones. So they have more or less the same length. Twofold decrease a bit more. I take my scissors and with a handle, I go over all the pages where it just folded them. If you have a bone folder, this is the moment to use it. In the next step, I make some marks where I would like to punch the holes for my binding. This is actually the only step where I'm measuring and marking. Because obviously if I want to bind my journal later, I need to I need the holes to be on the same places. So I take my ruler and my pencil and make three marks on each page, one in the middle and one on each side, roughly half an inch or 1.5 centimeter from the edge. Once I have all my marks in place, I put a ruler and pencil aside and take my ALL or tool for punching holes and go through all of the marks on all the pages and punch holes. As you can see, these, all these steps are really simple and repetitive. And it's just a simple and easy way to make a nice journal to get your creativity flowing and explore all your crib a creative ideas. Once I have all my wholesome place, I will put together my Jonah. And as you can see me doing here, I'm sticking the pages alternating the direction of the long and the short end for my journal to come together. To can already see how majora will be. This is how it looks like. Next I will take my waxed thread and cut a piece off to bind the journal. The measurement as more or less two times the spine of the journal. As you can see, I'm cutting my thread a bit longer so I won't be accidentally pulling all the thread through my holes and have enough to to bind it together later. The first thing to do is to go with a needle from the outside in, through the middle hole. As the cardboard is a bit difficult to handle all at once. I take the pages one by one from my journal stack and put them on the needle. It's important to not mess up the order they are coming in. Once I have all my pages in place. I will pull the needle all the way through. And also almost the whole threat. I'm just leaving out a bit on the end. Where I later we'll tie it all together. The next step is to go from the inside out again through one of the outer holes. It's not important which one? And you can see that I am again taking the pages one by one and put them on my needle first. Then I'm pulling through my needle and the threat and tightened a bit. Next, I go from the outside in through the other hole, the hole on the other side. So I have a thread going up all the way up and down the spine. Here you can see me struggle a bit with one of the pages where the hole is not in the right place. So I just made a new one with my needle. And again, I pull my needle through and tighten the thread for the binding. The last step is to go from the inside out again through the middle home. And when I pull my needle through, I'm taking care that the long thread that's going down the spine is in the middle between the beginning and the end of my threat. I pull it through and tighten tighten it, and then I secure it with a W naught. And that's it. This is how the binding looks like. Once I have my not securely in place, I take my scissors and cut off the ends off method. In order to secure the more you can take a lighter and carefully burn the loose ends of the next threat so the wax will melt and it will glue them together. I will not demonstrating this here. I do this over my kitchen sink or outside, not in my studio where I have papers lying around and other things. And the last step, I take my masking tape, cut off some pieces, and stick the short ends of my pages to the longer ones. So they become part of my pages and are not flipping around the middle of the channel. As you can see, this method of binding is really, really simple. And it gives you a nice place to explore ideas, to just let your creativity run free. And to have a place to explore ideas. You can see that this journal, by no means is perfect or glamorous. And this is actually a really important part of this journal making that it's not perfect in any way. It takes away a lot of the pressure of creating, of starting a new journey, of starting a new page. Because it's just something really simple like you made from things you already have at home. So it's very inexpensive. It's a nice exercise and do you will not be afraid to mess it up or something. You can always make another one. So it's just to explore ideas and be creative and enjoy the process. So lastly, I cut off some of the edges that are standing out a lot in the middle. And there I have my finished journal. And we'll do a quick flip through so you can see how it turned out. And I also want to show you another journal that I made out of the tubes of the kitchen roll. So it's a bit bigger and also folded it in a way that I will end up with a squared journal. That's the format I really came to love. And that's it. Now let's get creative. I can't wait to see you in the next video where we start creating our journal page about joy.
5. Journal your "JOY": Creating this page and connecting to your joy through creativity and art making as an exercise from the realm of intentional creativity, which is like the name suggests, bringing intention to what we are creating. In this class. The intention is connecting to our joy. And that can be very emotionally uplifting and help to support us in our daily lives. This exercise also concentrates on the process of creating, not on the outcome. So as long as you are feeling the joy of creating your page, Doing great. To set an intention and start the process. The first thing I like to do is to write a journal on my page. As you could see, I just started super-simple writing with a big white posca pen joy several times, as well as other words that I associate with joy. Afterwards, I switch to a ballpoint pen that I like to write with and started writing down everything that came to my mind about joy. In order to get started or have something to draw inspiration from. I thought about some questions that might help to get the ideas flowing. Here are some of the things you can write about on your page. Which colors do you associate with joy? Which tastes, sounds, textures come to your mind. When you think about joy. Which expressions do you associate with joy? What moments or places do you think of when you hear the word joy? Which joyful memories come to your mind. What kind of symbols or marks do you associate with joy? What kind of images do you picture when you think of joy? When have you felt joy? These questions are meant to get you started with the writing process. You don't have to answer them all. Just let flow on your page, whatever. And as much as comes up and feels right for you in this moment. It's also not important to recognize or think about super deep stuff. Just let your thoughts wonder and bring to your page whatever makes you feel joyful. Keep writing as much as you want and feel that you need to feel the joy you are writing about. When you fill your page and feel you have more to say. Just turn your journal and another direction and keep writing or choose another pen, another color. And right over what you've already written. Once you feel you wrote enough, you can sign with your name at the end or write the data. And the next video, we will put some collage over our writing to create more texture on the page and make it more colorful. So keep watching and join me for the next step.
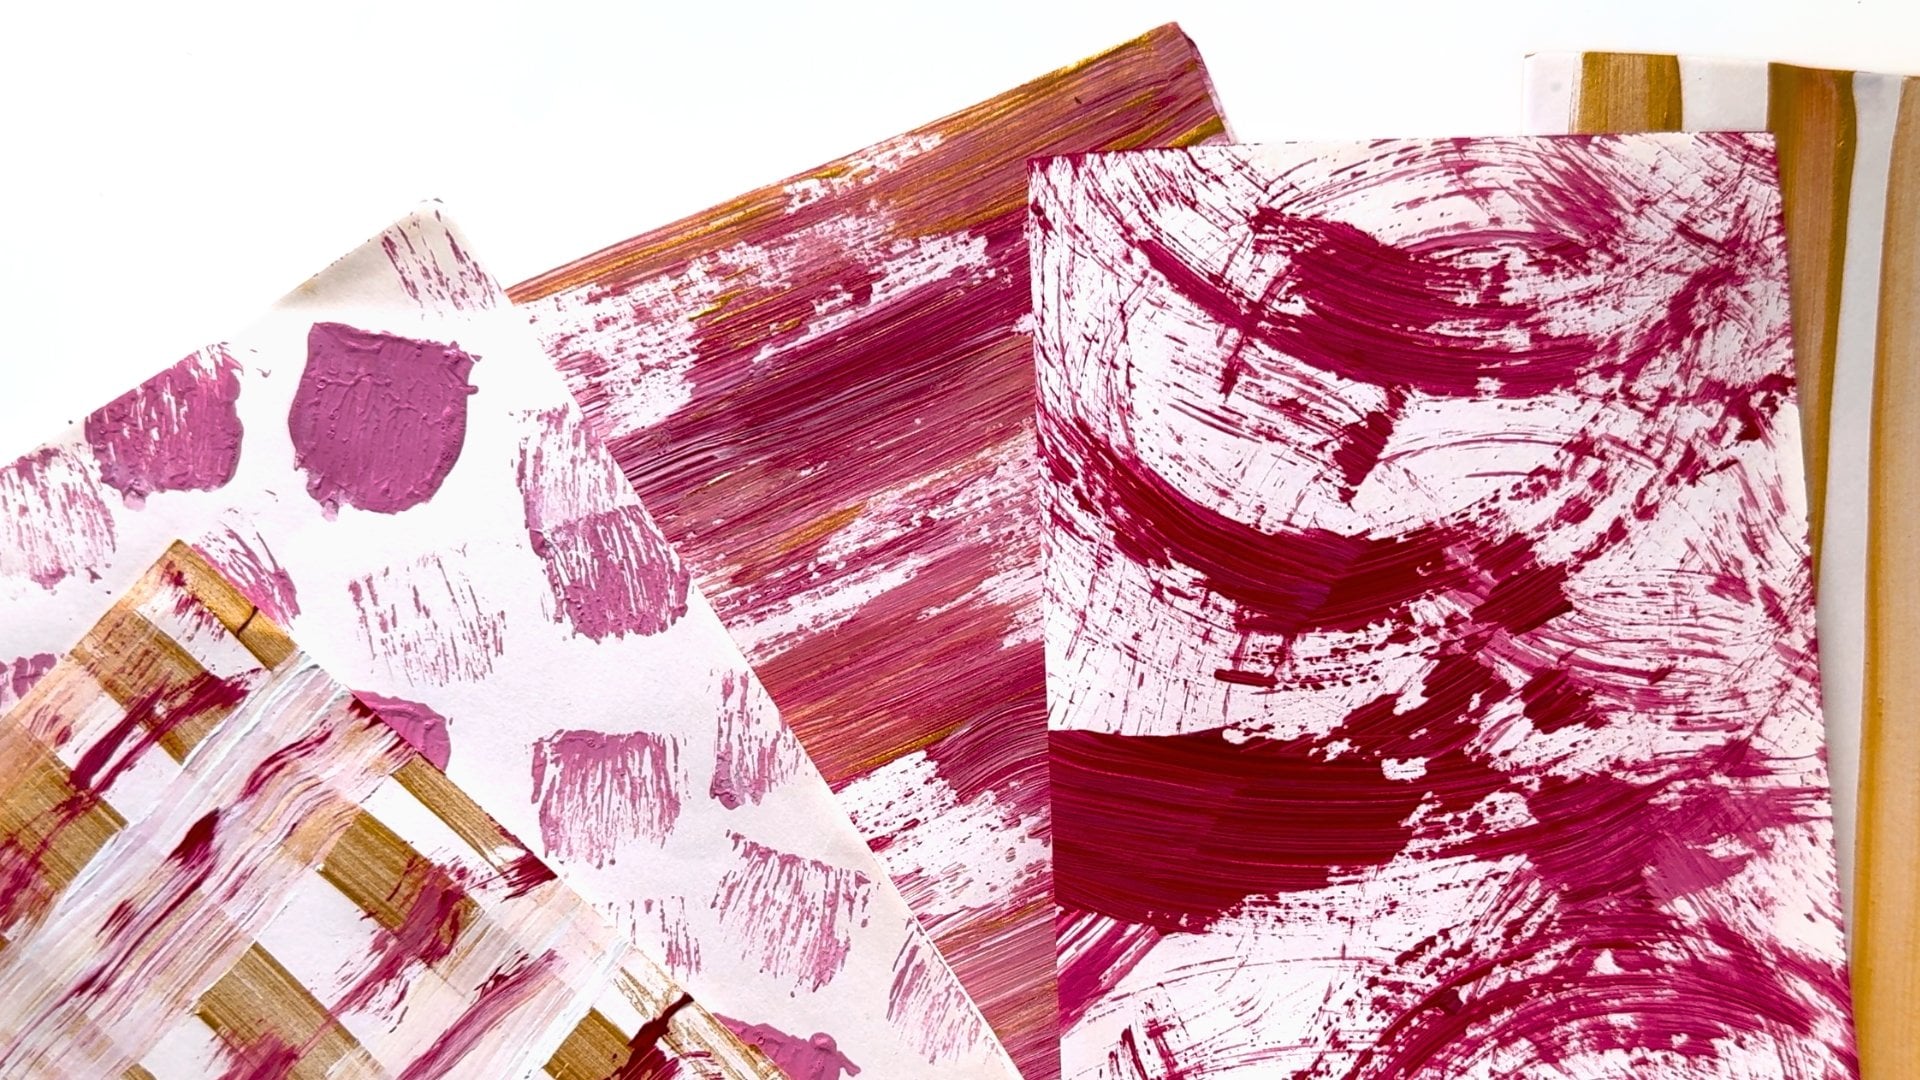
6. Add Collage: S, I'm trying out different mixed media processes and collagenous often part of these. And I'll have a whole drawer where I collect different papers and collage photo. From there I selected some pieces of paper to use for my joy Page. If you don't have a collection of collage for the available already, just make a tour through your home and see what you can find. As I mentioned in the supplies video, there's lots of stuff you can use. I mostly went looking for papers that match the colors that bring me joy. You can see there's lots of green and yellow, also some purple and gold as well as wide. Your colors might be very different from mine and that's totally okay. Just go with whatever color makes you happy. I also paid attention to the texture. Some moves and others have more texture, like the tissue paper, for example, and the crepe paper. From my selected papers, I prepare a little stash of smaller pieces that I will glue to my journal spread in a moment. Once I have my little stash prepared, I grab my mixing plate, an old brush, my spray bottle with water and the glue. On my palette. I squeeze out some glue and diluted with water so it will be easier to apply. And then I just start gluing down my collaged pieces randomly on my page. I'm not worried about the papers crinkling up or folding themselves because it creates more of the texture that I want. I do however, take care that some of the pieces go over the binding in the middle and in that way tie the two sides of my spread together. Most of the collage will not be visible in the end, but it creates a beautiful variety of texture on my page. And I find it also very relaxing to create this way. It's messy, that's true. But that doesn't bother me. I just wash my hands and utensils afterwards. Make sure you use a glue that you can easily wash off after you're done. There's absolutely no pressure and no overthinking here. I just do something with my hands and watch how my page becomes more colorful by the minute. As you can see, I don't cover all of my page what's collage? So the writing from the previous step is still visible in some areas. Some of the papers I selected are also transparent and the words keep shining through. Once you are happy with the amount of collage on your page, let it dry. While you wait, you can think about the colors you want to paint with and take them out. I will be working mostly with acrylics and similar colors as my collage. Because they are opaque, I can easily cover my previous layers as much as I want to and they drive fast. So join me in the next video where I show you how I have lots of fun painting my background.
7. Create a Colorful Background : In this video, basically, all you will see as me putting paint to paper or cardboard in this case, and having fun. I prepared my art space to have all the necessary supplies nearby. My brushes, palette knife, the mixing plate, some paper towels, my spray bottle, the JSR and acrylic paints in gold, copper, yellow, green, and red. Less than the collage step, feel free to choose any colors you want. They can be totally different from mine. You absolutely don't have to recreate what I'm doing. This is just an example that comes from my personal interpretation of joy in the moment I was creating. The first thing you see me doing is applying some way just saw on my journal spread. Just as men to prepare surface for painting with acrylics and gives it a bit of texture. If you don't have Jesu, just use white acrylic paint instead, it won't make much of a difference here. After applying a bit of water from my spray bottle and moving the just around, I put some little blobs of paint directly to my spread as well and started to color my background was these. You can see that I alternate between using the palette knife, a brush, and my fingers to do this. The palette knife is great for creating textures, scraping the paint away in some areas, and for mark making. And makes a funny sound too when I use it. The brush on the other side is smooth and allows you to spread the paint evenly and blend the colors together. Finger-painting is the best in my opinion, I love it. It makes me feel more connected to what I'm creating and it's just so much fun. If you haven't yet. I recommend that you try it out and see if it's for you and if it brings us much joy as it does to me. I'm sorry for the little glitch here. I was so absorbed in my painting that I didn't notice that my camera it's stopped recording. But you didn't miss anything important. I just kept adding and removing more paint and colors and we'll keep doing a bit more of that for you to see. Another fun thing you see me doing here is removing some paint with a paper towel and dabbing it on the page to apply bit of the color again here and there. To create more contrast, I decided to apply more of the dark green color. Look at the interesting textures the palette knife creates thanks to the previous layers, especially the collage. In this step, you can apply as much or as little paint and layers as you want to. Just experiment what makes you happy while you create. Like most times, I kept going and applying pain for quite some time and almost completely covered the previous layers. There's not much shining through now, but the textures are still visible and I think they're absolutely gorgeous. Then the next step, I will paint and decorate my page with things that are giving me joy. So join me in the next video to see how I create my vision of joy and obviously, get ideas on how to paint your own.
8. Paint your "JOY": We're coming to the last step in the creation of our joint page, the painting of a foreground. I'm Alex, I'm using to this video because it's rather longer going to be other ones. And I'm not talking all the time. So when that's the case, you have something nice to listen to. Maybe you saw that one of the first things I'm not on my page was laughter. And this is for me a very genuine expression of joy. But I want to incorporate here. So I decided to paint a site portrait of a loving Lauren. And I can add a lot of flowing hair and other things that I associate with joy. In case your phone on your Instagram. You might know that this is a recurring subject in my more recent work that I'm exploring a lot. In order to map out some basic proportions on my page. I'm making a quick pencil sketch where the head will be. They make it very simple, starting with a circle and then adding the shapes for the chin, and the throat, the nose, et cetera. And the basic idea why the hell wouldn't be. Don't be afraid to try to draw a portrait if you want to. You can just follow these easy steps. And if your paint with acrylics, you can paint over and change everything as long as often as you want to. Or you can leave at 01:00 PM draw because it has a lot of charm to end my opinion. And full disclosure here, I did look at some reference pictures to, to get a better idea about the shape of the head and proportions without the idea of copying any specific reference. Definitely do that too. And look for an image that speaks to you and you are trying to draw inspiration from. Or in case you don't feel like drawing a portrait or at Figure. Think back to your journaling exercise. What are the things that you wrote down about joy? And what do you feel like incorporating here? You'll pet maybe or flowers. Some symbol are specific marks. A reference to an important place of Jaffa memories. Whatever pops up in your head as quiet. Once I have my sketch ready, I prepare my colleague and start painting. Again. I switch them out between painting with my fingers and with a brush. This time incorporating the final brush for smaller details to. First, I know some basic colors are yellow, green for the head and a darker green for the hair. And bland piece of it on the page. And bit by bit, I add more colors and paint to the hair. Take it off again or the paper towel and create texture. Next, I start giving more attention to the face, Mary and colors to create light and shadow and depth. I switch between these two areas, most at this stage, face and the hair and built the layers up. It's like I feel my way around the page. And while I'm working on the different areas, I don't know the others to dry a bit. And it also keeps out loud. I'm not diving deep into specific details. Good morning. Okay. Thank you. And then we engage in I do add little details here. I'm there, I can outline around the face to make extent hot, more lines for the eyes and eyebrows and browse. And you'll see me doing this several times until I feel that it looks good to me. In the image. This, for example, it was more like, Yeah, let the eyes are brown, the IV like they are. And then I went over it and I didn't like how it turned out. So I just painted on live it all again and again. And then I also decided to add flowers and a contrasting color to the hair. In my garden and in the neighborhood. I see a lot of the slide. Couple hibiscus flowers. I love knocking them. Growing flowers and general makes me happy. And so they are something I wanted to have on my page. Why? And you can see my doctor. I switched again to work on the background for that. Thank God. It's my page, more radiance. Okay. There are also some things that I tried out but didn't work. Colored pencil for example, I applied some knowns to the hair, but it wasn't even polarizable. So I cut that part out. But don't be afraid to try and incorporate other through class. Seven things will add to your page and some might not. But you will only know that if you try it out. I tend to spend quite some time going back and forth, touching our details here and there. Or we're all just enjoying myself and watching my page come together. As there is not much more to say. I will leave you with the music here for the last few minutes while you'll see me finishing my joy Page. And the end, I bring in the Gordon gel pen, adding lines and little leaves and writing the word joy in the corner of my page 2. And the following video. I won't take you scroll my completed. Talk about what it means to me. If you're watching the rest of this video of me for every sketch book talk. Right? Hi everyone. The pandemic. Okay.
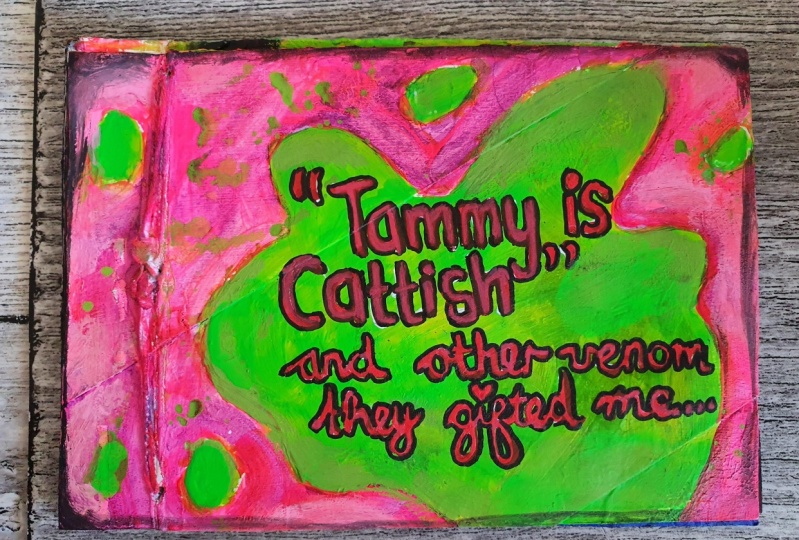
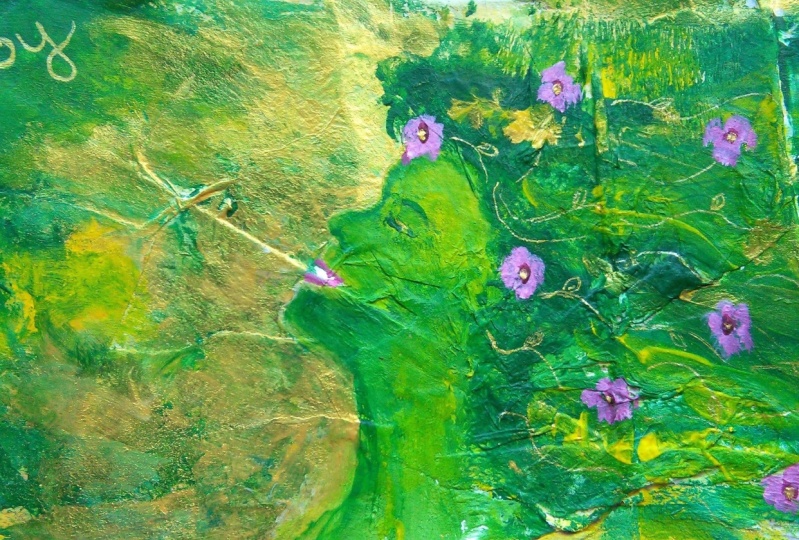
9. Journal Flip Through and some Thoughts: The joy Page was actually one of the last ones in this journey for me. So I invite, you know, for little sketch book tour while I talk a bit more about this journey and what it means to me. When I was making my journal, I thought about what I could create an ad. And they came up with the idea of exploring different feelings. You see, I often feel very disconnected from my emotions. And that is covered over the last year that art can help me reconnect. So this way, I said the intention for myself and for the whole Jonah. And this intention is now one that keeps spreading out more and more into my other R2. Okay, let's take a closer look. The Kaaba doesn't have journaling or collage. I just started with random X. So scholars from other pieces that I put there, once I had the background over all covered in different colors, I started to work more deliberately painting a phase and bringing it all together. You can see that I kept it pretty rough or this one, no detailed features or shading or anything, just playing with colors and creating textures. I remember there was a lot of water from my spray bottle involved. The homepage is one of my favorites to be honest. I love to create it and I love to come back to it often just to look at it. If you are interested in the making of this page, there is a time-lapse video on my Instagram and my YouTube channel. You can find both and the name of bonfire art. This page was a lot harder to create, although it was also a good feeling to let this out and transfer feelings of pain to the page and then leave them there. You can see that I treated the spread pretty badly. The collage came off in a few places several times. But overall, the carpet that okay. Was that in this case, I felt relieved by expressing my feelings, getting them out and leaving them in the genre, moving onto something nice afterwards in order to not stay in the happy feelings. Right in the middle of the genre, you have that joy Page, what you just saw me create. And after that comes the spread about sadness. I can't remember how often I painted over the head trying to make it bigger, but it always ended up being rather small. So in the end, I took it as a sign that it just wanted to be this way. And now that I look at it, it seems fitting. In this case also, after exploring my feelings of sadness, I switched to doing something nice for myself afterwards. Things that lift me up are, for example, taking a walk outside or doing a guided meditation where it can shift to something else and something positive. The last page is about love with craftsmen at lunch rather up nicely. Let's join our lives now permanently on my desk. And I often look through it and feel the textures when I take a little break from work, for example. And with that, we are coming to the end of this class. Join me in the final video for some closing thoughts.
10. Final Tips and Suggestions: Thank you so much for taking my class. I hope you have enjoyed it as much as I loved creating a for you. Please share your creations in the project gallery or tag me on Instagram at bonfire art. If you there, I would love to see what you create. If you have any questions, please reach out to me. I'm happy to answer them as best as I can. And if you have any suggestions for other classes that I could teach, let me know. Remember, the focus of this project is connecting to your emotions, connecting to your joy, and about embracing the process of creating. It's totally fine to get messy with the colors and the materials. It's not about producing a master piece of art, but a journey page that speaks to you personally and that reminds you of your joy whenever you need it. Overall, take care that automates your happy place and be gentle with. You. Also use your art supplies, even the expensive once you have those lying around, don't wait for a better time, the supplies, one to be used and fulfill their purpose. Lastly, please leave me a review on this class so more people will be able to find it easier. And if you enjoyed it, subscribe to my channel or follow me on Instagram. So you will be notified whenever I have something you do share, Take care and much love.
 Christina Keim, Discover Art as Self-Care Practice!!