Transcripts
1. Welcome!: Oh do you have a collection of inks which you've not
used or used very little? Well, you've come to the
right place because today we're painting loose
florals in a sketchbook. Using inks, or if
you don't have ink, you can absolutely
use watercolor. Hi, I'm Holly, and I work from my home studio in East Lothian in the
Lowlands of Scotland. I'm fairly eclectic in
my approach to art. I love painting loose florals, mixed media, gouache, and I sometimes dabble
in crafts, as well. Welcome to Inky Florals
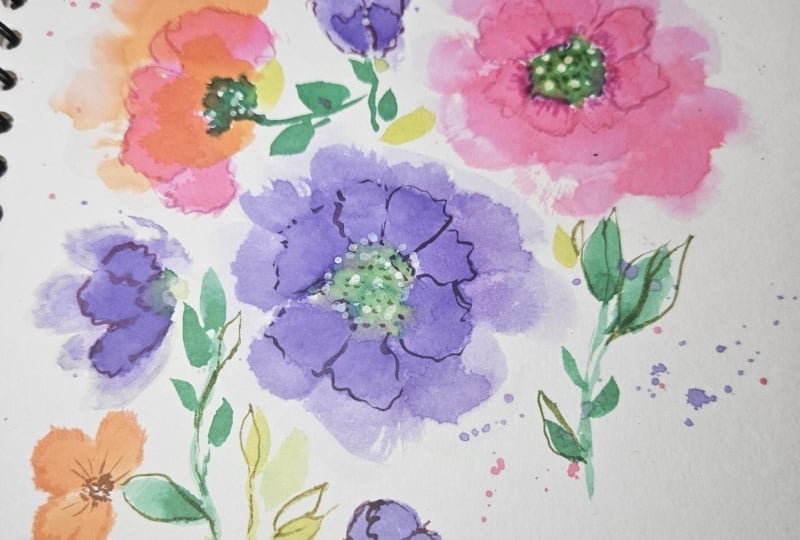
sketchbook practice. Watercolor inks have their own
particular characteristics over any other medium, and that is that they
are super vibrant. They're staining,
and we're going to use that to our advantage, and they're very accessible. Just a quick pipette
in a palette. No tubes or tops
which have dried shut and great for
mixing incredible hues. Painting in our sketchbooks
and in my case, just a simple notebook
can be very freeing. This class is perfect if you're wanting to explore the
qualities of inks. If you're looking to
paint in a low stress, curious mindset or
explore vibrant colors, you don't need to be a
pro at floral painting, and I'll be taking you through the simple brush strokes
that we'll be using. We'll take a wee bit of time
just preparing our palette. We'll be creating
three simple greens using primary colors. And then we're going to
choose our favorite pens, pencils, pastels to have a
relaxing doodly session. With final finishing touches, all you'll need is a
sketchbook or notebook, a few inks, or a watercolor set. A couple of brushes and your favorite coloring
pencils or pens. I've also attached resources
where you can download the outline of our
florals and others, too, if you wanted to
continue with your journey. By the end of this class, you will have evolved
your gentle brush work, have three simple green mixes, which you can use in a
future in any medium, feel more confident mixing inks and working with
their beautiful qualities. I can't wait to
share this with you, so let's get started.
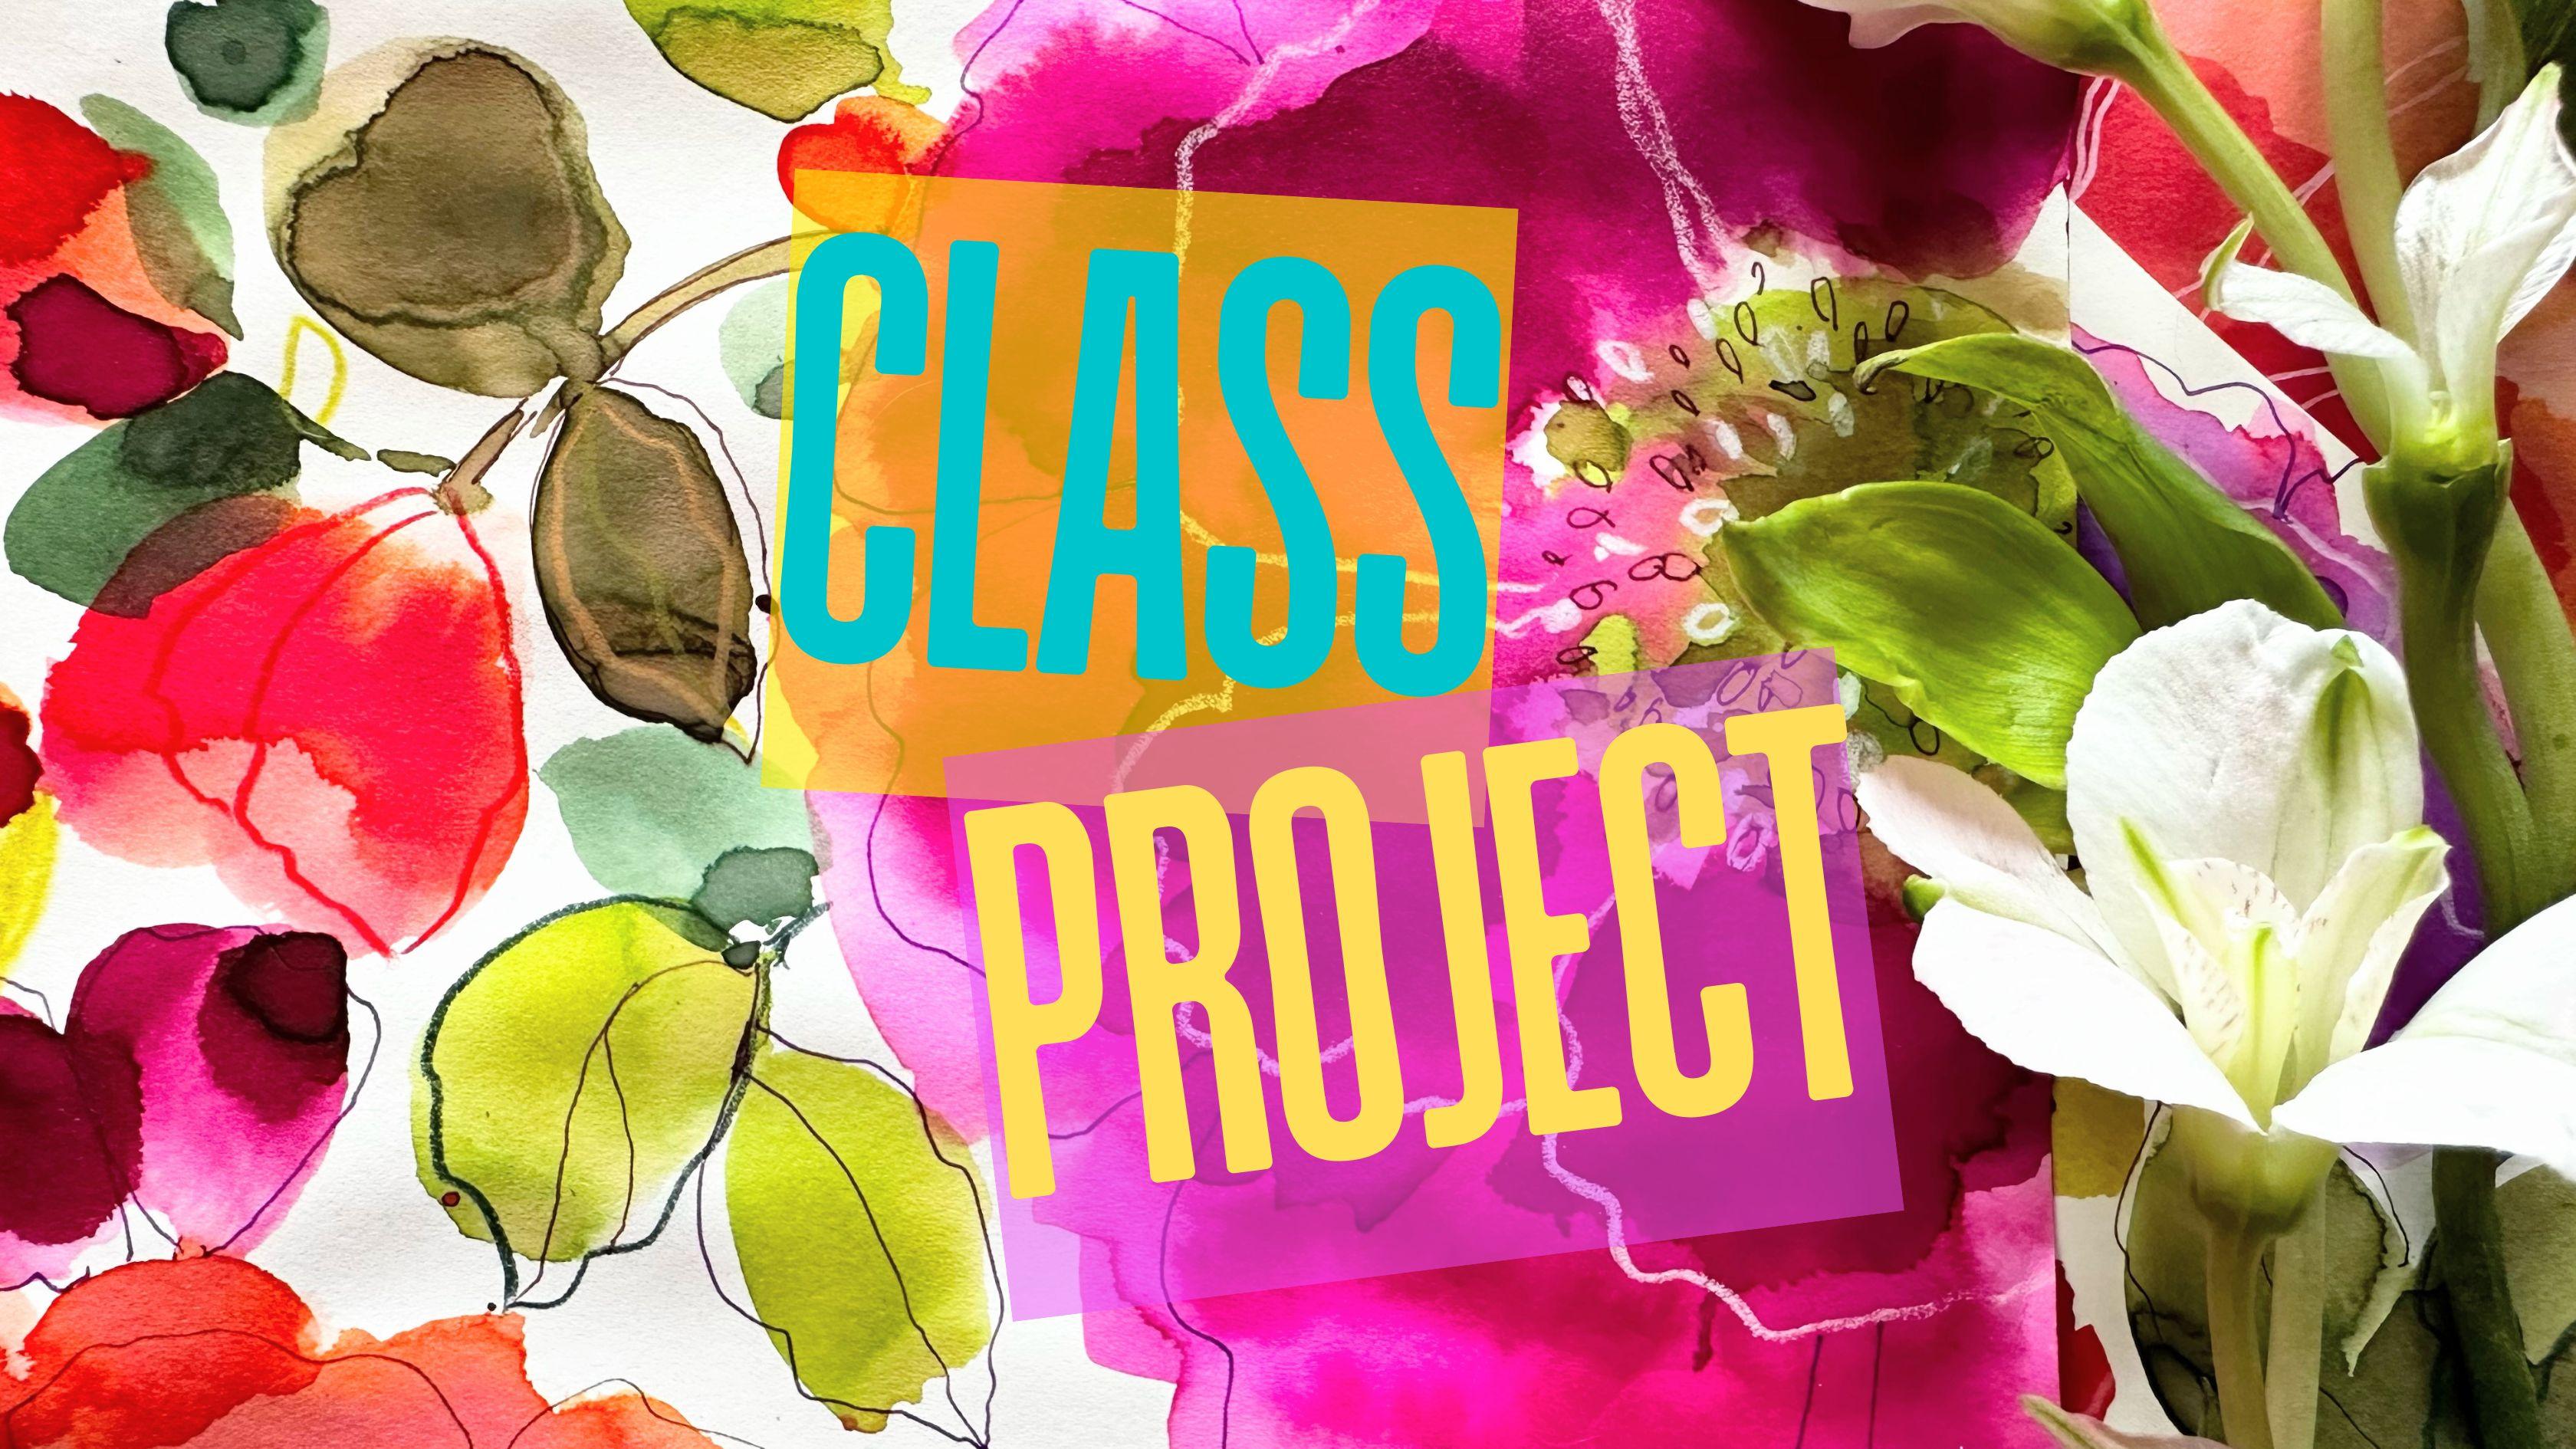
2. Our Class Project: The aim of this class
is not perfection. We're just going to
experiment with inks and work with translucency
and layering. I love experimenting with
inks in a sketchbook in a way that doesn't always
transfer to our best paper, especially when just playing and coming up with
ideas for a project. You can follow me and
paint along free hand. Or you can download the JPEG or PDF files I've
left underneath the class. Seeing your projects is my favorite part of
the whole process, and it's a great way for you to connect with other artists. So when you're ready, you can head over to
the projects and resources area of our class
and click on Submit Project. I find uploading the image
first is more impactful, and you can also add
text if you have any questions or if you wanted to share more
details of your process. Before we start, I just
want to mention you can access subtitles
underneath each lesson. And there's also a
full transcript.
3. Preparing Our Palette: I have my notebook, and I thought it might be good just to prepare our palette. It's always good to
do that, I think, on the paper that you're going to actually
do your project on. I don't always feel that
way, but with this, I've not used this paper
before for a project, and I haven't used
inks for a while, so I just wanted to see how they would
behave on the page. So let's start with
sunflower and English Rose. And this is Moss Rose
seven APH Martin's, and 22 B slate blue. 24 B, moss green, and I used a violet. I've left the number of that and indeed all of the other
materials in or About section. Let's start with my
favorite Moss Rose. Then we have a Tom Studio, and this is actually
a calligraphy ink. This is a red. It's called English Rose. So it's a Tom Studio.
English Rose. Now let's mix those together. I'll just put it up here. It's a lovely color. If you don't have these
particular colors, just mixing a red with a pink. Next, let's swatch our yellow, and I've chosen sunflower
by Tom's Studio, and again, this is
a calligraphy ink. But any warm yellow that
you have would be suitable. Next, let's have a
look at slate blue. This is another of my favorites, and it's a lovely mixing color. But any blue that you
have is totally fine. You might get a slight
difference in the mixes, but I believe in
using what you have, I don't want you to be buying
in lots of new materials. And we have 24 B, very vibrant. Look at that. Gorgeous. So that's
our moss green. So have I done them
all? I think I have. So let's see what these
look like together now. So we have our slate blue, and this is the moss rose. If we mix those together, that creates a violet. So that's late blue
and moss rose. Let's now mix the rose
with the sunflower because we're going to be wanting a second
layer on our petals, so we're going to mix a
slightly deeper color. The pipette not working, so I'm just trying
to transfer it. So mixing the pink
with the yellow, of course, is going to mix
a lovely orange color. So that's our
sunflower and rose. If we think about color theory, we have the three primaries
in the slate blue, the sunflower, and
the English rose. Then we've got the secondary
color, which is green. We have an orange, and we have purple. Now let's do something which is really great practice
for your daily painting. And that is to mix
three very easy greens. So the first one we're going
to mix is with yellow. So these are the
three primaries now, adding a little bit
more sunflower. And that will give us a lovely
spring green, very fresh. And I've used moss green
and the sunflower. Next, we're going to
mix a cooler green, and I'm using a slate blue. I might as well just mix these
in this little area here. So that's a blue added to green, and that gives us that
lovely cool green. So any green with blue. And then finally, we're going
to mix our green with red. And the closest I have
is the English rose. This mix is a gorgeous color. I love them all, but this
is a lovely olive green. Green and English rose. That gives us a good idea of
what we have to work with. So let's move on to
our next lesson.
4. Practice | First Layer Flowers : I just wanted to explain
that my voice might sound a little huskier
and quieter than normal. I've just had a small
procedure done, so that's why my
voice might sound just a little bit more
croqy than usual. So I just put some pink, red, and then I want a
little bit of the blue. I've got my mop brush, and let's give that hurtle mix. We'll start off with
a very watery mix. So that's mostly water,
a little bit of ink. And then we're going to bounce
up and down on the brush, kicking the heel of the brush to the center and moving the
tip of the brush round. You can do this with a
round brush as well. I love this for soft florals. And then let's do
another one here. So what happens by bouncing
up and down a little bit is that the outer petals have a little slight
scalloped edge, and this shape makes
beautiful petals. So again, just keeping
the heel of the brush in a fairly central position and moving the
outer brush around. Okay. You can see there
the scalloped edge. And then if you want it, you can go back into a more pigmented ink
and drop that in. And because the moss
rose is staining, we can go in quite quickly after the first layer and we'll start
to get that translucency. I want to show you a very
simple thing that I love to do, and that is to put pure water around the top of the
petals like this. And it just adds another facet
to our translucency work. It just plays with the
edges of the flowers. Let's do another
little petal here. And then I'll show you
again how we can just create a little translucent
layer on the outer edge. Putting a touch more pink down, and we can go in
whilst it's still wet and create another
layer of petals. We'll also do this once
everything is dry. But a mixture of the
semi dry and dry layers, I think we make a
really nice variety in our vast project. And then finally, I'm just
dropping in pigment and water.
5. Practice | Half Opened Flowers: Bit more pink and blue. Let's run through some
smaller petal shapes so that we can use those for
buds or half open flowers. So it's a very similar
method to our full flowers. And you can see that, especially with this brush with
a very soft brush, you'll be able to
create a broken edge on your petals and also a
little bit of texture. So keeping the
heel at the bottom again and then just kind
of rocking on the brush, which lifts the top of the brush up off the page and down again. And that's what creates
these lovely textural edges. So, to create this, we don't want too much
water on our brush. It's best done
with a soft brush. And you can use a round
brush for this method. And let me just show you that. So this is Escoda size ten. So we're keeping the heel to the base of the petal
and moving the tip of the brush round just as we
did above with our mop brush. And also just squishing
the brush into the page. I find that I do need
to do that if I'm using a round brush or a
slightly firmer brush. But get that brush working for you. That's
what they're there for. So squish and twirl and allow the bristles of
the brush to separate.
6. Practice | Final Layer Flowers & Stems: Now let's get back
to our flowers. And these are pretty much dry. And I'm just putting down
some pink and purple. And we want this
to be very neat. So hardly any water. Let's start off here. And we're using exactly
the same movement with the brush a little down
from the original layer. And we can create these
gorgeous, gorgeous shapes. And suddenly, our flowers become three dimensional almost. Such a gorgeous technique. So there we've got
the three layers, the dry layer at the very base, the semi dry area that we did, and then this very
neat ink layer. Extremely pretty. And I've forgotten which
way I did these petals. But I'm just going
to move it and go with it in this direction. So we've got these lovely
translucent layers, and we might as well
as we have space, do a few more half
open flowers and buds. So squishing your brush into the page and allow the
bristles to separate. And then finally,
let's just go around the layer that we've just done
with our clean water mix. And you can always hold
it this way and roll it. I've just put a little
dot of green down, and we can decide here
adding stems whether we want to have it bleeding a
little bit to the flour. If not, you can just
start it a little lower so the two don't mix. So I'm using size two
round brush here, and I tend to do my
stems quite quickly. So let me just show you
with our round brush. And then this space
here we might as well use up and add
some little stems. A little pink there on my
brush, but that's okay. That just mixes a
more olive green. So if I press my brush
down on the page, I can actually shape
the tip of the brush, which allows me to add stems without the
stems being too wide.
7. Practice | Centres: Et's do some really
quick centers. So with water down green, let's create a circle does
not have to be perfect. So minimal water, really. But enough for us to
do the next stage, which is just to drop in
more pigmented green, just to one side. And then a quick
mix on the pink. And just to show you what
that will look like, I was going to add some petals. Cause see with these petals, I started with pure water and then just added the ink
to the tip of the brush. We get that lovely pale center, especially that petal
on the right there. I love that. And then once
our center is fully dry, we can go in and
add little details. I tend to do just little
seed shapes, hoops and dots. And let's do the same over here. And not to leave
out the final one. Let's add some here. And then I'm going in with my Chinese white pastel pencil. This is that Karen dash one. And again, just
some loops, dots. And then picking up our size two round brush and
just adding some water. Gently going around some
of the seed shapes. It doesn't have to
be around everyone. And this adds another
three D quality, so it can start to see
the center as a dome. And then I like to join up the centers with the
petals a little bit. So I just pull out
a little bit of water and then add
in some pigment. Finally, you could go in with a posca pen if you have one. This, I believe, is ivory.
8. Practice | Leaves: So back to a smaller brush, and then let's just
add some stems. And you can make your stem straight or have a little curve. I'm going to do some curvy ones. And then a side sweep up to that stem or the reverse
from stem outwards. I love this shape for
both petals and leaves. And the mop brush makes
the most beautiful shape. So we're putting the
tip down on the paper. And then this is to
create a smaller leaf. We're doing the same movement, but only pushing down the
brush a third of the way. That's the full brush, and that's a smaller
half brush size. Let me show you how we can
do this with a round brush, getting the last remnants
of my moss green there. And I often use this rocking movement
when I'm doing stems, especially with this brush. I'm very familiar with it, and it's my favorite. And then we're loading up the
brush with lots of pigment, and we're doing tip belly tip. Tip down a little wiggle, and then up again. Let me show you side sweet now. Tip down, and then
the full brush, pushed down on the page, and then moved left or right. Here we go again,
and that's down. This is from left to
right, and right to left. And again, varying the size depending on how far you
push the brush down.
9. Practice | Pen & Pencil Details: Let's do some pen
and pencil details. And this is the doc
sap, Luminance pencil. And let's just have some
fun with these leaves. You can delineate your stems. Do some small veining. Little dots, little
dashes, little curves. I think this is my favorite bit. You see that large leaf. I didn't feel I had to follow
the actual painted outline. I quite like when
things go slightly skew w and develop their own
leaves in their own right. And I'm not doing all of the leaves with
this pigma Micron. Just some of them because I
know I want to go back in with other colored
pens and pencils. This is a brown pilot pen. Going back to our petals, and let's try our
white pastel pencil. I think this is my
favorite combi. That lovely, magenta
color, and this white. And I also love the texture of the pencil when mixed
with pen details. This is a purple plot. And let's use this to
outline the outer petals. I like the thin and thicker line together of the pen
and the pastel pencil. Quick outline of the stem. And I think I'll make this
petal a half open flower. And why not apscapen? And then switching back
to my pigma Micron 01. Maybe you add some
inner petals here with the pencil. That's so cute. This is so much
fun. I love that. And again, just outlining this stem up here
with a purple pen. And then the dark sap
and an extra wee leaf. One here. A couple more leaves, one there, and maybe just
a little one up here. Just adding tiny little details. And I think that's it. P,
10. Class Project | First Layer Flowers: So here's my notebook. And you can see the
pages are quite thin. So I'm just finding
a nice, clear page, and I think I'll rip it out of the book just so I can move
it around if I need to. Let's get started. So I'm going to pick
up my moss rose. This is, I think,
my favorite color in the PH Martin's
vibrant Range. And this is Tom's Caligriffy
Ink, the English Rose. Now, I happen to know that these two colors together create a gorgeous kind of
pink light magenta. And the secret ingredient is
a very tiny touch of blue, and I'm using slate blue. It just tips it over towards the more card of
lilacy purple colours, but it's staying very
much in the pinks. Isn't that gorgeous?
I love that. I'm picking up some water because we're going
to start with a very pale outer
layer of petals. The moss rose is very vibrant. You probably are aware of that. So lots of water. And then we can just drop in little areas of more pigment. And then what I
like to do is run a brush over the outer
edge just with water. And it creates a lovely extra little translucent
layer of petals. And just dropping in some
more pigmented areas again. Inks, as you know, continue to do their work
as watercolors do. So we know that that's
going to continue to meld together and
create some lovely blooms. Now, let's do a more
purply one up here. That's using our purple and just a tiny touch of the
colour that we've just used. And again, just
running the brush around the edges
with just water. And then let's go down here the bottom left and
make an orangey one. Now this is sunflower
and moss rose. So a yellow and pink together. That doesn't feel
orangy enough to me. So I'm adding some
more sunflower or your choice of yellow, it's a warm yellow
that I've chosen. That's better. So we've got our hero flower and our
lilac and orange flower.
11. Class Project | Painting Our Leaves: Let's move over to our green now and just
put some leaves down. And we've got this mix that we did earlier with the moss green. Just put a couple
of drops in there, and then our English rose. We don't want too much
red, just a hint. And let's just check that
that looks good. Yes, lovely. So that's kind of turned
it slightly olive green, a little stem, and then our
tip belly tip movement. And you can decide
here whether you want it to merge in with your pink. If you don't just leave a tiny gap between the
green and the pink. And then maybe a side sweep. And let's do some leaves here. So a side sweep in and I'm just going
to leave that bit there to add a half open flour. Tiny side sweep or
two stroke leaves. And then we can drop in pigment
in areas of the leaves. So why don't we add some
little buds here now? Just as we practiced, really simple movement, pushing
the brush into the page. So for that one, I had
water on my brush, and then I just dipped
the tip of the brush into the color. And same there. Super easy and super effective. And let's just do
one at the top. So we've got our violet
and orange buds. And again, just
water on the brush, take the excess off, and pink just on the tip. So we're representing each
flower there in bud form. I'm just going to
add a little bit more of the sunflower yellow. Need to buy some more of that. Let's make our second green, which is moss green
with the sunflower. So a green with yellow. Running out of this, too. And we'll take the
yellow over to the green in tiny
little increments, just to see how
bright we want it. That looks lovely. So let's create some
accompanying leaves to our olive green. With that one, it's going to bleed into the brighter green. And then maybe a couple
of leaves coming out from the pink flower and some
smaller ones up here. Et's do our center now. So this is mostly water with a tiny touch
of that spring green, and all we're doing
is a circle of color and then dropping in
a little bit of pigment. And that's it. We want to
keep it simple because we're going to add some pen
or pencil details. I'm just going to quickly
dry everything off.
12. Class Project | Second Layer Petals: Et's add a second
layer to our flowers. So I'm going to mix
that color up again that we used for
the first layer. So that's moss rose
and our English rose. So that's kind of a red
and a pink together. And then that touch of blue. And I'm using slate blue. This time, we don't want
to add any water to it, so we want it very neat. Isn't that a gorgeous color. I must put that on my notice
board so I don't forget. And then we're going to
do our inner petals. And we can allow the heel
of the brush to touch the green just so that we can marry up the center
to the rest of the flour. It's very warm here,
so that green had already dried by the time
I'd mixed the paint. So you may have it that the green mixes a lot
more with your paint, which is also a
beautiful effect. And then let's move up to
our purply violet flower. And again, I just dip right
into the purple there. Hardly any water added. And isn't that a
beautiful sight? I love inks for this. So delicate and yet so vibrant. Down to our orange. I'm going to try and get some last drops out
of this bottle. So that is sunflower with moss rose and a little bit
of the English rose. So if you have
different colours, that's a yellow, a
pink, and a red. And we're trying to create a deeper hue here and a
deeper value of paint. So less water very neat. And just squishing our
brush into the page again. And maybe add another
little bud there. And maybe an extra little petal. And I might actually just
extend this flower so that it's somewhere in between
the pink and purple one. And then let's go in with that delicate technique of
just water on the brush or hardly any ink and
water on the brush and just creating some little
translucent petals.
13. Class Project | Stems & Sepals: And then let's move
on to our stems. We have an olive green, and we have the bright
green mixed there, left and right, respectively. I'm now going to add
the blue so that we can mix this third
green that we practiced. It's not strictly
going to be the same because I want to use up
the ink in that well there. So I'm just adding the brighter
green to the slate blue. We get this very cool,
almost gray green. And you can always just drop in a little drop of
water to your stems. What that does, it pushes
the ink or whatever you're using watercolor to
the edges of your stem, and it just makes them
look really organic. And again, we get that
slight translucency. Just adding a little bit more green and a tiny touch
of that blue again. Nice, gorgeous, cool green. Running up to our little bud and around our violet
one down here. Up here, we have our lovely
pink one, adding some sepals. Very simple tip belly tip, but not pushing
down on the brush. And now for our orange flower, and I've just added a little bit of the orange mix to our green. I'm staying right on the tip of the mop brush for the stems, so I'm trying not to
push down at all. Oh, that's so pretty. Yeah, I'm liking the
way that this is going. I'm just lifting a little
bit of the color from there. By now, all of your inks will
be mixing with other inks, and we start to get some
really lovely subtle colours. And what I've done
is picked up some of the violet and mixed it
with one of the pink mixes. And I think this is moss rose and English rose with a
little bit of purple. And I thought I'd add
a little petal there. Very gently, just
tapping in color. And I'm just going to speed up the drying process so that we can move on
to our next stage.
14. Class Project | Magenta Flower Centre: Let's start with the center. And just looking back
at the first one I did, I quite like the
detailing in the middle. So I'm going to find my
brown pen, here it is. And let's just do some
little seed shapes. Dots. They can move different
shapes, different sizes. And just working around
the edge of the center. And we can take them up into
the petals a little bit, so it all marries up. And then I think some white. So I'm just going to try
the Luminance pencil, and this is a pastel
pencil, both carnash. Let's see if this shows
up and it doesn't. So I'm going to go to
the pastel pencil. Word of warning here,
I did try to sharpen it in an electric
pencil sharpener, and it's so soft.
I just got stuck. So I've had to do it with a knife and just
sharpen it as best I can. And I'm just making
the same shapes, little see shapes,
maybe some dots. And if you've got a Posca pen, you could add some of that, too. So I'm just going to add a few little dots
and oval shapes. I just wanted to add a
few extra there in brown. Now, when I was practicing, I quite like the fact that
once the center was dried, we could go back in with
a little bit of paint. So I'm just going to find a
really small round brush. I think this is size zero. Let's just go in with
neat water first, and we can pick our way around the little seeds and
then drop in some green. This is the green leftover
from our red and green mix. What it does is push forward
the paler little elements, we can kind of add this green around the little ovals or dots. And I also noticed when I was practicing that I liked the
green over the vaganta. I was just going to
isolate a few more there. And it's also now looking part
of the rest of the flower, so I am liking that.
15. Class Project | Pencil & Pen Details Part 1: I am going to use a hair dryer just to speed up the process. So I'm just going to
dry the rest off, make sure that it's fully dry. This is dark sap or
deep sap by Karen dash. It's my favorite
green in this range. And let's just outline
some of our leaves. So I'm just going to
do one in the pencil. Then I can come back
and do something different with the
neighboring leaf. Back to my brown plot. And what we can do is
outline some of our stems. And then I'm just going to do a quick outline of that leaf. I'm going to jump
around quite a bit, because in that way, we can get a lot of different
textures and colors in. So that's the pastel pencil. This is another of my favorites. It's spring green, but I will leave all of the details
in our about section. And I'm going to color that in. Just one leaf and leave
the other just outlined. And let's do another
one up here. Let's colour that one in and
then a little outline again. We can have one coming out
from beneath the flower here. And little one here. And let's do another
full colour one here. Really bright color, and it really lifts the
painting a little bit. I like it. So I'm back
to the pastol pencil. This is Chinese white. And let's go in now and do some outlining of the
petals of our large flower. You can use any pencil, pen, whatever suits you.
I love doing this. Super restful, and
it's so effective on this kind of
slightly magenta pink. And the other thing
that I want to not do is overdo things. So I'm just going to do a very simple outline on this flower. Very sweet. This is
scarlet, aluminum pencil. And I'd love to outline
these two buds here. So I'm gonna make them
two different flowers. Or maybe one flower, two petals. Want to pick up my
purple Pilot pen. Then let's just outline
the outer petals. I really love these pilot pens
because they also when you add water to them slightly
bleed into the water. I'd love to show
you that sometime. I've got it on my
list of things to do. It's a really lovely
way of using pen. And I really love mixing and matching here with
different textures, different pencils, pens,
different thickness of line, just outlining that leaf. Let's go to this one again. A little vein on that one.
16. Class Project | Pencil & Pen Details Part 2: So I'm just wondering
what we could use here. And I've got a 005 Pigma Micron, and this is Sepia. I'm just going to go round
our deeper orange petals. Maybe pick up a few
of these as well. So I'm going from the
middle of a petal over to the next middle so that the petals aren't all
the same shape and size. Going back to my light green, seeing if that is gonna show up, but it doesn't I think I'm
going to use this orange. Do you know what?
I've not actually used this orange pencil before. I've had it a few months.
That's quite sweet. Back to the brown pen. Just going to outline the stem. And let's just go round
a couple of leaves here, a little bit of
veining. Quite minimal. And while I've got that's going to add a little bit
of a vein there, and then maybe around one of
those bright green leaves. I'm picking up my
pastel pencil again. I'm just going to do some wobbly wobbly lines that bud there. I don't want to
overdo the lines, but I just want to
put a few in here. Just very lightly. I'm not pushing down very
hard on the pencil. M.
17. Class Project | Finishing Touches: M so I'm taking it easy because
I tend to overdo things. That's my want, really, so I want to just bring those orange
petals down a little bit. So going back to my mop brush, and I'm just picking up what I think there is the Tom's ink, English rose mixed in
with the yellow or pink. Whatever you have in your palette and just bringing
them down a touch more. So that they flow into the
stems a little bit more. Dropping in a bit
more color there, decided to make that
leaf a little petal. And I like that so much. I'm just going to
go round and do very little side sweep movement with the little green
leaves that we did. Just dotting these little
orange flowers around. And then adding a little
petal over that flower. Just painting in
between a couple of the lines here on that one. Really like that now. And then another little petal over the lighter
petal underneath. Dropping a little
darker color at the bottom of the
tiny little florets. So I picked up my green
again and the slate blue, and just putting a
tiny amount of the blue 'cause I want to
mix a nice cool green. We've got a lot of warm greens, and I wanted to add this lovely, cool, almost steely blue. And And I'm going to turn that into two halves. And we're working
a little bit with translucency here because
inks are beautiful for that. We can go over leaves underneath and create this gorgeous
layering effect. I think I need to stop. I'm really, really
happy with that.
18. Thank You!: Congratulations on
completing inky florals, sketchbook practice. Now you feel more
confident with inks. You can also go on to
mix them with watercolor or gouache to boost the
vibrancy of the hue. If you found value
in this course, please take 10 seconds just to leave a rating and a review. Your feedback helps me improve and helps other
students to find me. If you enjoyed this
style of painting, you might be interested
in my classes, Joyful Florals, roses. And beginners, very loose
watercolor florals. Don't forget to hit follow, and then I can update you
about classes and projects. I really hope you had fun. I look forward to
seeing you again soon. Take care. Bye for now.
19. Bonus Lesson: ACEO Mini Paintings: I
 Holly Tomas Art, Watercolour | Gouache | Mixed Media | Scotland