Transcripts
1. Welcome to the Class!: Hello. My name is Anna Statinka. I'm a Vertica and marker artist, and I'm happy to welcome you to my new alcohol markers class dedicated to sketching
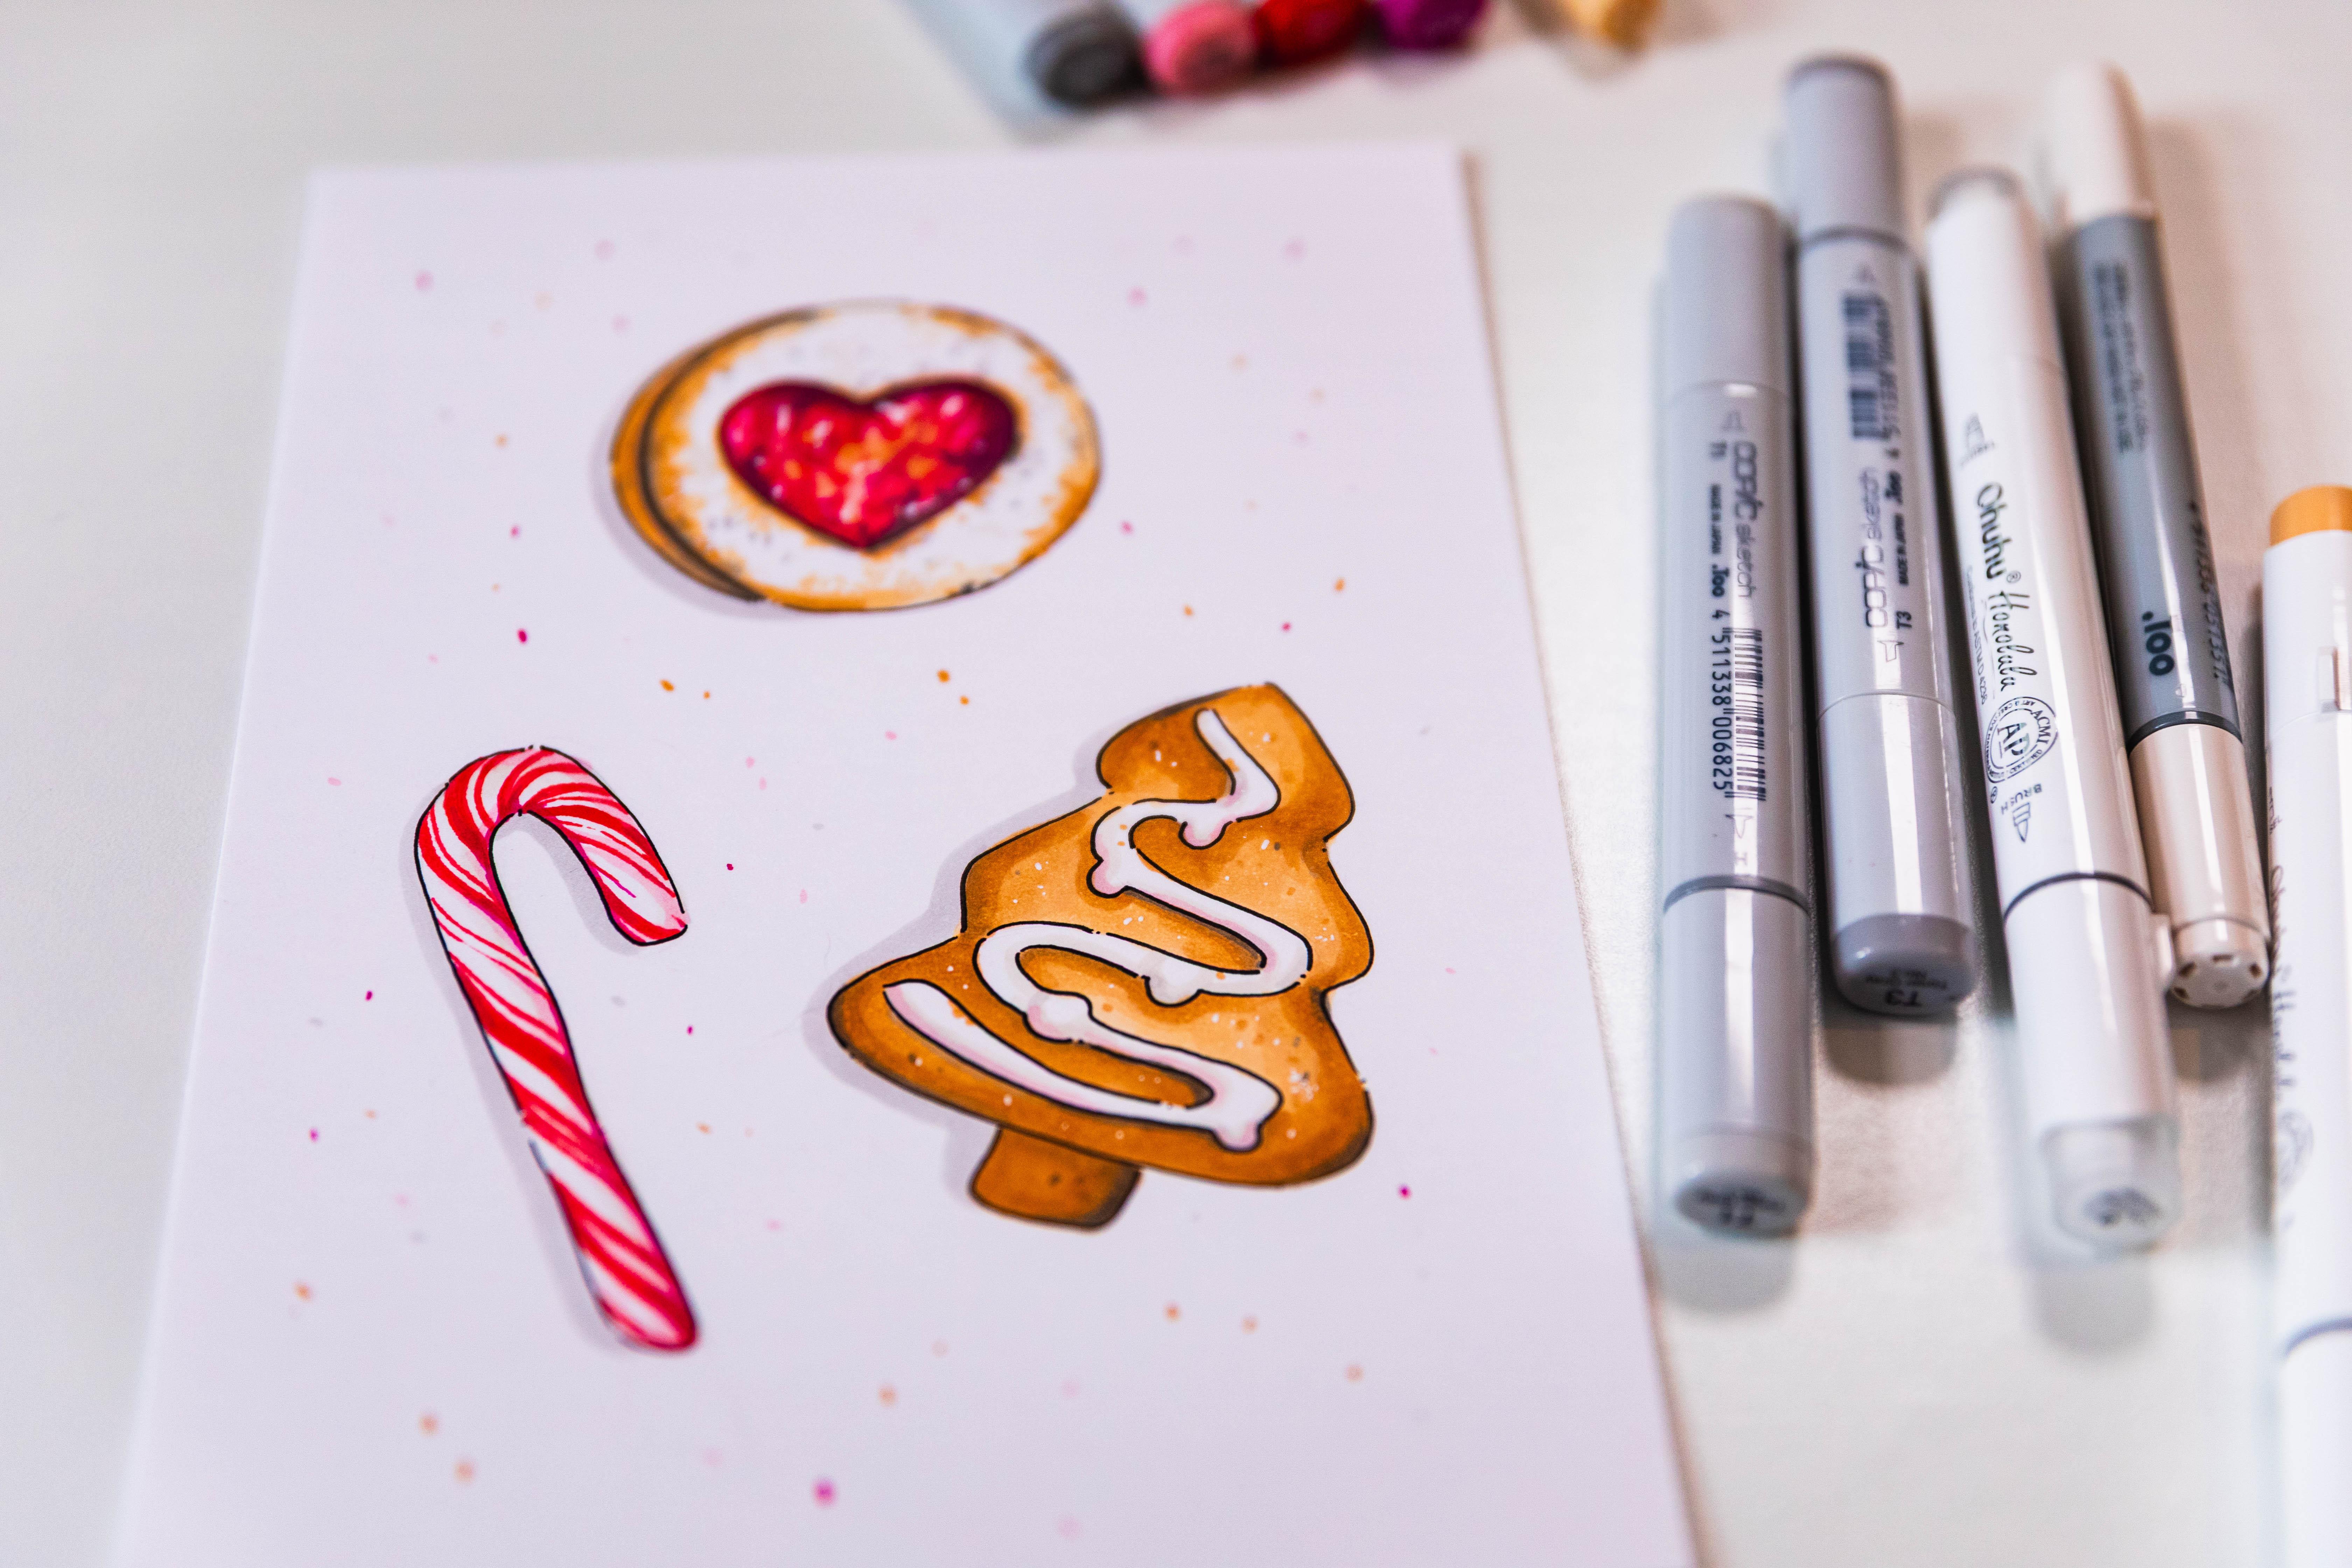
Christmas sets, a gingerbread cookie shaped
like a Christmas tree, a festive lollipop, and
a heart jam cookie. We will go step by step, starting with a
simple pencil sketch, then moving on to ink outlining and finally to the
coloring process. The end, we will add those
final touches that brighten up the whole illustration and make it feel complete
and interesting. This class is perfect for beginners or anyone who wants to sketch colorful Christmas treats and enjoy the warm
holiday feeling. And if you are
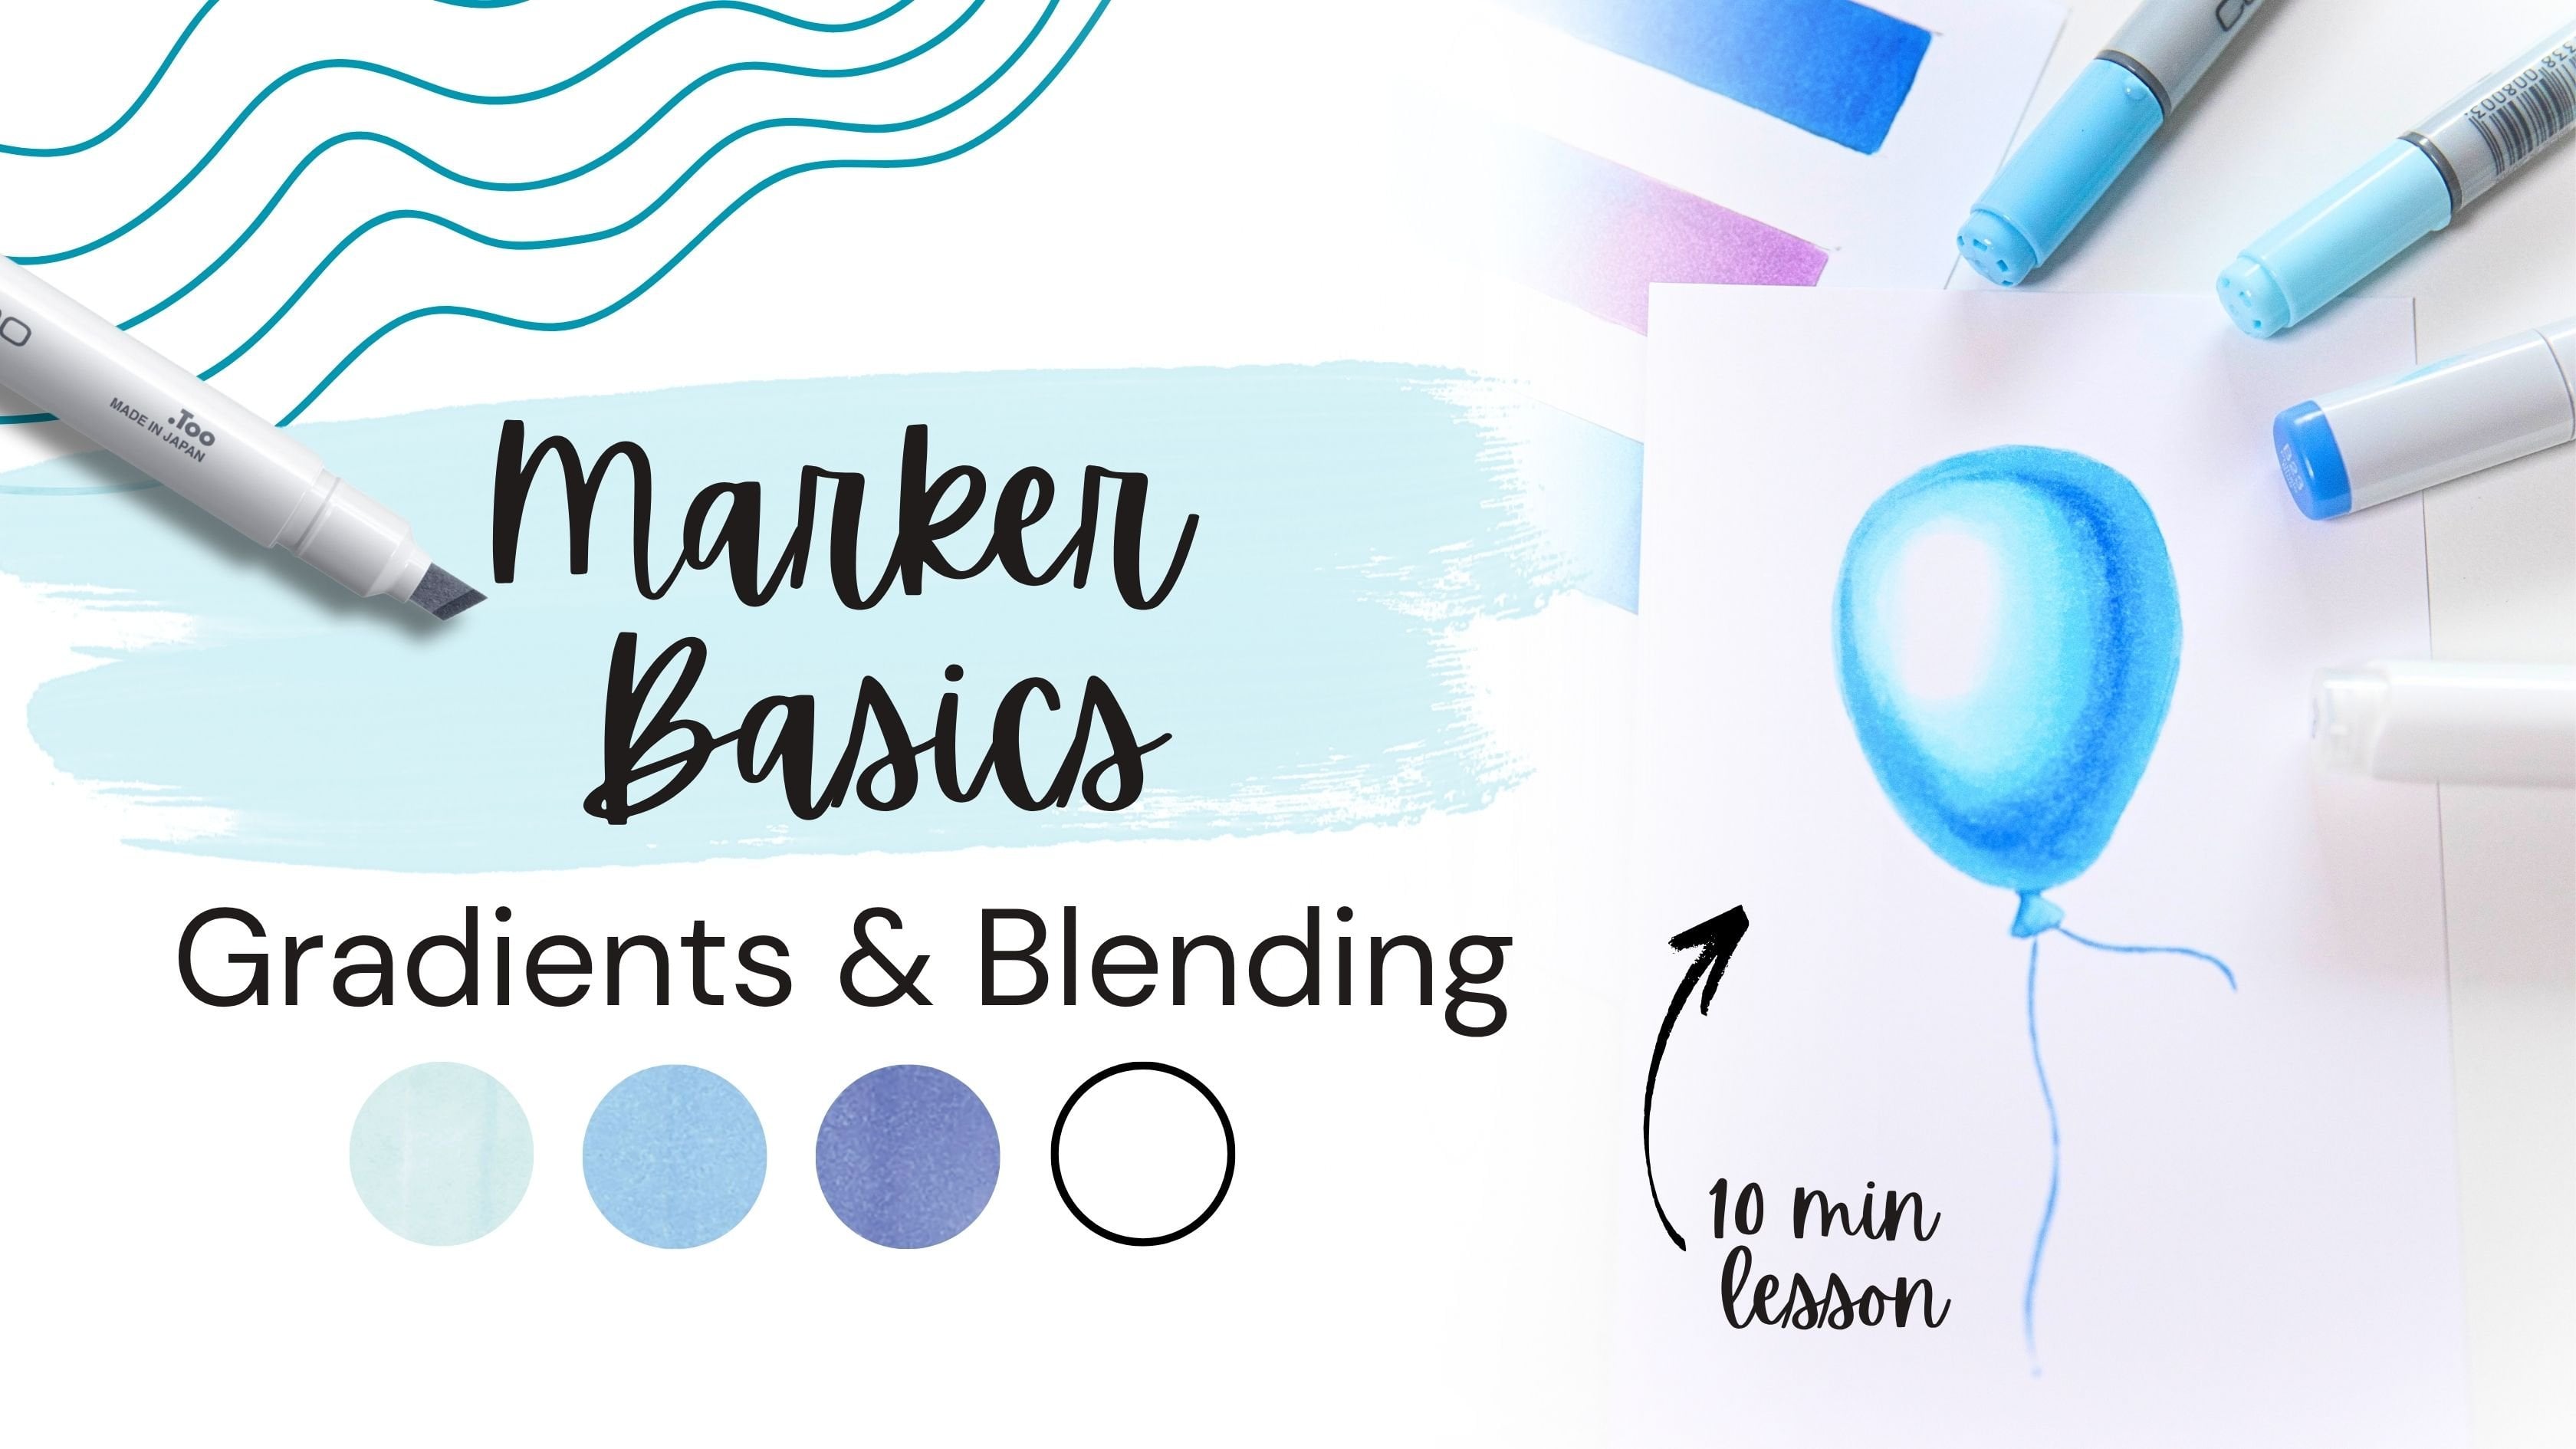
complete beginner, be sure to check out my
market basics courses. It will help you to get to
know your markers better and practice essential skills such as blending, gradients,
and layering. It's a great place to
start before jumping into more detailed
illustrations like this one. And if you don't feel like doing a pencil work, don't worry. I have included a printable
sketch outline so you can jump straight into the most exciting
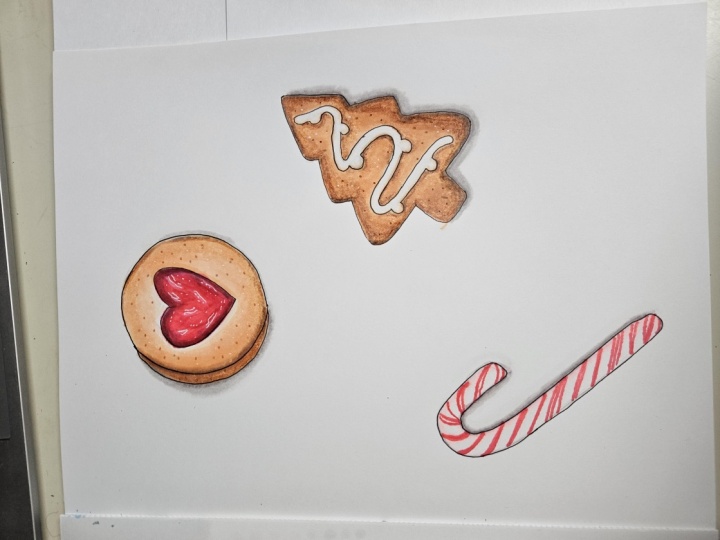
part, the markets. By the end of this class, you'll create a colorful
and realistic illustration of Christmas sweets, the kind you want to
reach out and eat. So grab your supplies, and let's get started.
2. Project: Materials: So what do we need
for this lesson? First of all, paper. I'm working on single sided
smooth Bristol paper, which in my opinion, is perfect for Marcus. Next, the markers. I'm using 3 grays, skipping one ton
in between T one, T three and T five. Then a transparent
blender marker for softening transitions and
smoothing out the fills. You can skip this one for this lesson if you
don't have it. I also have a light
brownish gray shade called brick white E 40. You can replace it with
any light gray if needed. Then two browns, one
lighter, and one darker. A light pink, and
two bright colors, one bright red and
one bright pink. We will also need two
types of erasers, a needed eraser
and a regular one. You can use just one if
that's what you prefer. A white gel pen,
a simple pencil, and a waterproof fine liner. I'm using size 0.3, but any size will work. And that's it.
Let's get started.
3. Project: Building the Composition: Before we start drawing, let's talk a little bit
about the composition. For this illustration, I will
be using three references. A cookie with a heart
shaped gem center, a gingerbread cookie shaped
like a Christmas tree, and a festive lollipop. Now, let me show
you how I'm going to arrange these
objects on the page. Here in this larger area, I will play the am cookie. It would be one of the biggest objects
in our composition. Then a bit lower
on the left side, I will draw the lollipo. And to the right of it, I will
play the gingerbread tree. Why did I choose this layout? Because it's one of the most popular and effective
compositions in illustration, a
triangular composition. With three objects, this
setup works perfectly. If I draw a triangle
connecting the objects, you'll see that each
one sits at a corner. It's also important
to mention that the top cooking needs
to be fairly large. Since we have two smaller
objects at the bottom, if the top one were too small, the lower part of the page would feel heavy and overloaded. The composition
wouldn't look balanced. With this layout,
the viewer's eye will naturally go first
to the largest object, the top Coquet and then move along the triangle
from left to right. Our eyes tend to read images the same way we read text
from left to right. This keeps the viewer
inside the artwork, guiding them smoothly
from one object to another rather than letting
the eye wander off the page. As a result, they spend more time looking at
the illustration, which is exactly what we want. Of course, you can experiment
with different compositions or even replace the objects
with ones you like more. It's completely up to you. For example, you could
play the objects in a row or put the lollipop
in the top left corner, the gingerbread cookie
in the bottom right, and place the round
cookie in the center. But in this case, it
should be smaller. There are so many possibilities. But for this illustration, I will be using this
triangular composition. All right. That's all
for the composition. Let's move on and start
our pencil sketch.
4. Project: Pencil Sketch: Oh Let's begin our pencil work. I'll start with
the basic shapes. At the top, I'm drawing
my gem cooking. First, I'm only sketching
the general shapes to understand how everything
fits within the composition. Right below it, this
will be our lollipop. A Our gingerbread cookie shaped like a Christmas dream. I will show three tiers instead
of four, just like this. Now I look at the sage and realize I want to make the
lollipop a bit smaller. Next, I gently lightens the
drawing using a needed asm. And let's start refining
everything in more detail. I slightly enlarged
this round cooking. Then I sketch the gem
heart in the center. Now let's move to the
gingerbread cooking. I'm refining it as well, pressing harder with the pencil so the lines stand out more As for lollipop, I'm going
to make it even smaller, so it looks more balanced
next to the other objects. And finally, let's draw the icing on the
gingerbread cooking. I'm not trying to
copy it perfectly. I would say I'm more inspired by the reference than
following it exactly. I'm adding those little
icing dots as well. And that's it. Our
pencil sketch is ready. We can move on to
the next lesson.
5. Project: Liner Inking: Now I'm taking my fine liner and outlining our illustration. I'm starting with a candy. As you can see, I'm not drawing
over the same line twice. Otherwise, it becomes too thick. In the small gaps, I just add a tiny dot or a short
stroke instead. I'm using a 0.3
waterproof fine liner, and that's very important because we'll be working
with markers next. If your fine liner isn't
waterproof, it might smudge. So if you don't have
a waterproof one, simply skip the outlining
for now and do it at the very end after
the marker work is done. Oh I outline our gingerbread cookie. And the icing on it. And now let's outline
our jam cookie. Carefully without rushing,
I go line by line. In the gaps, thin lines, I like adding those little
dots or short strokes. I think it makes the illustration
look more interesting. Now, let's wait a minute for the fine liner to
dry completely, and then we can erase
the extra pencil lines. And that's it. We can move
on to the next lesson. Oh
6. Project: Gingerbread Cookie: To begin, I'm taking the E 40 marker and adding a very light
tone to the icing. Even though the icing is white, it still has volume and this light marker
helps to show that. I'm going along the lower edge of the in to indicate that form. We'll also need a
blender marker to soften this color into the white and
create smooth transitions. Let's add it to our palette. But if you don't have a blender, you can simply skip this step. Now, I'm taking E 53 and starting to fill in
the gingerbread cookie. Carefully without
rushing, I colour the entire cookie avoiding the areas where
the icing will be. Next with a darker brown, I'm adding shadows on top to show the volume
of the cooking. Usually, I play these shadows along the edges and
under the icing. And to soften everything, I blend the darker brown
with a lighter E 53. Just like that, I add a darker area where
I see it belongs. Then go under the icing again. And blend everything with E 53. By the way, even using
a single marker, layering it multiple
times deepens the tone. That's a natural
property of markers. You can achieve a nice
gradient using only one color. I repeat the same steps, darker brown, then blend
with the lighter brown. Here under the cookie, I add a solid dark brown shadow, and later we'll add some
gray to strengthen it. I go back on this
icing in a few places. Also, I add a light
dot and line texture across the surface
of the cookie. This gives it the
gingerbread feel. Then I deepen the shadows
again on the lower parts. Now let's return to E 14 and add even more shade
into the icing, especially around
the rounder areas. Next, I take my light
gray Divan and add some slightly darker shadows here and there on
the white icing. Then I take my meat gray T three and add shadows to
the sides of the cookie. And add the icing. I bend that into the brown
using the dark brown marker. And then soften everything
again with the lighter E 53. Now let's take the
dark gray 85 and add the deepest shadows
just in a few places. With the same color, I add a bit more texture
to the cookie. Then I soften everything
once more with a dark brown. I look at my work
and realize I want to darken a few upper
areas with a dark brown. Including this side, and the
lower part under the icing. And a bit along the edges. And again, I soften it
all with a light brown. And that's it, we can move
on to the next object.
7. Project: Lollipop: For the lollipop, we'll be working with more
pinks and reds. I start with E 14. And just like we
did with the icing, I want to show some volume
on the white parts of the candy because
white also has form. Then I soften the transition
with the blender. Next, I take a bright red and
start drawing the patterns, the stripes on the lollipop. I'm not trying to copy
the reference exactly. I'm more inspired by the shape. I want the sips to look
interesting and not too uniform, so I alternate between
Cena and sika lines. Oh with this red, I map out the patterns
across the whole lollipop. Then we'll add color tones
using our bright pink. Now that the red is done, let's move on to the dark pink. Here and there, I add shadow
areas on the red stripes. Usually closer to the
center of the candy. I'm not shading the entire
stripe, only certain parts. Then I take the light pink and deepen the
tones on the candy. Showing more volume
on the inner side. Just like this. In a few spots, I connect the red stripes
together with the pink tons. I go back to the bright pink again and add even more depth, darkening the inner areas of the lollipop. And that's it. The lollipop is
ready. Let's move on.
8. Project: Heart-Jam Cookie: And now we have one more cookie left the hard jam cooking. Let's start with the center. First, I lay down a base
using my light E 40. Then I take the lightest
pink and fill in the middle. Lean some open areas
for highlights. Inside the heart, I can
see even warmer tone. So let's add a touch
of light brown here. Now, I take the red and clean those little gaps
for the highlights, I feel the area where the
jam sits inside the cookie. And don't worry if you
accidentally cover a highlight. You can always add it later
with a white gel pen. Let's soften the
fill using pink. Now I take the bright pink and deepen the tones around
the edges of the gem. And a bit in the center as well. You can also switch to the
chisel nip to better show the texture and the little
patterns inside the jam. Let's even add a bit of dark brown into the
middle for extra depths. For now, that's
enough for the jam. Let's move on to
the cookie itself. I take the light brown
and begin shading around. As you can see, we have a
lot of white sprinkles here. So I leave small caps and hint at the sprinkles
using tiny dots. Next, I use E 40 again and add a little dots and strokes
to show shadows here. You can also switch
to the chisel nib to create slightly
larger shaded areas. Now, I take the darker
brown and shade the edges and the area
around the heart shaped gem. This side is
completely in shadow, so I fill it entirely
with a dark brown. Let's add even more shadows around the edges of the heart. Then I go back to the light brown and
soften the darker areas, adding more texture
at the same time. Now, let's show the
shadows with gray. I take the mid gray T
three and edge shadow on the left side and along the inner edges
of the am heart. I add mosh heading on the white sprinkles with
tiny strokes and dots. At now with a
darker gray T five, I play the deepest
shadows inside the heart here on the left. And just a few strokes
along the edges. Let's add a touch more of the mid grade to
balance everything. And that's it.
9. Project: Final Details: Now I'm taking a white
el pen and adding the highlights on the gem hard to make them stand
out a bit more. Let's also add tiny white dots to show the powdered
sugar on the cooking, placing them on top of our brown shading across
the whole surface. I want to return
to the bright pink and deepen the color
a little bit here. And now, as I evaluate
the illustration, I feel like I want to connect all the objects into
one consistent sin. I notice that this area
doesn't have any pink or red, so I take the light pink and add just a touch of it onto the icing of the
gingerbead cookie. And look how instantly
it brightens the piece. With the white el
pan, I also want to sprinkle some powdered
sugar onto the gingerbread. I do this with small dots. Now we need to draw the shadows under our object so
they don't look flat. Let's imagine that
our light source is coming from the top right, so I play the shadows
on the left side. Here's the shadow
from the cooking. Now moving on to
the gingerbread. And then the shadow
from the lollipop. Just like this, it already
looks much more dimensional. And now as a final touch, I want to scatter
small dots around the illustration like
sugar or cookie crumbs. I use a few different colors, so it looks more interesting. First, lighter tones. Then Grace. And then a bright accents, a little bit of pink
here and there. That's it. The
illustration is complete. Share your artwork. I would
be happy to see your results.
10. Final Word: Our illustration is complete. I hope you enjoyed sketching with me and that you feel more inspired to try your new skills
to your future drawings, and maybe you will even pick up your own reference and try
something completely new. Don't forget to applod your
project to project and resources section so you can
receive a personal feedback. And if you enjoy this class, I would really appreciate if
you could leave a review. This helps most students
to discover this course. Thank you so much
for joining me. Good luck with your
creative journey, and I will see you
in the next classes.
 Anna Ostapenko, Watercolor & Marker artist