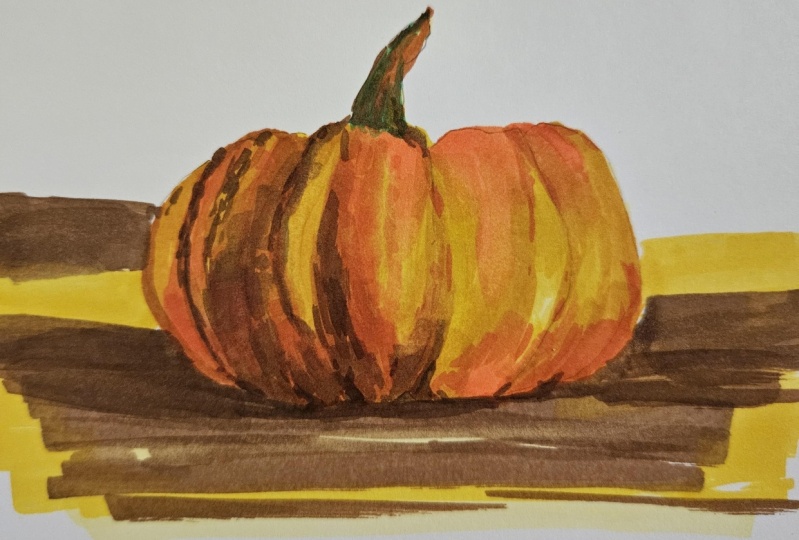
Marker Basics for Beginners: Pumpkin Sketch and Easy Layering Techniques with Alcohol Markers
 Anna Ostapenko, Watercolor & Marker artist
Watch this class and thousands more
Watch this class and thousands more
Lessons in This Class
-
-
1.
Welcome to the Class!
1:21
-
2.
Materials You’ll Need
1:33
-
3.
Layering Basics: How Markers Work
3:09
-
4.
Sketching the Pumpkin
3:32
-
5.
Coloring the Pumpkin – Part 1
6:50
-
6.
Coloring the Pumpkin – Part 2
8:20
-
7.
Final Word
0:42
-
-
- --
- Beginner level
- Intermediate level
- Advanced level
- All levels
Community Generated
The level is determined by a majority opinion of students who have reviewed this class. The teacher's recommendation is shown until at least 5 student responses are collected.
62
Students
3
Projects
About This Class
This is the second class in my Marker Basics series — and in it, we’ll focus on one of the most useful skills for alcohol marker art: layering. In this easy, beginner-friendly class, we’ll explore how to work with alcohol markers step by step and create a bright, dimensional illustration of a pumpkin.
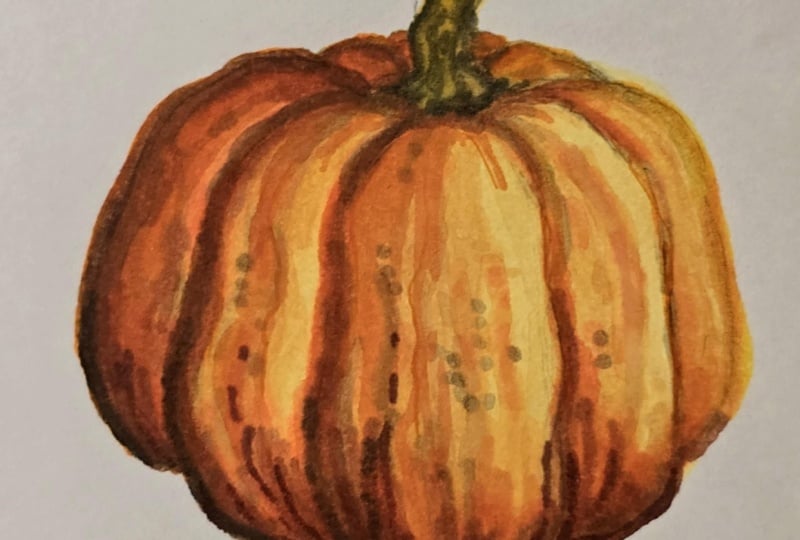
You’ll learn how to sketch the pumpkin, layer from light to dark, and build smooth transitions between colors. I’ll also show you how to add shadows, highlights, and textures that make your pumpkin look more realistic and full of autumn mood. Before starting the main project, we’ll practice an easy layering exercise to help you understand how markers behave when stacked.
This class is broken down into clear, bite-sized lessons — from gathering materials and sketching to coloring, layering, and final details — making it perfect for beginners or anyone wanting to improve their layering technique with markers.
Whether you’re just starting your marker journey or looking to add more vibrant, seasonal illustrations to your sketchbook, this class will help you build confidence and create rich, dimensional marker art.
Note: I’ll be using Bristol paper, but you can absolutely use any marker-friendly paper you prefer.
Want to explore more? Check out my other marker classes:
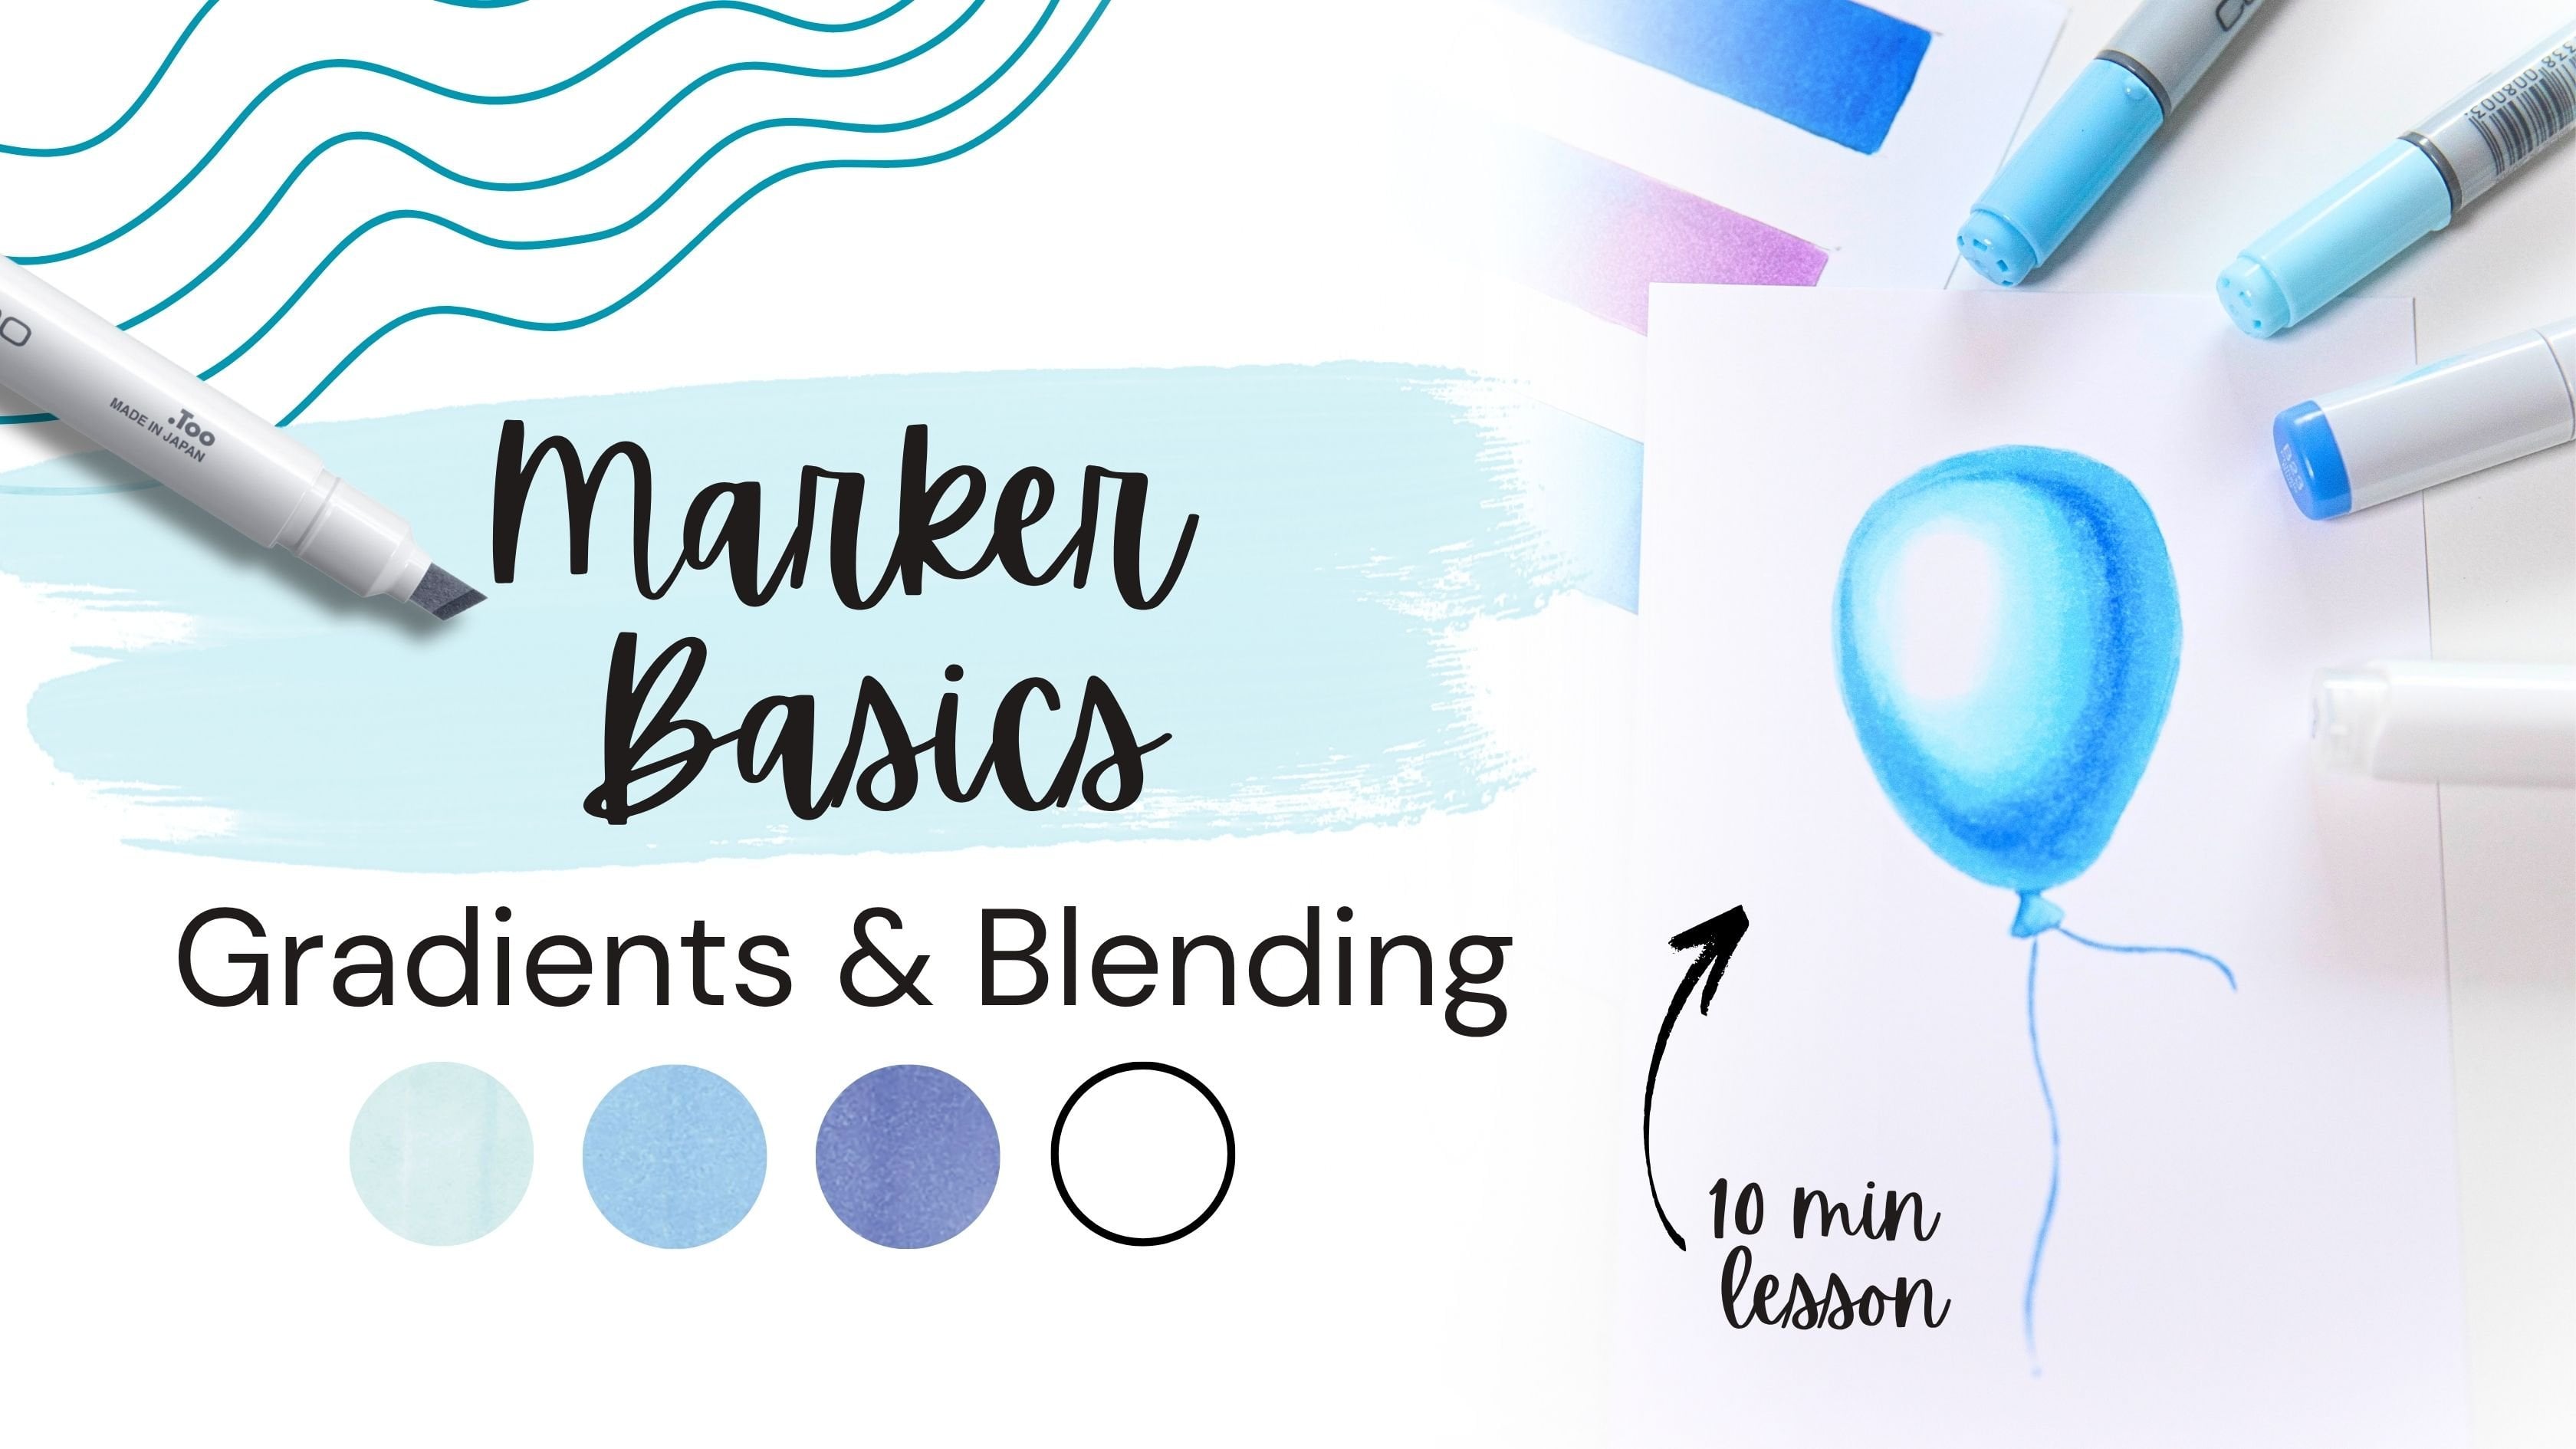
- Marker Basics: Blending and Gradients — Learn how to draw a shiny blue balloon
-
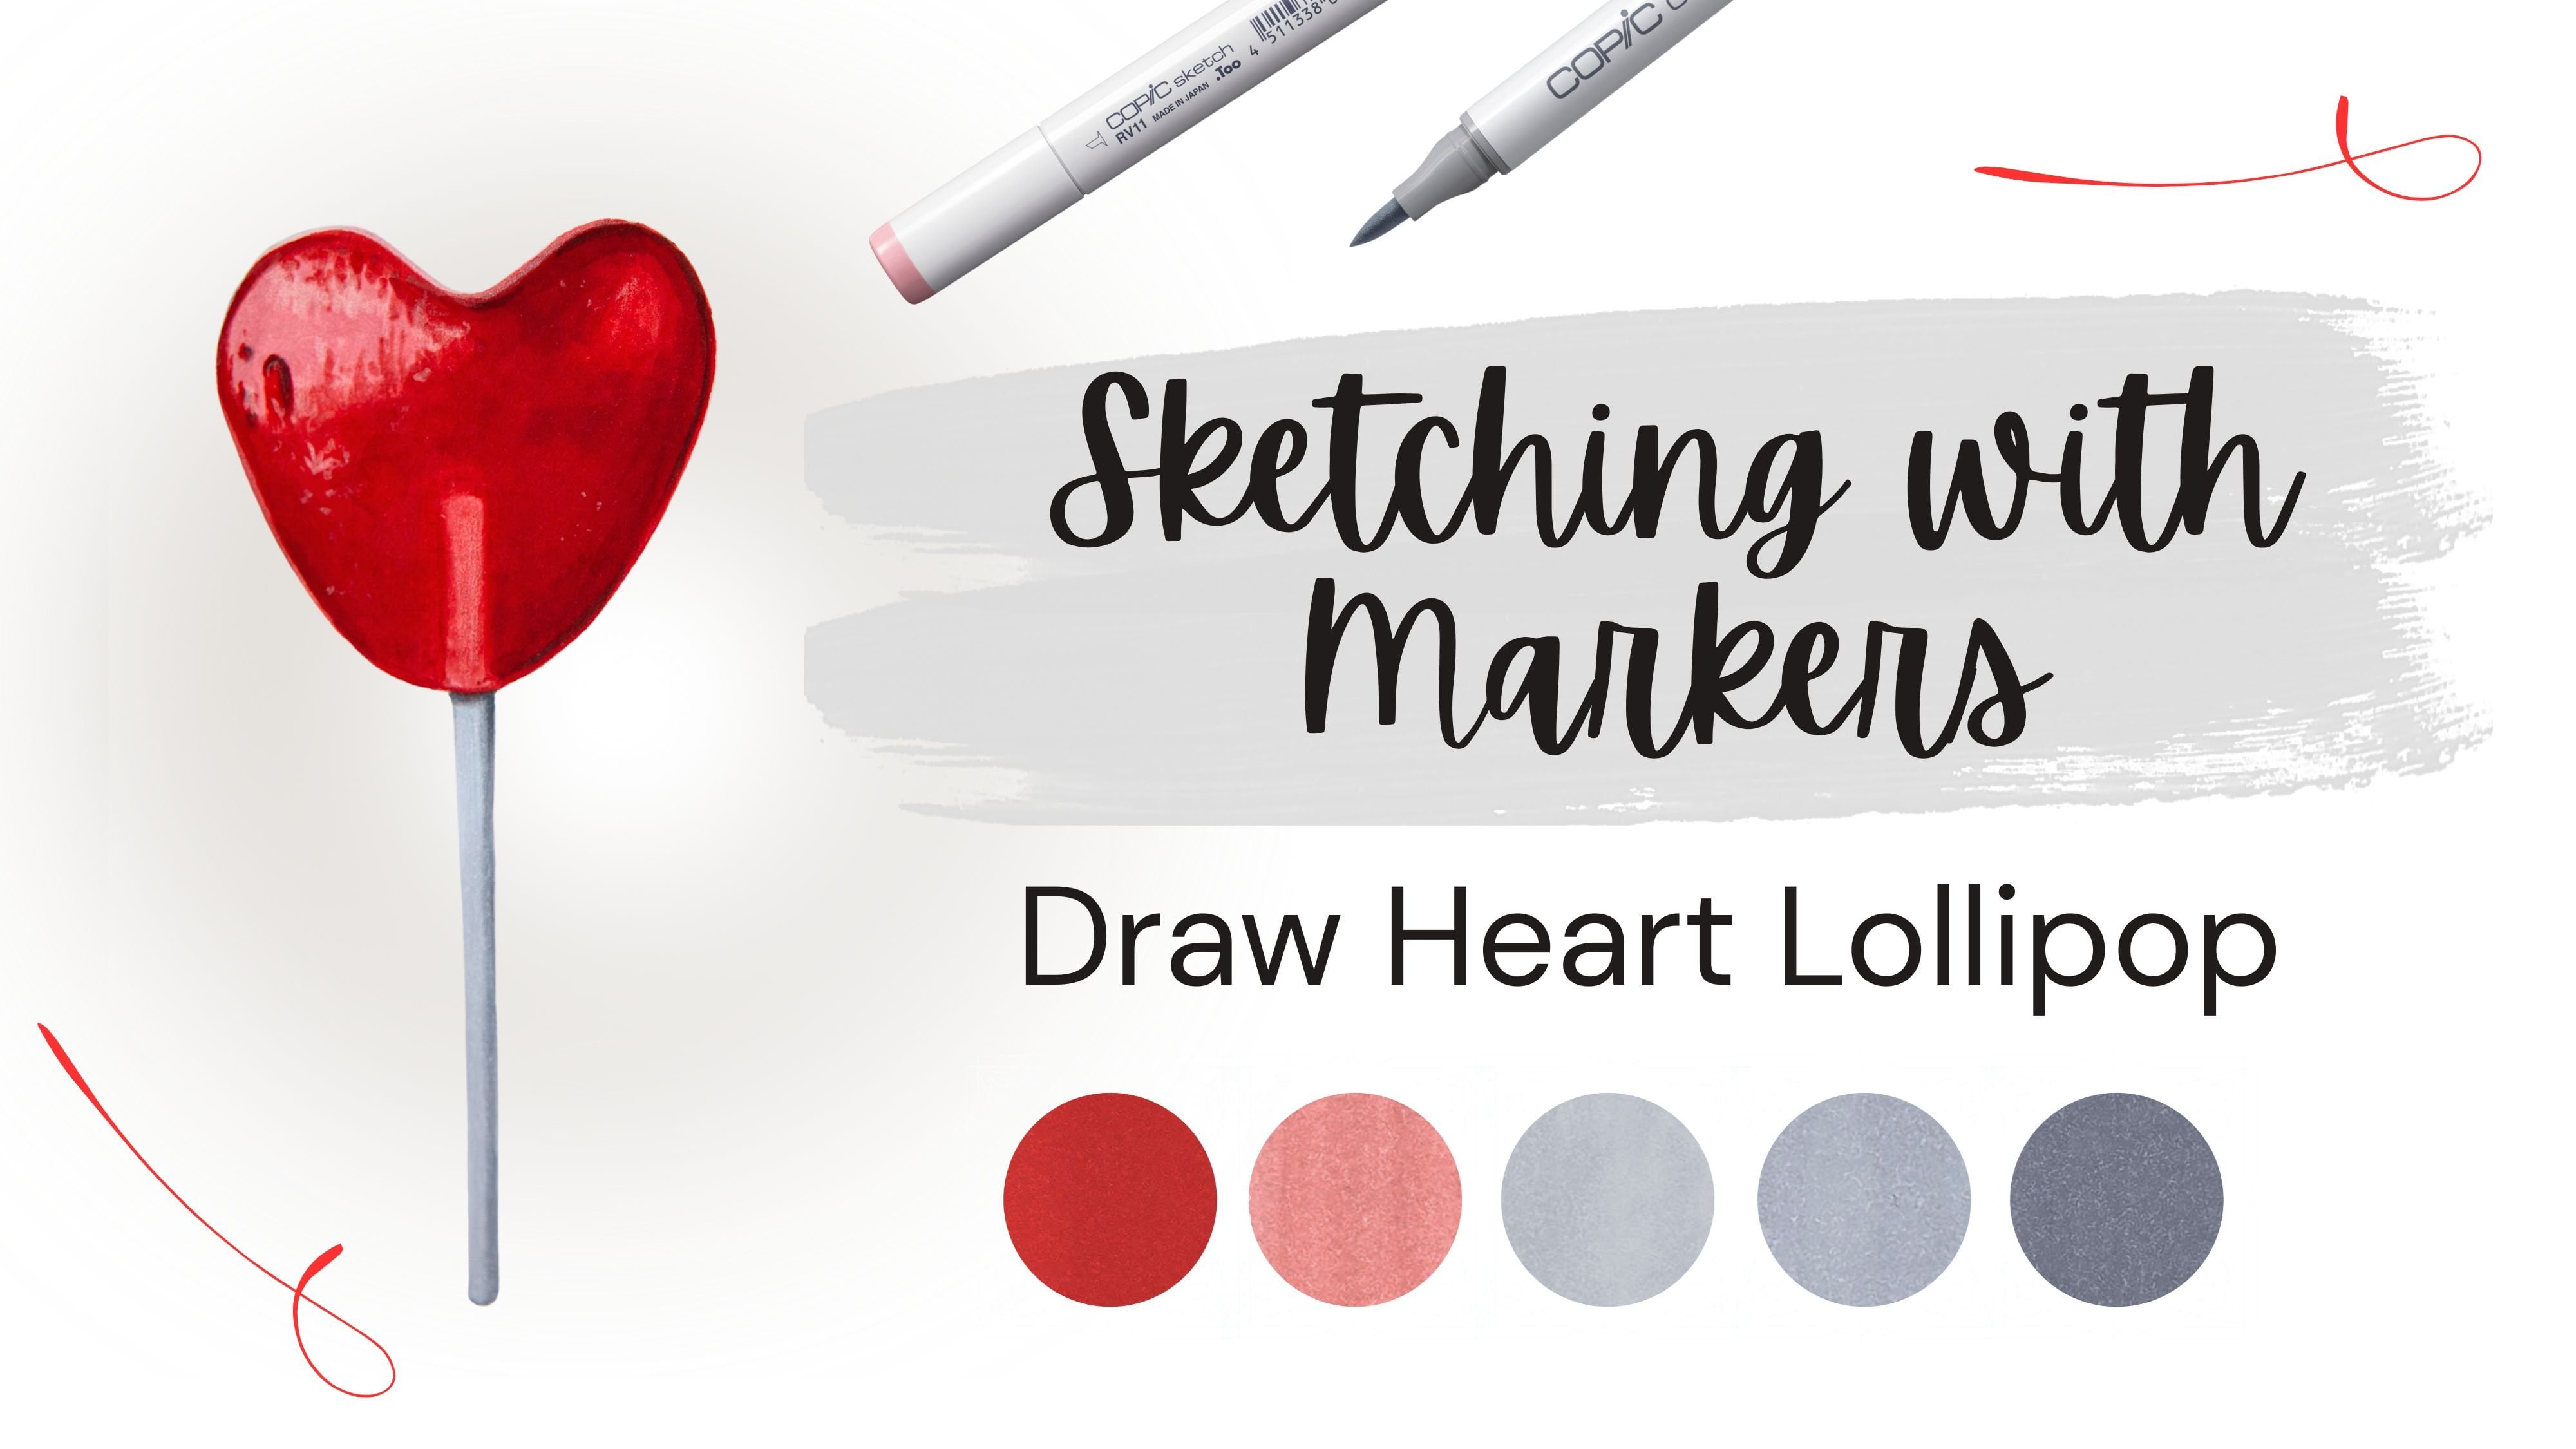
Draw Heart Lollipop — Drawing a Candy Heart Lollipop with Markers
-
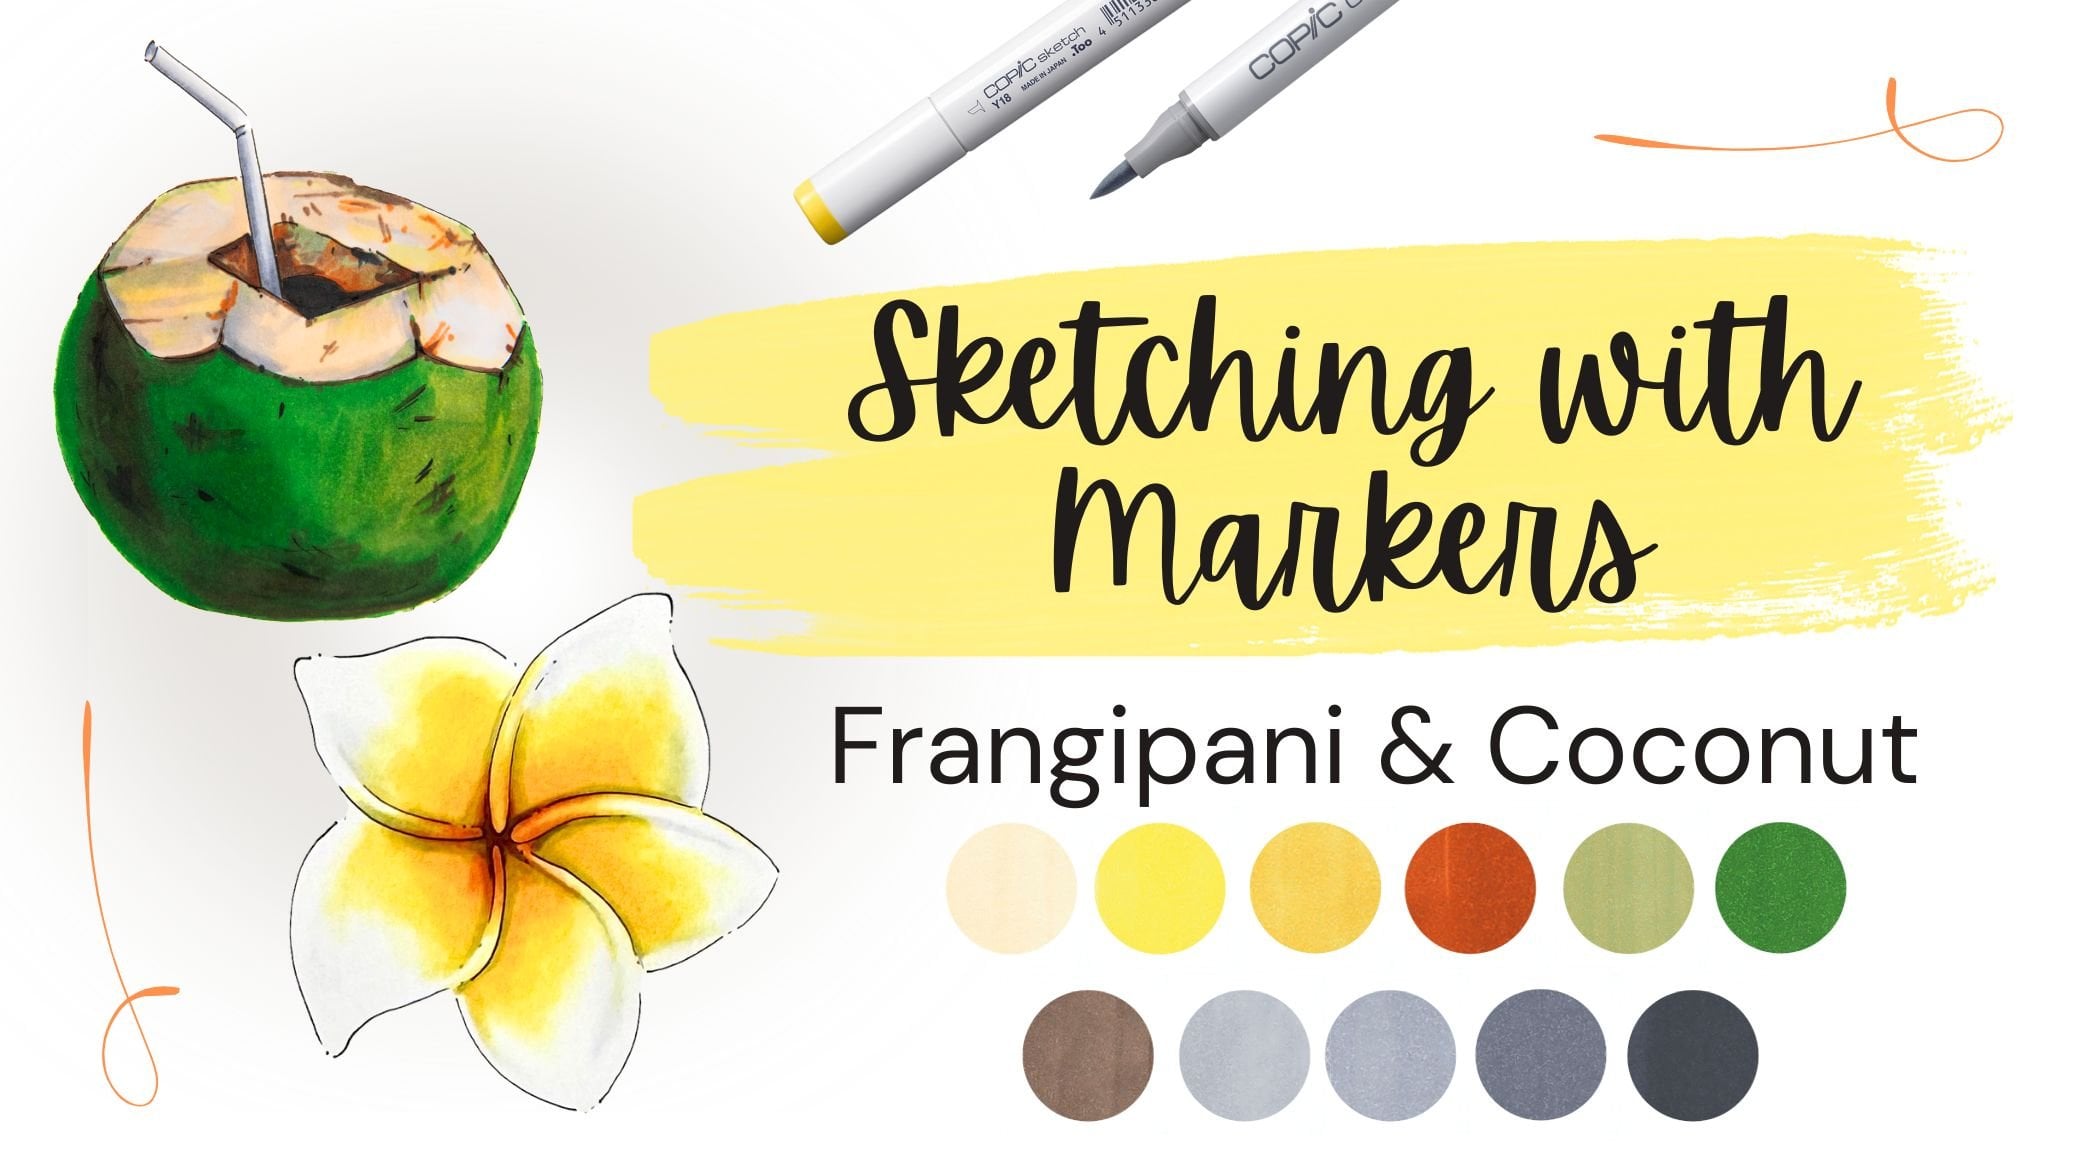
Tropical Sketching with Markers — Draw a Coconut and Frangipani Inspired by Bali
-
Draw a Delicious Donut — Draw a Delicious Donut with Sprinkles
- Draw a Watermelon Slice — Draw a Juicy Watermelon Slice
Meet Your Teacher

Hello everyone! My name is Anna Ostapenko, and I'm a Ukrainian artist traveling the world. My adventures and the places I visit inspire my art--I've explored over 40 countries so far!
Through my watercolors, I show the beauty of nature--tender flowers, amazing, breathtaking landscapes, and peaceful seascapes. Each painting is a way to share the places that inspire me and the feelings they leave behind.
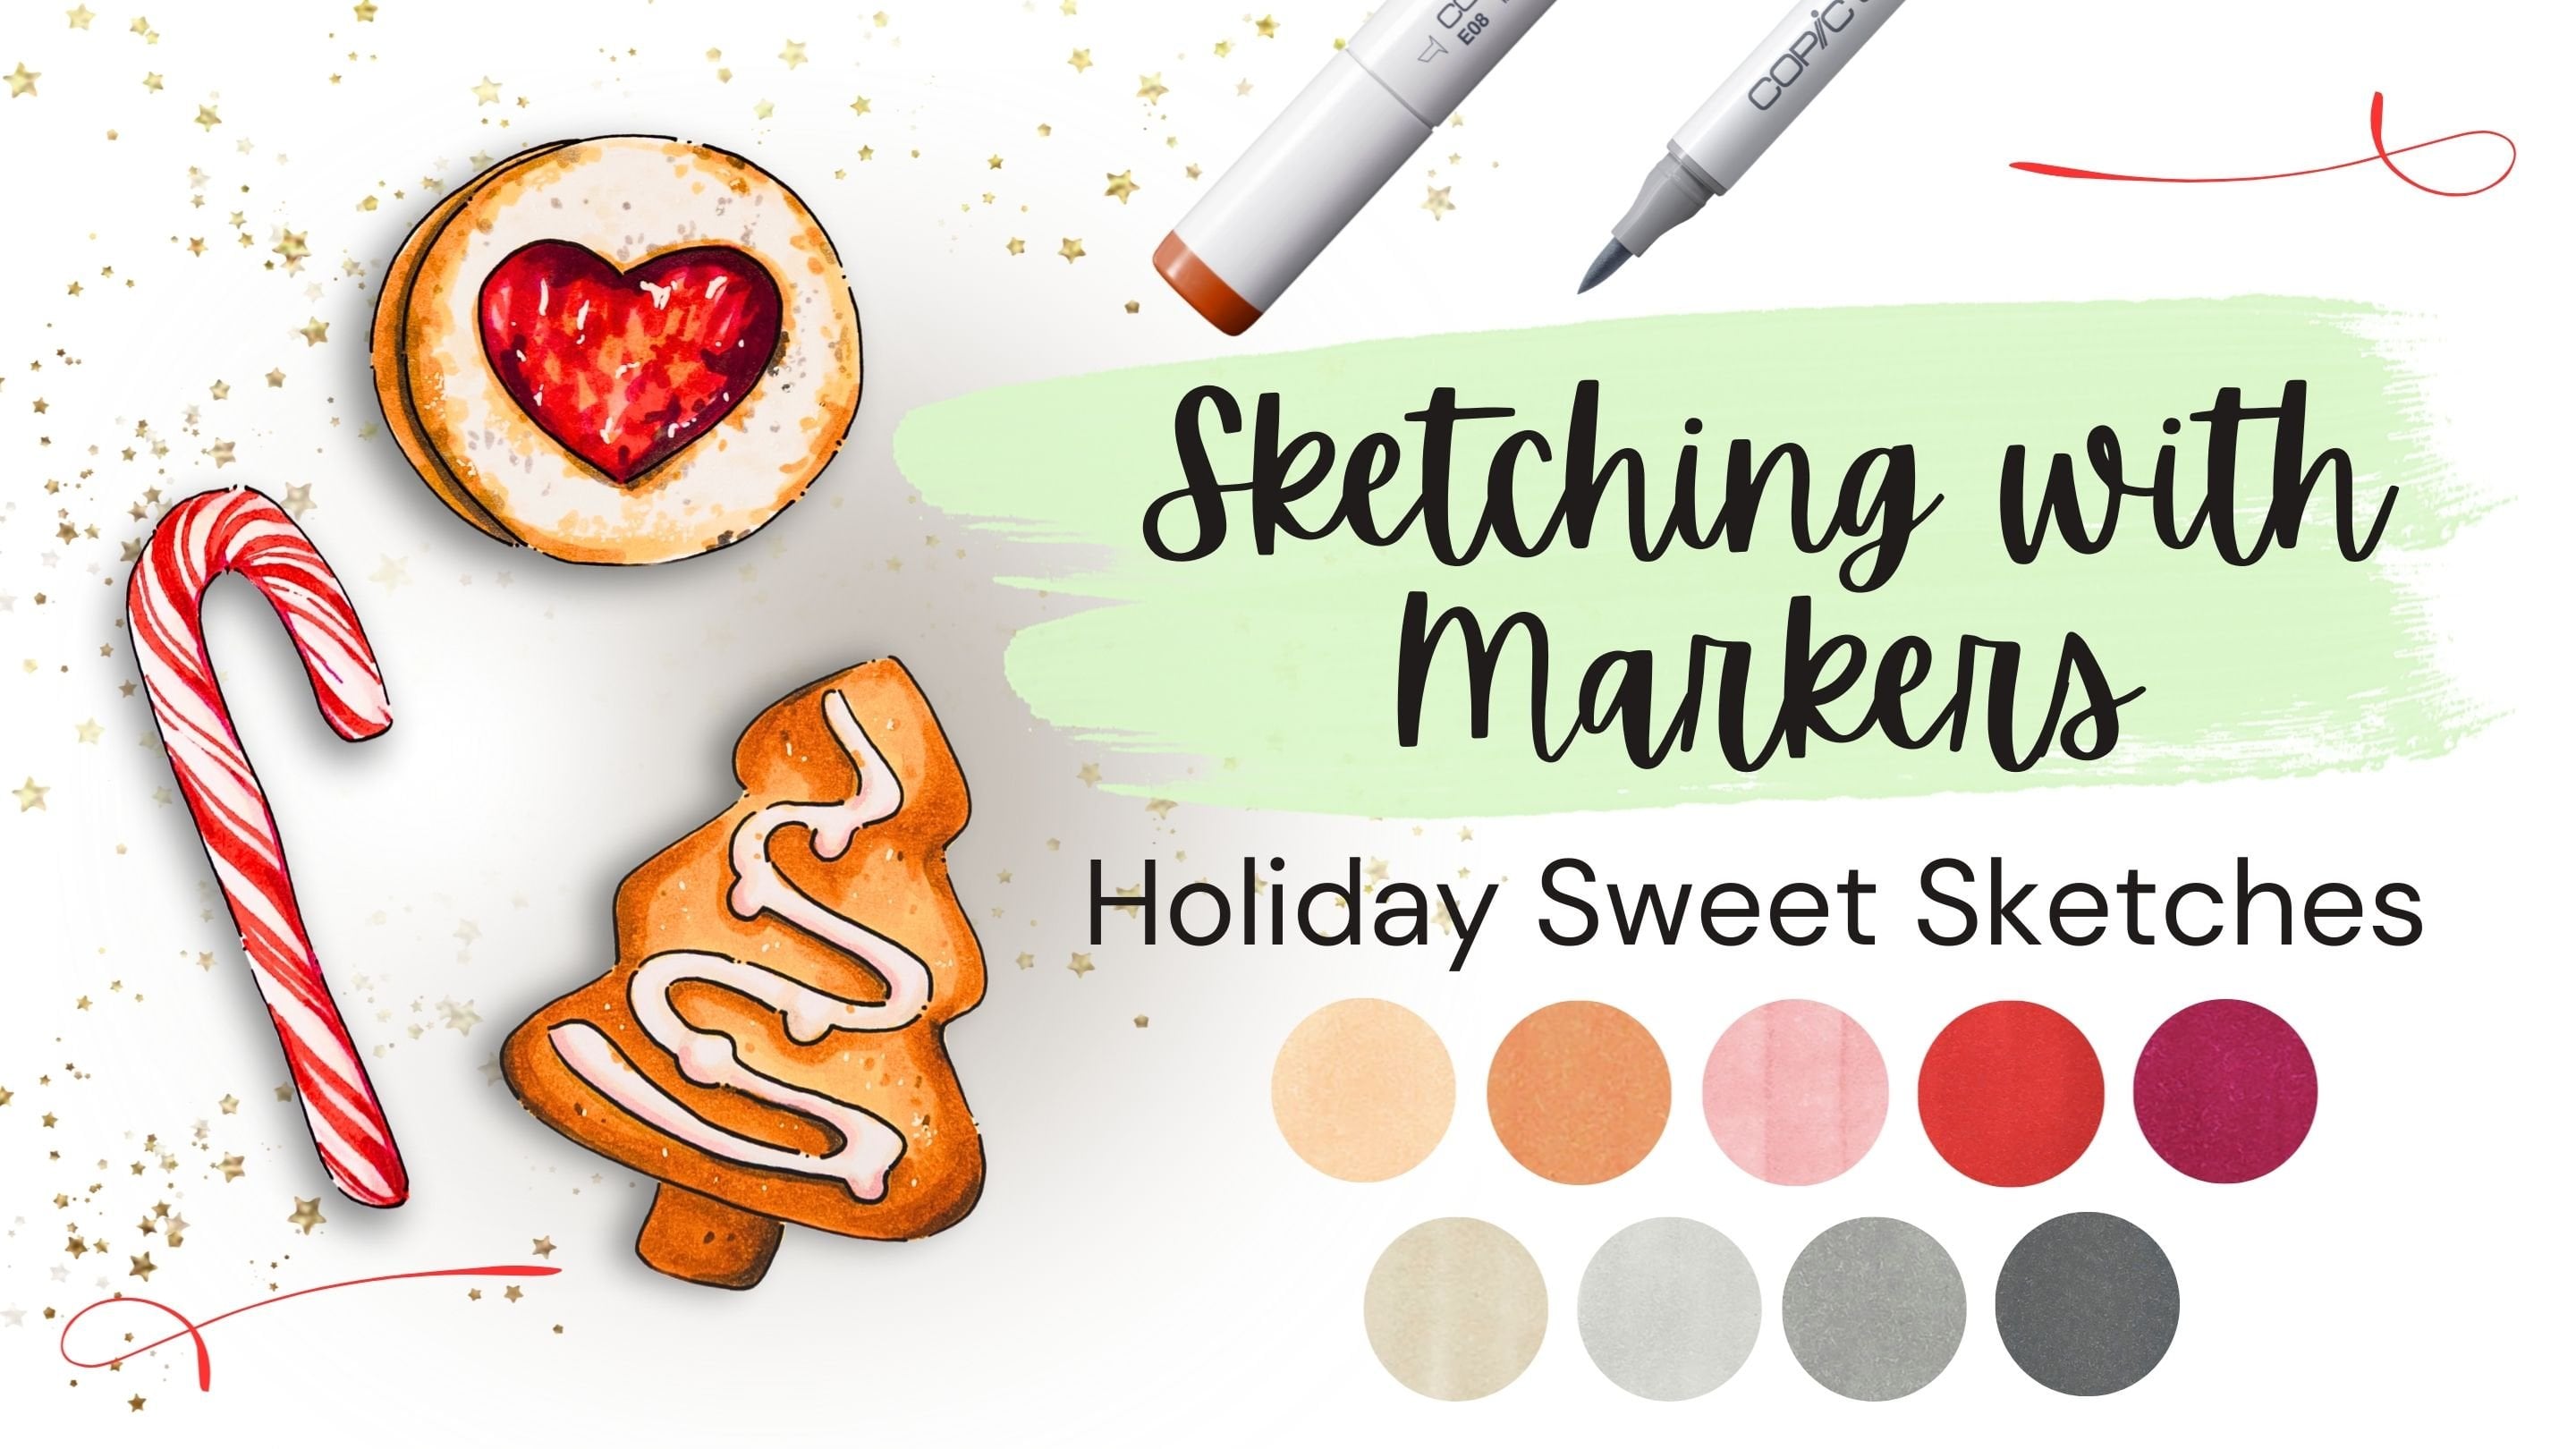
I also enjoy working with markers, especially when creating bright, playful illustrations like candies and desserts--it's a fun way to explore color and texture in a completely different style.
Here on Skillshare, I'm excited to share everything I've learned along the way--from watercolor techniques and color mixing to marker basics, composition, and finding your own ... See full profile
Hands-on Class Project
In this class, we’ll start with a simple layering exercise to understand how alcohol markers behave when applied from light to dark and from dark to light. Then, we’ll move on to our main project: drawing and coloring a pumpkin step by step.
We’ll begin with a light pencil sketch, then apply layering techniques to build smooth transitions, add shadows, and create rich, dimensional color. Finally, we’ll add texture and details to bring the pumpkin to life.
You’ll practice:
-
Layering markers from light to dark for smooth color transitions
-
Understanding why applying light over dark doesn’t work — and when you might use this effect intentionally
-
Building depth with shading and tonal contrast
-
Adding highlights and shadows for a realistic effect
-
Creating subtle texture to make your pumpkin illustration more vibrant
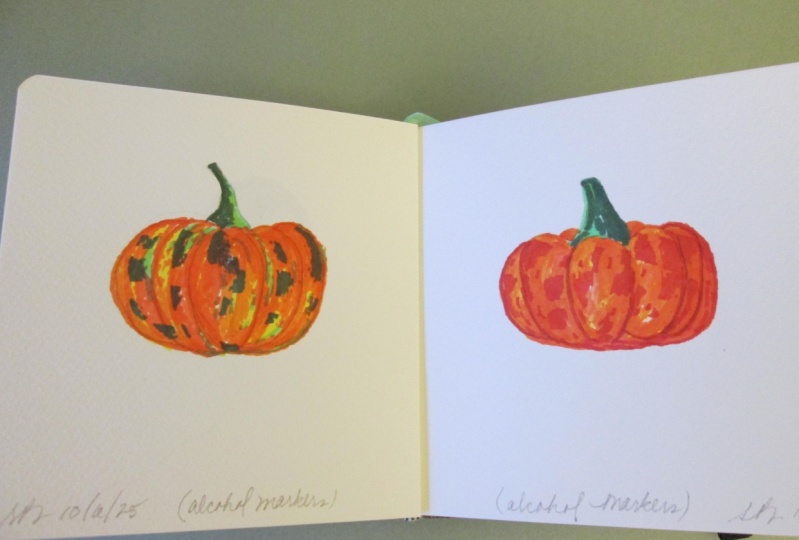
You can follow along exactly or customize your project — experiment with different pumpkin shapes, sizes, and textures, or even try unique color palettes. There are so many beautiful pumpkin varieties: blue, white, black, pastel, or even bold fantasy colors! For the layering exercise, try as many different color combinations as you like. I’d love to see not only your finished pumpkin illustration but also your practice sheets, so be sure to upload them to the Projects & Resources section. 🎃✨
You’ll find everything you need in the Attachments section, including:
-
A full marker color palette I used
-
A printable sketch outline (optional for beginners)
-
A reference photo of the pumpkin used in the class
Materials you’ll need:
-
Marker-friendly paper (I use Bristol paper, but any paper for alcohol markers will work)
-
Alcohol markers (Copic or any brand you like)
-
A pencil
-
A kneaded eraser and/or regular eraser
Class Ratings
Why Join Skillshare?
Take award-winning Skillshare Original Classes
Each class has short lessons, hands-on projects
Your membership supports Skillshare teachers
Learn From Anywhere
Take classes on the go with the Skillshare app. Stream or download to watch on the plane, the subway, or wherever you learn best.