Transcripts
1. Hello :): Okay. Hello my friends. I'm so excited for
today because today we'll do the photoshoot
and together with us, or we'll explain to
you about how to take very beautiful
product photography using your mobile phone. Okay, Today we will
demo with iPhone. And the phone there
is under $100. So you can see that, oh, so the food photography, all you need is the
right technique and very simple way to create
beautiful picture. No matter what mobile
phone you use, if you use the right
lagging technique and you use the
right principles, and you use the right
editing technique, then you will produce the
slightly same results. In the next section, I
will explain to you about the lighting we use for most
of our product photography.
2. Introduction of Lighting: Okay, The first one is
the Lightning Session. Many of my students asked me, they're confused about what kind of lighting
because there are so many options to create the product
photography using your phone. And then what I suggest is actually you can use
any lighting you have. But most of my students shoot product photography
in their homes. So what is the source of
lighting in your home? Most likely it's from the
window and then from lamp. You don't have to worry if
you don't have a space, we have the perfect window. Because if you have that, you can just use your
window lighting. But if you don't have any
proper window lighting, then you can use this one. This is very cheap,
very simple Also, you didn't have to worry
if you are not very familiar with photography tools because this is very simple. This is just a symbol like Yeah, we just use ordinary
light bulb like this. One of my favorite, yes. This one. I use
the plastic ones. So this is very durable. Yeah. You don't have to worry. Then what kind of
light bulb that I use? I use the white one. Yeah. Please don't use the
warm white or warm color. Yeah. You just use
the white one. And then this is the spec
of the light bulb I use. Then there's like bulk. You need to use this one. Yeah, this one is
also very cheap and you can find in any
online store you visit, you can find it in eBay, amazon, or maybe one of my favorite is the e-commerce from
China, AliExpress. Maybe you are also
familiar because I also purchased many of my photography
tools from AliExpress. Yeah, they deliver
to around the world. This one is very cheap. I think it's below $50. I think they have two kinds. The one that has two slots and the one that has four slot. I prefer the ones that
have four slot because sometimes if the room
is completely dark, I use more lighting
as you can see. For this one, I used
three, liking this one. Yeah, it's very simple. And the set is already
complete because you also get softbox and it's
continuous light. How to operate is very simple. There are only two button
here to light it up. So it's very simple. And then when you use it, you just cover the front of
the soft work like this. Okay. Yes. To be able to use it, you just cover it
with this green and then I think there are some
version of this soapbox. I think for this one we
use 40 centimeters for the white and then for the
Hague is 60 centimeter. It doesn't matter if you
have the different eyes of the softbox because
most likely it will be around 50 centimeter. Okay. This is for the
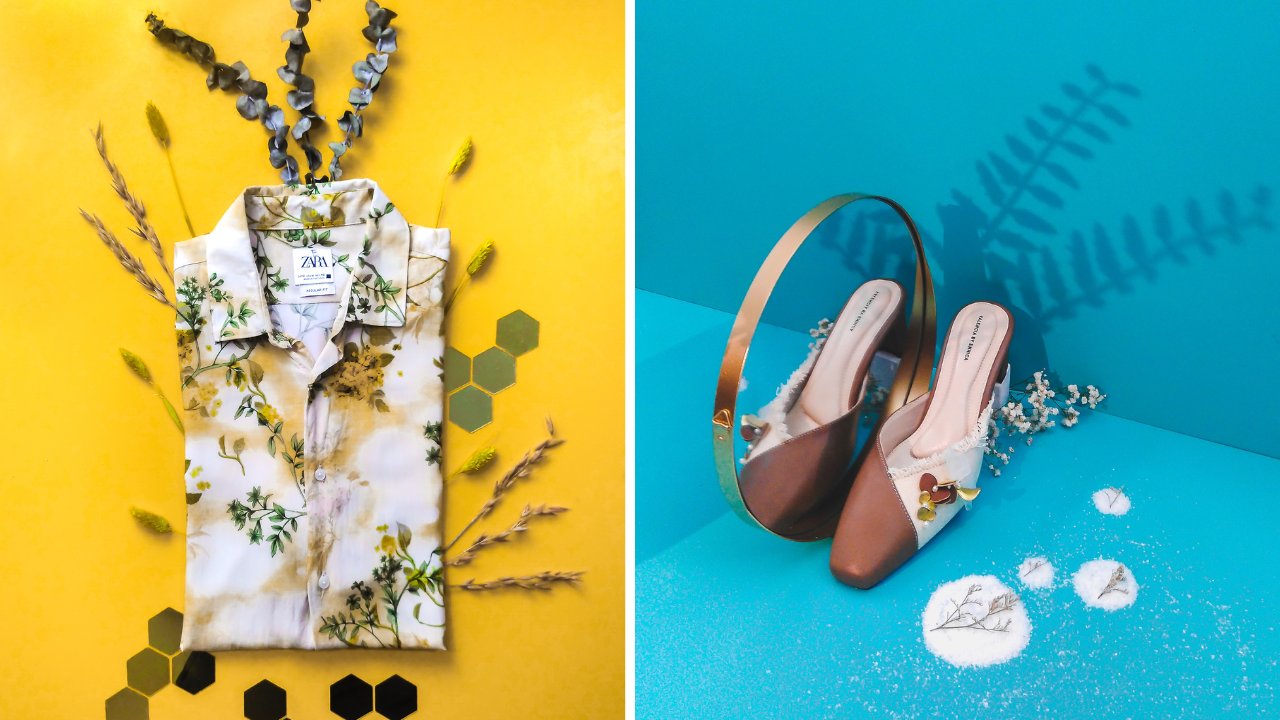
3. Choose the Right Props!: Okay guys, we are coming
to the next section. In this section we
will take the product. The product is iPhone case, but you don't have to
worry because we can use this type of settings for
many kinds of products. Mostly I take it for this ethane or the
products that is under 60 centimeters and you can try with your own product, okay? Yes. In this scene, we will pick bright boot. In this frame, we will
take more casseroles file. Okay. Have you ever feel
that if you want to prepare the settings
for casual style, when you either for the
shadow product, you find, it is very hard to decide which background you
use, which you use, and how to create and compose this kind of prompts
to make a beautiful picture. Same with before,
where we simple trick, but very powerful is choose the right
background at the right prompts that will create
an harmonious your scenes. So we will use the bright background and then we use the white carpet,
right? Like this. This is not very big. This kind of like not
more than one meter. Okay? And then we also use book. Actually did this book
is written by me. Okay. When I use a book in my frame, I make sure that the letters in the book and don't
distract our sins. So I prefer not to choose the page with the large letters. I choose the patient
with no headlines. So it will just add more
texture in our frame, but don't distract the
focus of the product. Okay? And then we also use very
beautiful cubes here. Actually this is just
ordinary wooden cube. And I painted by myself. It is very easy. I paid with The Dorf pray, pain. It's very easy to
take this picture if you paint it
with Duff painting. If you paint this kind of
work with the glossy pain, it will be very difficult
for you to chew. So I used the doc
pain for this one. And then I also use the
wooden prompts here. Okay? There's many kind of
wooden props, okay. And then for the prop that have different color
with my frame. So because most of my frame
is using the white color, this is quite different colors. So I prefer not to
use very big one. I prefer to use a smaller one. So the domination
of the picture, we'll still in white. And then there are
so many kinds of goods that are darker woods, rustic, the gray one, and then this bright white. In this mode, it will be very easy to shoot if you choose. The bright would
like this, okay? The scenes will be very
different and will be very hard to compose if
you choose the darker, because the darker wood
will be very pop out, it will not be easy
for you to compose. So if you choose the harmonious
color in your frame, It's very easy to compose, okay? And then the last one, I also use dried
flower like this. Why I chose this
kind of bread flour because it's red flower
is not very dark. And then I can see that it's not very dominate the picture, okay? Because it's small and then it will add more
seen in our picture, but non-distracting our product. Okay, so let's do the
composition part.
4. Compose Your Shot!: Okay, in France, I
have a tips for you. In this section, we have
the white color phone case. So since we set up
the very bright mode, then how to take this one and still make sure that
this product is still focus. So we just put this product on, this beautiful wouldn't bleed. So it's very simple if you'd put this product on
this wooden plate, so the focus of the
product will increase. Okay, and then tips on choosing the wooden plate
under your product. My symbol Pips is use
the wooden plate that the size is not too far from
your productive like this. Okay. Just slightly bigger. Yes. We have finished our setting. There is my simple tips
for you in composition.
5. Light Your Product & Shoot!: Okay, friends. Yes,
we have already set up our sins here. Yeah. And then this time we will
use the continuous lighting, as we explained at the first
section of our course today. Yes, this is the
position of our life. This is the center
of our product. And then the position of
the light thing is you move the light thing about acne
centimeters from here to here, and then the heck difference is about 70 centimeter above. Yeah. Okay. Here's the position
of the lighting. Okay. We will take the flatly
or top angle from here. So as you can see that the
position of the lighting is on the right corner
of our product. And the purpose is we will get a beautiful shadow in the
left corner of the frame. So when you use one source
of lighting like this, sometimes if you find that
the shadow is too dark, you can use the whiteboard
like this yeah, to bounce the light so the
shadow is more soft. Okay. Let's do the fellowship.
6. Edit It on Lightroom!: Yes guys, in these editing
session, Let's continue. And then guys, you know,
right, you remember it. But in order not to forget it, I'll repeat it again so
you can memorize it more. We will say reputation is
the mother of all skills. So if we often repeat something, it's actually the main
key to develop skills. Well, let's let light here and then guess what
we should choose Next. Reduce the high life
and increase the wider until the
colors are appealing. Okay, Very good, Very good. Well, the colors become
more appealing guys. Again, and that let's do
our little lad select details and then select sharpening and then
select Maschine. Well then we just
nice reduction. So the picture becomes softer. So in noise reduction, I will check whether the picture is already
Shepherd Dodd. If there's not much noise, I usually don't increase too much noise reduction because the noise reduction makes
the picture blurry. I will set up the sharpening
fool or reduce the masking. Okay? Yes, nice, right guys. Well, this is before after
it fills up fast, right? When you have already
memorized it. But me, I explain it as m times, but if you memorize it
actually the editing process, we'll feel so fast. Okay, and then you can get in the light and select curve here. Let's make a newsletter. Make sure when you get into
curve is like this in left. Then Slack this, this, this, or this one. Okay? So choose the
one on the left again, and then let's give it three dots with debit one
step twice that, three times. So there are three
dots like this. Let me remind you
that if you want to erase this one issue tap twice, that those will disappear just in case you make a mistake. Well, here, let's
get a bottom one up. And then let's reduce
the upper part of beats. So it will be like
Instagram mobile for a k. So it becomes more drama t. And then we try playing
around with the shadow. Are we going to increase the
shadow and reduce the black? Well, I think it's enough
before, after a K. Yes, Very nice guys. Then let's check it again. Retrace, adding it
in the color here. And then let's see if
there are color that we should adjust o before
setting the color, we should get used to
turning on the optics. Maybe for some of you,
sometimes it works, sometimes it doesn't
always turn it on. And then let's try the
colors section here. Let's test it in color. And then we're going
to try, for example, we make it in the mix sex yet. Well, is there any part
that we want to fix here? I think the yellow color
might be important guys. Oh, the heel is
coming from the root K. Well then I think I
will settle with this one. There's just an unclear area here that we can
face in Snapseed. Okay, and then let's
try one more app. Okay, well then after it's
done, Let's compare it. Before. After Harry, nice. Well, let's try one
more before we test it. In effect, maybe
let's test it here. Well, there's an
interesting tool. The hes is used to
increase contrast, but I think it will be better to use than the contrast in light. Well, sometimes the
haze is interesting, so it makes the color and
the contrast becomes higher. But it becomes higher
but not easy guys. Sometimes the contrast
picture like this looks TZ is like the picture
is the tab key. And then we can use vignette, but we will make
it darker a bit. And then we will reduce
the midline in crystal, further increase
their roundness. Okay. Very nice. Yes, before and after. Okay. And then if you want the
mood to be more yellow, you can slide it here.
In the color section. You can increase
the temperature. Temperature is very easy. If it's increased, it will
get hot, more yellow. If it's cold, the picture
will become more blue. That's why it's
called pamper tour. Okay. I think I will
settle with this one. Yes, Very nice. And then let's export it. Just choose this and then we select Export to camera roll.
7. Edit It on Snapseed!: Yes guys. And then we get into
Snapseed obligation. Let's choose tools and
we clean it first. Select healing, we're
going to clean it here. Lads focus to the
bottom part and then let's just press to the young
clear area. We erase it. Again. This is important for you guys. Sometimes we forget some
area in the photoshoot. So we will clean it. I suggest if it's a minor stay and let's
press it little by little like this because it
will make it more accurate. Okay. So we can brush it
little by little. Well, if you zoom it, it will be more detailed, guys. So I suggest that
it will be great. If you zoom in, zoom out, the brush will get bigger. I will go into detail so that Okay. Okay. Very nice. We will clean
the dirty area again. Okay. Yes. Very good. Yes. And then again, we just have to take it and then let's export. Okay. A copy. Yes, very good.
8. Edit It on Lens Distortions: Well guys, there's an
interesting application. You must try this one. It is Lance distortion
application. You can install it and
there's the pet feature. But we can use the free one because it is already
great because, okay, Let's open the lens
distortion application. And then when you
open the application, you can find some menus. They are included
in lens distortion. Ok, Well, it is enough to use these one guys,
classic lights. Here we can add heavenly
lights on our picture. Let's choose classic glides
and then we get an adjustment big and small by using two
of your fingers. Again. Well, I usually
make it be but for our so it will look natural. If you make it small like
this and put it here, it will look strange. But if you make it
big and put it for, it will look natural. So it kind of effects
the other ages. Well, like that, guys. Okay. It depends on your preference
whether you want to put it on the left corner, upper corner, or left corner. For me personally, I like to
put it on the left corner. Well, so when it's done, you just select this one. This is export and
then we choose g back. It's because I used
the premium one so I can export it
to various types. If it's not premium, you can only export
it to G back. But defect is
already create guys. So it's not problem with that. And you can just export
it than the photo can be accessed directly
in the gallery. Again, very nice. So there are like
heavily lights guys. Well, you can compare
it before and after. Okay. Okay. Well, Very nice.
9. See Ya!: I'll give you guys, this is
the last part of our course. We have learned so many things about the product photography. We suggest you can
practice one-by-one. You don't have to
worry if you find that your picture is
still not that perfect. Because there are
still many part of practice you can do from
the prop selection, from the lighting technique. And the last part
is the editing. Even you can practice, maybe if you still haven't by, are you still haven't know what kind of product
we want to shoot. You still can practice
From the editing part. Because the editing part
that we teach you is very applicable for men kind of
picture you have taken before. So we're very excited to keep in touch with
you if you find this very inspiring and you
have practice many things, Maybe you can also visit
our Instagram account here. I'm very excited
to keep in touch with all my students
around the world. Okay, maybe we can
collaborate in the future. I'm very happy to see
you all day long to explain many kind of product
photography technique. Okay, I'll see you
in the next course. Again. See you next time. Bye-bye.
 Foodior Class, Professional Food Photography Trainer