Transcripts
1. Intro: Hello, my name is Katie. I'm an illustrator
and comic artist and today I will show you guys
how I shaved my characters. There are many different
ways to shoot a character. So keep in mind how I draw will be different
from another artist. This is just a technique
I use when shading for comics and simple illustrations
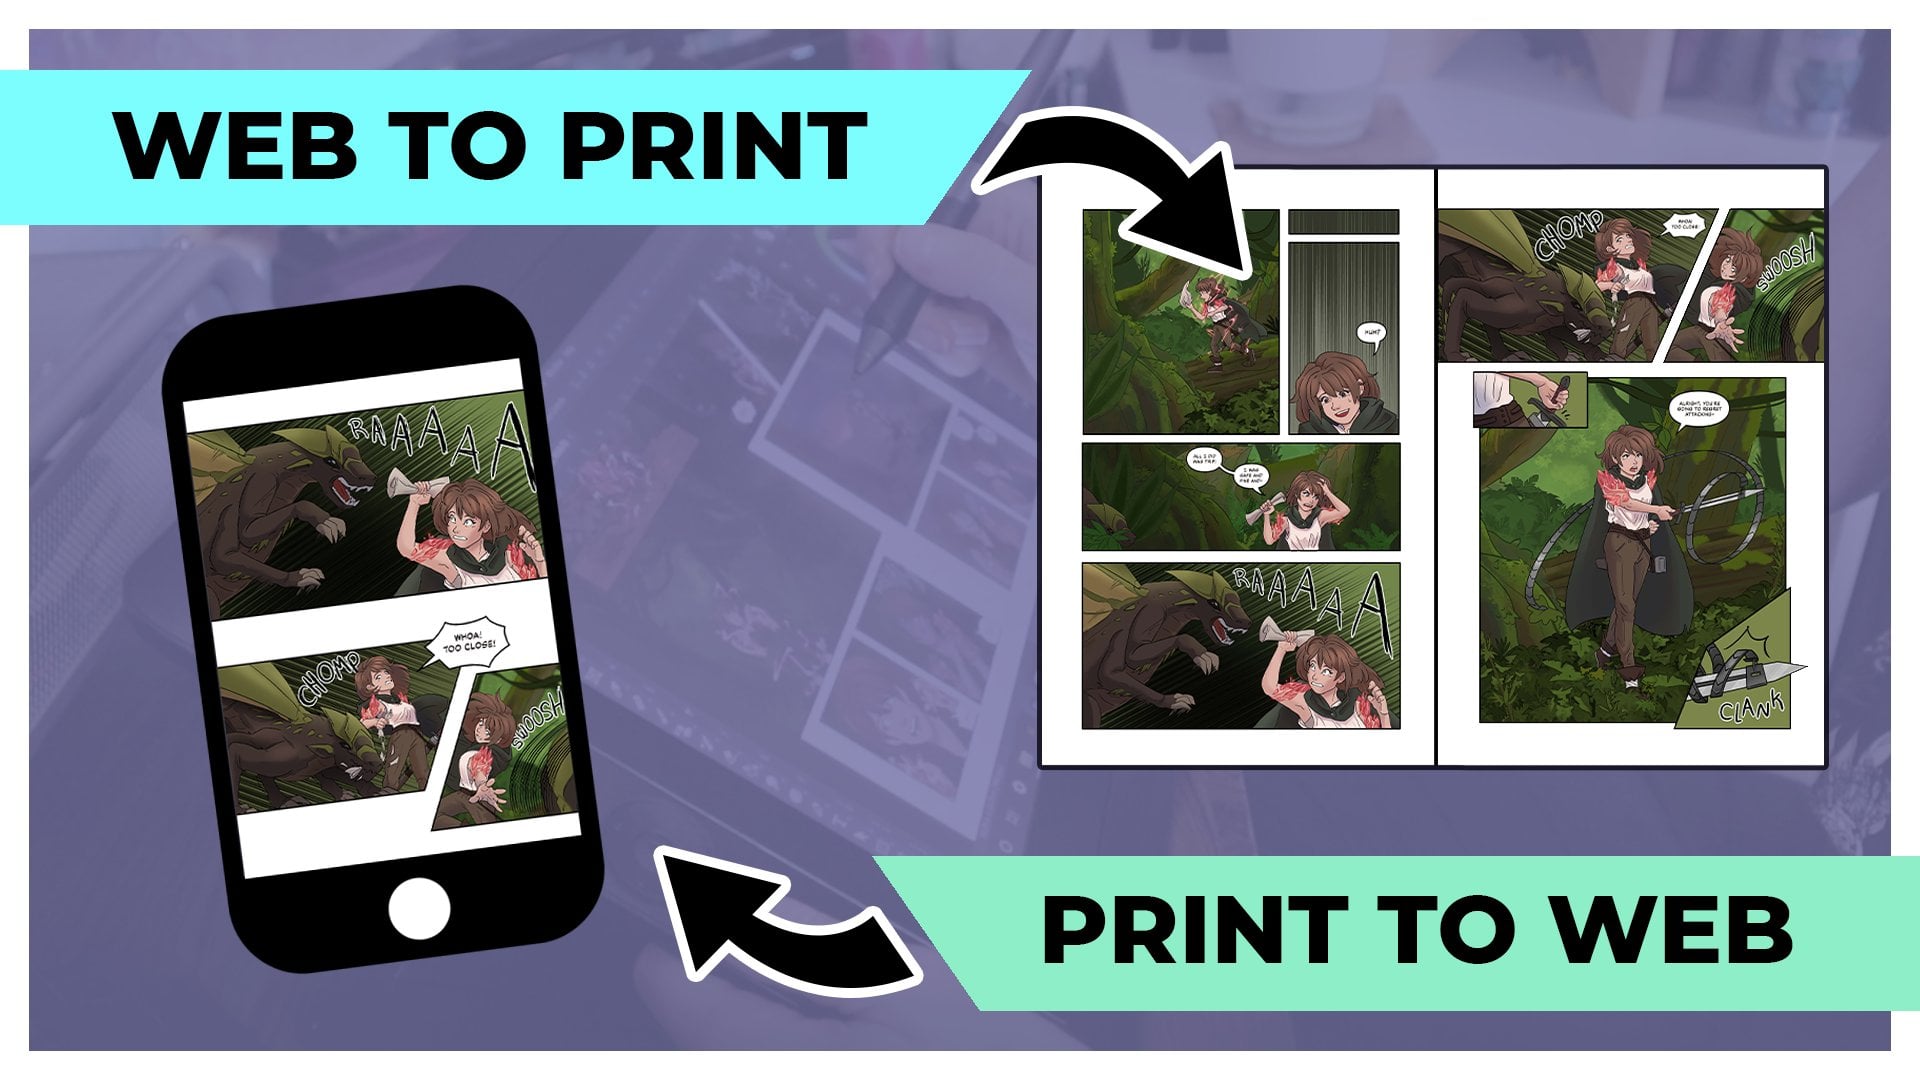
or just character art. We'll also be using Photoshop, but you can use any drawing
program you prefer. It will also include
the base character with flat colors in
the project resources. If you wanted to shade
and follow along with me. If you have your own drawing
that you went to shade it, then please feel
free to use that. With introductions.
Then let's get started.
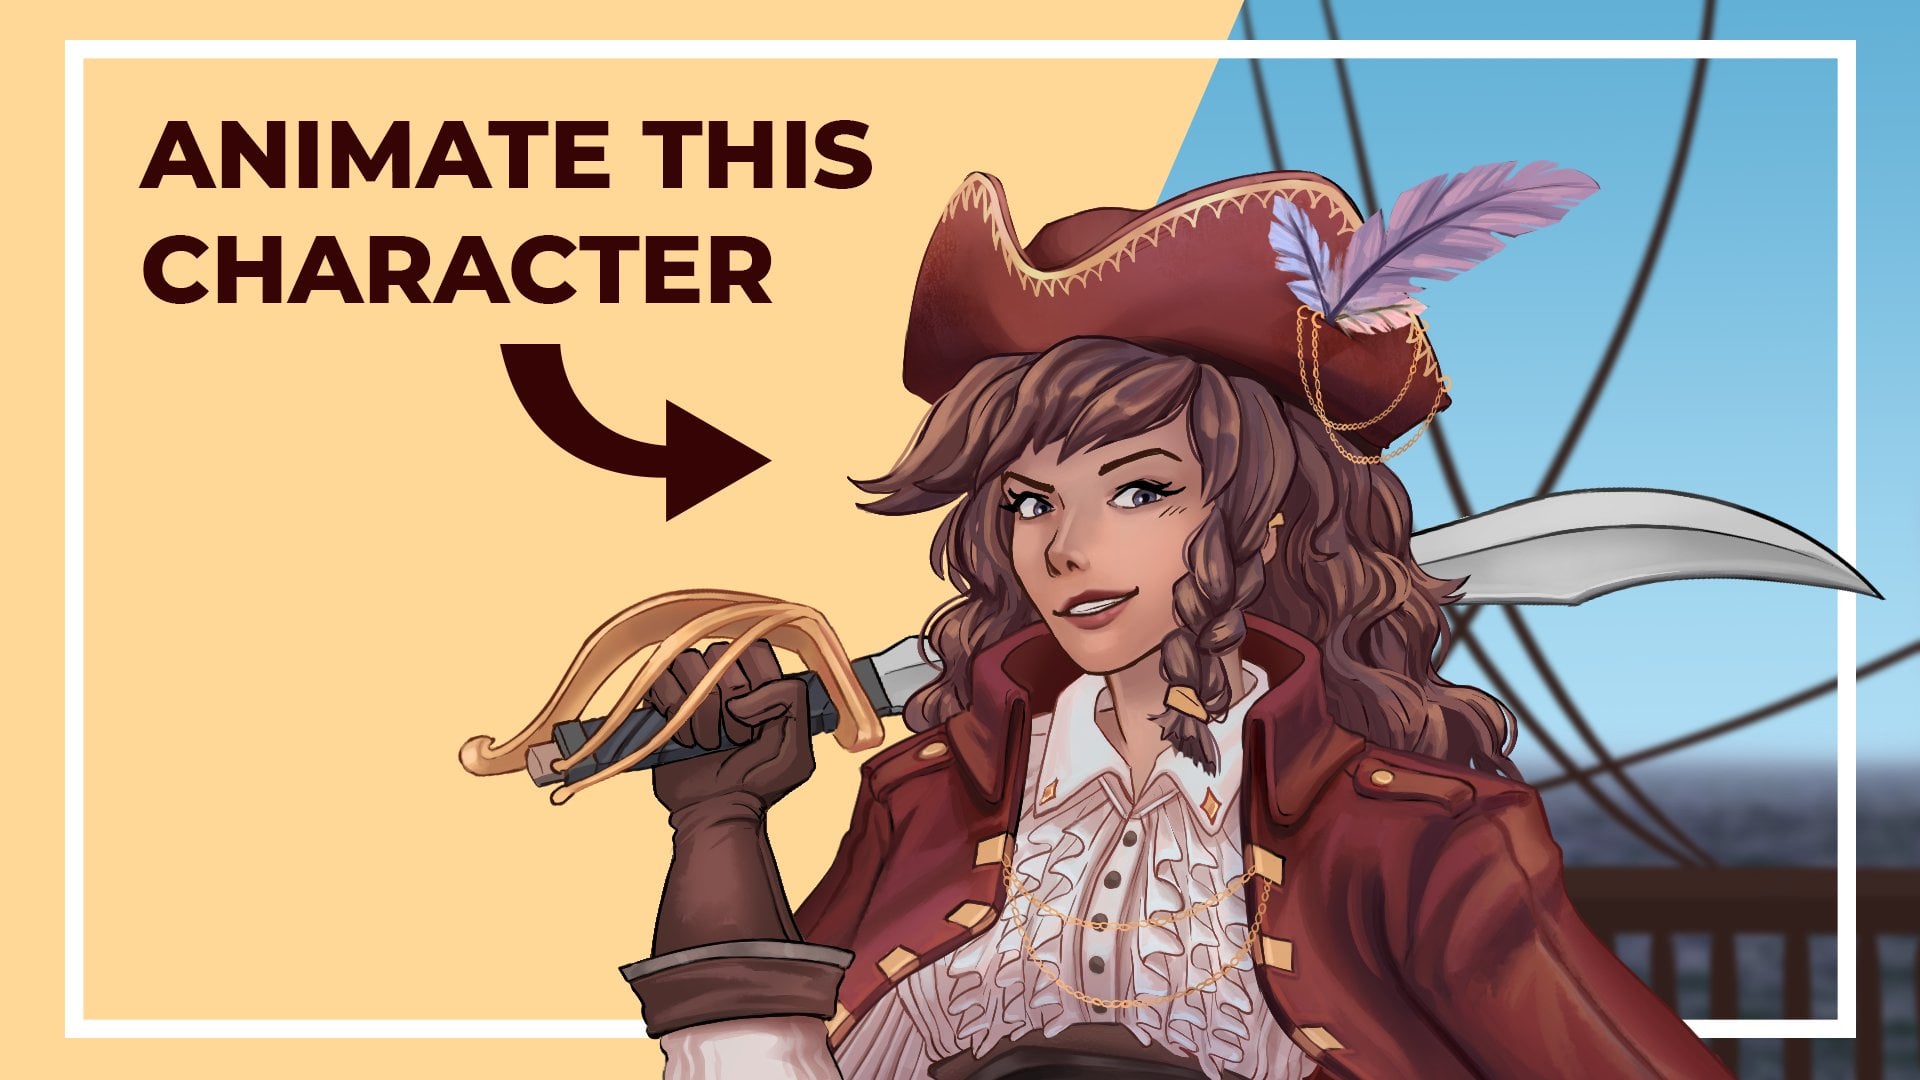
2. Drawing the Character: Before we can
create a character, I need to have a drawing with
flat colors ready to start. I'm going to sketch line
and color in illustration. I will show a time-lapse
on how I drew this character to help
you get a better idea. If you want to jump
right into the shading, please go ahead and
watch the next part. But if you want to see how I drew this, then
please keep watching. When I sketch, I keep in
mind the pose I want, as well as creating
the form out of simple shapes to help make this character look
three-dimensional. When starting out, I like
to draw a circle for the head and a lot of loose lines indicate
the arms or legs. For lighting, I like to
use a tapered brush that changes with when I put
pressure on my tablet. The one I specifically
use for this joint is called Kyle's ultimate
Inking, thick and thin. It's a free brush you can
get when you have Photoshop, but you can also just use a default brushes or
whatever you like. It doesn't need to be
tapered like mine. You can just use your favorite
brushes for this part. For me personally, I like to have spaces in between my lines, which makes it a little
longer for the coloring part. But that's fine with me because this is how I like to draw. If you're curious how I
draw a character in detail, please let me know
and I'll try to make more classes on the subject. Now as her coloring, I like to use the Lasso tool to make selections for
each different color. If your learner is clean, then you could probably
use the paint bucket tool for larger blocks of color. Just be sure to
keep the colors on a different layer
and watch out for areas where the colors meet the lines the paint bucket
tool may not reach. For colors. I just like to get everything on one single layer because it just
makes it easier for file management for my drawings. Now that our character
is lined in colored, it's time to move on to shading.
3. Preparing to Shade: Before we jump into shading, there are a few things
to keep in mind. The first and main thing is where the light
source is coming from. In order to find where I
want the shadows to be, I like to draw a circle indicating where the
sun or light is. The next thing to keep in mind
is how intense are light? Is a character sitting
inside their house? Or they next to a large light, maybe they're outside during
the sunset or afternoon. Once I determine this, I will know how intense or how soft I want
the shadows to be. For this character right here, we will say that they're outside with the sun slightly
off to the side. For this demonstration,
I will try to keep the light in a typical
afternoon setting, something similar you will
see in your day-to-day life. To help separate the base
colors with lighting, I like to make a new
layer above the color. Right-click and create
a clipping mask. This way, whenever I shade, it will stay inside the colors. I will also set the
layer mode to Multiply. This is a key to
being able to create cohesive shadows over all the different
colors in my character. Let's also name
this layer shadows. It will also make another
layer called light. This will also be a
clipping mask layer, but we will set the
mode to screen. I will talk more about
this later because right now we're going to
focus on the shadows first. To shade this character,
I like to imagine that they are made up of a
bunch of simple shapes. The head is like an oval, the arms cylinders and so on. If you're new to drawing, then it would help if you
draw a few simple shapes. First, probably cubes or
circles or cylinders, find a light source and color where you think
the shadows would be. If you are more
advanced than I would recommend looking into something
called the Asara head. It basically breaks
down the face into simple shapes so you can see
where the shadows will fall.
4. Shading the Character: Now it's time to show you. What I like to do is
pick a cool blue or red. I also like to keep
the color more desaturated and close to Greg. You're welcome to
start blocking in shapes where the shadows lie. But for me, I like to
use the Lasso tool to make the shadow shapes. When the Lasso tool is
set to add to selection, I can create multiple
areas of shadow and hold down Alt when I went to erase
some of this selection. From here, you're welcome to use the paint bucket tool and
fill in the areas of shadow. If you want that really
clean associated look, then you will
continue to do this. But for me, I like to
have softer shadows. When the area is selected, I will use a soft round brush, one of the default
Photoshop brushes, and focus the brush on the darker areas of
the selected parts. When I de-select the area, you can see that we now
have areas that have strong sharp edges in areas where the shadows
are more softer. To further emphasize this, I like to use a smudge
tool or soft eraser. If you want more grit
to your shadows, you can also use a
textured brush instead of a soft round brush
in the selected areas. For this character,
I will stick to the soft round brush
and lasso tool. I will keep repeating
this method for all the other
areas of shade. Sometimes I will only select shadows on the clothes or hair, color them with
the soft brush and then de-select and focus on
another area of the picture. And if you don't like the little dancing lines the
lasso tool creates, then after you select an area, press Control H to
hide the selection, you can go ahead and
color how you want. And then once you are done, you can either
press Control D to deselect or Control H to bring the Lasso
selection backup. Now that our
character is shaded, I want to add a bit
more color variation to the darker areas. We're going to lock the layer so anything new will
stay in the shadows. And I will now change
the color to something else and go over the
different areas. Depending on the lighting
of the character. If you have, let's
say warm lights, you can make your
shadows more cooler. If you have cool lights and
you can make your shadow's warmer or you can just shade
it however you please. It always helps to
have photo reference shown the kind of
light you desire. For this picture. I'm not looking for
anything extravagant, so I'm just going to
add a little bit of color variations
into the shadows. Like I said, adding bits of color variation into the shadow isn't a
requirement per se. But if I wanted to add a
little bit more to a picture, it's something that I would do. If you want. You can also add
these different color variations with a
different brush.
5. Lighting the Character: Now that the shadows are done, it's time to focus on the light. Going to our light layer. I have it set to screen, but you can play around with the different modes to
find when you like. For this demonstration,
I will keep it to screen and pick a
light warm color. We will use the same process as the shadows to
color the light. Which is selecting areas with the Lasso tool and using a soft round brush
to color it in. Again, always keep in mind where the light source is when
laying down the light. If you're having trouble
finding out where you went the light or shadow us
to fall on your character. Then it's great to
find some references, both from artists and photos of people just to see how a
person or character is shaded. At this point, we can
call the character done. But let's do some
finishing touches to make this drawing better.
6. Finishing Touches: What I'm calling for comics, I would usually
stop at this point. But if you wanted to
add a little more detail so the colors and light, then here are a few
things you can do. Let's go back into
the line layer and change the
color of the lines. Simply lock the layer, pick a different color
and color over the lines. This can create a softer feel for your character,
in my opinion. If you want to make
the light stand out more above all your layers, we're going to make a new layer and use the color dodge mode. Pick the color of your light or something warm if you prefer, and go over the brightest
areas you want to focus in on. If your character, let's
say has a glowing object. This will be a great
way to emphasize that. You can use a grayscale photo of some gritty texture or
even a digital brush. What I like to do is
make a new layer with a clipping mask and set that to multiply and dragging
and texture. It was a little too dark. You can also play around
with the other modes, like screen or lightened to
find something that works.
7. Outro: In with that, here are
the final results. I hope you guys
were able to follow along and learn something new. There are many different
ways to create a character. So if this way
doesn't work for you, then please feel free to experiment and find
what you love. If you've followed
along, inserted this character or your own, then please let me know and share in the student projects. I would love to see
it. Also. If you have any comments or questions, please feel free to let me know in the discussion section. I hope you all have a great day and make lots of beautiful art.
 Katie, Illustrator and Graphic Designer