How To Make a Slip Dress I DIY Step By Step Sewing Tutorial | Carleen | Skillshare

Playback Speed


1.0x


  • 0.5x
  • 0.75x
  • 1x (Normal)
  • 1.25x
  • 1.5x
  • 1.75x
  • 2x

How To Make a Slip Dress I DIY Step By Step Sewing Tutorial

teacher avatar Carleen, Sewing, drawing, making patterns

Watch this class and thousands more

Get unlimited access to every class
Taught by industry leaders & working professionals
Topics include illustration, design, photography, and more

Watch this class and thousands more

Get unlimited access to every class
Taught by industry leaders & working professionals
Topics include illustration, design, photography, and more

Lessons in This Class

    • 1.

      Introduction

      1:45

    • 2.

      Measurement, Size Chart and Sewing Pattern

      2:39

    • 3.

      Fabric Choice, Cutting Layout and Cutting of the Pieces

      2:51

    • 4.

      Sewing, Assembling of the Main Pieces

      6:57

    • 5.

      Sewing, Finishing Process

      6:35

    • 6.

      Final Thoughts

      0:44

  • --
  • Beginner level
  • Intermediate level
  • Advanced level
  • All levels

Community Generated

The level is determined by a majority opinion of students who have reviewed this class. The teacher's recommendation is shown until at least 5 student responses are collected.

80

Students

1

Project

About This Class

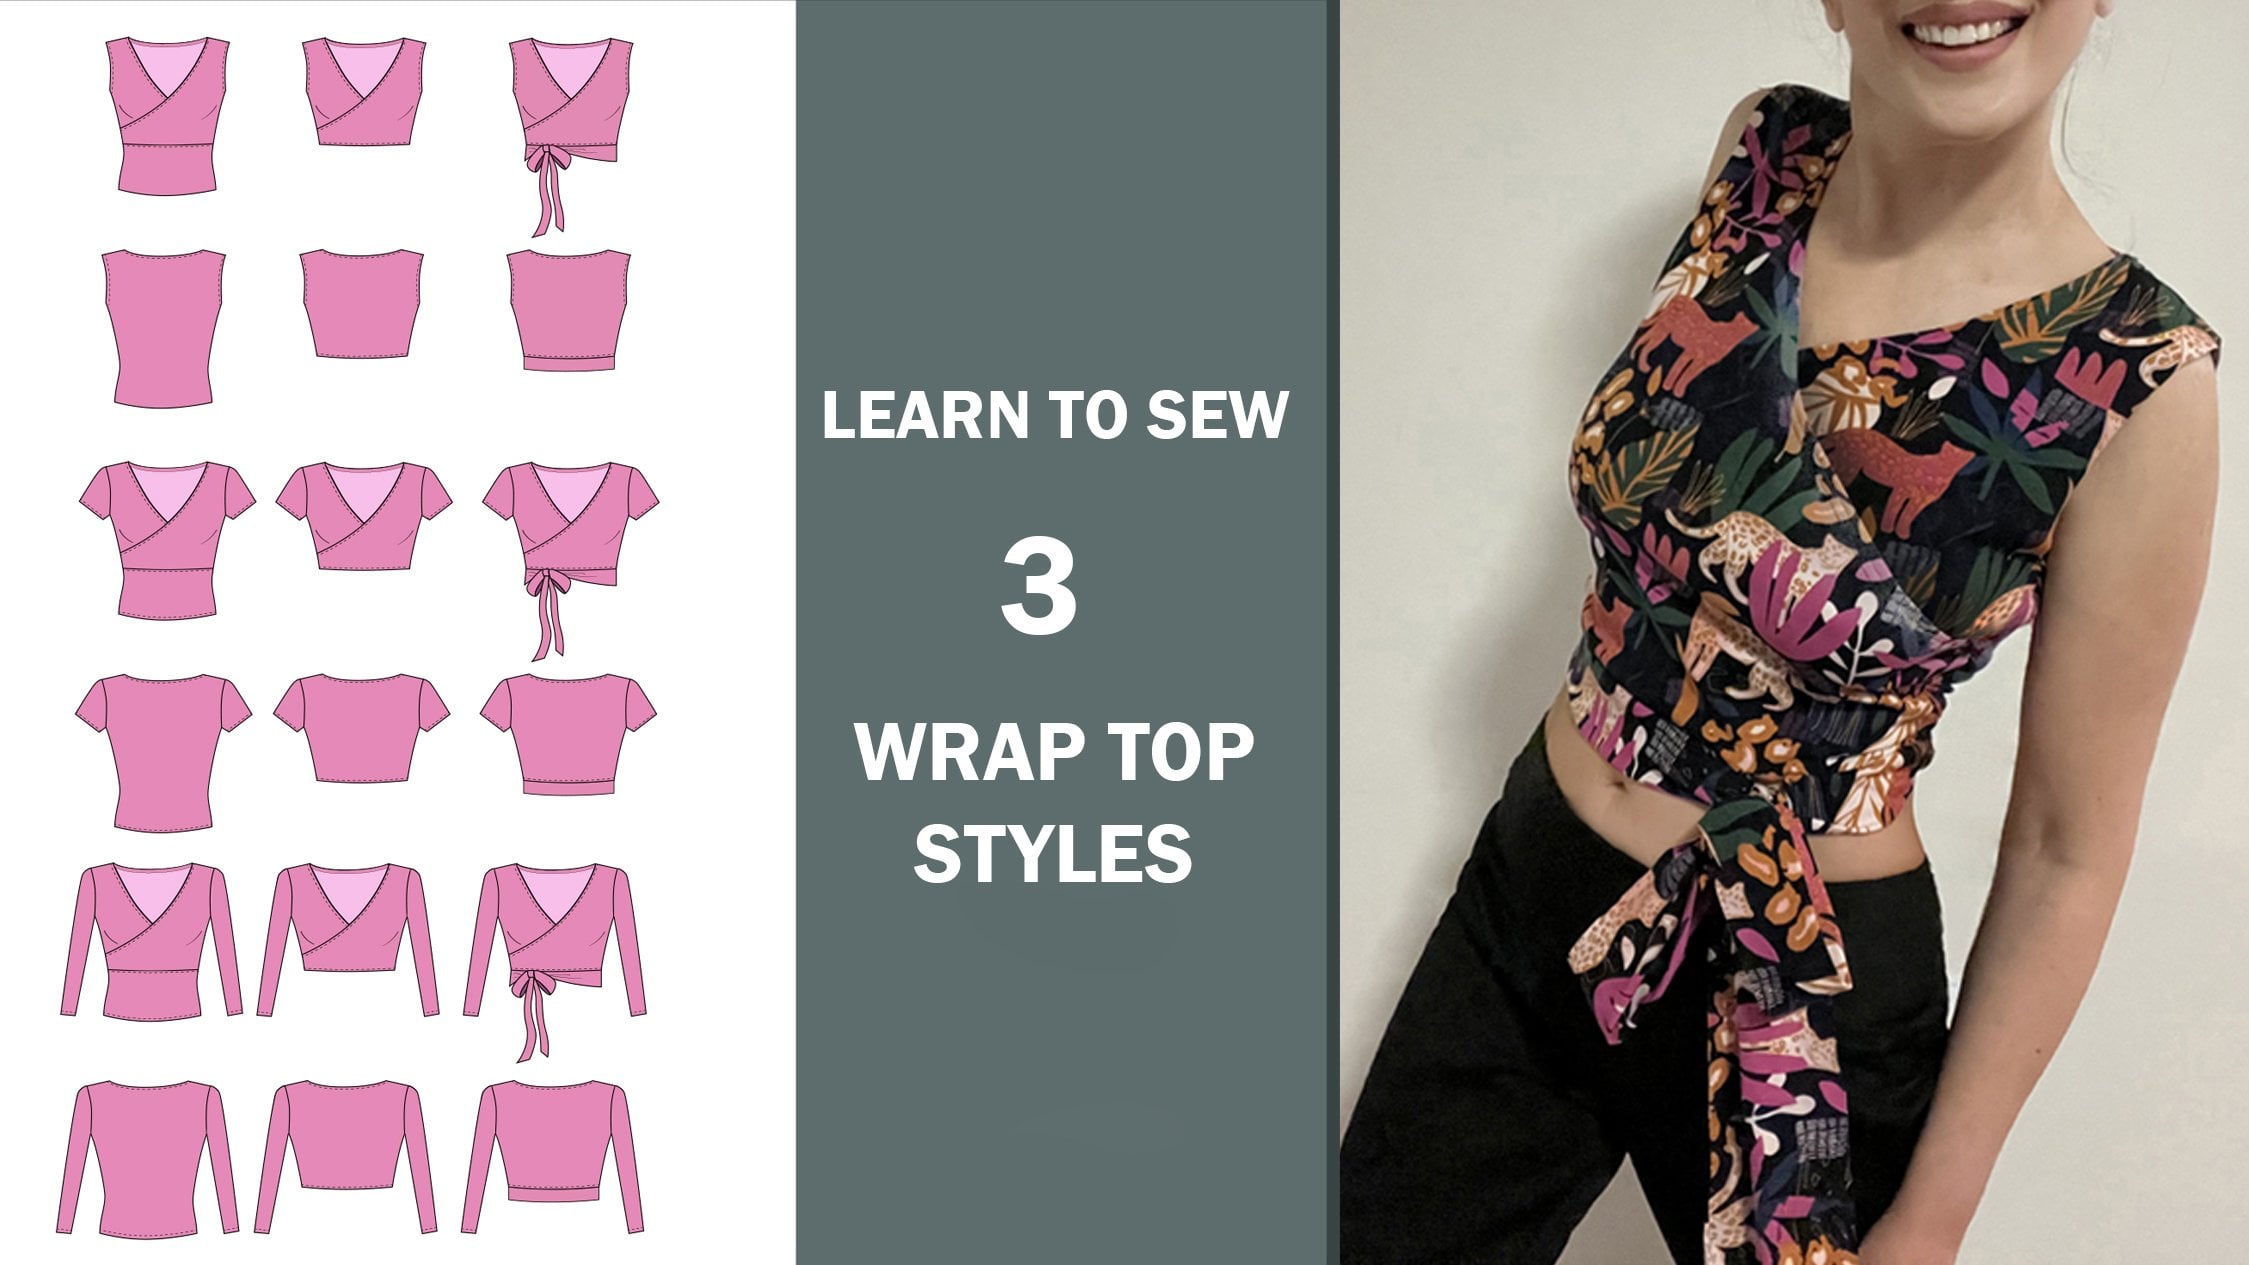
  • Are you passionate about fashion, design and trends?
  • Do you want to stand out with your unique style by wearing clothes that nobody else has?
  • Do you have a distinct sense of style and would love to create and make your own garments?

If your answer is Yes, then come along on the sewing journey with me and you will see, the sky’s the limit!

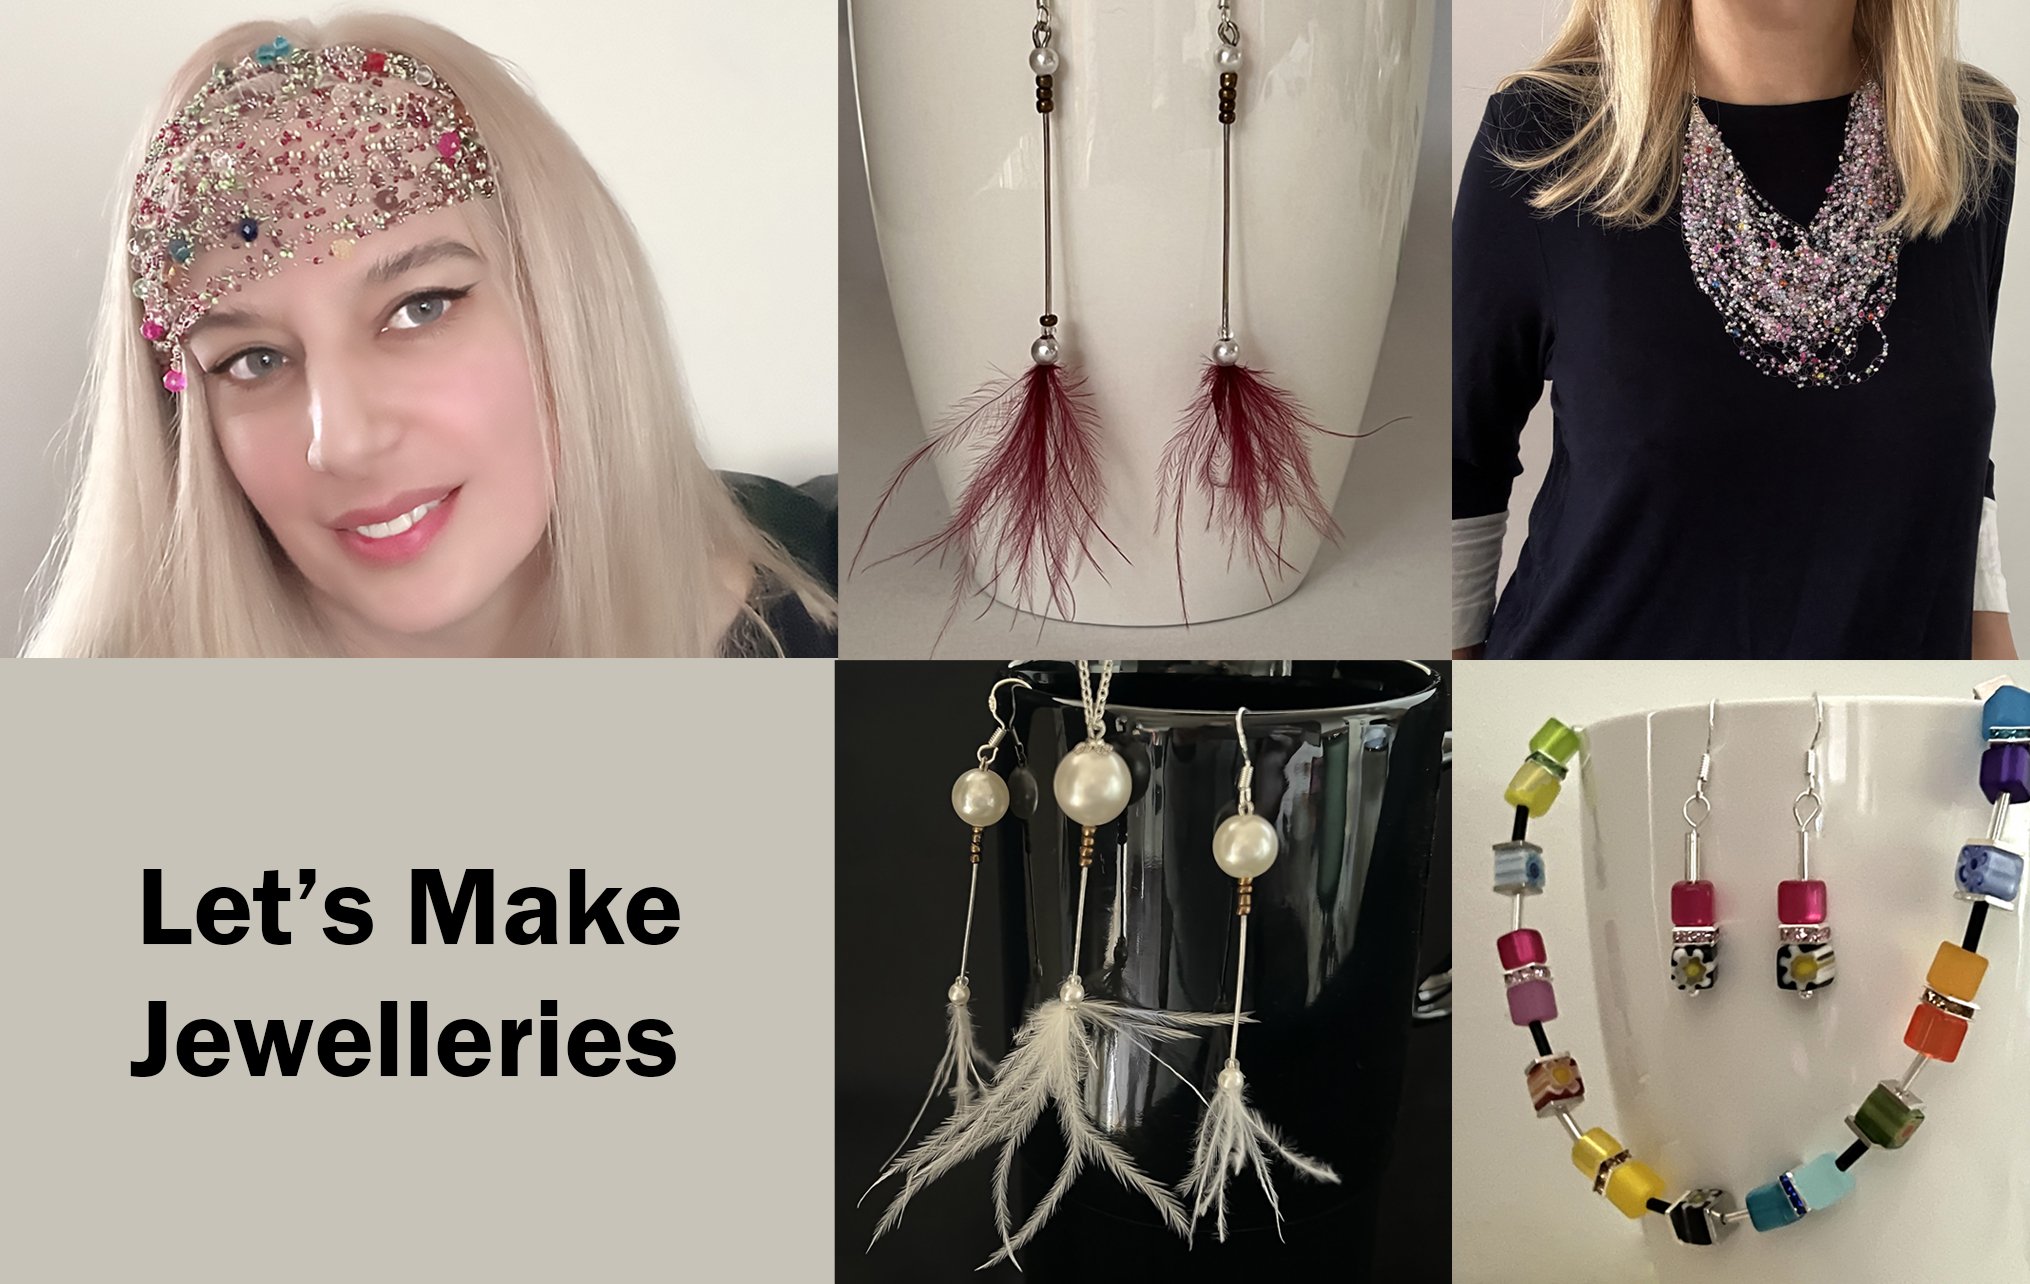
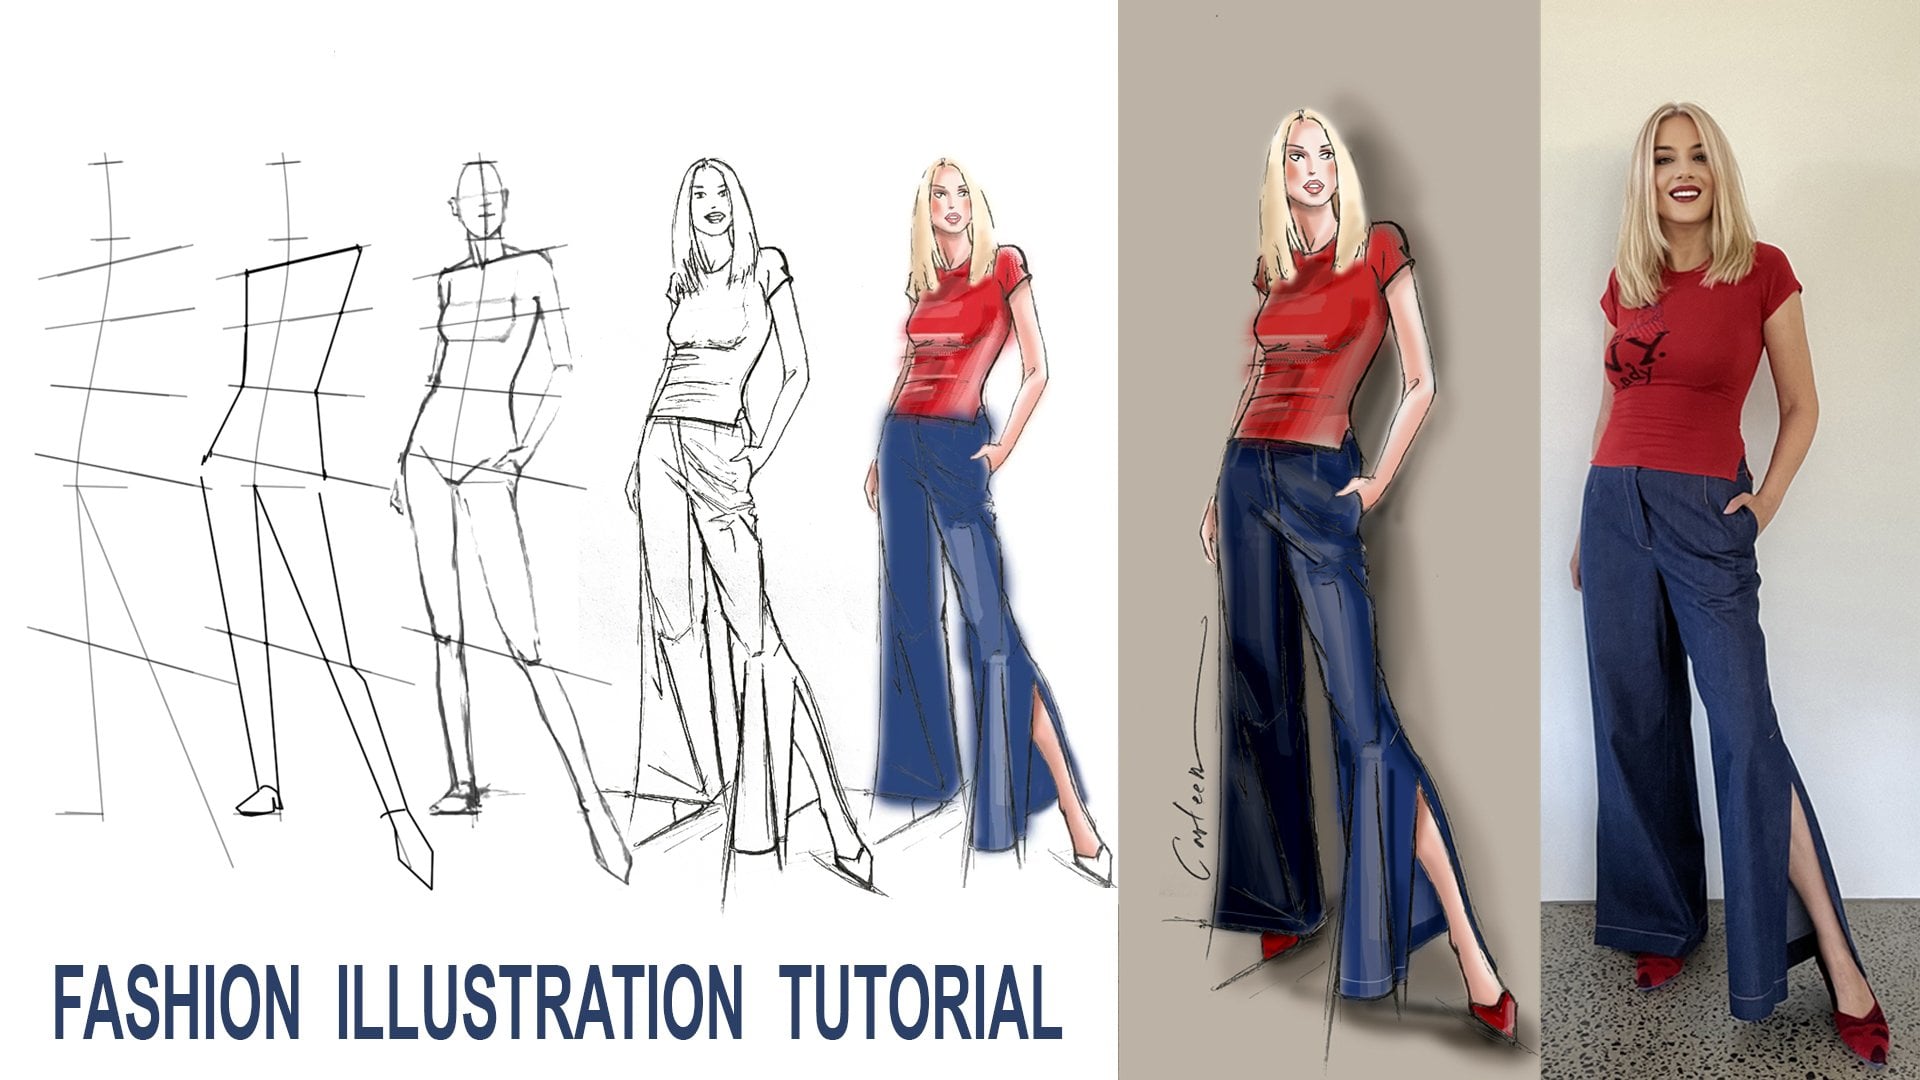
I am Carleen, fashion and jewellery designer with extensive experience. In this class I will teach you how to make your own elegant dress that fits to your measurements and will make you look unique, stand out from the crowd, whilst being confident in your appearance. You can also personalize your outfit with your own jewellery. Fashion is a form of self-expression, like art, so let your imagination run wild…

By the end of the class you'll be able to:

  • Take your measurement like a pro and match it up with an international size chart
  • Understand a multi-layered PDF sewing pattern
  • To choose your fabric and understand a cutting layout
  • Cut out all the pieces of a clothing
  • Sew a dress with a step by step tutorial

All students are encouraged to share their own finished dress or their work in progress inspired by the material covered in this class.

This dress sewing tutorial can be helpful for both beginners and experienced seamstresses.

 I look forward to seeing you in class!

Meet Your Teacher

Teacher Profile Image

Carleen

Sewing, drawing, making patterns

Teacher
Level: All Levels

Class Ratings

Expectations Met?
    Exceeded!
  • 0%
  • Yes
  • 0%
  • Somewhat
  • 0%
  • Not really
  • 0%

Why Join Skillshare?

Take award-winning Skillshare Original Classes

Each class has short lessons, hands-on projects

Your membership supports Skillshare teachers

Learn From Anywhere

Take classes on the go with the Skillshare app. Stream or download to watch on the plane, the subway, or wherever you learn best.

Transcripts

1. Introduction: Today I am going to show you how to make these gorgeous sleep dress minimalistic from the front. But what a sexy open back when you turn with the ruffled detail is romantic and flirted. Everyone, My name is. I am passionate about fashion design and trends. Sewing, creating patterns, drawing, painting, and also making jewelries. With 20 years of experience within the fashion field, I am proficient in the process of making a garment from the initial design through the finished product. Equally enjoying making my own clothes as much as I do helping others on their sewing. Generally. We will start this project by finding your size, matching up with the size chart, choosing the fabric, and continue with the cutting layout. Then we continue with the cutting process. And finally, getting into the wonderful parts of sewing the garment, you will need a sewing machine, scissors, pins, sowing deep pattern and the fabric. Of course, by the end of this class, you will be able to set up your own breasts. Are you ready? Let's get started. 2. Measurement, Size Chart and Sewing Pattern: Taking your measurements is the first step in making a garment that fits properly. To find your size, measure the following circumferences of your body. Chest, waist, and hip. Measure the fullest part of your bust by making sure the measuring tape is parallel to the ground. Proceed in the same way at the waist. These measurements shouldn't be taken at the narrowest part of your waste. Finally, the heap measurements should be taken at the fullest part of your heap and rear. Once you have found your measurement, compared them with the size chart that they have put together by countries. You can easily find your size by looking at the measurement on the top left, chest, waist, and hips. Choose the size that matches the most your measurements. The measurements off your chest and heaps are the most important. This is how a multi layered PDF button looks like. You can select your size that you would like to print out. But always keep the test squar and guidelines checked so that they print out to the test squar is meant to be measured once the better is printed, to make sure that you have printed the better and the RightScale, the pieces of the dress unnumbered and all the information relative to the pattern appears on each piece, such as the gray line, the name of the piece, the name of the pattern, the number of PCs to gut, whether it has to be GOT unfold, the seam allowance that has to be added. This pattern doesn't include the seam allowances, but it is specified on the bedroom pieces where and how my seam allowance you have to add when cutting out the pieces. 3. Fabric Choice, Cutting Layout and Cutting of the Pieces: The fabric I recommend for this dress is a setting for a statement dress. But you can use any other fabric to make a nice scheduled dress that you can wear around the town. In this example, my fabric width is one meter, 50, or 59 inches. I place my pattern pieces as shown in the picture in measure the length of this layout from the top to the bottom, and add a surplus of 15 centimeters for the seam allowances enhance this dress. You will need one meter and 40 centimeters or 1.53 yards of fabric. Fabric right-side together for double thickness. Put the pattern pieces on the fabric and make sure that the pieces of the better, which had the motion cut on fold, are placed on the folds of the fabric in the petals to the fabric to avoid them moving. Style by cutting out all the pieces. This is the front bodies. This is the back of the bodies. The curve I'm cutting right now is the open becuase. I'm going to assemble the raffle. This is the front skirt, the time adapting from a pencil skirt to a flare skirt. This is the back of the skirt. 4. Sewing, Assembling of the Main Pieces: Now let's get into sewing process. So the dots at the bodies front piece, right side facing the dots at this code back piece, right side facing for us the dots down towards the middle of the pieces, please. The front bodies on the front skirt, right side facing, align the bus lines as sew them together. Do the same thing with the bag bodies and the Beck's Kurt. Overload the row edges. Older seams up towards the neck line. Leaves the front of the dress on the back piece, right sides facing, align the shoulder lines and the side seams and stitch them together. Okay. Overlook all those seams, including the center lines and the back pieces. Assembling of the invisible zipper. If you don't have an immediate board zipper food, you can so that zipper with the standard food, please. The zipper on the border of the back center line Dress. Open the zipper and pin it down on the left side. Do a running stitch along the edge of the deeper tape to attach it to the fabric. Now, do a second stage very close to the zipper thieves. And so it until the presser foot that she's the end of the deeper. Please the right side of the zipper and apply the same stitching process, S4, the left side To finish the back position, the fabrics right-side together. And so from the bottom of the government up to the stitching of the tip, press the seams open. 5. Sewing, Finishing Process: Cut the few buyers strips of fabric approximately four centimeter wide for the neck line and arm hole finish joined the ends by stitching them together. Right side facing, prejudice seems open. Fold them into lengthwise, wrong sides facing and press them down. So them along the arm hole, right side facing. The bias is on the wrong side of the bodies and sold them down. Now we're going to make the ruffled detail on our back. You can either cut to ruffles on a single thickness and overlap the edges, or cut two pieces for each raffle as I did and sold them together. Lays the inside curves of the raffle on the Garmin Beck curve, right side facing and sew it down. Few buyers strips of fabric approximately four centimeter wide. Fold them land wise, right side facing, and sold them all the way around the back curve to cover the raffle and have a nice finish. Flip. The bias is on the wrong side of the body's top stitch all the way around the back curb. Again, a few buyers strips of fabric for the neckline finish and a soul them all the way around the neck line. Got to strip soft fabric approximately four centimeter wide for the string on the back of the neck. Fold them lengthwise, right side facing. And so along the length though them on the right side bushing the fabric on one of the ends and top stitch the string. Now flip the bias on the wrong side of the bodies and fold the surplus on the bios is etched to the inside, plays the strings row and under the bias thrips and, and pin it down. The neck line. Hand the bottom of the dress by folding over about seven millimeters. Stitch the hem down and I run it. 6. Final Thoughts: The recap, the main points up doc, today's lesson, we're taking your measurement and matching it up with the size chart. Understanding the multi-layer PDF pattern, and the information you can find on it. The choice of a fabric, the cotton layout, and the cutting process. And finally the sewing process, which includes the assembling of the main pieces and the finishing part. First, as a reminder, feel free to post your project in the projects gallery. And you can also follow me on Skillshare or on social media. And if you like, leave me a review and give me a like and a shear. Thank you. Imply.