How to Frame Your Painting Like a Pro | Amie Murray | Skillshare
Search

Playback Speed


1.0x


  • 0.5x
  • 0.75x
  • 1x (Normal)
  • 1.25x
  • 1.5x
  • 1.75x
  • 2x

How to Frame Your Painting Like a Pro

teacher avatar Amie Murray, Painter + Art Educator

Watch this class and thousands more

Get unlimited access to every class
Taught by industry leaders & working professionals
Topics include illustration, design, photography, and more

Watch this class and thousands more

Get unlimited access to every class
Taught by industry leaders & working professionals
Topics include illustration, design, photography, and more

Lessons in This Class

    • 1.

      Welcome

      0:46

    • 2.

      Center Your Painting

      1:11

    • 3.

      Secure the Frame to the Canvas

      2:12

    • 4.

      Attach the Hanging Wire

      4:28

    • 5.

      Add Bumpers and You're Finished

      0:59

  • --
  • Beginner level
  • Intermediate level
  • Advanced level
  • All levels

Community Generated

The level is determined by a majority opinion of students who have reviewed this class. The teacher's recommendation is shown until at least 5 student responses are collected.

39

Students

1

Project

About This Class

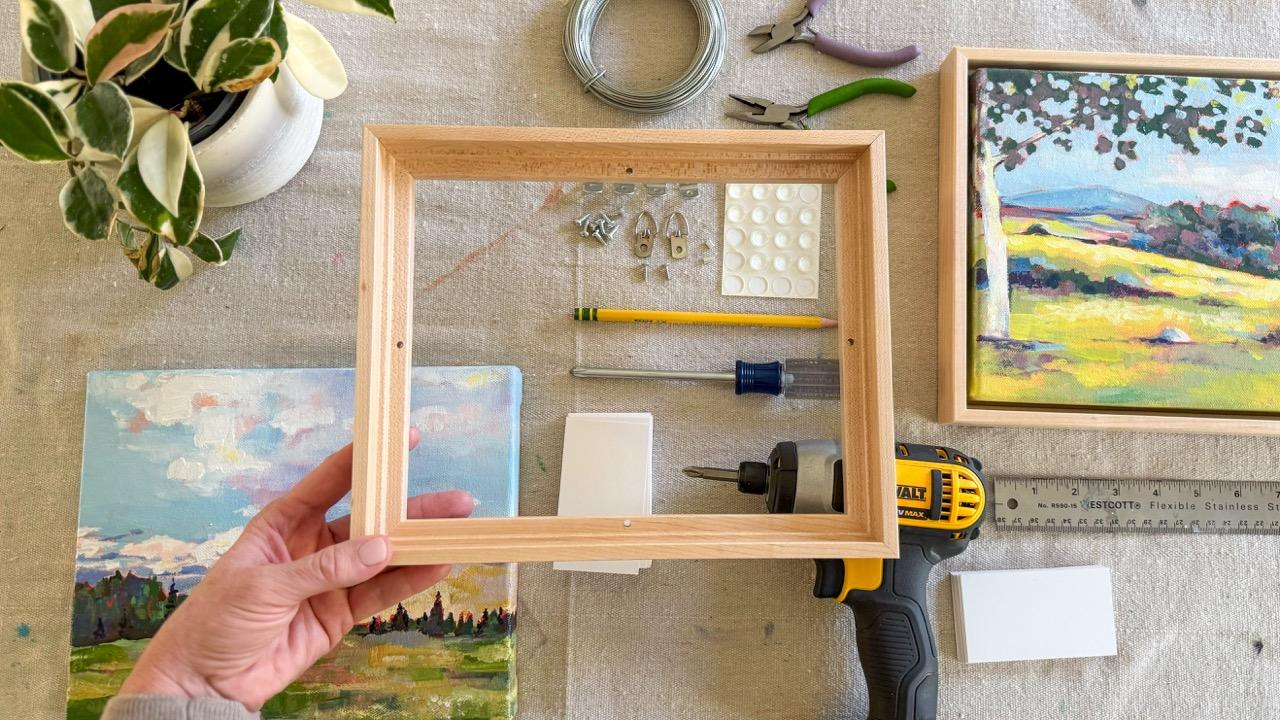
Have you ever taken a painting to be professionally framed, seen the price, and wondered if it is something you can do yourself? Well, I’m here to say yes you can, and I’ll teach you exactly how to frame a painting in this quick and simple class.

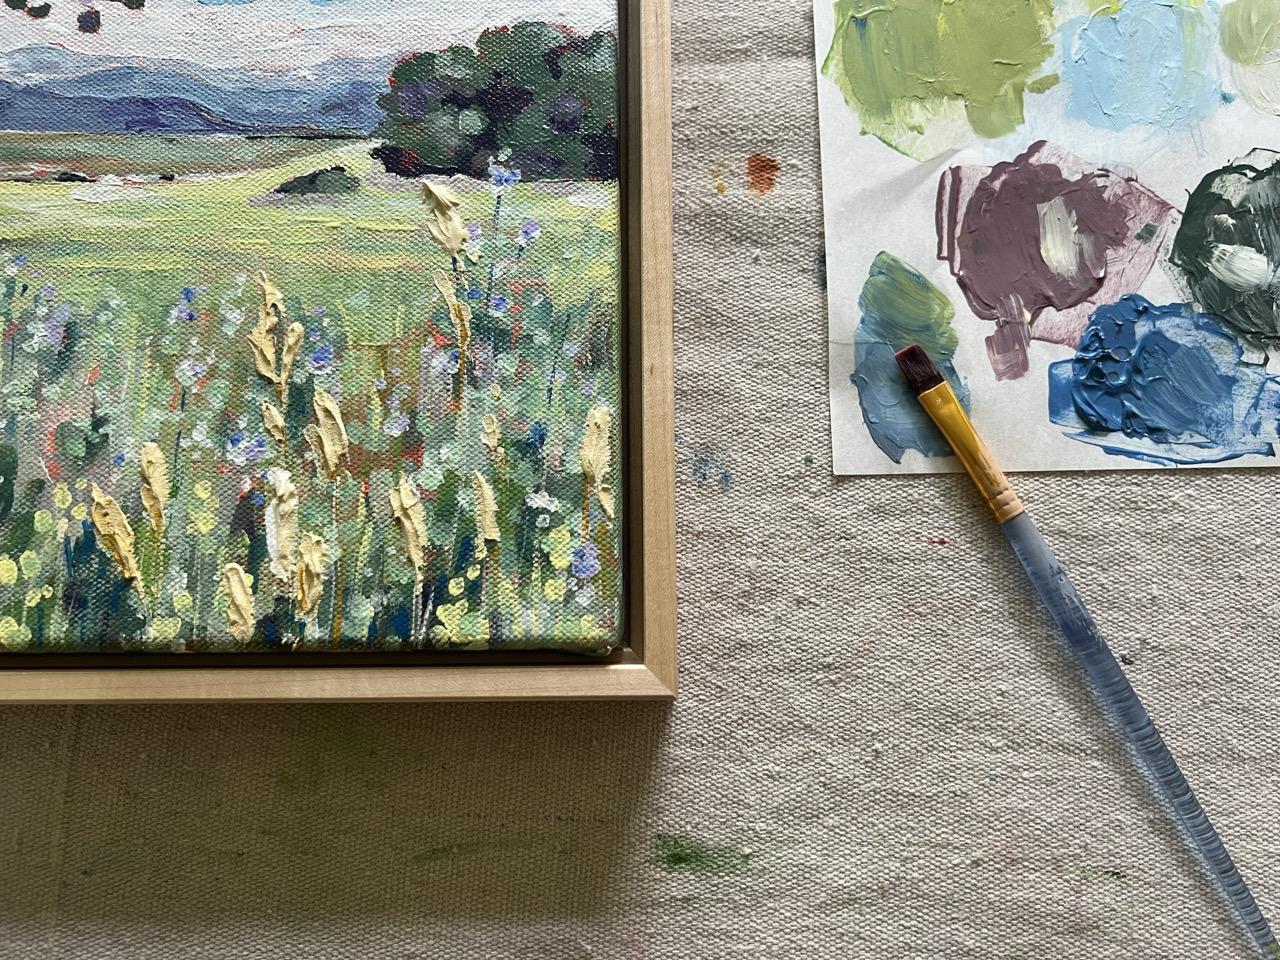
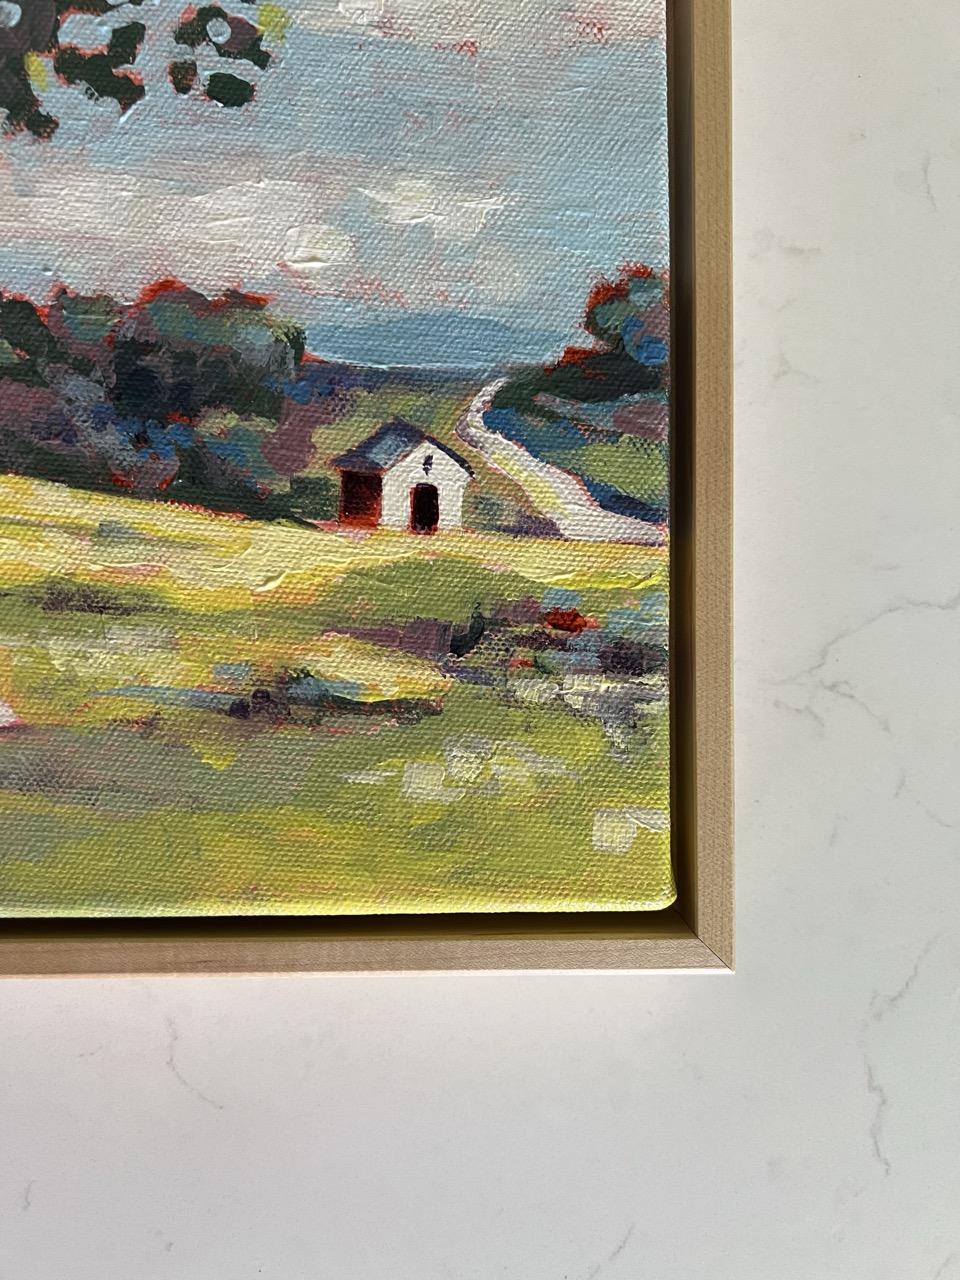
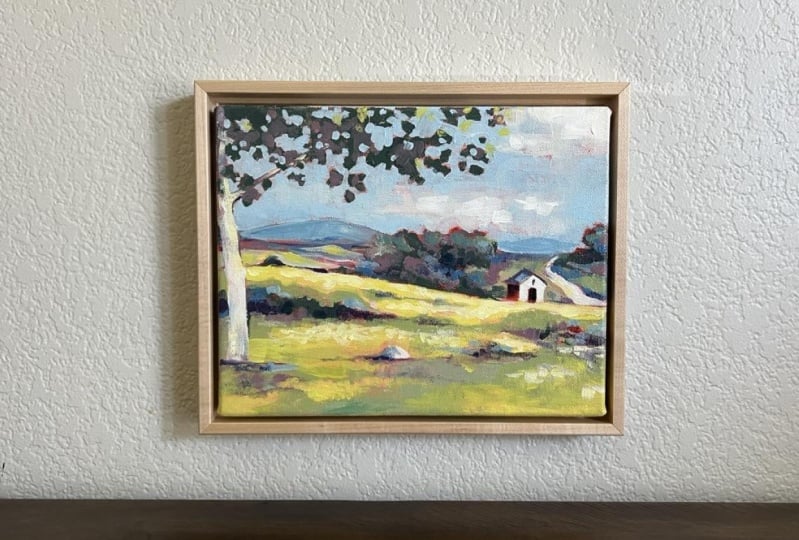
I’m Amie-- I’ve been a professional artist for 14 years and I can tell you from experience, I waited way too long to start framing my own artwork and wish I had given it a try much sooner. I love the look of a modern wood floating frame on my canvas art, so that is what I'll be teaching. 

I’m here to share the step by step process I use and give you some tips along the way so that you can feel confident in framing your own paintings.

In this short format class we'll cover framing in four easy steps:

  1. Center the painting
  2. Secure the painting to the frame
  3. Attach the hanging wire 
  4. Add bumpers and hang up your art! 

This class is perfect for anyone who has ever felt curious about the framing process - beginners welcome! 

Along with the class, I've add a detailed supply list with links to some of my favorite supplies. I won't talk about each supply in detail during the class, so I recommend taking a look at the supply PDF to learn about each one:

  • A wood floating frame
  • Offset clips
  • D Rings
  • 3/8" screws
  • Hanging wire (crimping beads optional)
  • Bumpers

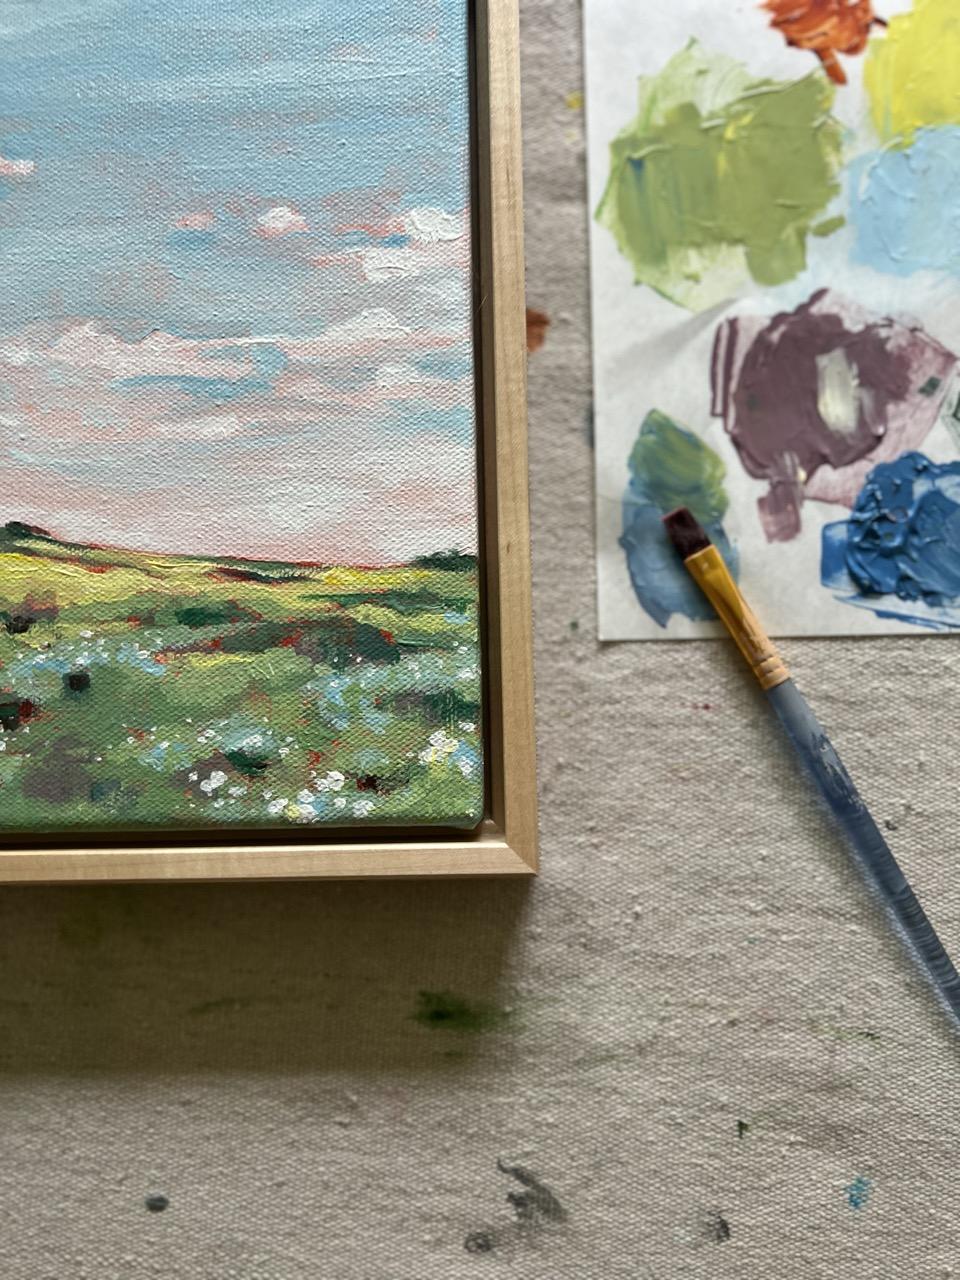
A simple wood frame can truly bring out the beauty of your art in an unexpected way... I encourage you to give it a try! 

Please keep in touch with me on Instagram (I love to see your projects there)! Or, by joining my monthly email crew, where I offer my latest updates, freebies, first access, and other fun goodies. 

Royalty Free Music: https://www.bensound.com License code: UPD9JHZYGAB2NNE4

Meet Your Teacher

Teacher Profile Image

Amie Murray

Painter + Art Educator

Teacher

I grew up in an art studio. My mom taught children's art classes and we had a studio in our home - right off the kitchen. You could grab a snack and sit down to paint a few feet away. Art always felt totally natural and I loved it.

In 2010 I decided to take art from hobby to a full time career. Since then I've painted and shipped over 1200 original paintings all over the world, and am happy to share my creative process with you.

While I will always be a painter at heart, I've grown to enjoy Ipad art and surface design. I like the challenge of figuring out how to relate my traditional painting to new creations in digital art. I love color, thick texture, and often paint what brings m... See full profile

Level: Beginner

Class Ratings

Expectations Met?
    Exceeded!
  • 0%
  • Yes
  • 0%
  • Somewhat
  • 0%
  • Not really
  • 0%

Why Join Skillshare?

Take award-winning Skillshare Original Classes

Each class has short lessons, hands-on projects

Your membership supports Skillshare teachers

Learn From Anywhere

Take classes on the go with the Skillshare app. Stream or download to watch on the plane, the subway, or wherever you learn best.

Transcripts

1. Welcome: Have you ever taken your painting in to have it professionally framed, seen the price, and wondered, is this something I can do myself? Well, I'm here to tell you, yes, you can. You can definitely frame your own artwork, and I will show you exactly how to do that in this quick and simple class. I've been a professional artist for over 14 years. I've sold over 1,300 of my own original paintings. And I can tell you from experience, I wish I would have started framing my own artwork much sooner. Here to share my step by step process, give you some tips along the way, and hopefully you'll feel confident to start framing your own artwork. Okay. Let's frame something. 2. Center Your Painting: I've got all my supplies here ready to go. I've attached a PDF to this class in the resource section with details about each supply and added some links to my favorites. Today, I'm working in my kitchen because I like to stand while I'm framing. I also recommend working on a soft surface to protect your artwork. Step one of the framing process is to center your painting in the frame. Now, my frame has grooves cut out. To help me center the painting. But if your frame does not have those grooves, or if you just want to double check and make sure it really is centered, you can take four stacks of card stock. These are just old business cards. You want to make sure your stacks are the same size and wedge them in there to make sure your painting is centered. Once your painting is centered, you can carefully flip it over and we are going to attach the frame to the canvas. 3. Secure the Frame to the Canvas: My frame has pre drilled holes that can be used to screw the frame directly into the wood bars of the canvas. However, on this small size, the holes don't line up well with the wood, and the screw would be too close to the edge. So I'm going to show you how to use offset clips to attach the frame. When you frame, you are, of course, welcome to use the pre drilled holes. But I would check first to make sure they line up well with the wood of your painting. This is an offset clip, and before you buy your offset clip, it's important to measure the distance between your painting and the top of your frame. In this instance, ours is half an inch. So I've purchased a half inch offset clip to use for this project. Going to place my offset clip on the painting and frame. It does not need to be perfectly centered, and in fact, sometimes you run into a staple if you try to make it perfectly centered. I'm going to use my screwdriver to attach it with these tiny three eighth inch screws. For a small canvas like this, I attach just one to each side, but for a larger canvas, I might use two or more offset clips per side. You can, of course, screw these in by hand or use an electric screwdriver like this. I'm going to flip it and do the second one. You don't have to flip it. It's just easier for me. I've got all four clips attached, and that's it. My frame is securely attached to the canvas, and it's not going anywhere. If it's hard for you to drill straight into the wood, you can also drill your own pilot holes first. 4. Attach the Hanging Wire: Okay. Step three, I want to attach my hanging wire. One of the most important things you can do is to make sure you flip it over and know where the top of your painting is. We want to attach that hanging wire in the top third of the painting. If you attach the wire too low, your painting might lean off the wall a bit and not sit flush. So I am going to measure 2 " from the top of the frame and just make a little pencil mark on each side. This is a D ring. See, shaped like a D. So I'm going to line it up with the dot that I drew, and it does not need to be perfect. Then I'm going to attach the D ring with another small scrop. So my D ring is secure. I'm going to repeat the process on the other side. I'm lining it up with my pencil mark. Alright, I've got my two D rings in place. Now I'm going to add the hanging wire. When I cut my wire, I want it to be the width of the canvas plus several more inches on either side. If you cut your wire too short, the next part of this process will be quite difficult. I've got my wire with some spare room on each side. I am going to start by sliding these two small crimping beads onto the middle of the wire. These are not required. They're optional, but they will give it a little bit more of a finished look at the end of the framing process. You can see I've got my two crimping beads in the middle of my wire. Next, I'm going to start on one side with one of these D rings. I loop the wire through the D ring twice. To get it nice and secure, we'll do a little close up so you can see that how it's wrapped twice on there. And then I'm going to take this extra couple inches and start wrapping it back around itself. Now, when I get to the end of the wire, this is where I'm going to use one of these little crimping beads. I'm going to take it and slide it back over that pokey end of the wire. Then I'm going to take my needle nose pliers and just squish it flat on there. So that seals in those sharp ends and just kind of gives it a little bit more of a finished look. Now I'm going to switch to the other side and do the same thing. Now, before I do the second wrap on this one, I want to see what's going to happen with my wire when I hang it. So I wanted to have a little give in the wire, but I definitely don't want it to go up past the frame. When we hang it, if it hangs right about here, that should be good. Alright, so I think I found a good spot for that. I'm going to wrap it once. Wrap it twice. Double check to make sure I still like where it's going to hang. And at this point, you can see this. I have, way too much on the end of this one. So I'm just going to clip off all but a little bit to wrap around. And then I will do the same process. I will wrap my wire and seal those poky ends off with that crimping bead. And that's that. My wire is successfully attached to my frame. 5. Add Bumpers and You're Finished: The last step is just to take these little bumpers. They have a sticky back, and I like to put them on the bottom corner of the frame. These bumpers will just keep your wall protected, and they'll kind of help the painting to hang evenly. So it's a little step, but it's a good one. Okay, the frame is secure, the wire is attached, the bumpers are in place, and that is the whole framing process. All that's left to do is hang up our beautifully framed art. I hope this has given you the confidence to try a new skill, and I would love to see what you frame. Feel free to upload a photo of your framed artwork and give me a follow for more painting classes. Happy framing. Bye bye.