Transcripts
1. Welcome!: If you're looking to
make your videos go from looking like this to looking
something like this, or from this to this, Then you just find
the right class. You might see a lot of
other creators have a certain look to their videos and you want to replicate it, or you're just looking to level up your filmmaking skills. Welcome, my name is Am Iams. I've been through
film school now, Own my own film brand, and
I'm a content creator. Now, what will you
learn in this course? Let's take a look. We'll first go over the basic
things that you need to know in order to accomplish
those nice looking shots. We'll then go ahead and
find your own unique style. Once we've done
that, I'll explain a nice way to come up
with the right shots. Then, in my opinion, the
most interesting part, the three secrets to get those typical shots that
we're talking about. And in the last lesson, I'll give you some
tips and tricks that you can take with you.
Why don't you start filming. I'll give you assignments
and tests along the way so you can get
started immediately. So what are you waiting
for? I suggest you click on the first lesson
and let's get started.
2. Making Lonely Shots: Welcome to the first lesson.
Before we get in depth, I'll go over a few things
that are important to know. First of all, we're looking
to make lonely shots. You probably already know what kind of shots
we're talking about. These shots don't really
have a certain name to him, but they have a
certain look to them. And that brings me to the
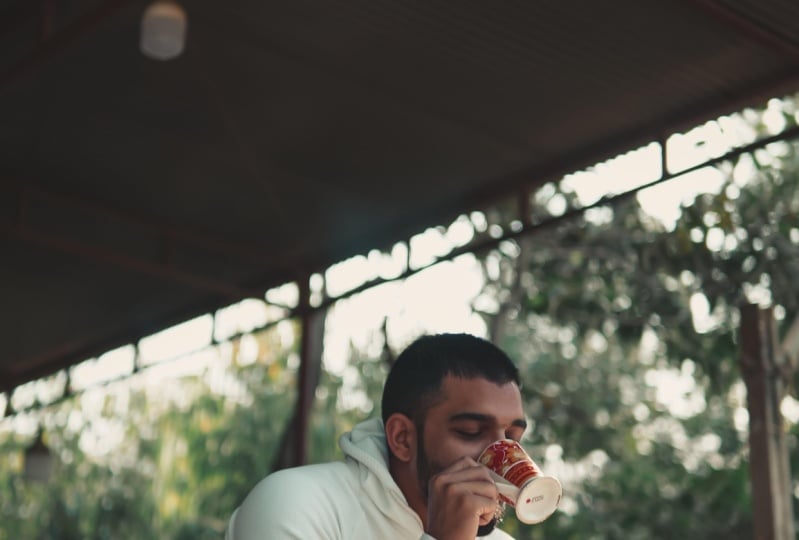
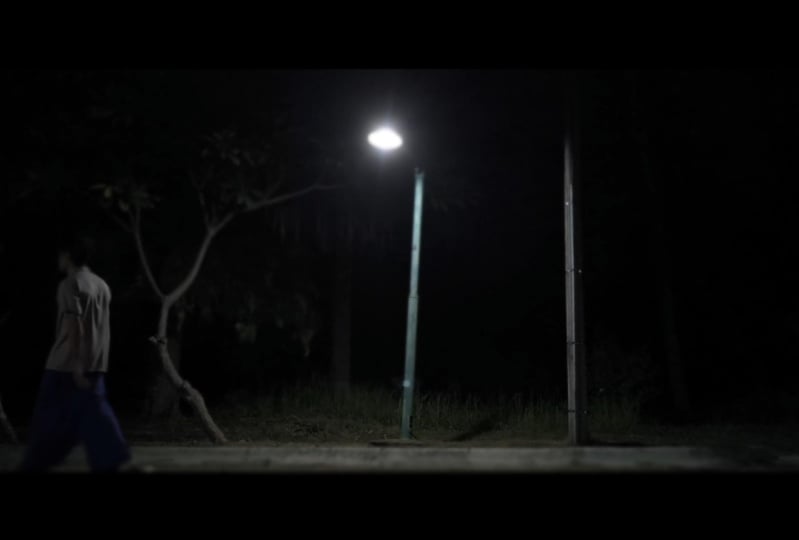
first point, lonely shots. So once again, we're looking
to create dead look. And one thing that
a lot of creators do is that loneliness
into their shots. Take this shot for example. You can almost feel how small the subject is in
a large environment, and this adds to that feeling. Now, why is this important?
First of all, think about it. Your viewer is probably alone
whilst watching your video. So you're alone in the shot
and he or she is alone too. You'll be lonely together and it doesn't have to be a sad effect. You can also create someone who's lonely in a
peaceful environment. As long as you show
that you're alone, this also puts the focus on
you giving you more control. You can control
what the person who watches the video feels. For example, if you look sad and you're the only
person in the shot, then the other person might get sad feelings too. The
same goes in reverse. If you're happy in the shot and you're the
only person there, then take a guess, the person watching
will feel happy too. In lesson four, I'll go
into more practical steps that you can take to
achieve this lonely look. But for now, let's move on to the next point which is
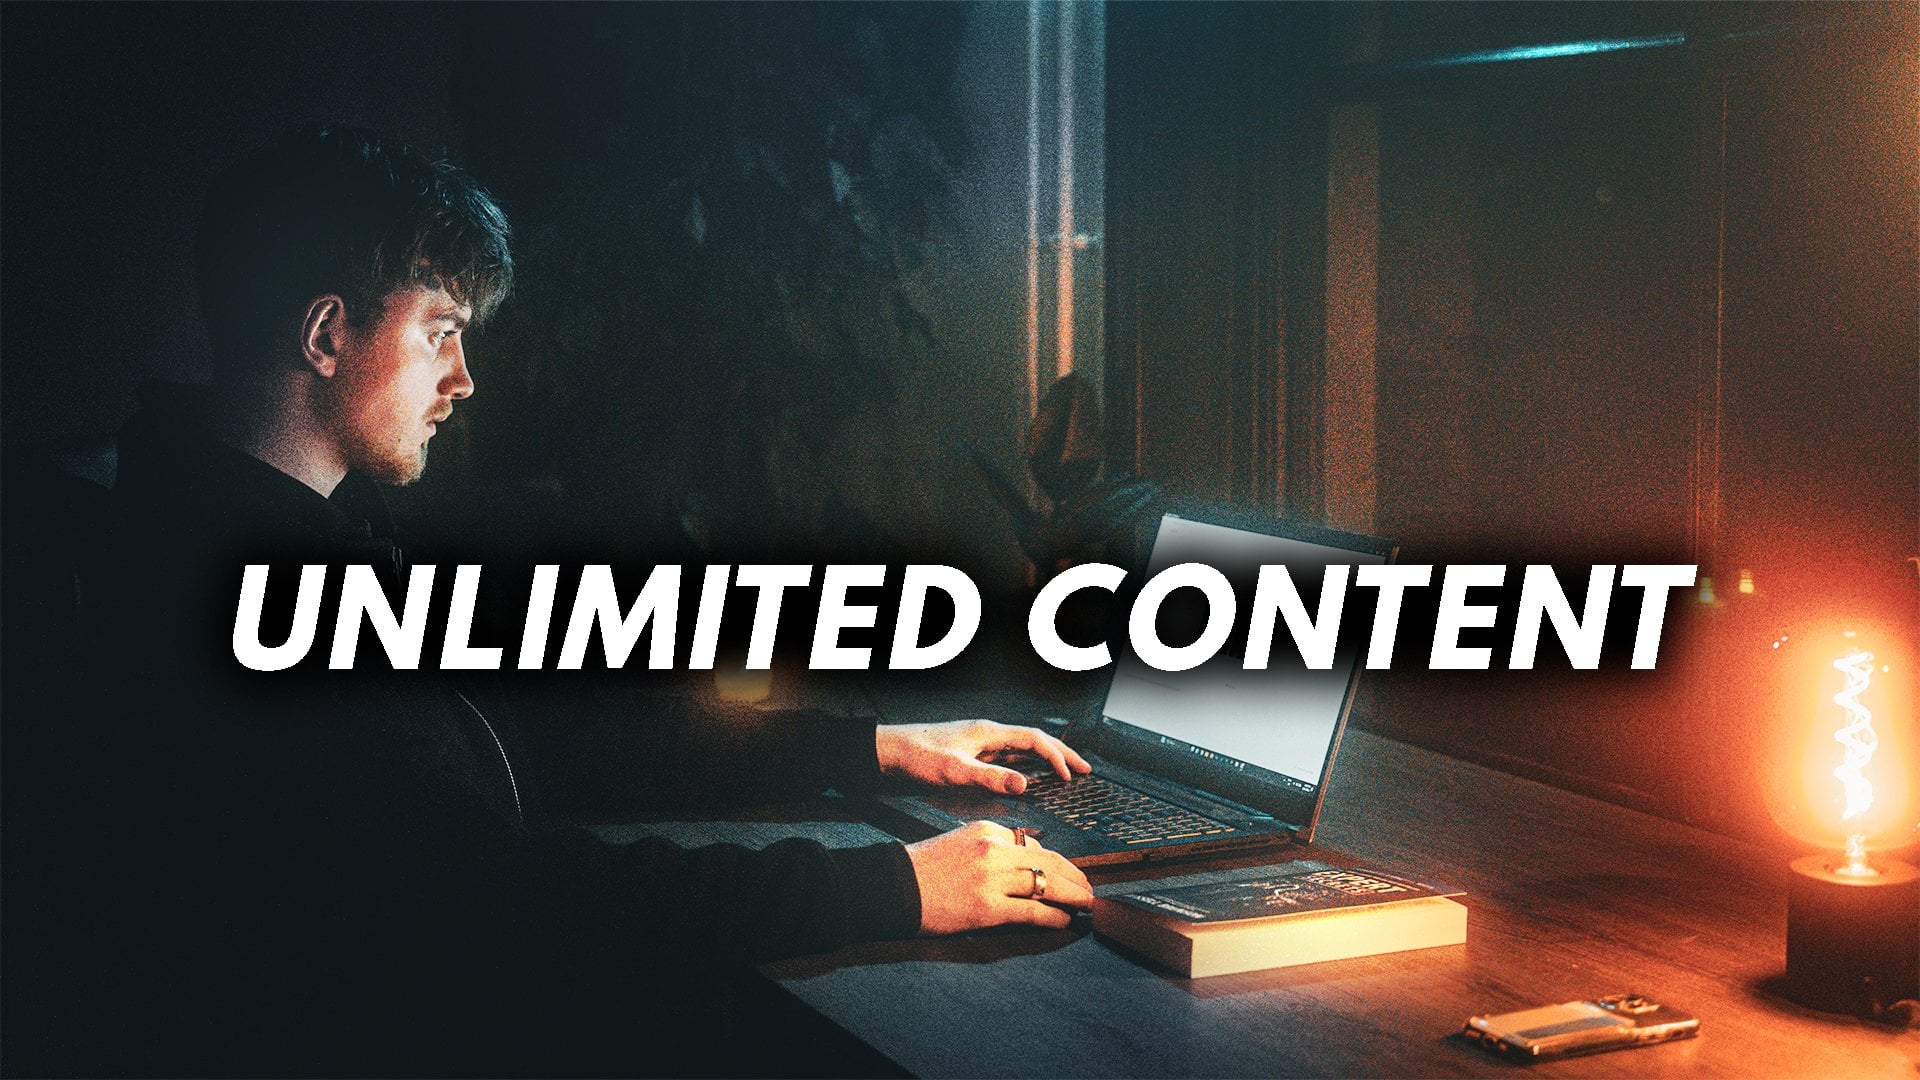
stop over stimulating. In today's world,
the content that we see is very over stimulated. A lot of zooms, cuts, effects. You have to get rid of this in order to create the look
that we're looking for. We want the audience to
sink into the story. So that means we should
let Scholtz rest for a few seconds before
cutting to the next. This isn't necessarily
something that you can apply whilst
making the shot, but this is important
to keep in mind. Take a look at these
two sequences. Which one feels better? I use two things
to keep the ideas engaged whilst not
over stimulating them. And those two things
are music And zoom. Depending on the vibe
you're looking for. You want to enhance your videos of music, but make it subtle. It should add to the story,
not the stretch from it. In my opinion, the best two
genres are classical for shots outside and something like jazz foreseen
that's inside. This is just a basic rule
that I keep myself to. But if you want to play around
a little bit, that's okay. Just keep in mind,
don't overuse it. All right, so now we know
that we should emphasize the feeling of loneliness
and being alone. And we know that we
can use music and slow zooms to engage the audience whilst not over simulating them. These few things already drastically improve
your content. Trust me, we'll do that
in the third lesson. But first, it's time to
find your own style.
3. Finding Your Own Style: Welcome to lesson two. It's time to find your own unique style. An important part of creating content is having your
own unique style. This will be something that
people can recognize with. After this lesson, you have an assignment
that you can do. But of course, unfair
is going to teach you how to actually
find your own style. And it's way more simple
than you think. All right. The first one, the font, this is probably not
what you've expected, but it's way more
important than you think. In my opinion, the font that
you use for your text is one of the most overloot
aspects of filmmaking. Take a look at this example. Here's a sequence with
a bolt and thick font. Here's the same sequence, but with a more curvy
and subtle font. Here's a good rule, thumb, Use a serif and curvy font
if you're looking for a vintage personal
antique or dreamy look. You can use a bald font if
you're looking for a funny, modern, or happy feeling. And you can use a
minimalistic font if you're looking for a more
serious and classic look. Next time you're ready to make titles or subtitles for videos, keep this in mind, it really
adds a lot to your video. Play around with different
fonts and don't settle for want too fast for the
look that we're creating. I prefer a Sera font.
Number two is color. It doesn't really
matter whether you're using a phone or a camera, but if you're using a
camera, you're probably familiar with the
term white balance. This basically ensures
that the whites in your video are
actually pure white. And you can actually
play with this setting in order to achieve
a certain look. You can set it to a
more warmer color to create a more vintage
and warm feeling. Or you can put the Kelvin
number down to create a more cool look and a
more somber feeling. If you prefer to keep it
perfectly, then that's okay. You can always change
it after you filmed it, But usually if you're going
for a certain effect, it always looks better
if you do it in camera. I personally make my images
a little bit warmer than they should be because
I just like that style. It's combining all these little things that will
make your videos way more personal and this will attract your perfect audience. Number three, your format. How is your video sorted out? This is start with a
32nd cinematic sequence. Maybe you take people
on a journey with you. Do you use multiple
chapters in your video? It's good to keep this in mind. The format of your
video will be something that people once again,
can recognize you with. For example, about
two years ago, I always went from location to location whilst
telling the story. This engaged my viewers way more and it made the video
way more interesting. However, this is
what I preferred. I should probably know I'm a big believer that
you should use your own style and not just copy your own thing because
you think it'll work. It has to feel right.
It has to be you. Now, it's not necessary to have a certain format, but
it can really help, help you to come up with
certain video ideas way faster because you already know what
the video will look like. Here's a few random examples, a ten second long shot. Then you'll tell a story, a 32nd cinematic sequence, And then you'll
tell the solution, and that's the end, or 62nd
sequence with a voice over. Then you'll tell a story
with a talking head. And then the video is
over and this goes on. It's just something
that you prefer and that once people
click on your video, they can expect a
certain rhythm. Now let's move on to
the last one before we get into the next
lesson, which is music. Music can really set
the mood in your video. We've already talked about this, and as you know, most
music is not free to use. You can, however, gather your two favorite genres
and just type it in. For example, if your
favorite genre is hip hop, you can type in hip hop music and add royalty free next to it. I suggest you search
those things on Youtube. There's a lot of artists
out there who create music for free so that you
can use it in your videos. So keep this in mind,
Be careful with the music that you use because you might get into problems. Now the rest is up to
the way that you film, and that's mostly what you
want to learn in this course. Before you do so, I
suggest you go over these few points and
play around with them. Maybe you can film a short
sequence where you're at right now and play
with different phones, different music,
different color tones, and see how much it affects
the mood of the video. You can also make a document
where you can create your own format that you can
use for every single video. And keep this
information in mind next time you record your video. Now it's time to actually
create that look. Let's move on to
the next lesson.
4. Your Filming Method: The sources we're gonna make
actually have to make sense. That's way more important
than you think. They need two main things. They have to tell a story and they have to look
pleasing to the eye. In this lesson, I'll tell
you how to create a story and still make a
captivating shot or Right, so what sequence
intrigues you more? For most people it's the
first one is because the shots raise questions and you have to do the
exact same thing. Don't give away the
story immediately. Leave some things
up to the viewer. For example, take this shot. You're not sure what
I'm really doing. I mean, I could be
doing anything. However, in this shot, Immedily give it away. Using this trick, you can
keep your viewers engaged. There are three words that
you need to keep in mind. Whenever you make a sequence
like this don't show yet. So let's say you want to create
a sequence of me texting, and I'll keep in
mind that I don't want to show it immediately. I'll begin with a
white shot here, you can really see
what I'm doing. Then I'll follow them
with an extreme close up, then another, and then I'll review
what I'm doing, four shots to show
what I'm doing. This builds up the tension.
This is going pretty good. We know how to use
music to engage your viewers and make your
videos more personal. We can use those slow zooms to draw in the
viewers attention. We can attract the
right audience by displaying your own
unique style efficiently. And we can make
engaging sequences. Now, we've covered a lot, but not enough yet because we still haven't really
achieved that look. Yes, we've improved
the way we film and the way we put
together our sequences, but still our shows
probably look the same. It's time to discuss
the three secrets.
5. The 3 Secrets: I'm not going to waste your
time. Let's jump right in The three secrets
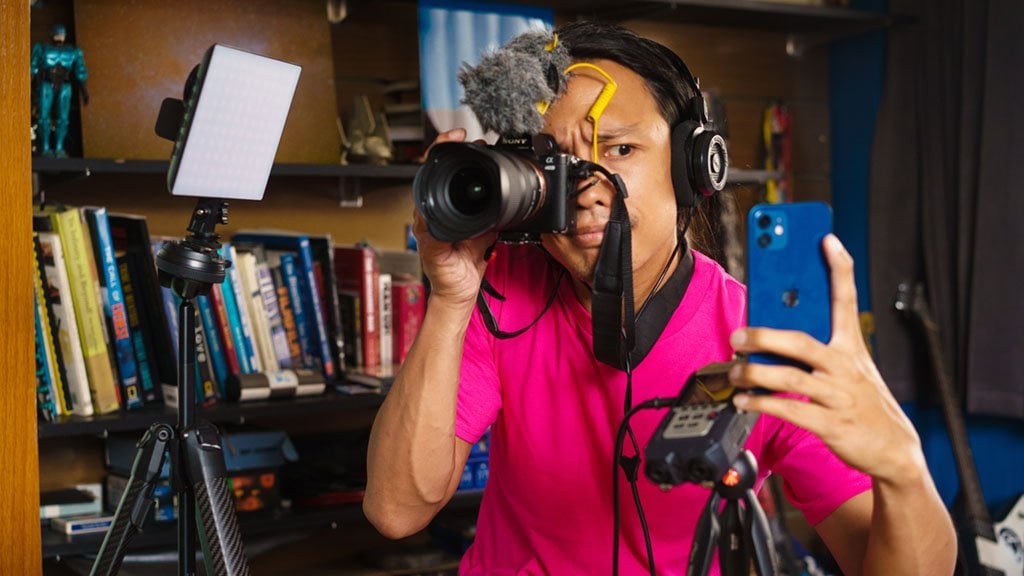
that will change it all. Number one, white. Too often I see people filming
themselves, way too close. Look for stuff like
this. That's okay. I'm here to teach you something. So I'm probably quite close to you and when
I'm speaking to you, it's convenient if
I'm closer to you, however you're looking to create a different
look than this. For that, you need
to get further away. You need to show
the surroundings less you, more surrounding. Let your audience sink into
the space that you're in. And it's also as to the
effect of you being alone, which we've covered in the first lesson, is really important. Take a look at this example. I basically do the same thing. However, one feels way better. The shot feels right. Of
course, this is subjective. But if we had to call
one aesthetic lia, word, but it's the word
that people use, then you'd probably
go with a wider one. Number two is filming
against the light. You've probably
been told by people who don't even know that
much about filming, that you should put
yourself in front of light. Now theoretically, you look better when you're
in front of a light, but it doesn't look better. I'll actually give
you a short example. Here's the light that I'm using. If I put it right
in front of me, it would highlight
my face better. But it would make me look flat. That's why I positioned
it over here to make it look more three D
dimensional and alive. Now, you don't
always need to put your light over here to blue
out the whole background. But there's a standard
cymatography rule that basically implies that whenever you film
against the light, your shot basically
always looks better. I mean, look at what I did here. It's subtle, but it still
makes your show better. All right? Take
these two examples. Here I'm filming with the light, and here I'm filming
against the light. The one where I film
against the light looks way more film
like and cinematic. This creates more
depth and also adds to the effect that we
discussed in lesson three. It makes it harder to
see what's going on. It will raise more questions to the audience. You don't
need to overdo this. Make it subtle, like you don't need to film directly
into the sun. But what you can remember is light subject camera instead
of light camera subject. Simple as that. And if you can't film into the light
for some reason, then another tip I can give
you is to film shadow sight. You basically have
to draw an invisible line, the light side. This is the shadow site you
probably haven't noticed, but my camera is slightly
angled towards my shadow site. This is also another
room. I don't know why it looks better,
but it does. The big Hollywood productions
use this technique too. So why don't we now number
three is simplicity. Our shows need to
be interesting, but they have to make sense. If you're putting on
clothes in your room, that's the only thing
that people need to see. They need to see
your room and you put it on clothes.
Not more, not less. Showing too much random
info distracts the viewer. And showing too little
will board the fewer. Yes, Your viewers are more
picky than you think I know. So find a balance. Just use a simple
rule of checking off what's important in the
shot and what's not. If I want to show me my
room and my clothes, I'm not going to show my desk. It's besides the point stuff laying around on my
desk and my computer, that's so irrelevant.
So leave it out. Keep in mind,
however, that having a white shot is the most important out of all
of these techniques. It always does better
in creating that look. So keep that in mind. So if you can only
use a white whilst filming with the light,
then just use a white. And of course you can
switch around the shots. Maybe you can make a
close up a medium, but use white shilts
as your priority. This is going to
feel weird, You have to change up your filming style, but you'll get used to
it as you go along. Now it's time to make a
shot. Using these rules. I want to make a white, let's give the shot
some distance. I also want to film
against the light. So I need to reposition my camera. I need
to keep it simple. I need to use simplicity. So let's see if
there's anything that doesn't need to be in the
shot. If not, I can leave it. If there is, I need to
reposition my camera once again. Now we ran from this to
something like this. Now before this class ends, I got a few extra tips for you. So head on to the last lesson.
6. Tips & Tricks: Here are a few tips and tricks
that you can implement. You can buy a miss filter to create this dreamy look here. I'll show you what it does. Here's a shot without
a mis filter. And here's what a
miss filter does. It blooms out the highlights
to make it more soft. I've quite a strong miss filter, but you can use a more subtle one as well, if that's
what you prefer. If you can't afford a
misfilter right now, then you can also use blending and brewing modes
in your editing software. Before I bought this misfildter, I just made effect in
my editing software. Just search for my
light just died. Well, we're almost done. So we'll just
continue like this. You can search for how to create the dreamy look in and then
type in rating software. You can buy bendable tripoles to create more interesting
looking shots. Keep in mind some are
really low quality, so check out some reviews
before buying one. And for those filming
on your phone, always lower the brightness to -1.5 This will give you
a more film like look, if you want to, you
can put it way lower. Your phone always tends
to overexpose the image, so you have to
mainly adjust that. And that's it if you have any more questions than
leave them down below, and I'll react to every
single one of you. And so that's it.
It now comes down to actually
implementing the steps. If you have any questions or
you need some more guidance, you can leave a question down below and
I'll help you out. So I hope you enjoy the scores. All the assignments
are in description and I'll say good luck.
 Aaron Willems, Film-maker & Content Creator