How to Film and Edit an Art Video For Reels | Desiree | Skillshare

Playback Speed


1.0x


  • 0.5x
  • 0.75x
  • 1x (Normal)
  • 1.25x
  • 1.5x
  • 1.75x
  • 2x

How to Film and Edit an Art Video For Reels

teacher avatar Desiree, Digital Illustrator

Watch this class and thousands more

Get unlimited access to every class
Taught by industry leaders & working professionals
Topics include illustration, design, photography, and more

Watch this class and thousands more

Get unlimited access to every class
Taught by industry leaders & working professionals
Topics include illustration, design, photography, and more

Lessons in This Class

    • 1.

      Introduction

      0:40

    • 2.

      Filming

      5:20

    • 3.

      Editing

      4:13

    • 4.

      Project

      0:34

  • --
  • Beginner level
  • Intermediate level
  • Advanced level
  • All levels

Community Generated

The level is determined by a majority opinion of students who have reviewed this class. The teacher's recommendation is shown until at least 5 student responses are collected.

8

Students

--

Projects

About This Class

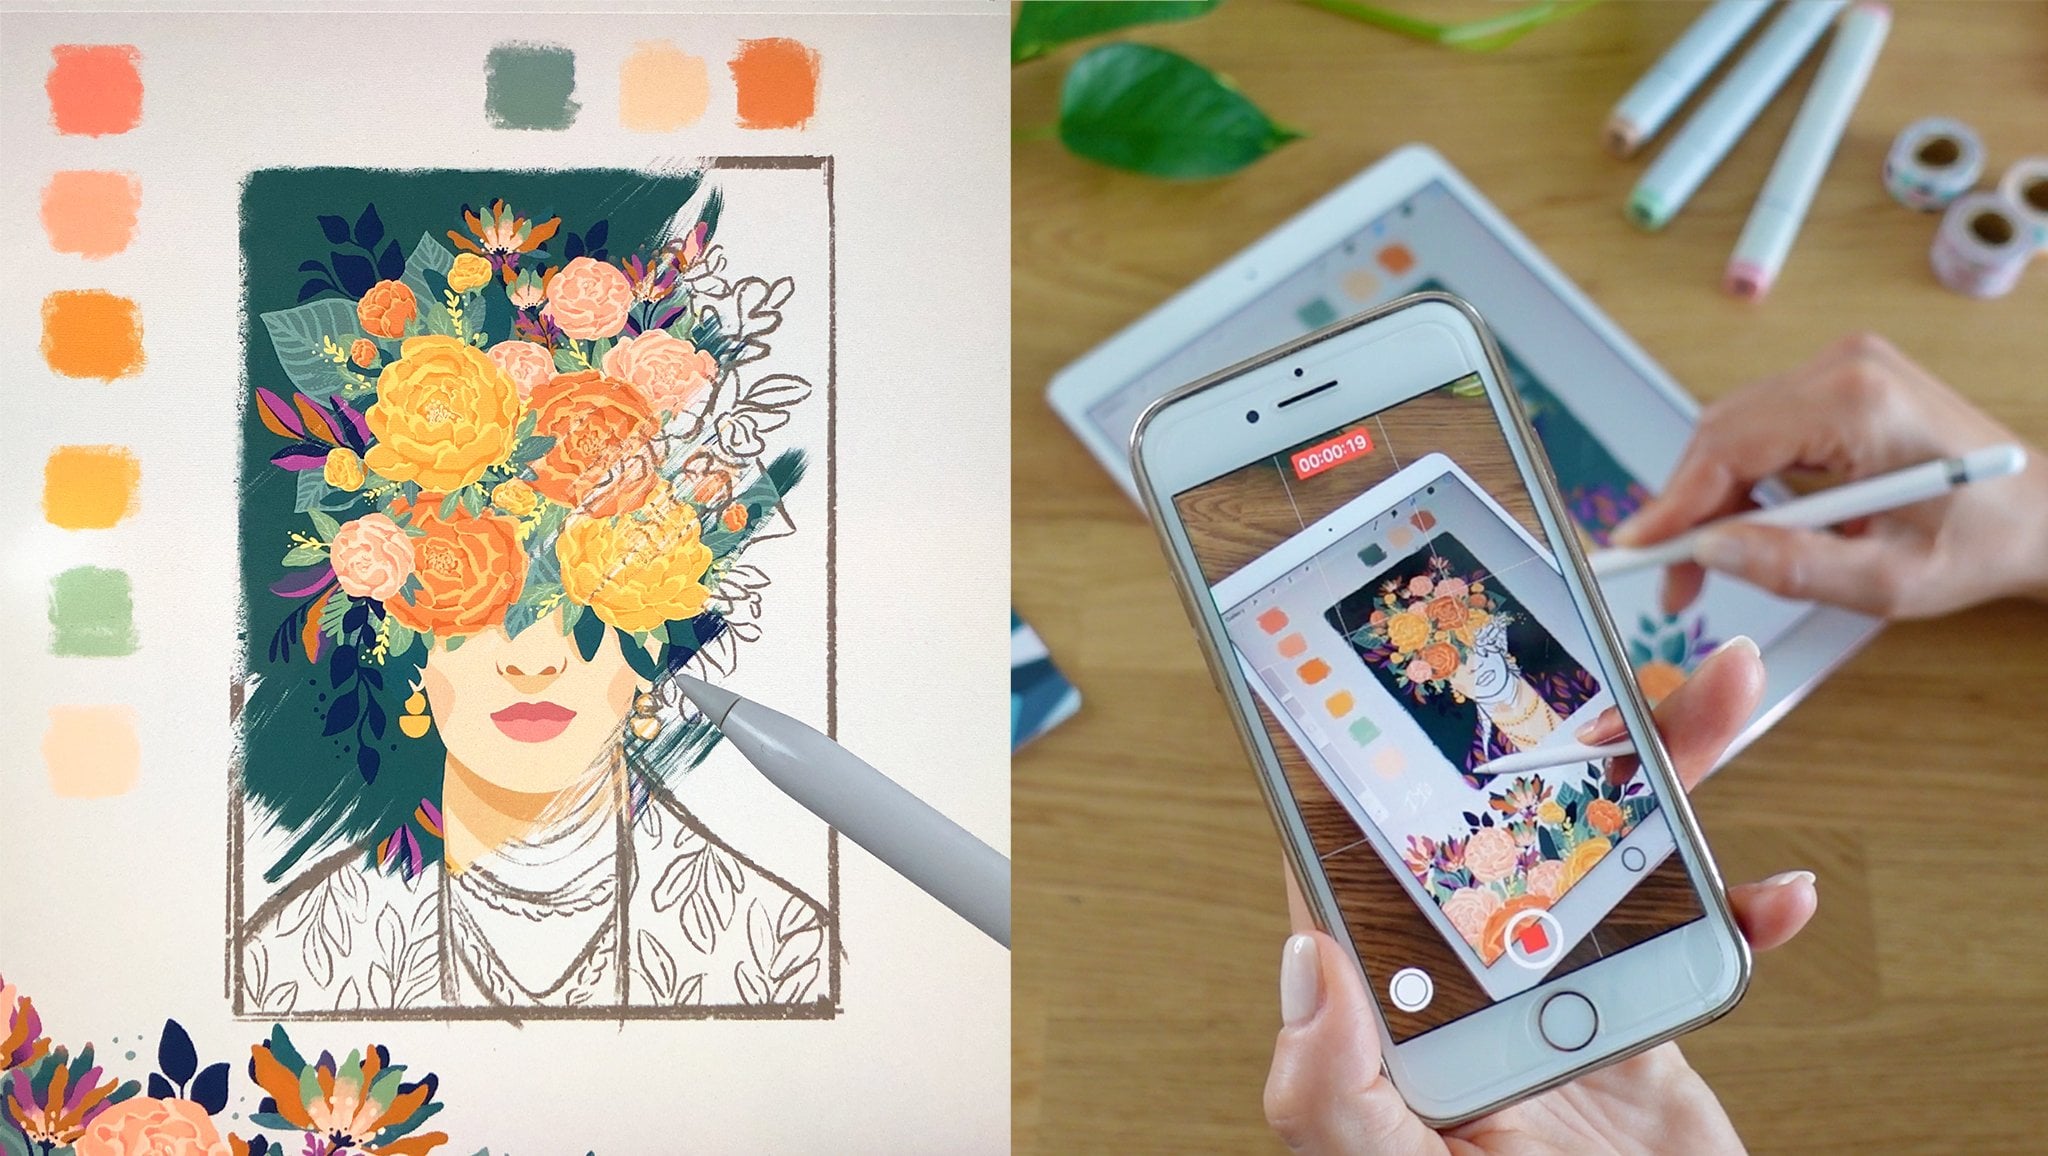
Share a snippet of your drawing process with this simple guide. In this tutorial, I'll show you how I capture and edit my art videos in a simple, time-saving way without the stress of making everything perfect.

By the end of this lesson, you'll learn how to:

  • Capture the key moments of your drawing process.

  • Choose the right camera settings for good video quality.

  • Know when to film and when to pause.

  • Edit your footage using CapCut.

The goal is to make filming and editing easier so you can spend less time stressing over content and more time creating art! You don't need to film the entire process from start to finish and stress out editing a loooong video.
Meet Your Teacher

Teacher Profile Image

Desiree

Digital Illustrator

Teacher
Level: Beginner

Class Ratings

Expectations Met?
    Exceeded!
  • 0%
  • Yes
  • 0%
  • Somewhat
  • 0%
  • Not really
  • 0%

Why Join Skillshare?

Take award-winning Skillshare Original Classes

Each class has short lessons, hands-on projects

Your membership supports Skillshare teachers

Learn From Anywhere

Take classes on the go with the Skillshare app. Stream or download to watch on the plane, the subway, or wherever you learn best.

Transcripts

1. Introduction: Hello, everyone. Welcome back to another video in today's video. I am going to show you how I film and edit my videos. It usually takes me 15 minutes to film and edit videos per element. And if you've seen my videos, you'll know what I'm talking about. It doesn't have to be stressful. It doesn't have to take hours or even half of your day to film and edit one video. It has to be fun. You need to enjoy the process of filming while you are drawing and at the same time, editing after the film. If you're new here, my name is Desiree, and I am a digital illustrator, and I am the person behind artfully Ds. If you guys are excited, let's go ahead and do it. 2. Filming: Alright, so here are some filming tips for you, okay? So when I am filming, what I do is that once it's set up, what I do is tap on the screen. And make sure that it's not blurry and then tap and hold it until I see the AE AF lock. If you're wondering, I'm filming on four K and 30. That should be good. I haven't tried HD, but the sweet spot for me is four K and 30. Then I just start filming. Make sure you can see that your screen is not blurry. If it's blurry, tap it again, tap and hold, and it locks it. The reason why you want to lock it is for for the screen to prevent changing colors or brightness or it doesn't get blurry or the focus will be messed up sometimes when you move your hand or fingers on the screen, something like that. So the A E and AF lock helps. This is my phone that I use for filming, for example, and this is my iPad. I hope you guys can see it. I hope it's not getting blurry. So what I want to do now, just like what I told you, is to tap and hold until I see the lock Whoops. And then don't touch the screen because if you touch screen, the lock will be deactivated. So I have my lock, okay? Now I want to prepare, so I'm just going to grab some random as super easy stamp here, Okay? I turn it on. I actually should pick my color first, my outline color. So make sure that everything is ready. I have my layer. I have my outline color, and I have my stamp ready, turn it on and go ahead and stamp. I'd love to show the movement on here so I can show them that I can easily change the size and then pause. Okay? Now, I go underneath set this as reference. And then pick my color, this one. And then on. Who? O. Okay. And then pause. Okay? Now, that's already 22 seconds because I keep talking. Alright, I don't think I like the brown color, so I'm going to go change it because I'm doing it so quick so I didn't get the chance to pick the perfect color. Okay, that's good for me. Now I can go ahead and add that. It's pause right now, okay? Llipping mask. Turn it down. Now I'm going to start adding the shade shade. Turn on. Whoops. You can pause. If you made a mistake, that's fine. You don't need to repeat it. I'm showing you the real time mistakes that I always make. I don't have the right color. I don't have the right brush, so turn it on. Like, you can count one, two, 3 seconds to capture this. You can zoom in. Then this one usually takes longer. I need to turn up my reference, drop my color and this can probably go up to 5 seconds this part. Pause and I can go start adding more details. I don't need to capture it on camera, the more details that I add here. I just wanted to show them a little bit of it. Okay? I think that's good. I also want to add it here. And I also want to add it here. Okay, now we can add Highlight. Now, the highlight, if you remember, yellow. Okay. Now I can resume. Okay. Perfect. Now I can add my light reflection. It's on pause right now. There you go. I'm on white still, and turn on. And off. I do have a total of probably 1 minute and 31 seconds in there. Now, I am going to show you how I would edit that. That's a very short clip, okay? 3. Editing: So I have my CapCut. If you don't have a CapCut, you can go ahead and download it. It's free. Well, there is a free version of it. But I'm using the P right now. Okay, now I'm going to add. Right. Now I can start removing, split. If you can see here, it says split, split and then remove. Like the unnecessary. Then turn this off for now. Okay, should be good. I want to try to remove as much as I can, like the unnecessary ones. Right. I can clip that part. I mean, split, and then remove. I want to remove that part, too, where I tap You can do this, so it's easier to expand it. Okay. The part that I'm changing the color, I can cut that out, too. Cut. Okay, cut that part because this is the part that I messed up. Okay. Now I can start from there again, remove. That should be good. As long as I can show them something that I'm Okay. That part, I want to include that. Or usually I don't include it anymore. I just want to include the part where I drop the color. Okay, right? And I want to add that one too. We're easy. We are on 8 seconds. Now, I want to go to the highlight. Okay, highlight. Delete that part because I want to start here one. Delete that part two. Delete that part three. Okay. That's good. Now I want to add light reflection. And the part where I'm moving my hands, I delete those part too. I mean touching the screen and rotating. Okay, I'm on 17 seconds. This is a very short film. Now, I want to capture the part where I'm showing everything. There you go. And I'm done. How easy is that? How easy is it to produce, like a video. So let's see. Let's watch the whole video. How easy is that, guys? I hope you guys got it. It's very easy. So here's my challenge for you. I actually would love to put it in the next section, so it's not overwhelming for you, but we are going to have a really fun challenge. 4. Project: Probably already know what the challenge is all about. So my challenge for you is to film a video and then clip it to maybe 30 to 60 seconds for a real video and then post it on your social, tag me if you want. And yeah, it's going to be fun. Just enjoy the process. Don't stress out, and I'm excited to see what you make. And before I let you go, go ahead and check out the rest of my classes. If you want to learn how to create procreate brush stamp, how to color them in, and how to add the shadow and shading and how to make something like this, go ahead and check them out and see you on the next one.