Transcripts
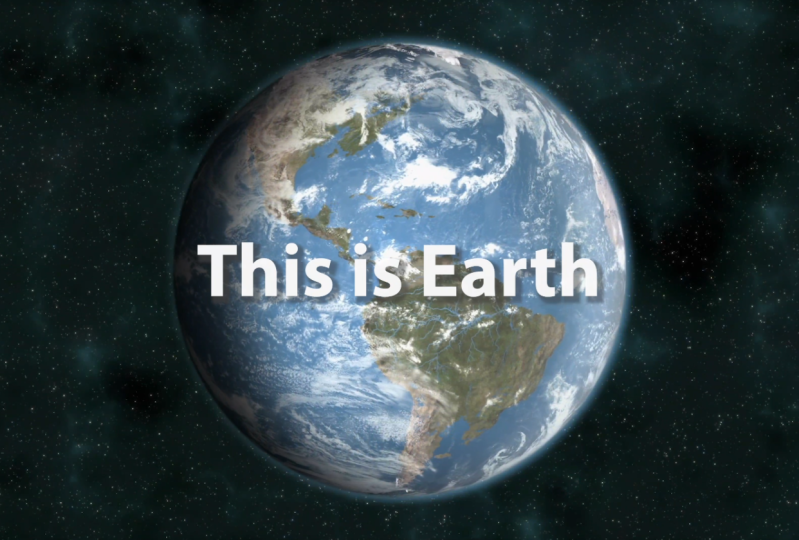
1. Introduction to 'Live Action' Explainer Videos: recently, a student asked me how explainer videos like these are made, and today I'm gonna show you how it's done. I just use a combination of images, stock, video footage, text effects and music to create final video. So as you can see here, this is just an image that pans across. And now you have some footage using a drone. More drone footage, maybe just stop footage, time lapse footage and then, as you can see, different fund colors. I used to emphasize key words, and there's kind of a white box put around the text.
2. Finding Stock Video Footage & Images, Importing Into Your Editing Software: So now what you need to do first is, you know, choose your topic, know what you're gonna talk about, and then you need to get video footage and images. So if you can go out and take your own video footage and take your own pictures, that's probably the best thing to do. But if you're not able to do that, then you need to go out and try and find video footage and images that other people have captured. So with stock video footage and images, there was paid content and there is free content. But in both cases, you need to make sure that you credit the creator of that content property. As you can see with the World Economic Forum video, they credit the source of the content Over here, you just need to follow the terms that the creator of the content sets out. They will normally tell you how to credit their work Now. First of all, search Google for free stock video footage and have a look at some of these websites. Now, this one here is pixels, and they've got a lot of really good videos to use. So if your topic is about the environment, you know, maybe the ocean, then then just search for ocean and then you'll see a selection of videos that you can use . So click on the picture. Now, have a look over here and make sure that you read the terms off the license property so it says free for personal and commercial use and no attribution required. And now over here, you can learn more. And if you need some images, just start Google for free stock images. Down here, you can see pixels again. Now best free stock photos in one place, so search for ocean on. As you can see, there's a good selection. Click on this one here. So now let's have a look at the license again. So free for personal and commercial use no attribution required. Which means you do not need to credit the creator of this image. So now I'm gonna download this ongoing download this video. So now I have saved the image and the video in this folder. So now I'm just gonna open Fillmore. I'm gonna create a new project. Using the 16 is to nine aspect ratio. I'm gonna import the media files So what I'm gonna do then is just click hold and drag it to the timeline. So now, as you can see here, there's these two black bars on the side of the picture. So I'm just gonna right click, go over here to photo placement, and I'm just going to say cropped if it
3. Organizing Your Clips in the Timeline, Adding Movement to your Images: Now, what I could do is just cut out parts of the cook that I don't want to use. So say, let's cut right there. Click on that clip, click on split, click their delete that and it gets pushed back. Okay, so let's just play that clip. And let's just say that we want to cut their No, I'm gonna spit that I think hold and drag this image there just for the purposes of explaining this video. So just with the image what you can do to give it a bit of movement because it kind of looks a little boring if you just leave it as it is going from the video into the image, it's a little boring. Okay, so what you can do is go over to crop and zoom. Now, I'm gonna go over to pan and zoom. Okay. You can see you have a start box and an end bucks. Now for the start box, I'm gonna start here, okay? And you can resize the box, but I'm money. Just leave it like that. Now I'm gonna keep on the end box, and I'm gonna now, this is gonna be the be the end position for your image. Like the your image is gonna hand and zoom from this box and end with this box. That's just preview this on. Just watch this screen here. Okay? So that as like, a nice little dramatic effect to your image. So let's kick. Okay, now preview this, and that's a little better toe watch now.
4. Finding & Adding Music To Your Video: So now it's on some music. So I like to use music from the YouTube order library because it's free to use and there's no copyright, and you could use it on YouTube free. So just search for that and Google, and you just need to log into your account. And now just make sure that you're kicked on free music, because you you also have sound effects here. Now I'm gonna go for mood. And just for this project, I'm gonna go down to Inspirational. Okay, so I'm going to use that song, and I'm going to download it here. Now it says here you're free to use this song in any of any of your videos. So just download that and I'm going to copy and paste it to my project folder. Okay, so coming back to film aura, I'm just gonna import song. So now have it there. Now I'm gonna click hold and drag it to the timeline over there to this audio track. Now let's play way. Go. Now you've got a nice little dramatic intro. So now in this world economic form video, you can see that they're using an image. They're using text with different fund colors and they're using music there. As you can see, you've got that pan in the image. Okay? And we have that to with this image, okay?
5. Adding Text (Lower Thirds) To Your Video: So now over here, you can see that this text kind of has an animation effect. You So just look at the way that this text here animates itself when it appears. Okay, so we're gonna add that kind of animation effect as well. So let's go over here and add some text. So now, in texting credits come down to lower thirds, okay? And you can search through all of these options. Now, I'm gonna choose this one here. Okay? Something kick. Hold and drag that down here. Preview it. Okay, so that looks pretty nice. Now I'm gonna write thick and edit. Now I can click on this box and I can move it anywhere I want. And then just click on the text. Move that up there, become the text, move it up a swell click. OK, now, if you go back, you'll see that this text appears with a bit of an animation already stretches out. Okay, now, so what? What you would do is just right. Click edit. Go to your text and type whatever you want to say. So the oceans need to be saved. So now you just need to take your own time and think about what you want to say in your explain our video. So I mean, first of all, I would recommend understanding the topic, doing a lot of research about your topic and then going out and getting lots of footage and lots of images. And now just collect all of your footage and images into your timeline and organize them and cut out the bits that you don't want and your music, and then add the's little lower thirds to all the parts where you want to add your text. Now that's add another one here to start off this image, Kip. Okay, now it's gonna be oh so again, we can move that if we if we want. Because if you go back to this video, you'll see that this text box jumps all around the screen way up here. So you just need to right click, edit and move this box around on. Move your text. And sometimes I actually just delete this smaller text and just focus on using this larger text. Okay, the oceans are etcetera, etcetera, and then what you could do as well is over here and play around with different funds Over here, you can increase the fund. And if you want, you can increase. The size of this box is well, OK, they're moving back and move your text for the text over here. If you press enter, you go to the next line. Okay. Position the text over here. You can realign the text, align it to the right.
6. Using Different Color Text To Emphasize Keywords, Giving Credit to Content Authors: Now what you want to do is you want to change the color of some of the funds, as you can see here. Okay, so you have some blue fart yet some black fund Over here, we have some white fund, so let's make this text over here a different color. So what you do is you just come over here, you choose the word that you want to change. Highlighted Come up here to color and now choose your color. Let's go for black way. Go. Now we have emphasize the keyword that way. Want the audience to focus on in the video. Now, if we want to highlight this made up word, we can do that too. Let's go back to the 1st 1 So let's just make this box little bigger. Who is text down? Okay, that larger? I believe this one delete text, it's up. Increase the text and I'll just highlight certain keywords. So I'm gonna pick oceans and you could go for yellow. I see a lot of videos using yellow to highlight the different keywords. Okay, there, press. OK, Now you can see that we have created a nice little explainer video. Okay? so basically, take that process and just create a full video. And then all you need to do is go up to export on, create your video, choose your settings to kick on export. Okay, so just make sure that you credit the author of the content that you're using properly follow their guidelines. Okay, So thanks very much. That's it for this video, and I'll create more like these in the future.
 Rance Keating, Video Production + English Teaching