Transcripts
1. Introduction: Legs aren't important and
dynamic part of the human body. Our lives have tons of
muscles and details which make them really
interesting and fun to draw. If you've ever
struggled with drawing realistic and
proportionate legs from all angles than this
class will guide you through the drawing
techniques step-by-step. I've been studying and drawing
figures for over 20 years, learning from master artists and practicing from live models. I'm passionate about
teaching because I love helping my students
achieve their goals, like getting into the art
school of their dreams. And I believe that
figure drawing is one of the fundamental
milestones and mooning art because
when you're able to confidently draw a
figure out of your head, you can draw
practically anything. In the next set of lessons, you'll learn how
to draw the legs from an anatomical standpoint. You'll be guided through
the step-by-step process of creating
a gesture and building legs with shapes
and forms until you finally adding the anatomical details and lines that make
them so realistic. I'll teach you how to draw
legs from different angles and even how to apply what you've learned to an entire
figure drawing. By the end of this class, you'll have for studies of legs and the complete
figure drawing, all done with skill
and confidence. I can't wait to see what
you create at the end. So please share your
artwork with the community. See you in class.
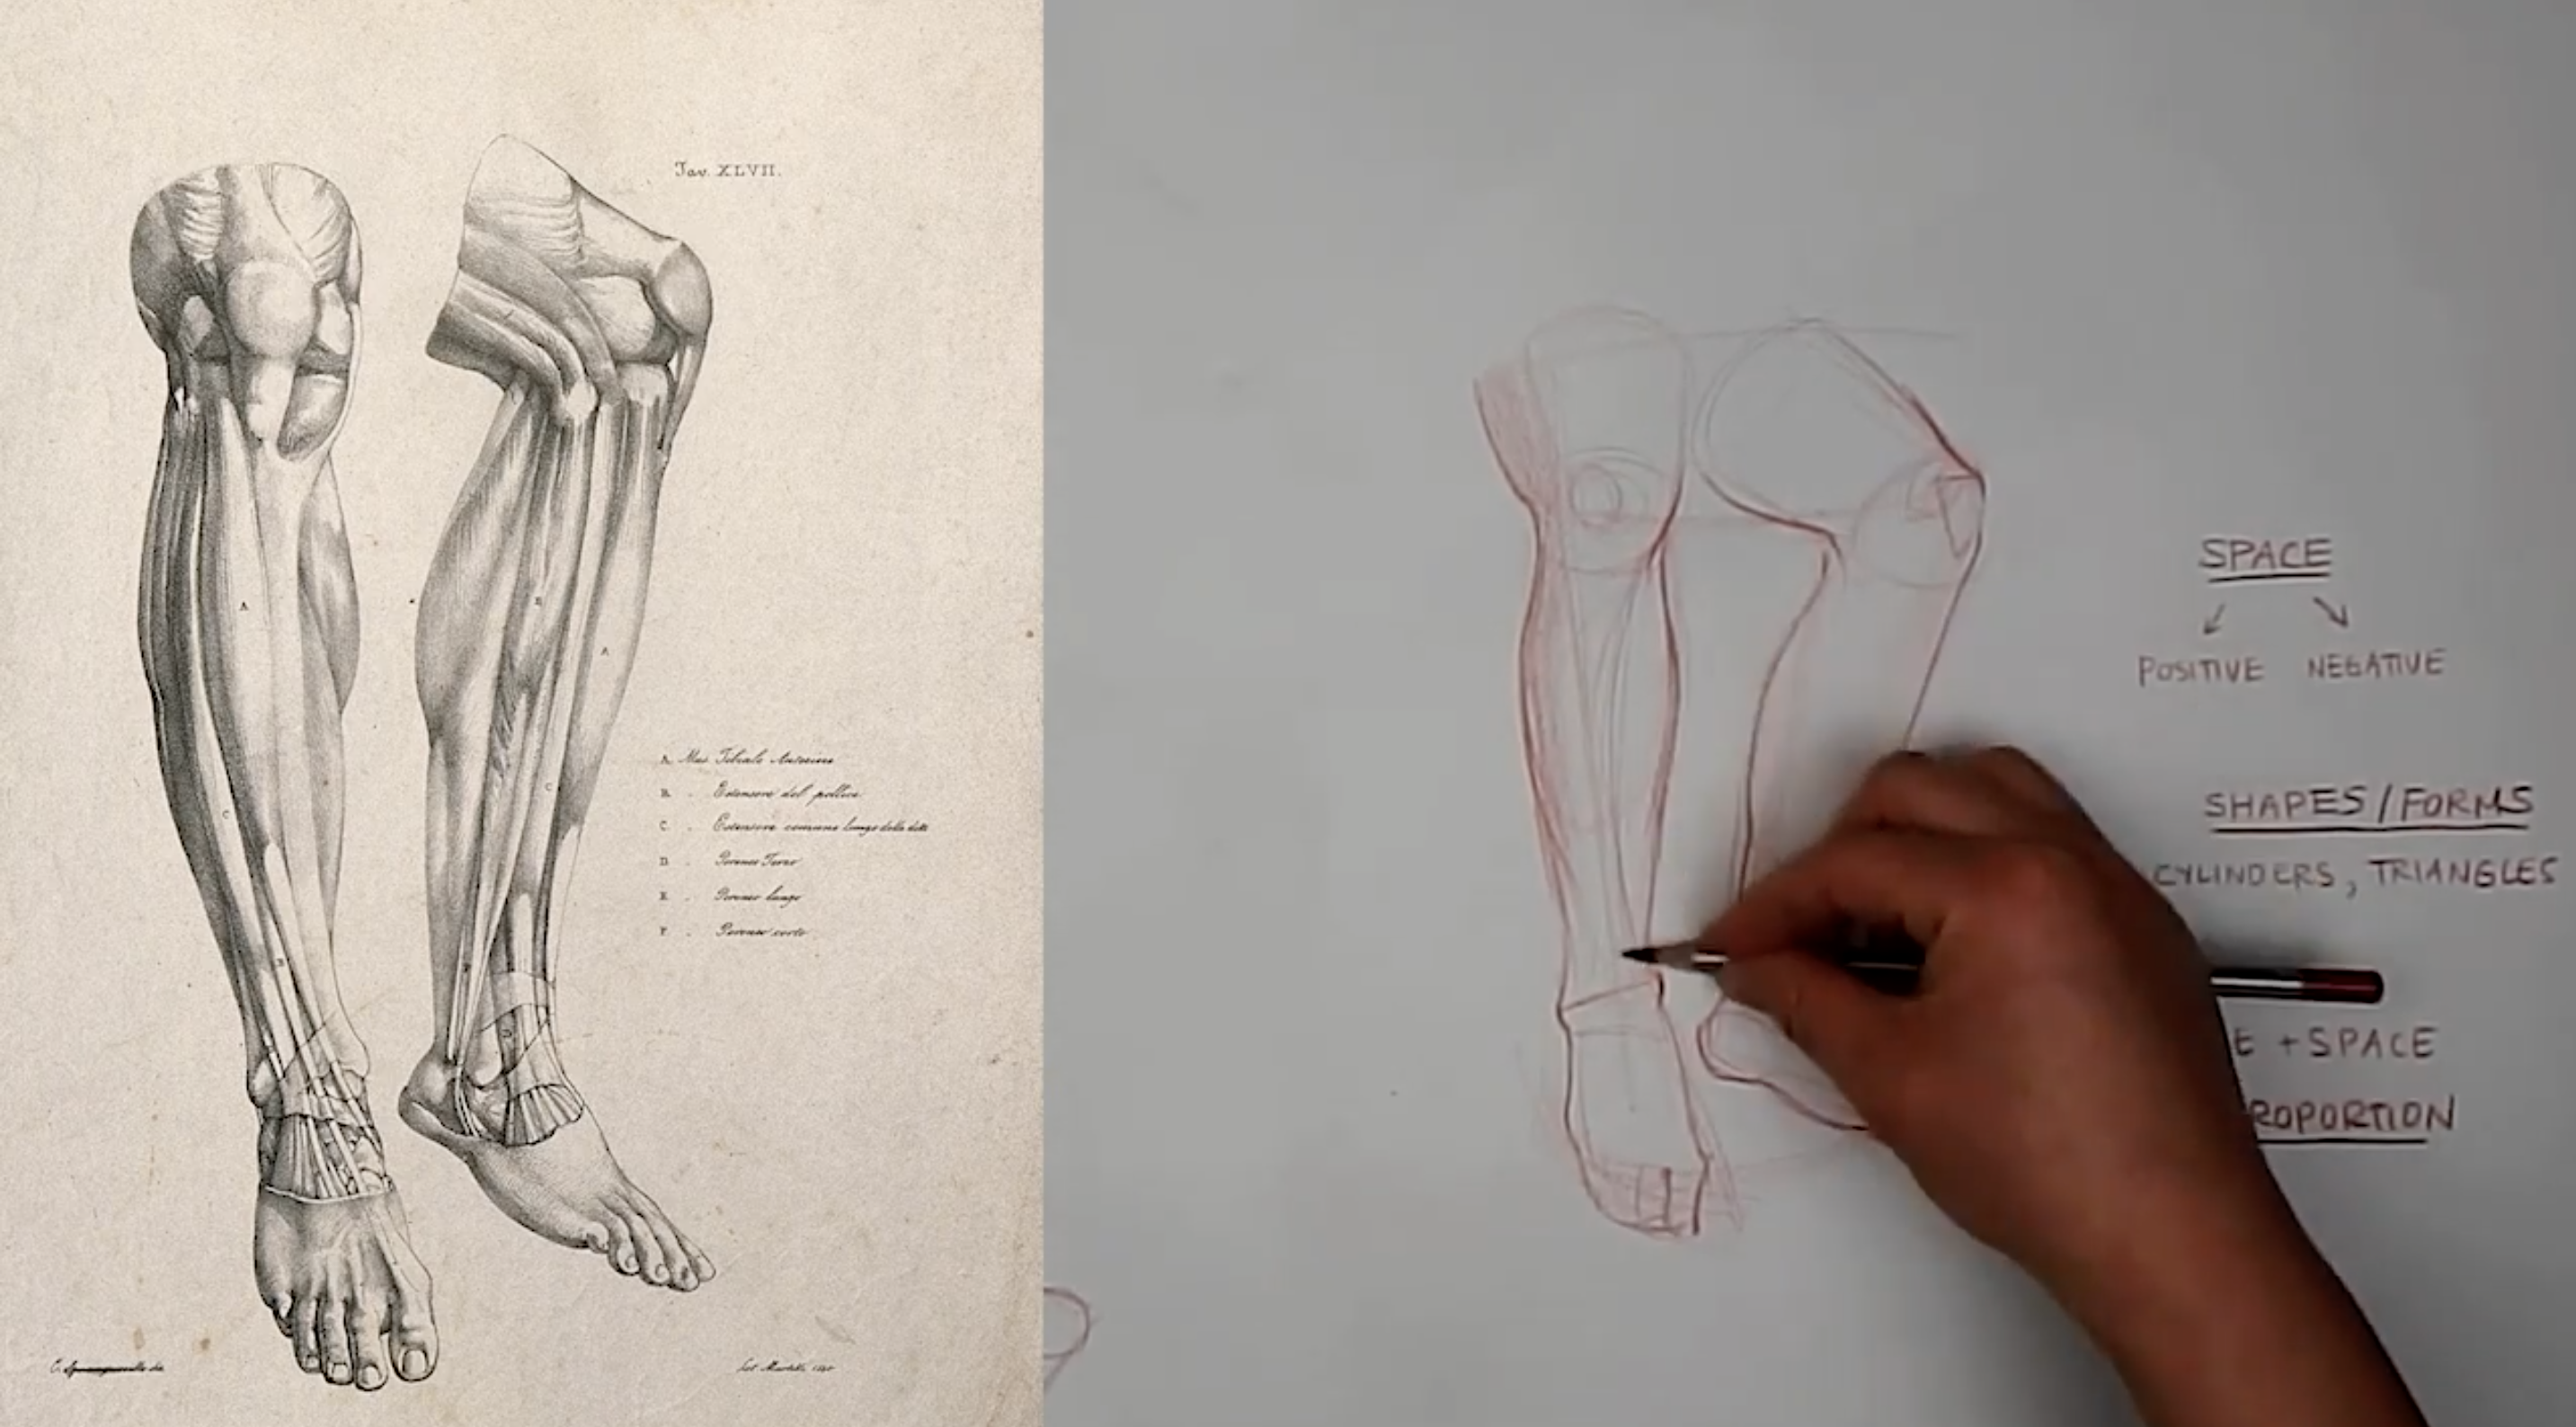
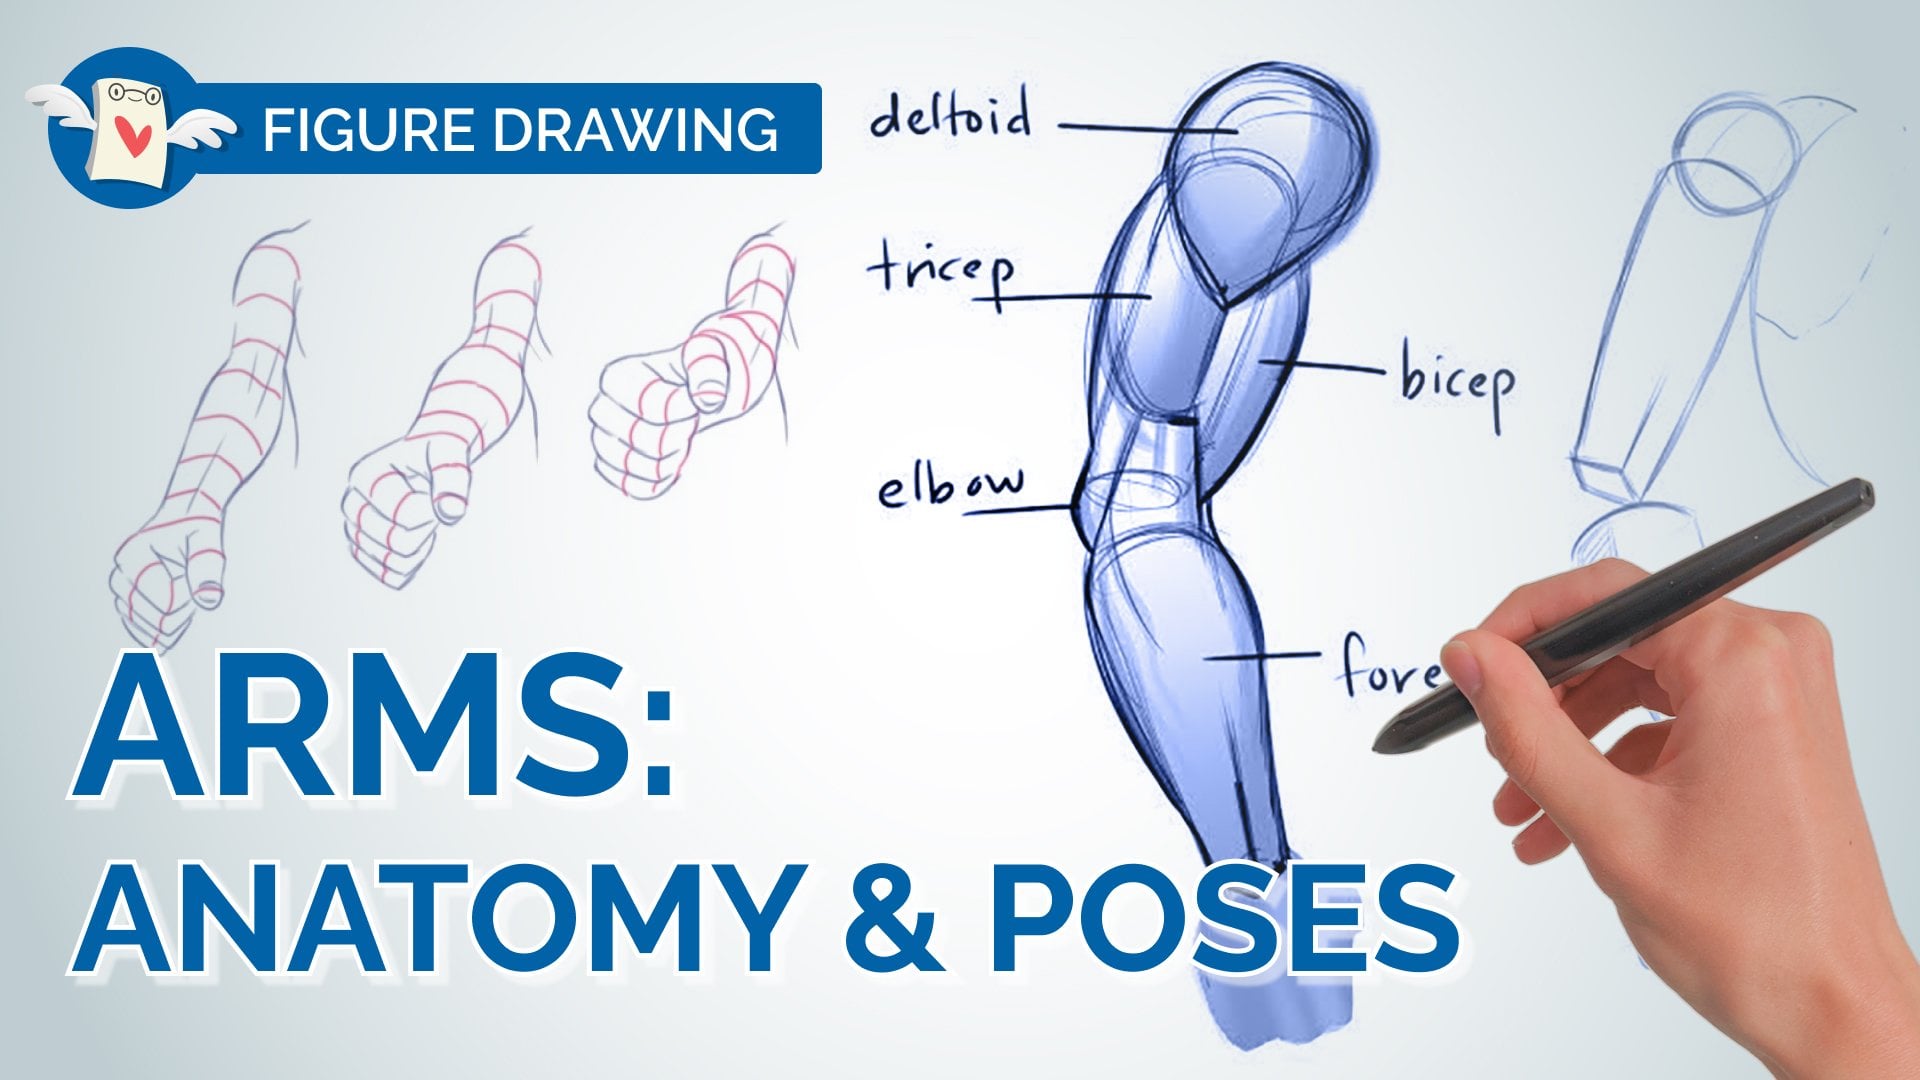
2. Drawing Leg Anatomy - Front View: So when we look at legs, how to build legs on top of their basic
cylindrical forums. When you look at the
leg in the middle, you can kinda see that it's
a little bit on an angle. So let's draw out
that angle first. When I'm drawing legs
that are straight, I will usually start off
with the angle first. And you'll see a lot of
people when they draw legs, they tend to outline. So you don't want to draw
bumps until you have the form. Once you have this, this is your gesture stage. So your gesture will always
come before your shape. Now we can build on the shapes. When I'm talking about shapes, I just mean like very, very simple 2D shapes. I don't mean like
amoeba shapes, right? I don't mean very
complex shapes. So for the calf, I know we're all tempted to make this round right now,
but please don't. Let's just kinda
keep it very simple. We're basically
just sketching out this long shape that
goes all the way down. Now we're going to turn
that shape to form. So before I go into form, I'm going to start to sketch
out a foot in the same way. I'm just going to
lay out the shape of the foot like a trapezoid
shape like this. And you can see that the
foot has a bit of a curve. So you can kinda put that
occurred in anything you noticed that can make that
foot seem a bit more organic. You can kind of put that. Then if you are a beginner or you find
anatomy really, really hard, just focus on shape if
you're a little bit more advanced than
you can draw forms. So now let's turn
this into a form. And before we do that, we need to figure out where
our point of view is. Like, where's our line
of vision on these legs? Where would you say
your line of vision is when you're looking
at this leg diagram, would you say it's
in the middle? Just say it's closer to the top or would you say
it's closer to the bottom? The reason why I'm asking
where your line of vision is is because when
you're drawing forms, you have to think
about perspective. So you have to think a
little bit about, okay, Is the cylinder of the
legs going this way? Or is it going this way? That's why your line of
vision is really important. Because if your eyes are below this cylinder and
you're looking up at it, you're going to see the
bottom of this cylinder. But if your eyes are
above this cylinder, then you're going to see
the top of this cylinder. So you kinda have to
know where your line of vision in before
you draw the form. Otherwise, it's really hard to understand where to
curve that cylinder. So let's say that you're looking directly
at the cylinder here. Your line of vision is like directly in the
middle of the cylinder. So then that would
mean that the top of the cylinder and the bottom
of the cylinder is not visible because your line of vision is directly
in the middle. I feel like the line of vision
is right in the middle, like right at that kneecap. And legs tend to bend. So if you think about
a light from the side, legs will not be very completely straight all the time because it's hard
to stand that way. So there will be a little
bit of a bend on that leg. Which means even if your line of vision is in the middle here, but this leg is bent, top of the leg is going
to curve this way. On the bottom of the leg is
going to occur this way. It's going to be opened
in the middle there. So because this leg is
perfectly straight, It's a little bit hard to tell. So let's assign it. Of a curve. I'm going to curve
this part of the form. I'm going to cut the
top of the form. So if this is your
line of vision here, this is your point of view. All of your curves above your eye is going to
be more and more. As you move up. And everything below that, AI is going to curve
the opposite way. So this is kind of important
to remember because it's going to help you
understand forms better. The bottom one curve
is slightly below. You just want to make
sure that this section in this section are equal. That's kinda the first step. So we did our gesture
first and then we did our shape and then return
the shape into forms. So now we can add the bumps. Kinda had been others bump kinda notice that it's higher on one side and
lower on the other side. It's not equal. One side is going to be lower and the other side is
going to be higher. And this is like
a natural rhythm and flow of funds in general. You can see I kinda
added it into sections just to make it a little bit more
clear like this is a muscle and then this is
another muscle underneath. Then I can add a bit of an
angle here for the ankle. Notice that one bone on your foot is going to be
higher than the other bone. On the inside it's higher and
on the outside it's lower. Use more angles
when you're drawing bones and use more curves
when you're drawing muscles. So how I like to draw the knee cap is I kinda
like to draw it as like a nacho chip shape and it sits right in between
these two sections. And your kneecap actually
floats on top of your leg. So it's not actually
attached to anything. So you can actually like
wiggle your knee cap. And then since we have this
anatomy drying up to draw in some of the muscles
where they start and then how they
wrap around that leg. So you can kinda see all of the muscles attach right
underneath the hip. So you can kinda see
the hip is up here and then there's like here is kinda where all
the muscles attach. And then they wrap around this
leg to create that curves. So let's draw that curve. There's a muscle that
wraps around behind here. It creates a little
bit of a bump. And then you can kind of see another shape that goes here. Then this kind of creates that round shape on either side. So now we can round out
the top of the leg. That's what creates those bumps. So it's very, very subtle. So it's always really, really fun to study anatomy and you can see
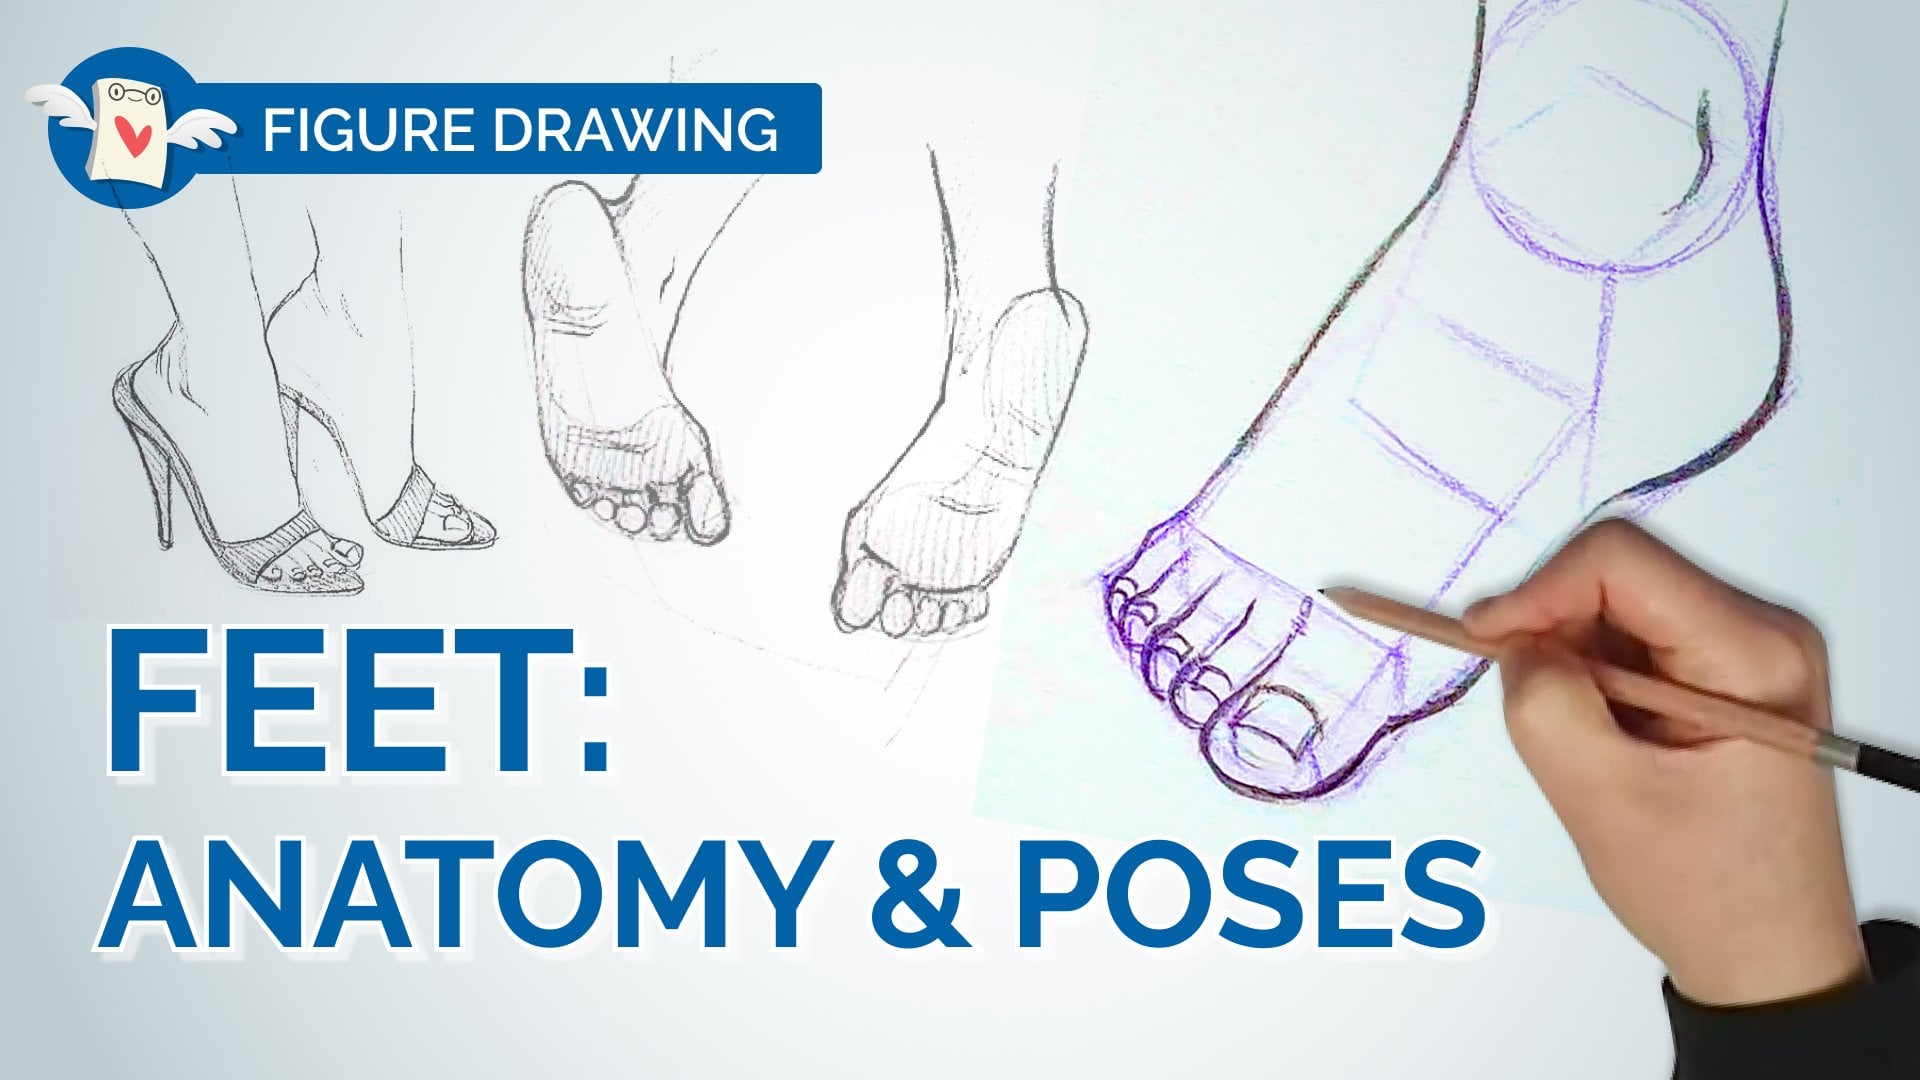
how everything works. Not gonna get into
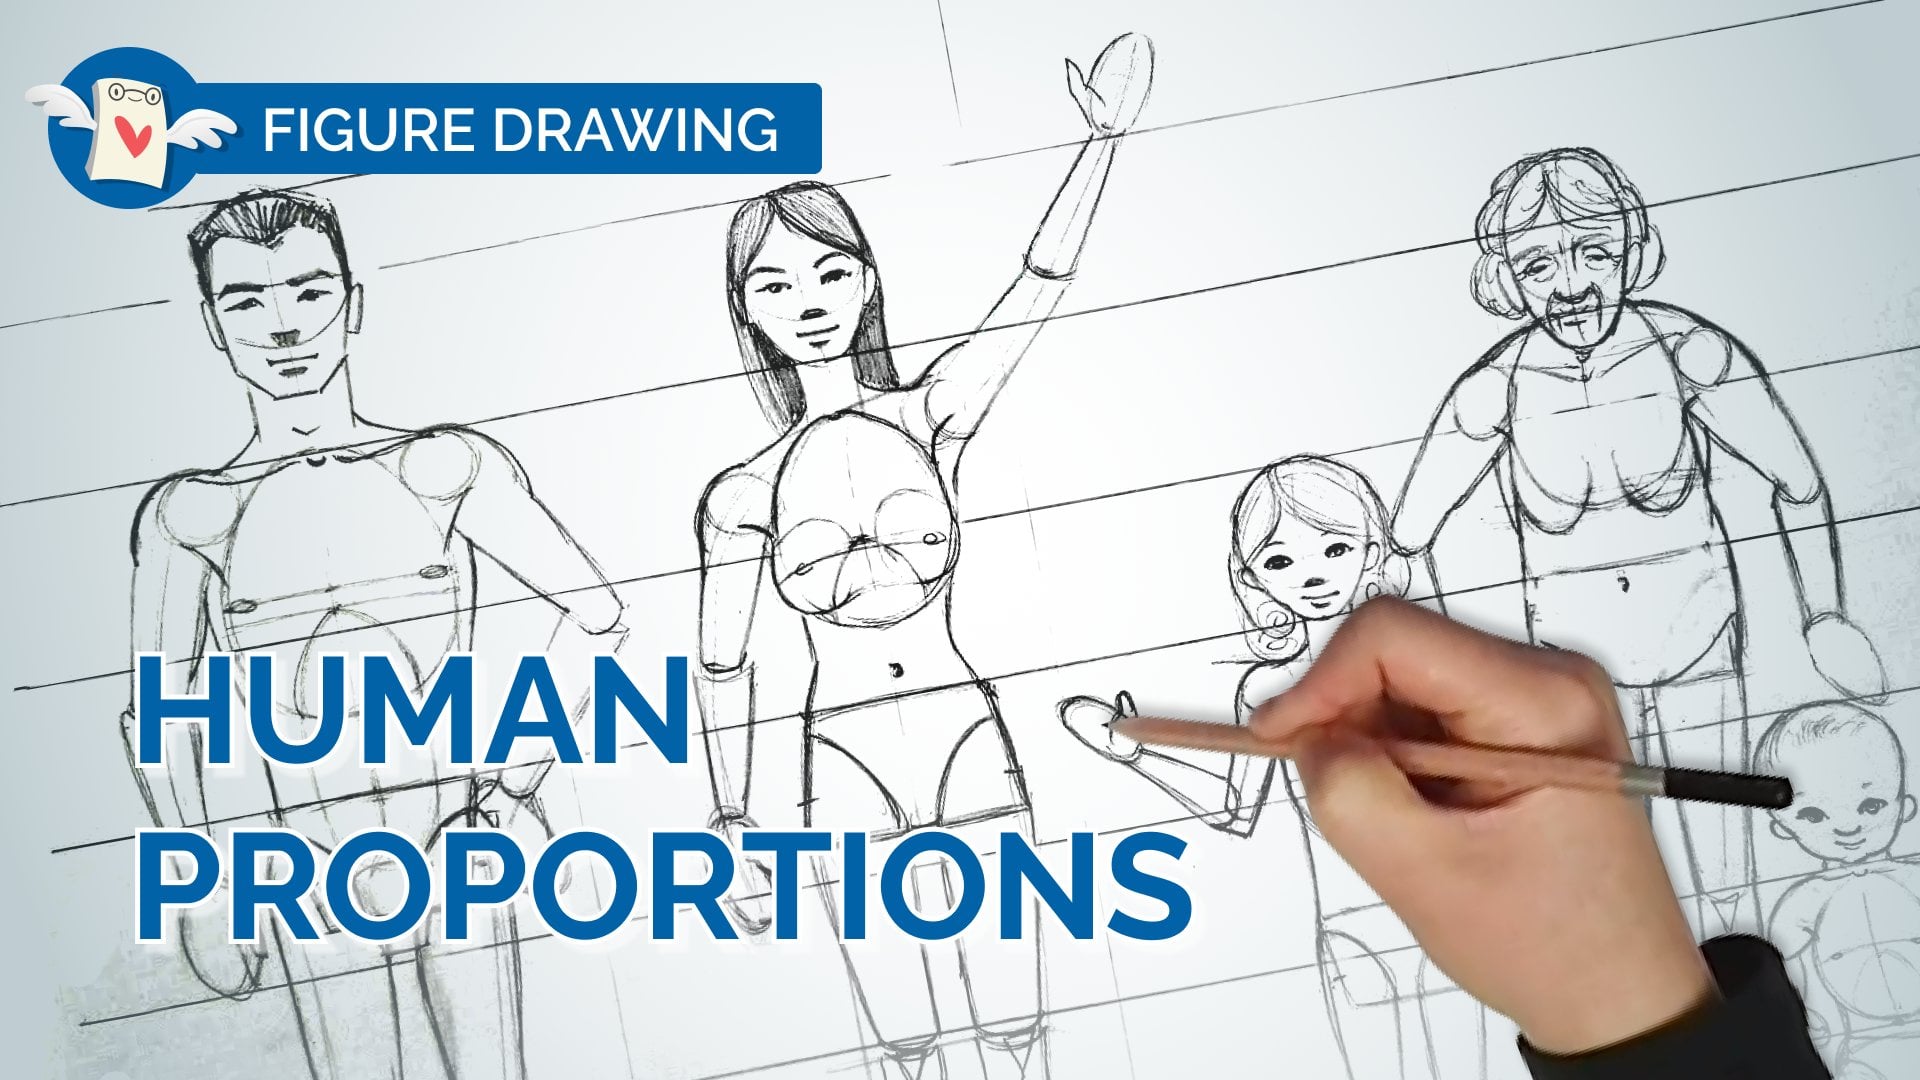
the feet too much, but I do want to talk about
proportions a little bit. So let's say you have a foot and think about
it as like a wedge, not and then if you divide
that wedge into three, your big toe takes up
1 third of that wedge. So what I can do is I can draw in that big toe
shape like that. And then I can up to
this little toes, you just kinda draw in
the rest of the shapes. And then after I figured out all of the details
aren't better on top, you will form the line. When you're drawing line. You can make some
decisions about like, Okay, where do I really want
to emphasize that line? So let's say I'm taking
a look at this muscle here and I want to make
it a little bit bigger. So I have all these lines right now and it's super,
super complex. So what I'm gonna do is I'm just kinda lighten everything up. And then now I can kind
of think about the rhythm of lines and kind of
where I want to put them, which line is in front
and which line is behind. I'm not saying you have to do this process every single time, very, very time consuming, but breaking it down
and really like studying how things
fit together, I think is very important. Now that you know that
there's this muscle, then you can say, oh, okay, well I can probably
shade this part or I can probably add a little bit of
shading to this side. Or I can kinda emphasize, make this leg looks
super, super muscular. Part of the line could also informed the shading
or the value. You see how this muscle, knowing where that muscle is, I know where to put
certain shading. Now I have my leg. And because I thought
about structure, it makes things a lot
more 3D and smaller.
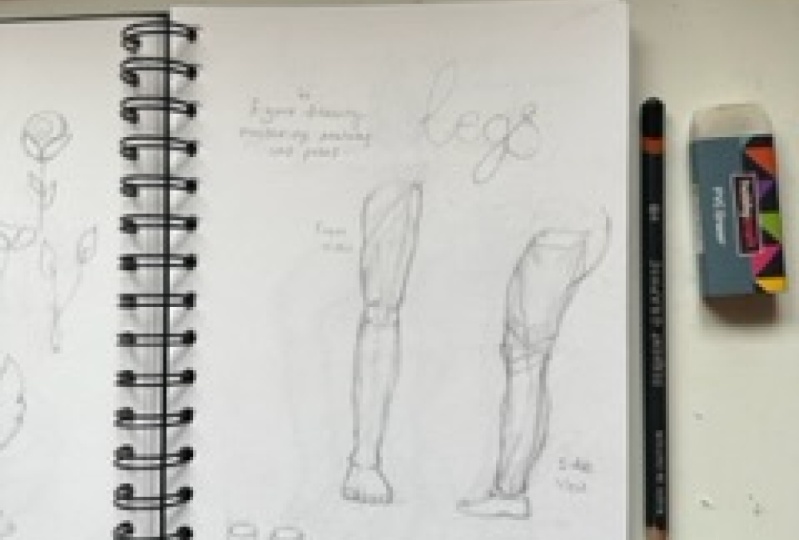
3. Drawing Leg Anatomy - Side View: So now let's do this
leg and you can kinda see the action of this
slide is fairly different. So if I compare the
angle of the leg standing from the front,
It's pretty diagonal. But if I look at a
leg from the side, you can see that it's
kinda the opposite. It has a little
bit of an S curve. So let's make sure we get
that gesture right first. And I want my feet to line up. So I'm going to draw like a line for the foot going
all the way across. And I just wanted to
make sure I draw in the block of cheese when shape, and make sure that your
ankles are aligned. So let's find out
where that knee is by drawing a line
all the way across. I'm going to divide
this into two. And we're going to draw
our cylinders again. So just keep in mind
that the top of the leg should align with
the top of the leg here. So what you kinda see
this muscle here, that's the gluteus maximus. That's actually your bum muscle. It is part of the leg from the side but from the front
you don't really see it. So we're just going to
ignore that for now. There's the top of my cylinder. Try to keep your
cylinder straight. I think this is the
hardest part is keeping your cylinder straight when
you clearly see a curve. Like sometimes when I draw legs, I'll just kinda draw it as
one curvy cylinder like this. If I have no time, I only had like two
minutes to draw a leg, then I might draw it like that. But if we really want to
keep it structurally sound, Let's just draw a
straight cylinder. Then I'm going to tilt this
cylinder slightly this way and makes sure that it's tapered down to
the bottom like that. Okay. And you still want to make sure that your gesture is there. So my gesture, we can see that it doesn't
fully go down to the middle or it's
not fully through the middle like that because I wanted to give it
a bit more action. So make sure you can
still see your gesture, but that your forms are simple. So from here I'm
going to draw in that little nacho chip
shape for my knee. And now I'm going to add
in the complex forms. And then we can start to
add some of those curves. So this muscle that sits on top, you can kinda see how it makes that leg her
up at the top, which is why you
see that gesture? It's really the muscle. It is not the structure, it's the muscle that
makes that curve. And then you can see
that curve being echoed behind the leg here, kinda follows that S shape. So we're going to draw in
this muscle now of the calf. And then you can see the bump at the front is very, very small. Then it's pretty much all bone. You can see some parts
follow the structure and then some parts add
on to the initial form. And it's important to
know like what's what, because if you just
drew those lines, you wouldn't really know. And then if we want to
add the gluteus maximus, we can just kind of
extended above here. Kinda driving because it is definitely part of the
leg from the side. Notice how this muscle is
in front of this muscle. So that means when you're
drawing your line, this line is
overlapping this slide. And I'm not going to go super crazy on the anatomy of this leg because I can just shade it according to my complex forms. So if we're just kinda
hatching out with our lines, I might kinda start off curve and then kinda
straighten it out. And then again start
off her straighten out. Which is going to give it
a tiny bit of shading. It's like a goal is not
really to shape these legs. It's just a kind of give it
a little bit of texture. And then we can do feet
on a separate lessons. So we can just kind of like
ignore the foot for now.
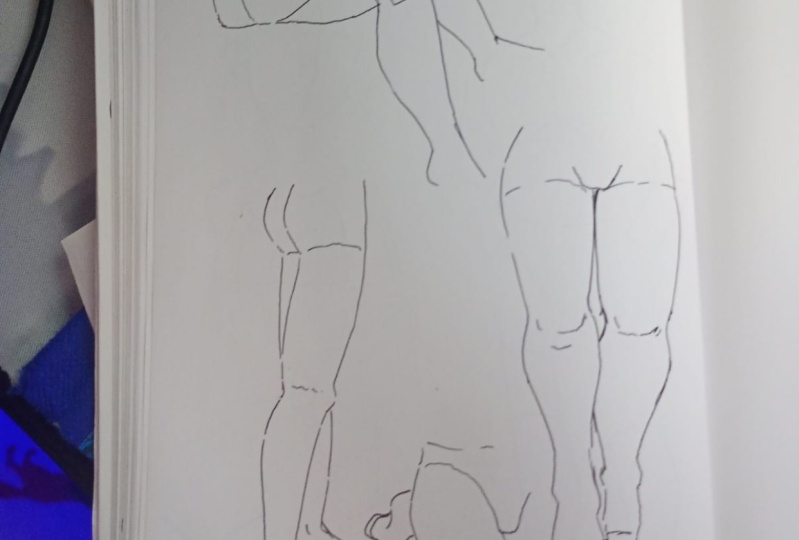
4. Drawing Leg Anatomy - Back View: Let's draw a line from the back. Notice that the back of the
leg should be the opposite. So it should come up this way. If you're looking at
this and it slipped, should be the opposite. So remember your leg, remember your cylinder
from the front, it's tilting this way. So from the back it would
be tilting this way. And then the other leg
is tilting this way. So your cylinder tilt is
going to be different. That means the tilt
of the cylinder, bottom of that
cylinder is gonna go this way, then, this way. So let's draw in all cylinders. I've kinda skipped the shapes
that and just did a form. But if you want to sketch out the shape first,
you can do that. I have the leg in. And same thing for the top. Kinda sketch out your
imaginary cylinder there and then bring it down. You just want to make
sure that the leg is wider at the top and
thinner at the bottom. And then this width here should be the same or a little
bit bigger than this. It really depends on the person and how
muscular they are. You can really see
that ankle bone. So on this side it's
tilting this way. So on this side is going
to tilt the opposite way. The body is all
about these tilts like it's always
counterbalancing each other. So these tails are
super important. We can see like this tilt is
the opposite of this tilt. You can see like half
muscle breaks in half, but really you wouldn't see
that because there's like fat and skin on top of it so
you can kind of ignore it, but just acknowledge
where that calf muscle ends at the bottom there and then everything
down here is all tenants in kinda see that
you can see some of the toes on the side here. Sometimes on the back
of the leg you'll kinda see this runway, right of tendons here. Kinda looks like an H. This
is basic legs structure. I'm going to strategically
remove some of this line work so that
my notes can show up.
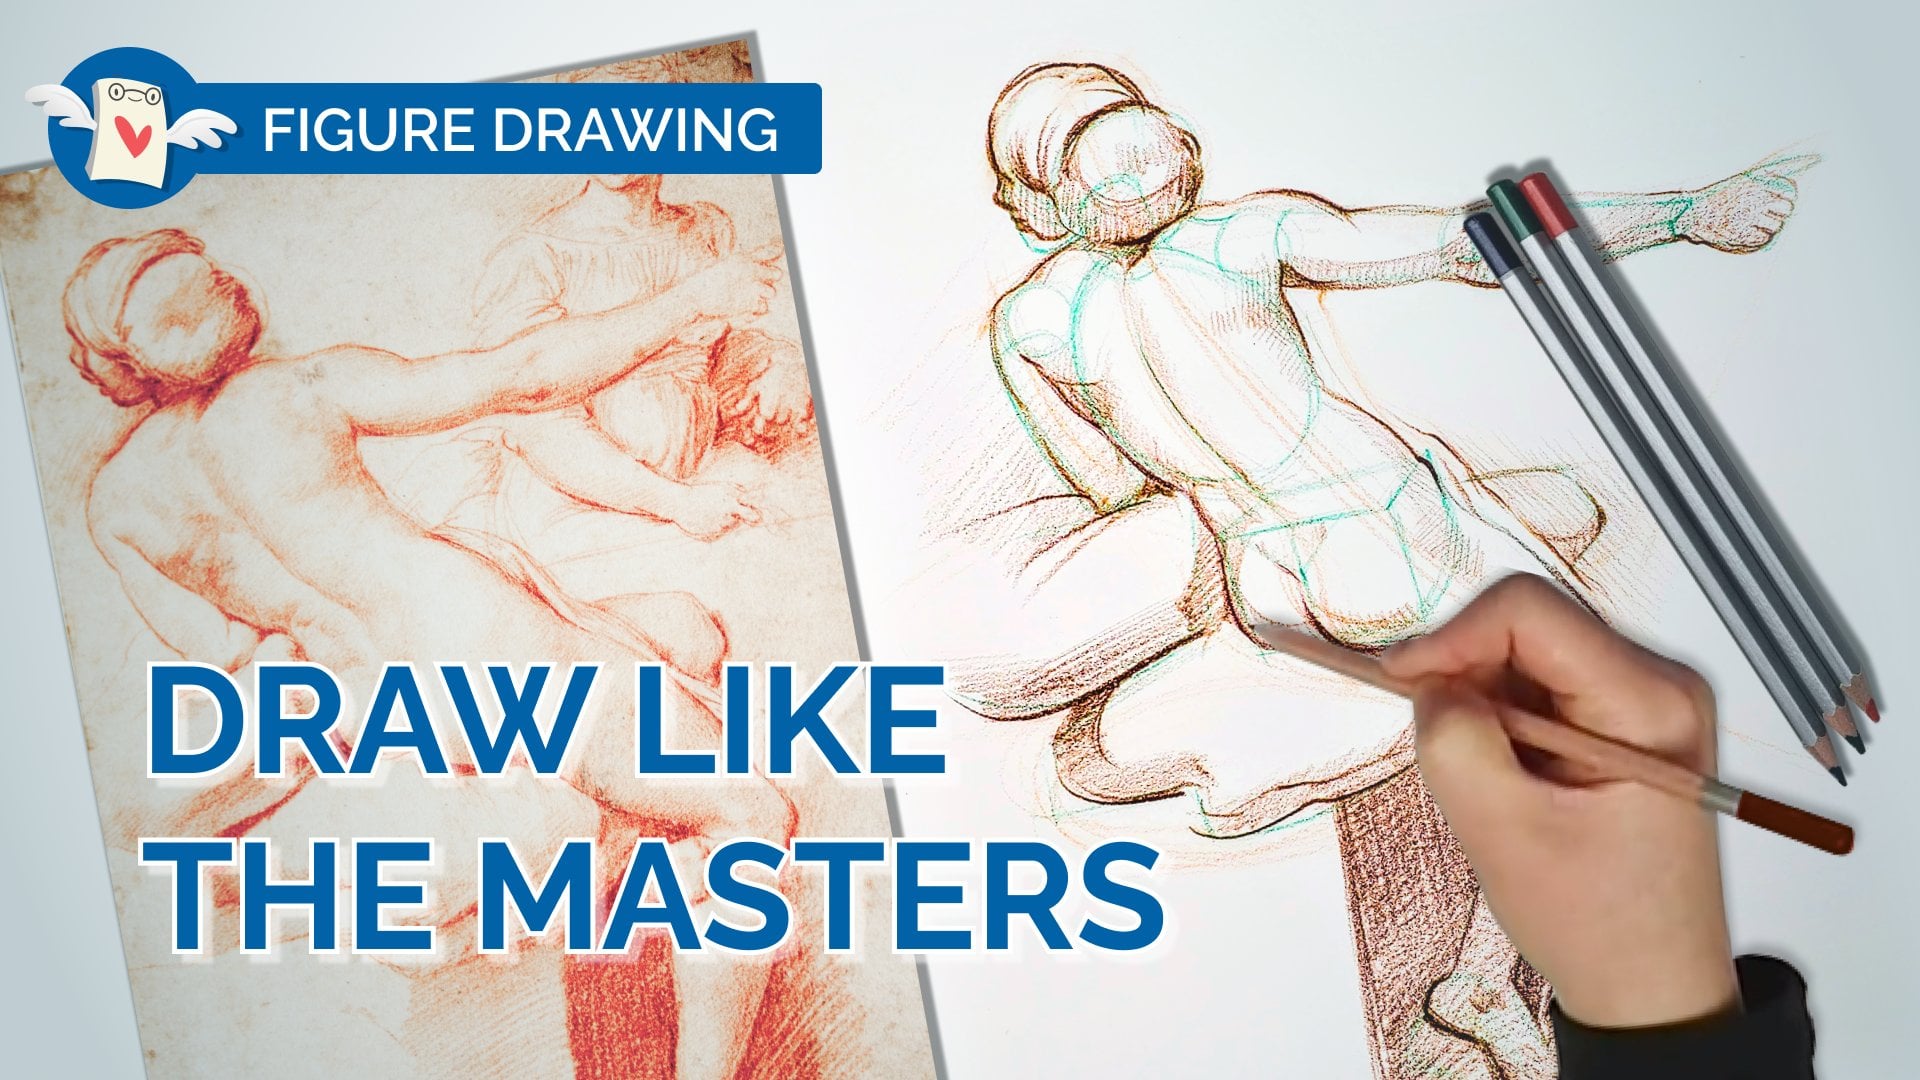
5. Drawing Seated Legs - 3/4 View: I wanted to talk a
little bit about muscles in the leg
and the anatomy. If you look at the bones
just like a two legs. So you can see that the bones
on the leg kinda curve out. And these joints
attach inside the hip. This kneecap here is on the side and it's totally
independent of these bones. It floats on top. This one, you can't
really see the kneecap. It's a slightly different view, but if you take a look
at the calf muscles, there's actually two
bones like almost like if you've ever
eaten chicken wings as the same kind of thing. And that's what gives the
muscle something to grab onto. And then the feet have tons
of bones through them. But mostly like pay
attention to the ball of the heel because you can see the similarities between
all of these joints. They all end with a
ball type of shape. We'll move on to drawing
of this anatomy. We'll just do a quick
sketch and don't worry so much about this I thought was a really good representation
of legs at different angles. So I'm going to use haunting so that I can
draw a little bit bigger. So what I do is I try
to align the knees. I'll draw a line for where
I think the knees aligned. And then I'm going to draw
the action of the leg. So this one goes
straight up and down. I'm going to include the foot. So maybe just like the
angle of the foot. And then from this
foot I'm going to find the other foot maybe
where the heel is. I'm relating everything
to each other. Now that I look at
this general drawing, I feel like the lessor
really, really long. So I might move the knees
a little bit lower. I always try to start my
figure drawings at more of an abstract shape
because I find it helps me with placement
and it helps me to accuracy if I don't try to outline everything
from the get-go. Okay. So there is a bit of
a curve in this leg, but I'm going to mark
in with the kneecaps are once I mark in
where the kneecaps are, I can see that they're too far away from each other right now. So I'm going to draw
the cylinder of this leg and then the
cylinder on this leg here. And then remember how I always tell you to draw your cylinders. So let's put those in first tapered cylinders that we use and then we will find
everything else on top. So when you're doing
your initial drawing, what I'd like you to
think about is space. Think about your positive
space and negative space. So your positive space is
the actual legs themselves. And the negative space is the space
in-between those legs. So this space double-check your negative space
because that's really what's going to help you get the most accurate drawing. You want to think about space and you want to
think about shape. Both of these are
elements of art. So I've checked my space, I'm now going to put
in additional shapes, so I have my shapes in, or you can also
call them reforms. Now what I can do
is I can add on to these shapes and start
to refine my silhouette. You really want to build on to these drawings
like you don't want to rush it and you
don't want to focus on outlines too early either. So let's just focus
on the silhouette of these legs before we
go into the details. So keeping in mind
where the heel is, putting in this bump here. Putting in an additional bump. Don't worry so much
about the feet. Just try to get the
shapes working. So your shapes and your space both help
you with proportion. So when you add your shapes. Your space, you get proportions. A proportion is an
element of design. These are elements of art and your proportion is the
element of design. And most people struggle with proportions when it
comes to figure drawing. So take your time getting
the proportions correct. Don't worry about all
the muscles. Okay. We're just focusing
on the contours after you've figured out your shapes and your
negative space. So your forms, in this
case your cylinders, are going to guide you if you don't have that
cylinder and then you have this curved
line that goes nowhere, that attaches to nothing. But once you have the
structure or the form on top, It's a lot easier to add. These muscles aren't.
So you can kinda see like there's a bit
of rhythm going in from this muscle into
the curve of this bone. You'll also notice that the
calf is very different from the side angle than it
is from the front angle, from the front angle, that cylinder is a
little bit on an angle. Whereas on the side it's
more of a full cylinders. There's more rhythm here. So like a longer curve and
a shorter curve over here. It's like a more bumpy or curve
and a straight or curved. So you want to pay
attention to these curves so that you can learn
the patterns and know them so that you can eventually draw very convincing
figures out of your head. I've put in the two
bones for the ankle. And now that I look at it, this one is higher
than this one. So I should have drawn a line like
that so that I can actually align those bones a little bit more effortlessly. And then for this foot, I'm not going to
worry about the toes. I'm going to draw the
shape of the foot. And maybe I'll draw the big toe. And that's it. In terms of shading
and lighting. There's a couple of things
that you can remember. Like if I'm shading this leg, it's really helpful to see
the anatomy because if you look at some old
master figure drawings, you can see that the anatomy
is really exaggerated. Like this person, I don't know, maybe they were super muscular
or they were a runner, but people exercise a lot
more back in the day. They didn't have
computers where they sat for eight hours a day. So they had very muscular legs. And you can only learn the
structure and the anatomy of the legs by studying the muscles and kinda
how everything works. I'm going to use these muscles and instead of drawing them, I'm going to use them to
help me with shading. See if you can interpret or bring your own either style or your own flair or your own
creative decisions to this. So my creative decisions, I'm going to leave out
all of this anatomy and instead I'm going to
attempt to shade it, keeping the anatomy and
find if you squint with me, you'll see that most of
this leg is in shadow, like a crescent of it. So I'm going to start by adding some simple
shading to it. So I'm gonna hold my
pencil like a lobster. And using the side
of your pencil, of your pencil is dull. Make sure you sharpen
it before you do this, put a little bit of
shading on the side, bringing it down to
the calf muscle. You can see the kneecap. So I kinda like shaded in a little bit of that triangle
because I know where it is. There's a little bit of
this bone sticking out here and the muscle is
behind the bone. Don't worry if this
feels really hard. It is hard and I
don't expect you to get it perfectly the
first time you try it. It took me years to get really
good at figure drawing. So you just have to be
patient with yourself, be nice to yourself, and give yourself the time. Generally, there's a lot more
blood in our feet then in our legs and our hands and our feet are typically darker and redder than
the rest of our bodies. So there's a lot
of blood flow in the kneecap in our
joints and our feet. So what I'm gonna do
is I'm just going to darken the feet overall. I'm just going to make the
feet a little bit darker. This leg because it's
technically further away, although not by much. I'm gonna go a little
bit on the line work, but also add some shading to it. So I'm going to shade the
bottom of this cylinder. Very, very light shading. Consider the muscles,
but remember the muscles have
skin on top of it. Back in the 15th century, it was illegal for
people to study bodies. So scientists like
Leonardo da Vinci had to literally sneak into
the morgue and pay off the people working there
so that they could draw from dead people and
they could dissect and understand how bodies work. It was very illegal and
very taboo back then. So that's why a lot of
the anatomy drawings you see are like super muscular. It's probably because they were drawing from dissected people, are referencing dissected
people, as well as models. You might be lucky
enough to have a runner who are an athlete
or somebody who does a lot of working out to get the anatomy
drawings more accurate. But like average
people don't have that much muscle
showing on their legs.
6. Drawing Legs on a Full Body Figure: Let's get started. I had some figure drawing
exercises planned for us. We're going to be drawing legs. I will be drawing
with colored pencils. So if you have colored pencils, I have two brown colored pencils because I can draw with konnte. It's a lot faster for me
to draw with content, but I just don't like
the way it smudges. So if you want to draw
with konnte, go for it. Otherwise, we can draw
with colored pencils. I started off with this girl because it's a really
nice picture of her legs. You can kinda see
both of her legs. But it's also got a
really nice gesture. So if I look at her gesture, I can see like a C-shape. So when I'm drawing
the gestures with my colored pencils or pencil,
whatever you're using. I draw with the side of
my pencil right here. I'm not drawing my
gestures with the tip of the pencil and drawing
it with the side. That way. I'm not pressing as
hard and I want you to just draw abstract,
abstract lines here. Just kinda capture the motion by using abstract lines
instead of outlining. I want to capture the
action line of her legs. Thinking about the
negative space, thinking about the
alignment of the feet. And now I'm going to start to carve into my initial drawing. Right? Now. I have this C-shape, but I'm going to start
to carve out her but her legs and then look for this kind of a
negative shape in-between. Mark out her hands, master of her hands. I'm working with the
negative space here. Mostly. I like colored pencils
because you can erase. I feel like the negative space
there was way too small. And now I'm going to start
to square off her chest. Here, make this part
more geometric. Looking at matching
the negative space. I know I didn't talk too
much about the process here, but you can see I
started off with very abstract lines and then slowly carved the shape into it. I do want to talk a
little bit about like, where is her ribcage and where are her hips because
it's really hard to see. So if you look at
this bump right here, this bump that is the
bottom of her ribcage. Sometimes you can see
that it's very obvious. If you find the bottom
of her ribcage, go ahead and draw a circle. Make sure that that
circle is about 1.5 times the size of your head. If it's bigger than
it's supposed to be, then you can try adjusting
the size your head. If it's too small, then try making
the head smaller. But you want to
compare the ratio of the head and the ribcage once you find where
that ribcage is. So there's clues.
Sometimes it sticks out. So for the hips, if you look at
where her leg ends, her Leah tired right
now you can see it kinda goes across
her bottom here, but usually where the legs
go into the body about an inch above that is her hip. I'm going to draw it
in a box like this. And because you see
both of her legs, her hip is actually more
more three-quarter view. You can see a little bit. This side. Don't worry if you can't see it. I'm just kinda showing you how I find where these things are. Your hip to torso
relationship is probably the most
important thing and then followed by the head. So the head, torso and hips are always what you want
to be thinking about. At this point, I'm going to
leave this pretty loose. I do want to focus
in on the legs. So a couple of
tips for the legs. Do you want to
make sure that you check your negative space? I'm checking my negative space. It looks okay up here. But her feet are wider in
the picture than I have it. I can see that immediately. As soon as I look at
my negative shape, I'm like, oh, I see everything
that's wrong with it. So I'm gonna start by moving her foot a little bit
over to the side. So I'm going to adjust
the shape of the feet. If you have trouble
drawing feet, you can break it
down into shapes. So what shape do you see? I kinda see a pizza shape or maybe a nacho shape,
this triangle shape. And then there's a little
part here for the toe. And then you can draw a
circle in for the heel. So that it's constructed from a small rectangle or a
circle and a large triangle. Her other foot is same
kind of construction, but there's more of
an arc in that foot. So you can kind of draw a ball. You can draw the shape of her toes and then
connect those two. So we want to make sure that we have the torso figured out. The hip also figured
out because the hip, in my opinion, it's
part of that leg. And now I'm going to
draw the outlines. So if you look at the edge
of this box right here. This edge is her sit bone. This bone here for the hip. The front corner is that
hip bone that sticks out and the back corner is
the bone that you sit on. This kinda diagonal form is
something to keep in mind. Then in terms of the muscles
there definitely tapered. So I'm going to start with a
ligand the foreground first and draw a gentle curve down. And I'm going to put more
emphasis on the knee. I always make my lines a little bit darker wherever
there's bone. That's just a stylistic choice. And I'm trying to use lines
that breathe a little bit, alright, so disappear
and appear. And then whenever
you're drawing cows, cows are really funny because they look different
depending on the angle. So you can't just kinda
draw them in mindlessly. You have to think about how
the leg is turning in space. So if you get your
basic cylinder, you can add this muscle
on top of the cylinder. And I always draw
the back 1 first. The front one also
has a gentle curve, but it's not quite as
curved as the back. So if you look at the leg up
here and the leg down here, these lines are sharper
and straighter. And the lines on
the back of the leg or curvier and softer. So anytime you're drawing bone, you can use more angles, you can use harder lines
and whenever you're drawing muscles you can use curvier
lines and more gentle lines. So now I'm going to start
with the other foot. So you can kinda see
I've got one leg here that is really dark, and then this leg
is a lot softer. If you want to achieve
depth in your line work, you can choose to make harder lines are darker
lines on one side, on the leg that's closer to you or on the arm that's
closer to you. And then the other light can be softer almost like it's
going into the distance. So I'm going to leave
this kind of soft. Only going to emphasize maybe
like the bottom of the foot here and a little bit on that knee. But I'm going to
leave the rest of the lines nice and soft. Again, we are focusing on legs, so I'm not gonna go into
too much detail here. If you did want to put some
other lines of emphasis, I would emphasize the ribcage. I would emphasize
maybe the elbow, maybe the armpit, and the
gesture of the hands. I'm going to leave
this nice and loose, but I do want whoever
is looking at this to know what
the hand is doing. We're not going to go into
shading on this one just because the shading
is very, very subtle. So great job with the legs. I know legs and arms
are really tricky, so thanks for sticking with me. Just keep practicing and I promise you will see
results over time. I'll see you in the next lesson.
 Winged Canvas, Classes for Art Nerds