Transcripts
1. Introduction: Hi, my name is C7 level. I am a writer, photographer, and cartoonists based
in Mexico City. I mostly draw comics
to express myself and my favorite thing to draw our
people, particularly faith. I draw a lot of faces. What I love about faces
is that they can tell you a lot of butter character,
every detail counts. This is why they can
be tough to get right? If you don't know
where to begin. We'd like to improve
in this area and are passionate
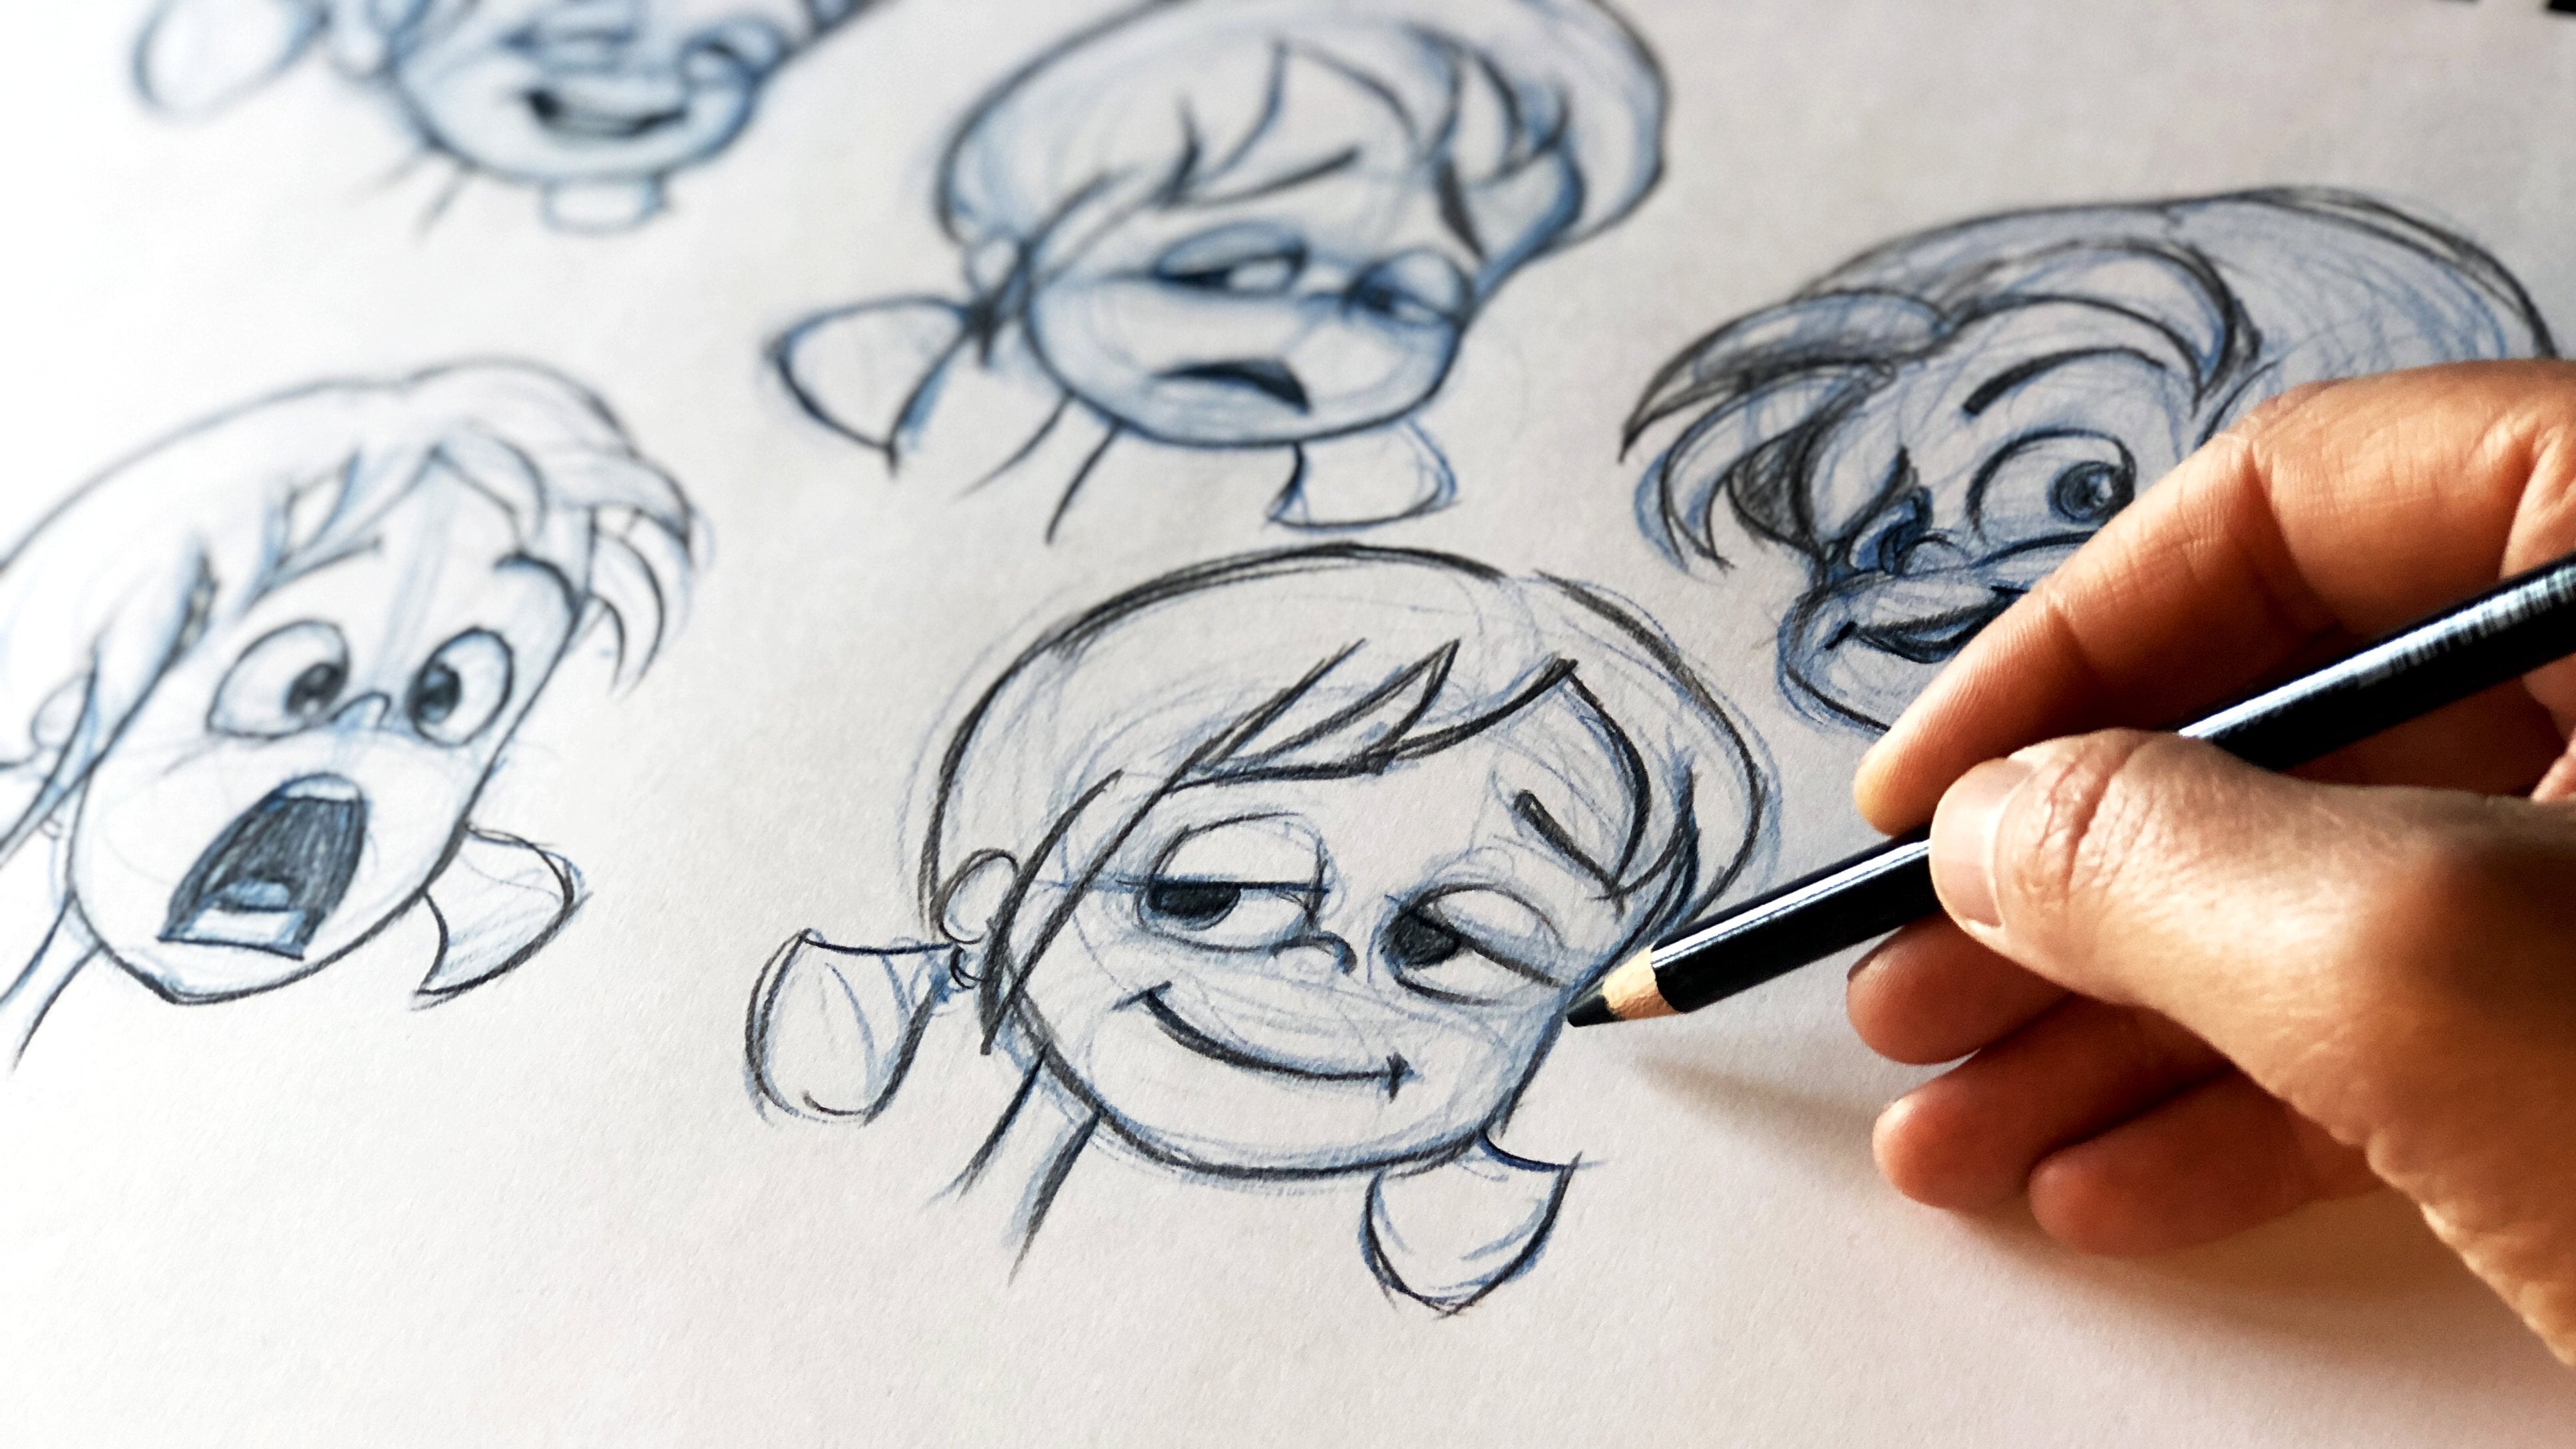
about drawing. Then this class is for you. You'll be learning how to draw
your cartoon self and draw different expressions
using a photo of yourself as reference. I'll also be giving
you a brief intro into sequential
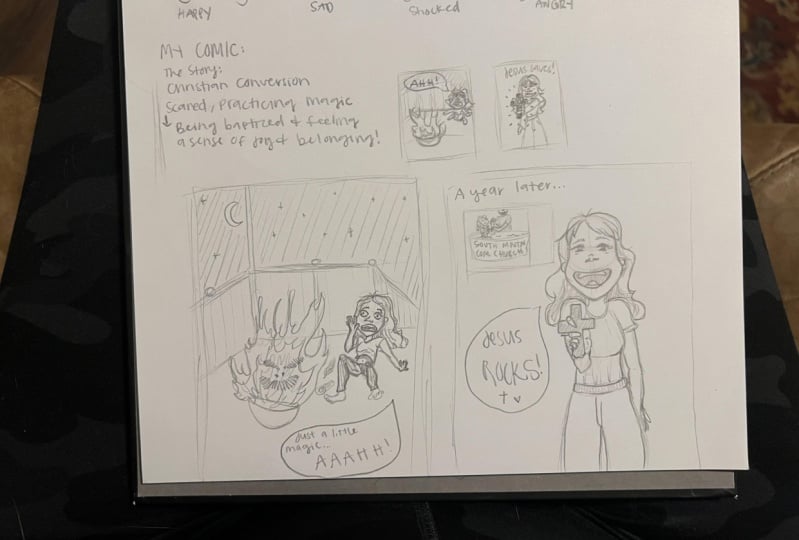
storytelling, aka comics. The class project will
be to make a short autobiographical
comic about events that impacted you emotionally. All you need for this class
is some paper and pencil. I'm excited to begin
this project with you.
2. The Class Project: Welcome more details on the class project
coming your way. First, we'll start off
drawing a cartoon version of ourselves using a selfie
or photo as a reference. Next, we'll draw
ourselves and more. Creating an expression
sheets will be going over what it is and what it's
used for in a future video. But basically, we'll be drawing basic expressions
like happiness, anger, surprise, and set this. We will then write
a short story about an event that
emotionally impacted. It can be something
that made you laugh, cry, or screaming, terror. Whatever you choose,
you will be writing two to three
sentences to describe the situation and your reaction. Once you have this, we can move on to
the final project. Then lastly, for your comic, you'll be drawing at
least two panels, again, depicting the
situation and we're reaction. You can see an example of what the finished project could
look like in this slide.
3. Drawing Cartoon You: Drawing cartoon you. So when drawing cartoons, you have to keep in mind
that you're drawing does not need to be a copy of
whatever you're drawing. It's worried about condensing, simplifying what's before you. In this case, what
was before me was a picture of a cupcake I
found on the Internet. I've never drawn
a cupcake before. And at first, I spent
a long time trying to depict the cupcake
as it was exactly. But neither of my
tenths looked right. In fact, I started to curse the day I decided
to draw a cupcake. Just what had I
gotten myself into. I don't draw cupcakes.
I draw faces. Well, long story short. I finally tried to
simplify the cupcake, focusing on the three
swirls of icing and adding in a few lines
just to indicate a flow. And to my surprise, it worked. You could even simplify
further and just outline the ice
if you wanted to. But how do you do
this with a face? Well, the way I do it is stare
at my own face for awhile. Think like, what are my main
features that make me, me? If it helps, you can even
draw over your photo using Photoshop or a marker over the printed photo
to identify them. Arc has mainly been about self-expression for
me and as a result, I have drawn myself a lot, has been through trial
and error that I realized that my main
features are the follow-up. There's my small round
knows my main effect, curly hair, that will
not be controlled ever. Possibly. My large round glasses, which by the way, I don't really use anymore, but they feel very nice, so I keep them. That's artistic license for you. These are all the
details that I keep, whether I draw myself
in a more simple style, a QC style, or a more
realistic style. I suggest you draw
yourself a lot as well. Experiment. Ultimately have fun
with the process. See what comes out. Now, after you've
taken some time to find your main features,
start drawing.
4. Creating an Expression Sheet: Reading and expression sheet. So what is the character
expression sheet? It's a tool used by illustrators and
character designers to get to know a character and
how they express themselves. It usually shows a
character's expressions. For example, happy, sad,
surprised, board, etc. These are some of the main ones, but it can include more. Now that you've drawn yourself, you can begin creating the expression sheet
for this exercise. You will draw the
following expressions. Happy, shocked, sad, and angry. My advice, be as creative
and dramatic as you want. Remember that it does not
have to be a 100% accurate. For example, I'm not a very expressive
person in real life. So what I do is I tend to draw my expressions
to reflect what I'm feeling inside rather than what expression you'd
actually see on my face. I draw them to scale
with that feeling. What I mean by this is that if I'm feeling extremely happy, then I draw a massive smile that takes up most of my face, is the feeling is more subtle. I draw my mouth smaller. This applies to any
other feature, face. Your eyes could be
super bait when you're surprised, for instance, you can take inspiration
from other artists work social media
and animated movies. Neutral, they draw expressions. There's no right way to do it as everyone has
different techniques.
5. Comics 101: Comics one-on-one. So what are comics? There's actually
several definitions, but the main thing about comics is that they
are sequential. Renowned comics
artist Will Eisner use the term sequential
art to describe comics. And what he meant was an art
form that uses images in a specific order
for the purpose of graphic storytelling or
communicating information. Comics have to be read in
a specific order to be understood the way
the artist meant that this can be from the top, bottom, or from left to right. Each sequence is
made up of panels. They are typically squares, but can be any shape. This first example, which coincidentally was one
of my very first comics, has five square panels and it's meant to be read top to bottom. Most traditional
comics look this way. A panel size or position
on the page can be used to indicate its
importance within a sequence. If a specific scene is
particularly important, you can even have a panel
that covers the entire page. This was the first
page of a comic I made titled What roller skating
taught me about self-love. I wanted to begin with
a feeling of terror and emotion that I have along
associated with dancing. And it's a strong emotion
that still affects me today. And so I decided to
start with that, give it its own page. Other comics or just one panel, comics like this one. Another important aspect about comics is that they blend
texts with visuals. When I was a kid,
I used to measure him that I was the
director, writer, set designer, casting director, and costume designer
of my own stories. In innocence you are, which is undeniably cool. If you want to know more
understanding Comics, Scott McCloud's book
is a great resource.
6. Your Story: Panel by Panel: Your Story panel by panel. You'll start by
writing your story. It can be as long as you want, but I recommend you do
two to three sentences. Since we're making a comic, the words will only be
telling part of the story. You can think of one
sentence representing the beginning and the other
representing the end. The aim of this is to
clearly establish what the situation is and what
your reaction to that was, as well as what expressions
you'll be portrayed. In my case, the first part of my story and first
panel goes like this. I went to a rank to
try ice skating. I was scared to do so. The second part goes
like this. It was fine. And I found myself
really enjoying scaling. The two motions I will be portraying will be
caution, enjoy. I'll be making my
comic on Photoshop, but all you need is
a pencil and paper. A ruler is advisable
but not necessary. Remember to experiment with what goes in each panel and have fun.
7. Final Thoughts: Final thoughts. You made it to the end
of this video. Congrats. We have covered how to draw a cartoon
version of yourself, how to make an expression sheet, the basics of comics. And you will be leaving
with a completed comic. I hope you've found this
course useful introduction into how to draw
expressive faces. Please let me know what
you thought of this class. Any feedback means a lot. If you'd like to get in
touch and follow me online, you can find me here on
Skillshare and on Instagram. And don't forget to post your project in the
project gallery. I'd love to see what
you've come up with.
 Isabella Ruffatti, Writer, photographer, cartoonist.