Transcripts
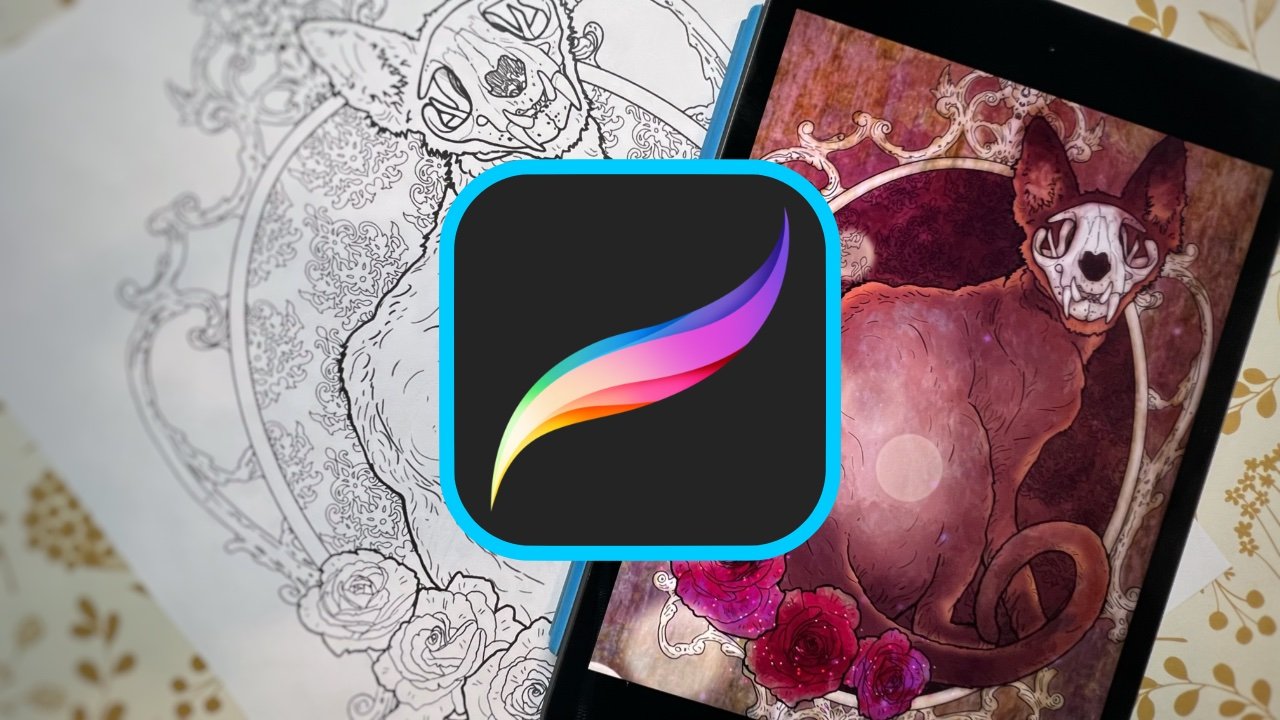
1. What you will learn in this course: Hello and welcome. I'm Lisa, me talking. And today we're going to
be working in Procreate. I will show you my drawing
process and share with you these amazing life-changing tips that will allow you
to start drawing in, Procreate right away and
create amazing art like this.
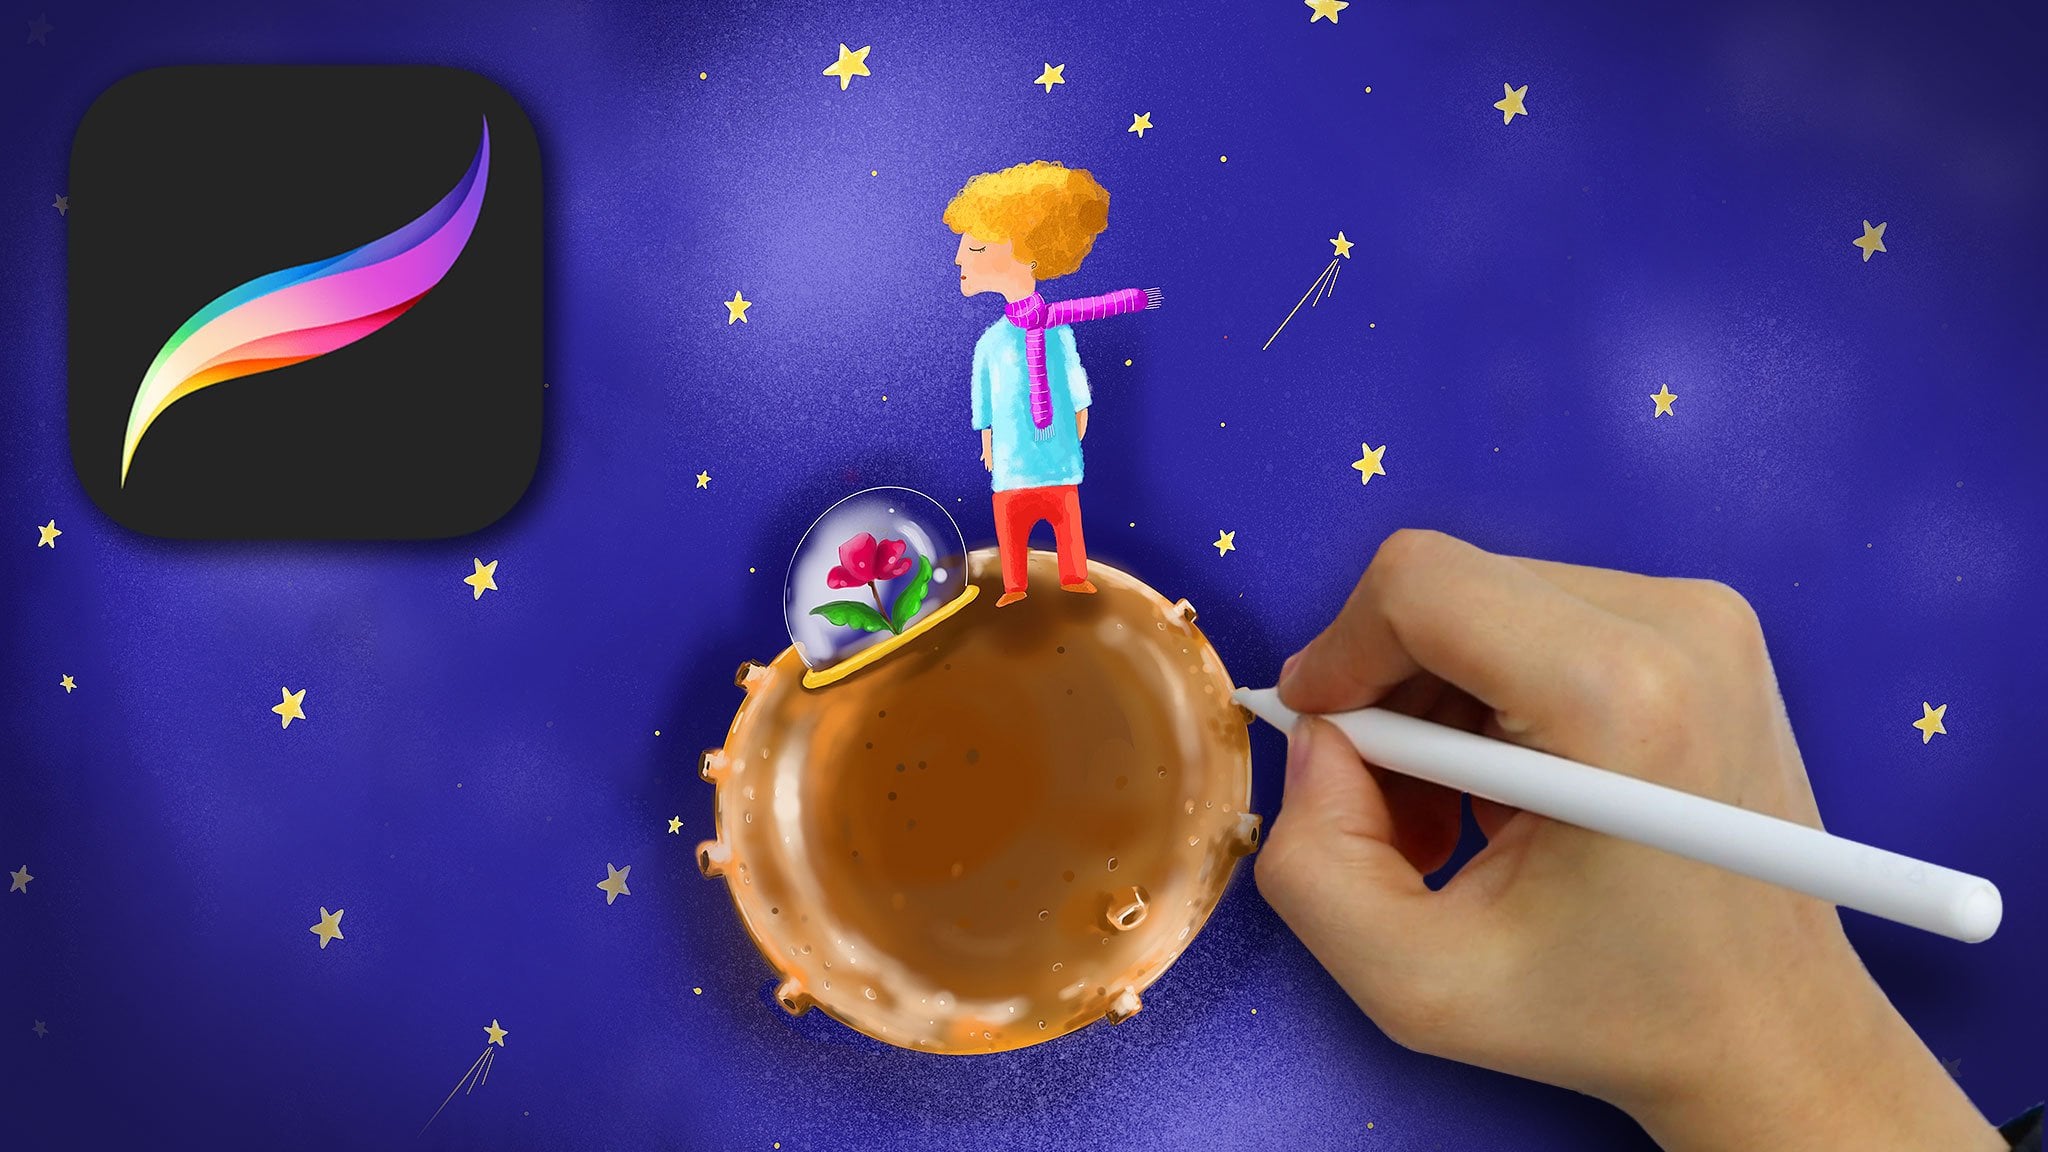
2. Getting started - create a new canvas: I highly recommend that you
use Procreate on your iPad. I find that that's just the perfect size
screen for me to work on. And you can use Procreate just with your finger
or with a stylus. This is the stylist that I use. To get started, just
click on the app and open a new canvas. To create a new Canvas, you need to click on the
little plus sign up here. And you will be given an
option for canvas size. There are lots of options that are already offered to you. You can also create custom
size and resolution canvasses. But I suggest that you just start with the default option, P3, 15, 36 by 2048. And that will pop open a brand new clean white
canvas for you to draw on.
3. Drawing tools - brushes and erasers: Up here in the menu bar, we have a bunch of icons. That icon right
there means layers. Every new canvas, by default comes with a background
color which is set to white, and a new layer
called layer one. Next to the Layer icon, you have the color icon. When you click on that,
you are presented with an entire color wheel and different values and
saturations of color. Whatever you select, that's the color you're
going to be drawing with. Now, on the far left, in that bundle of icons, we have an icon for brush. When you click on that,
that will give you all of the selections
for your brush tools. This is the brush that I picked in the colors that I pick. The other thing that you have
on the screen at all times, or these 2 bar on
the left-hand side, the one on the top, adjust the size of whatever tool
you're working with. The one on the bottom,
adjust the opacity. One other tool in the menu on the top right is
the Eraser tool. When you select that, you are now working
with an eraser. Same things apply
to the eraser tool. You still have your two levers. Want to adjust the size and
want to adjust the opacity.
4. The UNDO shortcut: The undo function in this
app can be done very quickly with just a single tap on
the screen with two fingers.
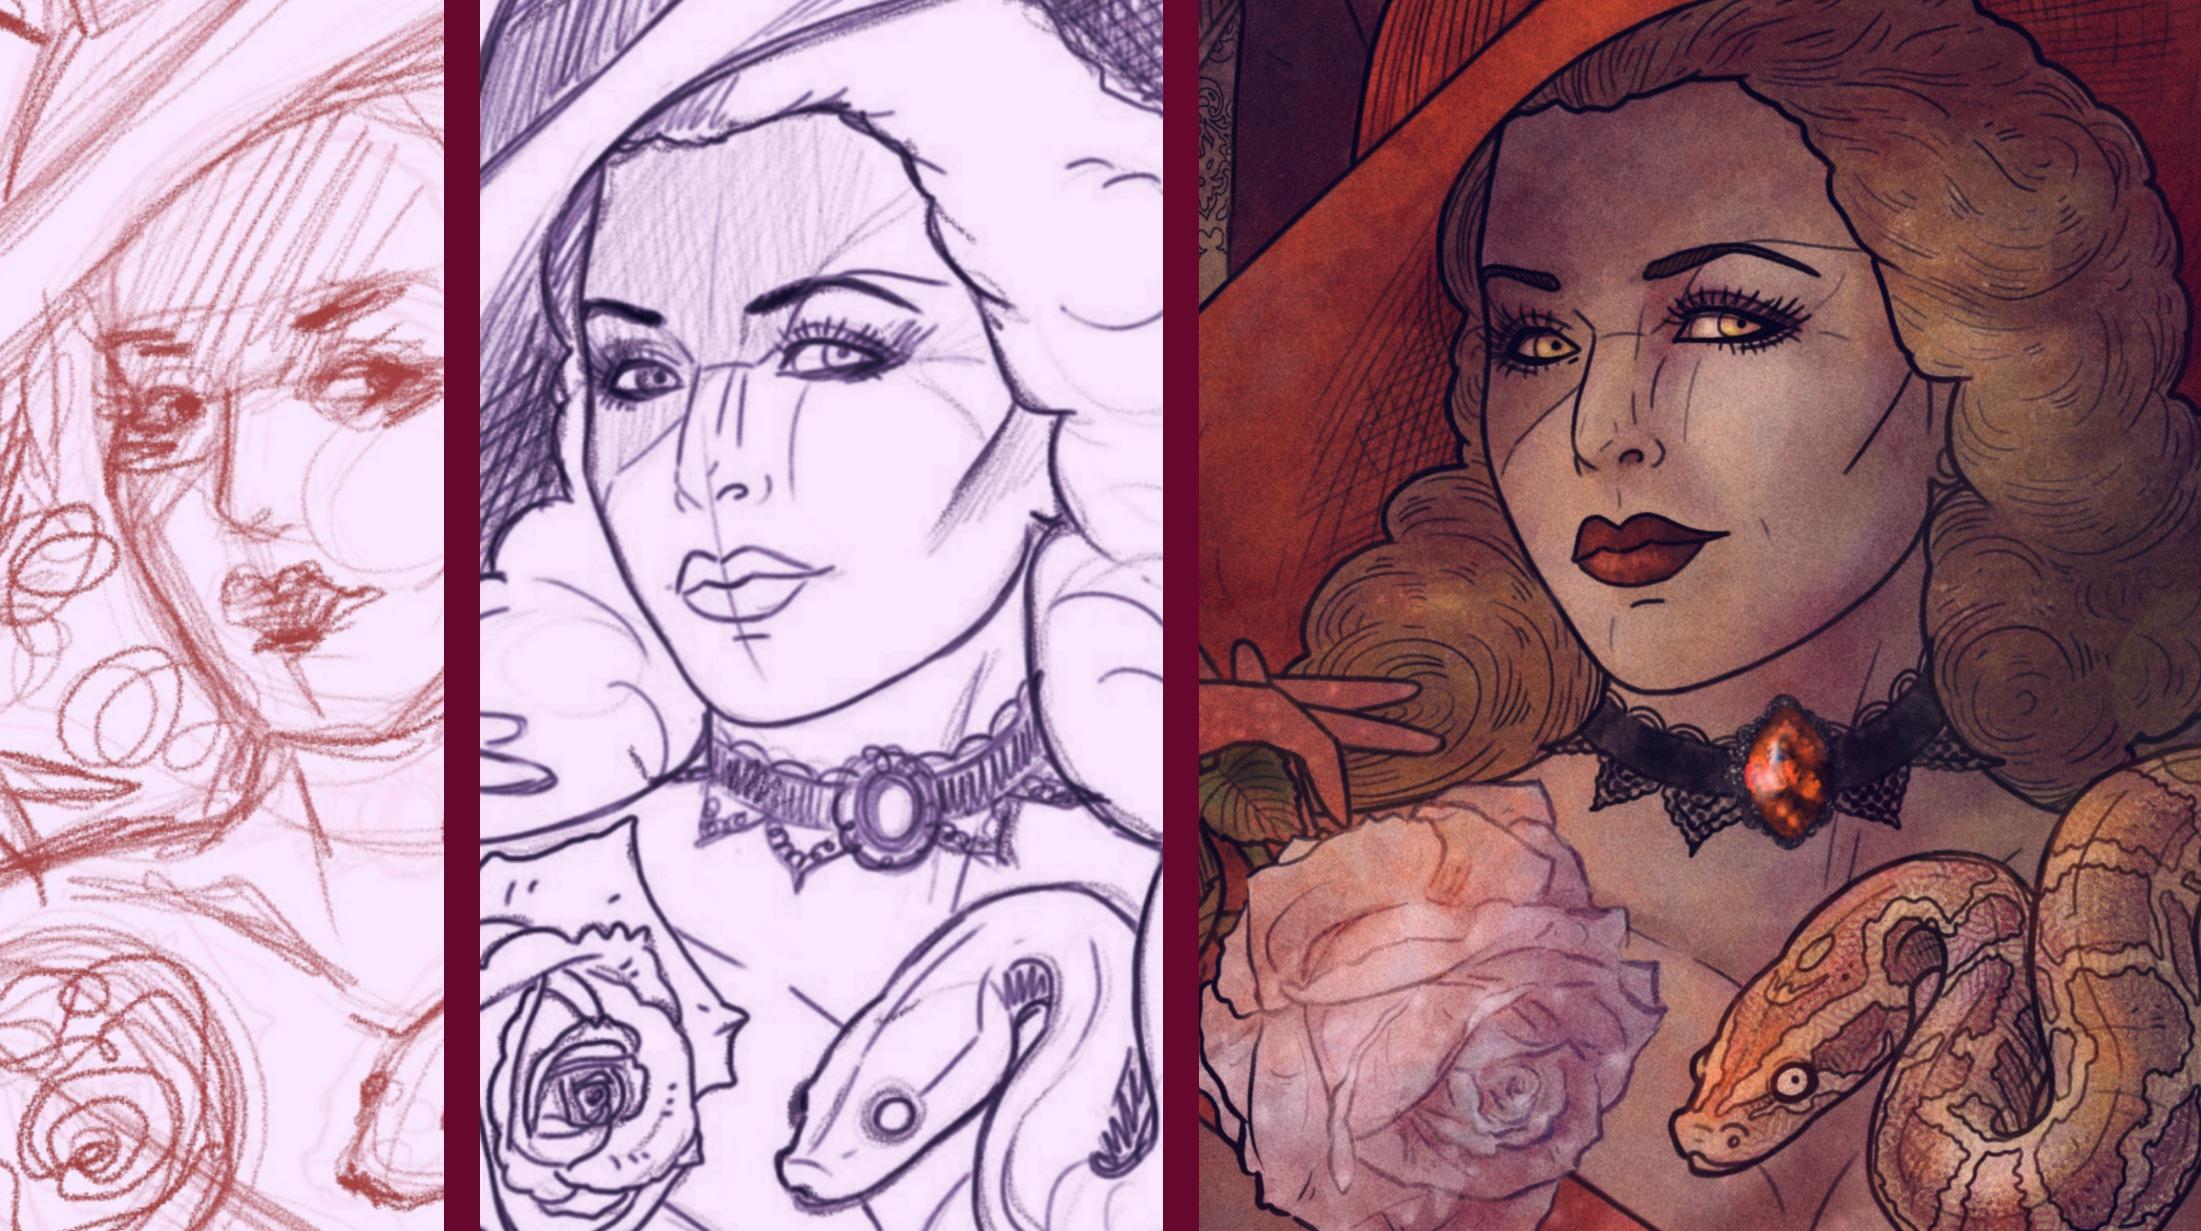
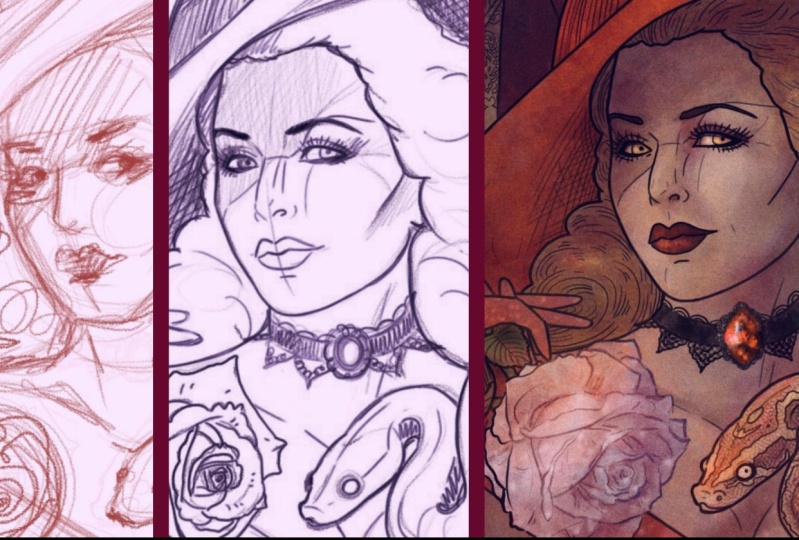
5. Sketching - using layers: I like choosing a
tool that's very close to what I would
actually use in real life. So I pick pencils
or charcoals or something that actually
has a texture to it. And they start sketching
very, very roughly. So in my layer one, I am very, very roughly sketching
the outline of my face and the structure
of the face the way that I would with
pencil on paper. So I mark up where the eyes
go and mark up the center. And everything is
really, really rough. Now that I have this, open up the Layers
menu again and you see that on our
layer number one, we now have a little
doodle preview that's very useful when you have
several hundred layers. Now, I want to keep drawing, adding more and more detail
with every single new layer. So the first thing
that I'm going to do is I'm going to drop opacity on the layer that
I've already created. The very first thing in that drop-down menu
isn't opacity scale, which right now is set
to max by default. So just tap on it and drag it to any percentage of
opacity that you want. Now, in the same layer menu, I'm going to create
a new layer by hitting the plus button
layer to appeared. Press anywhere on the screen and you'll be drawing
in layer two. You can always check what
layer you are drawing in because in that
drop-down layer menu, the layer you are drawing, it will be highlighted in blue. So now in my layer two, using the same brush or pencil, I'm going to continue to doodle. This is the doodle stage. Do not skip it for me. This is how I approach all of my digital drawing
and it's especially important for me to be able to draw freehand so that my art, my digital art,
comes across with the same style and
with the same level of detail as my analogue art. So to give you an idea, now that I have two
layers of doodles, I'm going to add yet another
layer to continue doodling. A little bit more refined
each and every time. I also like to doodle
in different colors. I often doodle in blue
or purple or red, but rarely in black. And after about a half
an hour of doodling, I came up with this. As you can see, the
lines are already a lot thinner, a lot cleaner. And my character is
very well-defined.
6. Timelapse replay: One of my favorite features of Procreate is the time-lapse
recording function. Well up here, that's
your Actions menu. Click on video. We're going to click
on time-lapse replay and watch what I've
done with the sketch. Look at the roughness of
my lines in this sketch. This is as free hand and
as locally as it gets, but it's shaping itself
with every single layer. How do I know how to get
that attention of detail? Because I'm drawing
over my own lines. I'm essentially
tracing my own work with every single layer. This though, you draw a layer, you drop that transparency, you draw another layer over it. You drop the transparency. And that allows you
to really fine tune those details until you get
to something like this.
7. Drawing outlines: I'm a coloring book artist,
is drawing in fact, is meant to be an
adult coloring page once I'm done with it. So what I want here is
clean, sharp black outlines. Let me point out
one other thing. On every layer. Next to each layer
there is a checkbox. If the box is checked, the layer is visible. If the box is unchecked, the layer becomes invisible. Layer 12.3 are now unchecked, meaning they are invisible. Layer four is the
only one that I have visible at a full opacity. Let's drop that down
just a little bit, maybe to about 60, 65% and add a new layer. This new layer is going
to be my outline layer. And there are two ways
that I like to make clean and smooth outlines. One is with a calligraphy
pen in your brush menu. Go down to calligraphy
and select Mono lines. Set your color to black or whatever color you want
the outlines to be. Adjust the size
of your brush and start following the outlines. That looks a little
too thick to me. So I'm going to undo with
my amazing undo feature, just tap the screen
with two fingers. Let's make that
line a little bit thinner and continued
to follow the outline. Now the cool thing about
the calligraphy pen is that it kind of adjust
itself as you draw. So it's very difficult
to draw jagged lines. That's why it's so cool for this particular
stage of the drawing. You can do it in small bursts
or you can keep practicing. And eventually your lines will get smoother and
smoother on your own. And you'll be able to do
longer outlines with the calligraphy function
helping you out along the way to
smooth things out. Of course, you can
use your eraser tool as well to make
tiny adjustments. I like this way, but it's
actually not the way that I do outlines most of
the time. Most of the time. I just freehand them with
another kind of a pencil. The pencil that I actually
used for outlines is just the very basic
sketching pencil called Procreate pencil. It's a default, a
pencil for sketching, but it's quite excellent. The calligraphy option
is interesting. It's definitely
pleasant to watch your lines clean up on their own as you
put them on paper. But me, I like to have a
little bit more control. I like to freehand my outline. So I usually just use
sketching pencils, try out a whole bunch
of these to see which one is best
for your purposes. This is the one that I
like quite a bit and now I can just settle in and trace all of my doodle work with
the pencil that I selected to create this really
nice, clean line work. So that I can turn this
whole illustration into an adult coloring page.
8. Painting - adding color: Back in our Layers menu, layers 12.3 are invisible. Layer four can be deleted because we don't need those blue outlines anymore. And I'm actually
going to get rid of all the other layers as well because I'm never
going to use them. I got what I wanted. I have my clean black
outlines on Layer five. That's all I'm going to keep. So now we only have our
background color, which is white, and our transparent
layer with lines on it, which is layer five, and that's my black outlines. That's all we have. So I'm going to add a new layer, which automatically gets
added on top of the stack. But I need that layer to
be below my drawing lines. So how do I do it? I'm going to take layer
five and drag it up. So press and hold for just a little longer
than you usually would, and then drag and drop. Now, let's select our new layer, which is now technically
the first one above the background and
it's underneath my lines. Let's see what happens when
we add some color to it. The color gets added
underneath the lines. Let's do some painting. Pick a skin tone,
and start coloring. Make sure to choose a
brush that you like. Play around with the brush menu. It is a Pandora's box of effect. But how do we stay
within the lines? We chose to work on
a separate layer. Obviously, the lines are not actually connected to
what we're coloring. There are two ways
that I like to use. One is just to make this broad wash around the
area that I'm painting. Then take an eraser tool and erase everything
that's not needed. The second way is
actually to create the shape and automatically
fill it in with color. To do that, click on the
little squiggly icon on the top menu and select freehand started
drawing an outline, the area that you wish
to fill in with color. Follow the outlines
that you already have. And you will see a
dotted line appear. Follow this in a single stroke until you come back to the
point where you start it. Once there you will
see a single gray dot. Make sure that your pencil meets that dot to close the area. As soon as you tap on it. It's colored in, in whatever color you had
selected and your color wheel. That's a really nice, fast way to complete
a certain area, especially for a
shape that's unusual. And I do use this
quite a bit in my art. But on this one, I
actually want to spend more time painting this. I'm going to stick
with the first method. I'm going to set it to something large and
I'm just going to very roughly color
the whole area. That's her skin tone. And I'm going to start adding new layers and new colors to create the definitely shadows effects that you will
have on her face. Ultimately, don't
be afraid of color. All colors can be adjusted
and manipulate it. That's the whole point
of a digital program. But for me, the
best part about and how I actually select digital programs that
I end up working with. I tend to go with the ones
that allow me to work as close to my actual analog
process as possible. So I'm going to add my
purple shadows, very, very exaggerated, and I'm going to smudge
them with my finger. This is something that
I would have done in real life when
coloring with pencils, I would have used my finger or a Q-tip do actually
smudge the effect. There is a finger tool up there and when
you click on that, that's you smear tool. You can actually touch the
screen and smear your effect. This is one of my
favorite things about Procreate as well. It's very cool. Here's another cool thing. If you have a whole bunch of colors on the screen
already and you want to go back to a certain color that
was very specific, you may not be able to get
that same color again. Simply hold your finger on
the color that you want. In any layer. It doesn't matter
what layer you, and just hold your finger over
the colors that you want. Press it hold and this
circle will appear featuring the color that you're
looking for and that will automatically become the color that you are now using
in your inkwell. Very cool, very quick way
to just switch your colors.
9. Combining layers: As I showed you before, you
can just grab your eraser and erase all the extra colors that you don't want
around her face. However, we now have a
whole bunch of layers. So what do you do?
Do you just erase every single layer
that can be very tedious and very inaccurate. So what we want to
do is we want to collapse all of
those layers into a single layer so
that our racer will apply to everything that
we've painted at once. Here's how you do it
back in your Layer menu, you can see that
we have layer two, layer three, and layer four, all of which together create the skin tone that I have
so far to create a group, grab a layer and drag
it into another one. Now I have a new group. Within the group, I have
layer three and layer two. When the group is collapsed, it has all the same controls
as individual layers. For instance, I can
make a group invisible. I can combine groups with
other layers and other groups. Once the group has collapsed, you can also rename it. However, a group is still
a collection of layer, so we can't apply an
eraser tool to it. Well, we need to do is to
collapse all these layers. Groups are a great way
of organizing things, but they don't actually
combine the layers. That's an important distinction. To collapse these layers, click on your group
and select flatten. Now, that turned
my collection of layers into one single layer. Now I can apply my
eraser tool to it. When you are actually doing
skin tone coloring on, when you're doing
full page painting, you will have dozens
and hundreds of layers. So it's really important
to understand layers, groups, and collapsing them. So now I'm just going to take
away all the excess paint, leaving only her skin tone.
10. Painting playback: So let me play back for you. Just the skin tone
coloring on the witch for you to see all of the different
layers that have done. Notice as I'm
adding my pigments, as I'm adding my shadows
and my lighter areas. And every once in awhile
you'll see that spill around the periphery disappear because generally that's how I do it. And instead of outlining the
areas and filling them in, generally just color in that whole area with multiple layers until I get
the effect that I want. And then I collapse
everything into single pancake layers so
that I can go around them, use my eraser tool to clean it up just like I
did on the hat. And after about three
or 4 h of work, I've come up with
something like this. I hope you enjoyed the show. I hope you learned a lot. So give it a shot, have fun, and I'll see
you in another video.
 Lisa Mitrokhin, Live life in full color.