Transcripts
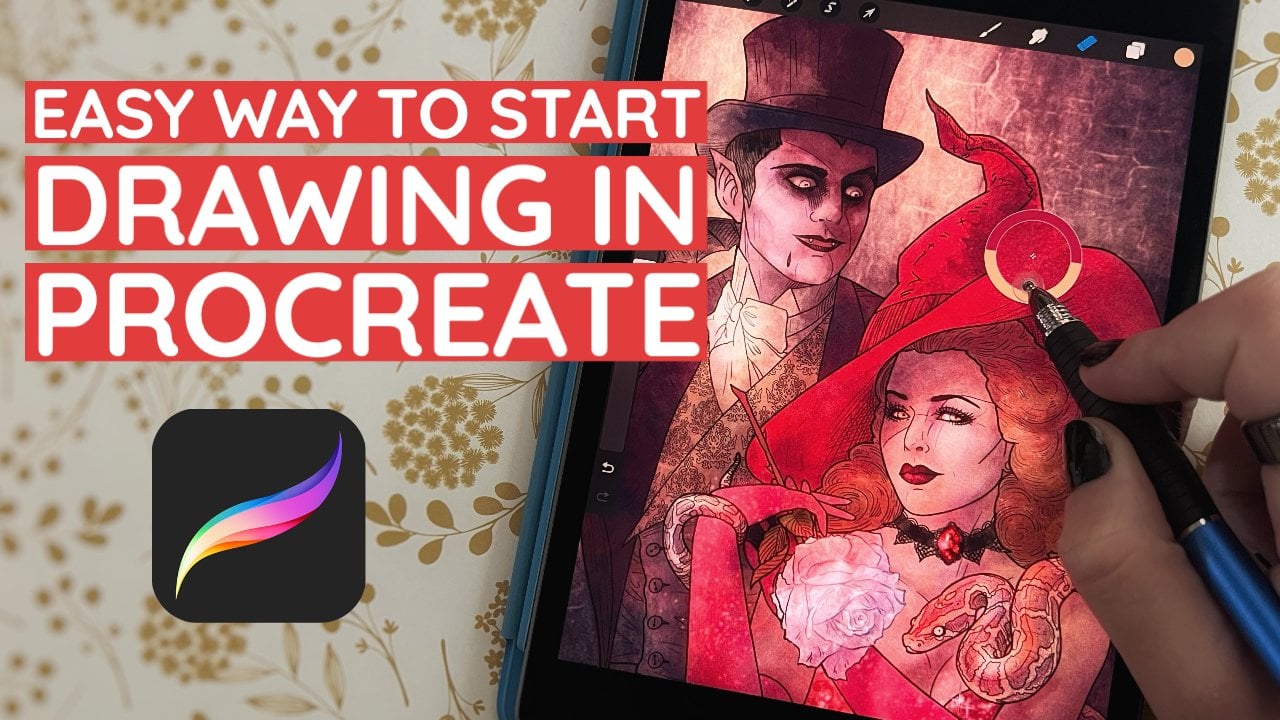
1. Intro: Hello and welcome back. I'm Lisa, my truck in and
I'm glad you're here. In my last Procreate video, I showed you how I draw
freehand and then color. In today's video, I'm
going to show you how to import a file that's already drawn like a
coloring page for instance. And then color it.
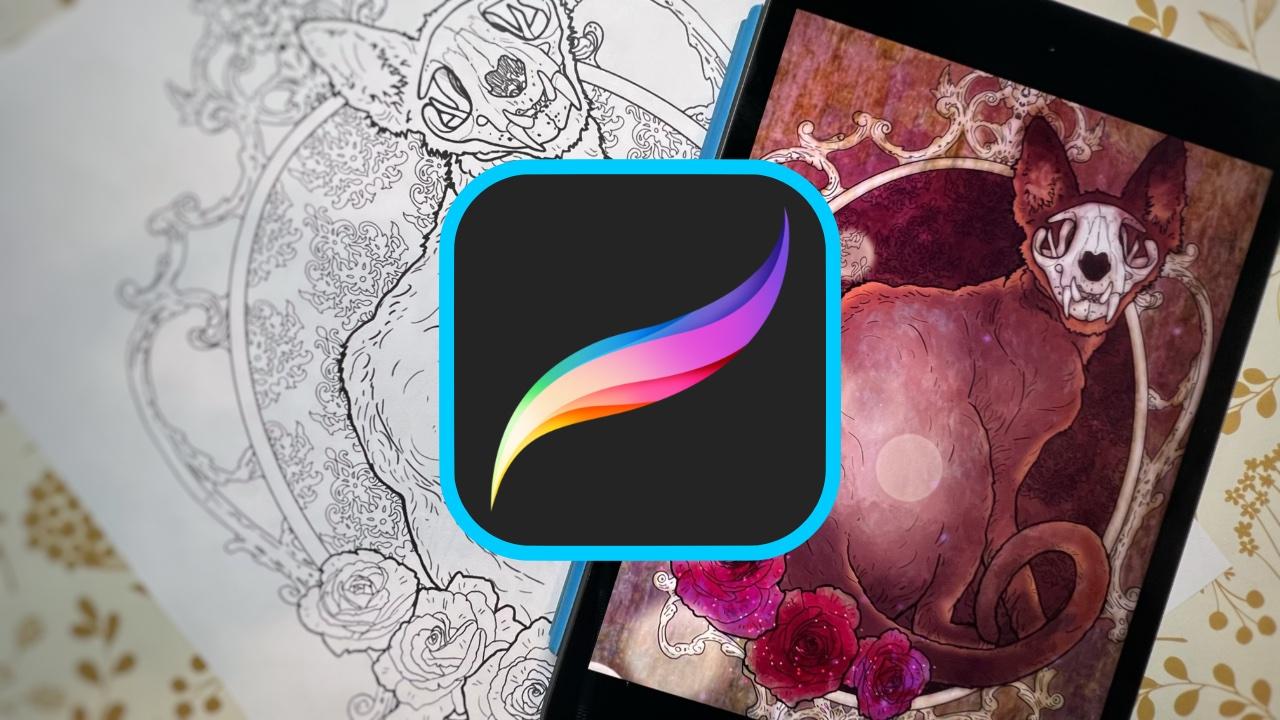
2. Importing files: So you have this brand
new coloring page. You want to color it digitally. Where do you start? First things first,
make sure that you have the file actually saved
in your photos album. On my iPad, I'm
going into my photos app and I'm going to
select my cat drawing. That's the page I
want to call it, but I can't color
it in photo app. We have to bring it into
procreate out of photos. We go into Procreate in
the top-right corner, instead of clicking on the plus sign to
create a new canvas, click on photo
that will show you all the photos in
your photo library. Pick the page you
want to work with. Thank you.
3. Color fill tool: So how do we color it? There are multiple ways. First, let's pick a color. Remember that to pick a color, we click on the top
right hand icon. Let's pick a nice
purple for this cat. Now the first and most
obvious way to fill in selected areas is
with the bucket tool. Let me go up here
in my top menu, click on the squiggly icon. That's my official name for it. In the drop-down menu, make sure that you have free hand selected
and Color Fill. Make sure you have the
color you want and simply drag and drop it into the
area that you want filled. Now these have to
be enclosed areas if your lines are not connected all the way, this one port. And that brings about our first issue with
this type of coloring. If we're dealing
with coloring pages, you may have different
line styles. So sometimes the areas
that you want to fill in won't fill with the
bucket tool perfectly. You will spill beyond the
area that you want to fill. Let's issue number one. Issue number two,
these lines may have different textures
and thicknesses. So for instance here, if you zoom in on my
drawing of a cat, even though the line work is beautiful with the
bucket tool fill. When we zoom in,
you can see all of that unwanted pixelation and
distortion around the lines. I find this very unattractive and messy and just
unprofessional. Now with perfectly
clean vector lines, this will work beautifully, but there's still one more
problem with this method. Looking at the little
preview doodle on our layer, we can see that all the colors
exist in the same layer. That leaves us very little
room for manipulation.
4. Color under-painting: Before jumping into layers, let's examine what we have here. Again, we have the
background and layer one, but this is going to be a little bit different from
what we did last time. Let's change the color of the background and see what happens. I'm going to pick a nice
purple and nothing happened. The background color
didn't change. Why is that? Because the file imported as a solid white page with
black lines on it. If we created a new
canvas and we had a background color
set to purple, layer one would just
draw lines over propyl. We don't have that here. So we need to make this
layer transparent. How do we do that? In
each highlighted layer, you will see a letter appear
in the right-hand side. By default it's set to N. N stands for normal. Click on it and a drop-down menu will appear with
different options. So you have normal selected, scroll up and pick,
multiply. Multiply. It will make your
layer transparent. Now we can see the
background through it. So now we can add as
many layers as we want between the
background and layer one. And that's where most of
our coloring will happen. If you want to see the lines. If you want to cover
some of the lines, then obviously create
layers that you place above this layer
with original drawing. Here are some fun things you
can do with backgrounds. Obviously, I can just
set it to a solid color, but I can also import yet another image for my
background texture. So what I like to
do is I like to either paint separately in separate document or upload
backgrounds that are like to add another
file to our document. Go up here to the Actions icon, click on Add, and
select, Insert Photo. Once again, you need to already have the photo that you
want in your photo album. It's going to come in very
small, a pinch movement. You can make this layer bigger. But now this very
nice wood texture is above my layer with
the CAD drawing. So what I do, I grab it and I drag it below where I want it. Just drag and drop. And you can see the cat. Once again, you can only see the cat line art work because
we made it transparent. We made it transparent
by choosing multiply. So that looks very cool to me. That already looks like a
wood burn or something. Let's add some color first, make sure to create a new level between your background color, or in this case,
my distorted wood background that I imported
and your line drawing. All of our painting is going
to be done in this range. I want to start by adding this dark fuchsia color to
the wallpaper behind the cat. So I'm going to select
a dark fuchsia color. And this time instead of
using the bucket tool, I'm going to use a paintbrush. In artistic, this terribly is one of my favorite
brushes to use. Remember that when
using brushes, you have your two
sliders on the left. The one on the top controls
the size of the brush, and the one on the bottom
controls the opacity. So I like to use very wide messy brushes set to very low opacity
for my background washes. And I'm just going
to start painting. Keep adding color until you
get the desired effect. Now we need to remove all of
the axis paint than we have. So pick an eraser, clicking on the
eraser tool up here, you still have your two sliders. Just like on the brush menu. You can click on the
eraser menu and you will have a whole bunch of
different eraser options. I'm going to pick this one, set it to the size that I like, and just remove all the
excess paint so that only the area that I
want painted is covered. So this is the second method
of filling in certain areas. Instead of using
the bucket tool, we're going to paint this area.
5. Shape coloring: There is a third
method of filling in a certain area
of the painting. Go back to your
squiggly line icon. Again, have free hand
and color fill selected. But this time, instead
of dragging your color into the area that you want
to fill in with color. We're going to
outline that area. So with freehand and
color fill selected, proceed to outline the area
that you want to fill. This doesn't have to be
one continuous movement. You can take as long as you
want outlining an area. You can even go back
if you mess up, tap on the screen
with your two fingers and it will take
you a step back, then another step back, as many steps back as you
need until you get it right. But it does have to be a
continuous line and it does need to come in to the
point where you started. That point actually appears on the screen as a big
fat gray point. Make sure to bring
your pencil outline all the way to that
dot and click on it. Once you click on it,
the area will auto-fill, and it will auto fill with whatever color you
have selected. Apparently, I had some
dirty green selected. That's not the color that I
wanted for the background is. So before I do anything else, I'm going to click on my color wheel menu and change the color to the
purple that I want. That's a really nice
and precise way of filling in certain areas. I like it, but honestly
I rarely use it. I use method to the painting
and erasing method. So I'm gonna delete this
layer and we're going to continue working with
my painting layers.
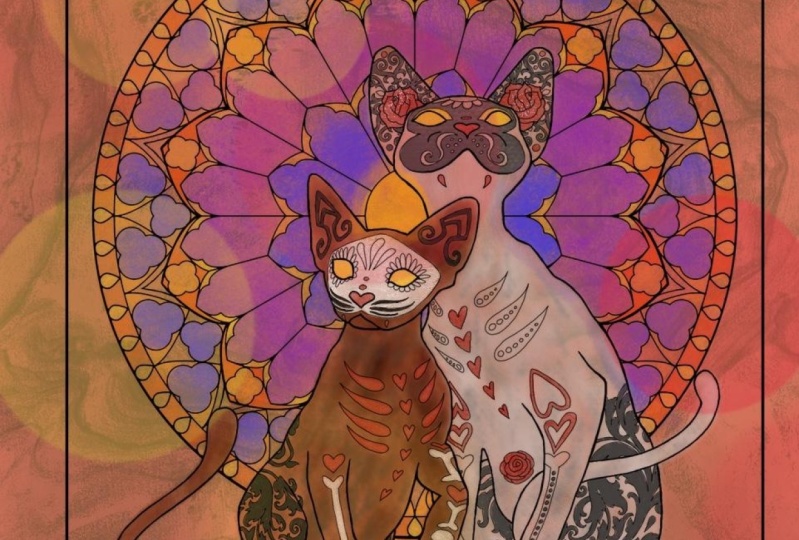
6. Multi-layer painting: Now I've already
completed this coloring once so that I can show
you the finished product. I want you to see how many layers I have
in this composition. It's not crazy of done much
more complicated pieces. This is actually a pretty
straightforward one, was just a few layers, very, very simple color schemes, and just a few effects. So let's go through
these layers together so I can demonstrate
certain effects, like for glitter and book. So what I'm doing is I'm
just going down the menu and I'm unclicking all
of these layers, making them invisible,
they're still there. I'm not deleting them. I'm just unchecking them
and now they are invisible. I'm going to keep only
the outline layer and some of the background. But now let's say you
got to this stage. You have your background, you have your frame. You want to start
working on the fur. I have the perfect brush for it. First, create a new layer. You don't want to
mix your layers. Zoom into the area that
you want to paint. Pick a color and click
on the Brush icon. Still under the
Artistic section. Scroll down or up until you get to this brush
called leather wood. Remember to adjust your
brush size and opacity and start making little
brushy effect. I love this tool because it
already looks so much like for once you start playing with opacity and
size of the brush, you can control the amount
of further texture for, especially with the
opacity set to low once the brush passes over
the previous brushstrokes, you get these really
beautiful overlaps. It's a really, really fun tool if you like
coloring animals. You have this brush a shot. So go ahead and add a whole
bunch of this brown fur. And let's make it look
a little bit softer. In the top menu, click on the magic wand icon. You will have an option
for Gaussian blur. Click on that. Now you can work with your
finger or with a stylist. That's always an
option in Procreate. Some things I tend to
do with my finger, like obviously the
double-tap to do undo or the pinch
to zoom in and out. This is another one
that I tend to do with my finger because
I feel like I have a little bit more control than with a stylus as
you wish lighting, you will see a percentage
bar appear on the top. So you'll know the
exact percentage of the Gaussian blurs
that you're getting. I want just a tiny, tiny amount of blur. So maybe two or 3% on this. That's a really nice trick for making things look
a little bit softer, a little bit more diffused. It will come in handy for skin tones and just generally
more realistic effects. Let's add some more layers
of fur with the same brush, maybe a little bit
lighter this time. Gaussian blur it again. And we'll arrive at
something like this. So you can continue
working on the for adding new layers
and new colors. Play with the texture. Play with a blur function. Once you have several
layers of color of firm, combine the layers, make sure to put all the layers
in the same group, then flattened the group. Reference my previous video. If you miss how to do that. Once those layers of flattened, you can go back to
your Eraser tool and erase all the axis ink. With that all done, we now have this beautiful soft cat for now, there's one more
thing we can do on this further to make
it stand out against the background is to give it
a little bit of an outline, a little bit of a rim light. So to do that,
create a new layer. Pick a nice light color. I'm gonna go with a light
orange, any brush really, but I like to pick
something with texture, set it to a relatively
small size, and just loosely coarsely
go over the outline. Don't sweat the details on this. Remember how to use the
Gaussian blur function. Go to your menu, go to Gaussian
Blur and drag your finger across the screen until you blur this to look like
a little glow effect. Now take your eraser
tool and take away everything that's
outside the firm. And that's the
effect that you get. Again, very cool really makes
the character stand out. Now let's do the skull. The skull. I like to use this
brush again in artistic called old
beach that looks kind of like wood or whitewashed
would old driftwood. That kind of a texture. I really like it. It's an excellent
effect for things that you don't want to be flawless. Skulls or not. I want this goal to have
a little bit of texture, a little bit of distortion. So I'm just going to fill it in with a slightly off-white color by hand until I arrive
at something like this.
7. Special effects: That same paint
brush that I used on the background is
excellent for roses. Again, notice how freely
I'm placing my effect. I'm not at all using
my bucket tool. I'm not at all
sweating the outlines. I would rather add
these brushy, smudgy, very natural effects layer after layer and remove
the excess paint. Now let's add some glitter
effects in the brush menu. Go down to luminance, pick the one called glimmer, and use it like a
regular brush size, opacity, color, and just
place your glimmer effect. Very cool, very simple. You can easily change the
look of your presentation.
8. Bokeh: That looks great. The glitter on the
roses kind of gave this page this Day of the Dead look. I really like it. I think there's just, there's
still something missing. So I'm going to add a
little bit of a bulk of blur for that depth
and that light plate that I originally
envisioned still in illuminance brushes.
Select bokeh. I like making Bokeh
effects in light orange, and I like to make
them rather large. Just tap on the screen
and you will get beautiful random bokeh effect. The cool thing about
Procreate brushes is that you do get that
element of randomness, your glimmer effects,
your Bokeh effects, they're not going to be copy
paste elements that will actually have a
natural distribution of these light effects.
9. View, save, export: Of course, you can always
go to video and time-lapse replay and watch all the steps that you've taken to
create this piece. That's one of my favorite
functions in Procreate. It's just an instant
time-lapse of all your steps. It looks very impressive. You can save it and share
it with your friends. They will be most impressed. To save your time-lapse, simply go down to export
time-lapse video. Click on it. And you have an option to save the full length time-lapse
or the thirty-seconds one, I like to save the
full length once, once you click that, it will automatically
save to your photo album. You can also save the
finished image itself. To save just a JPEG
picture, click on Share. Go down the menu to select the type of image that
you want it to be. I usually save it in JPEG form. Pick where you want it to go. I say Save Image and that goes automatically to my photo
album and you're done. I hope you enjoyed the show. I hope you will
give this a shot. If you are a colorist, this will be life-changing for you and let me know what you
thought in the comments. I'm always looking
for feedback and I'm also looking for new ideas. If you have specific
questions about Procreate, don't hesitate to ask and
I'll make a video about it. Thanks for watching. I love you guys. Bye.
 Lisa Mitrokhin, Live life in full color.