Transcripts
1. Introduction and Supplies You Will Need: Hi, friends. How are you? I hope you're having
a great day today. I'm excited about sharing
this project with you. This is a drawing
and painting project that I designed,
especially for kids. You do not need to have any drawing or painting experience at all to be successful
with this project. I will take you step by step through all of the steps
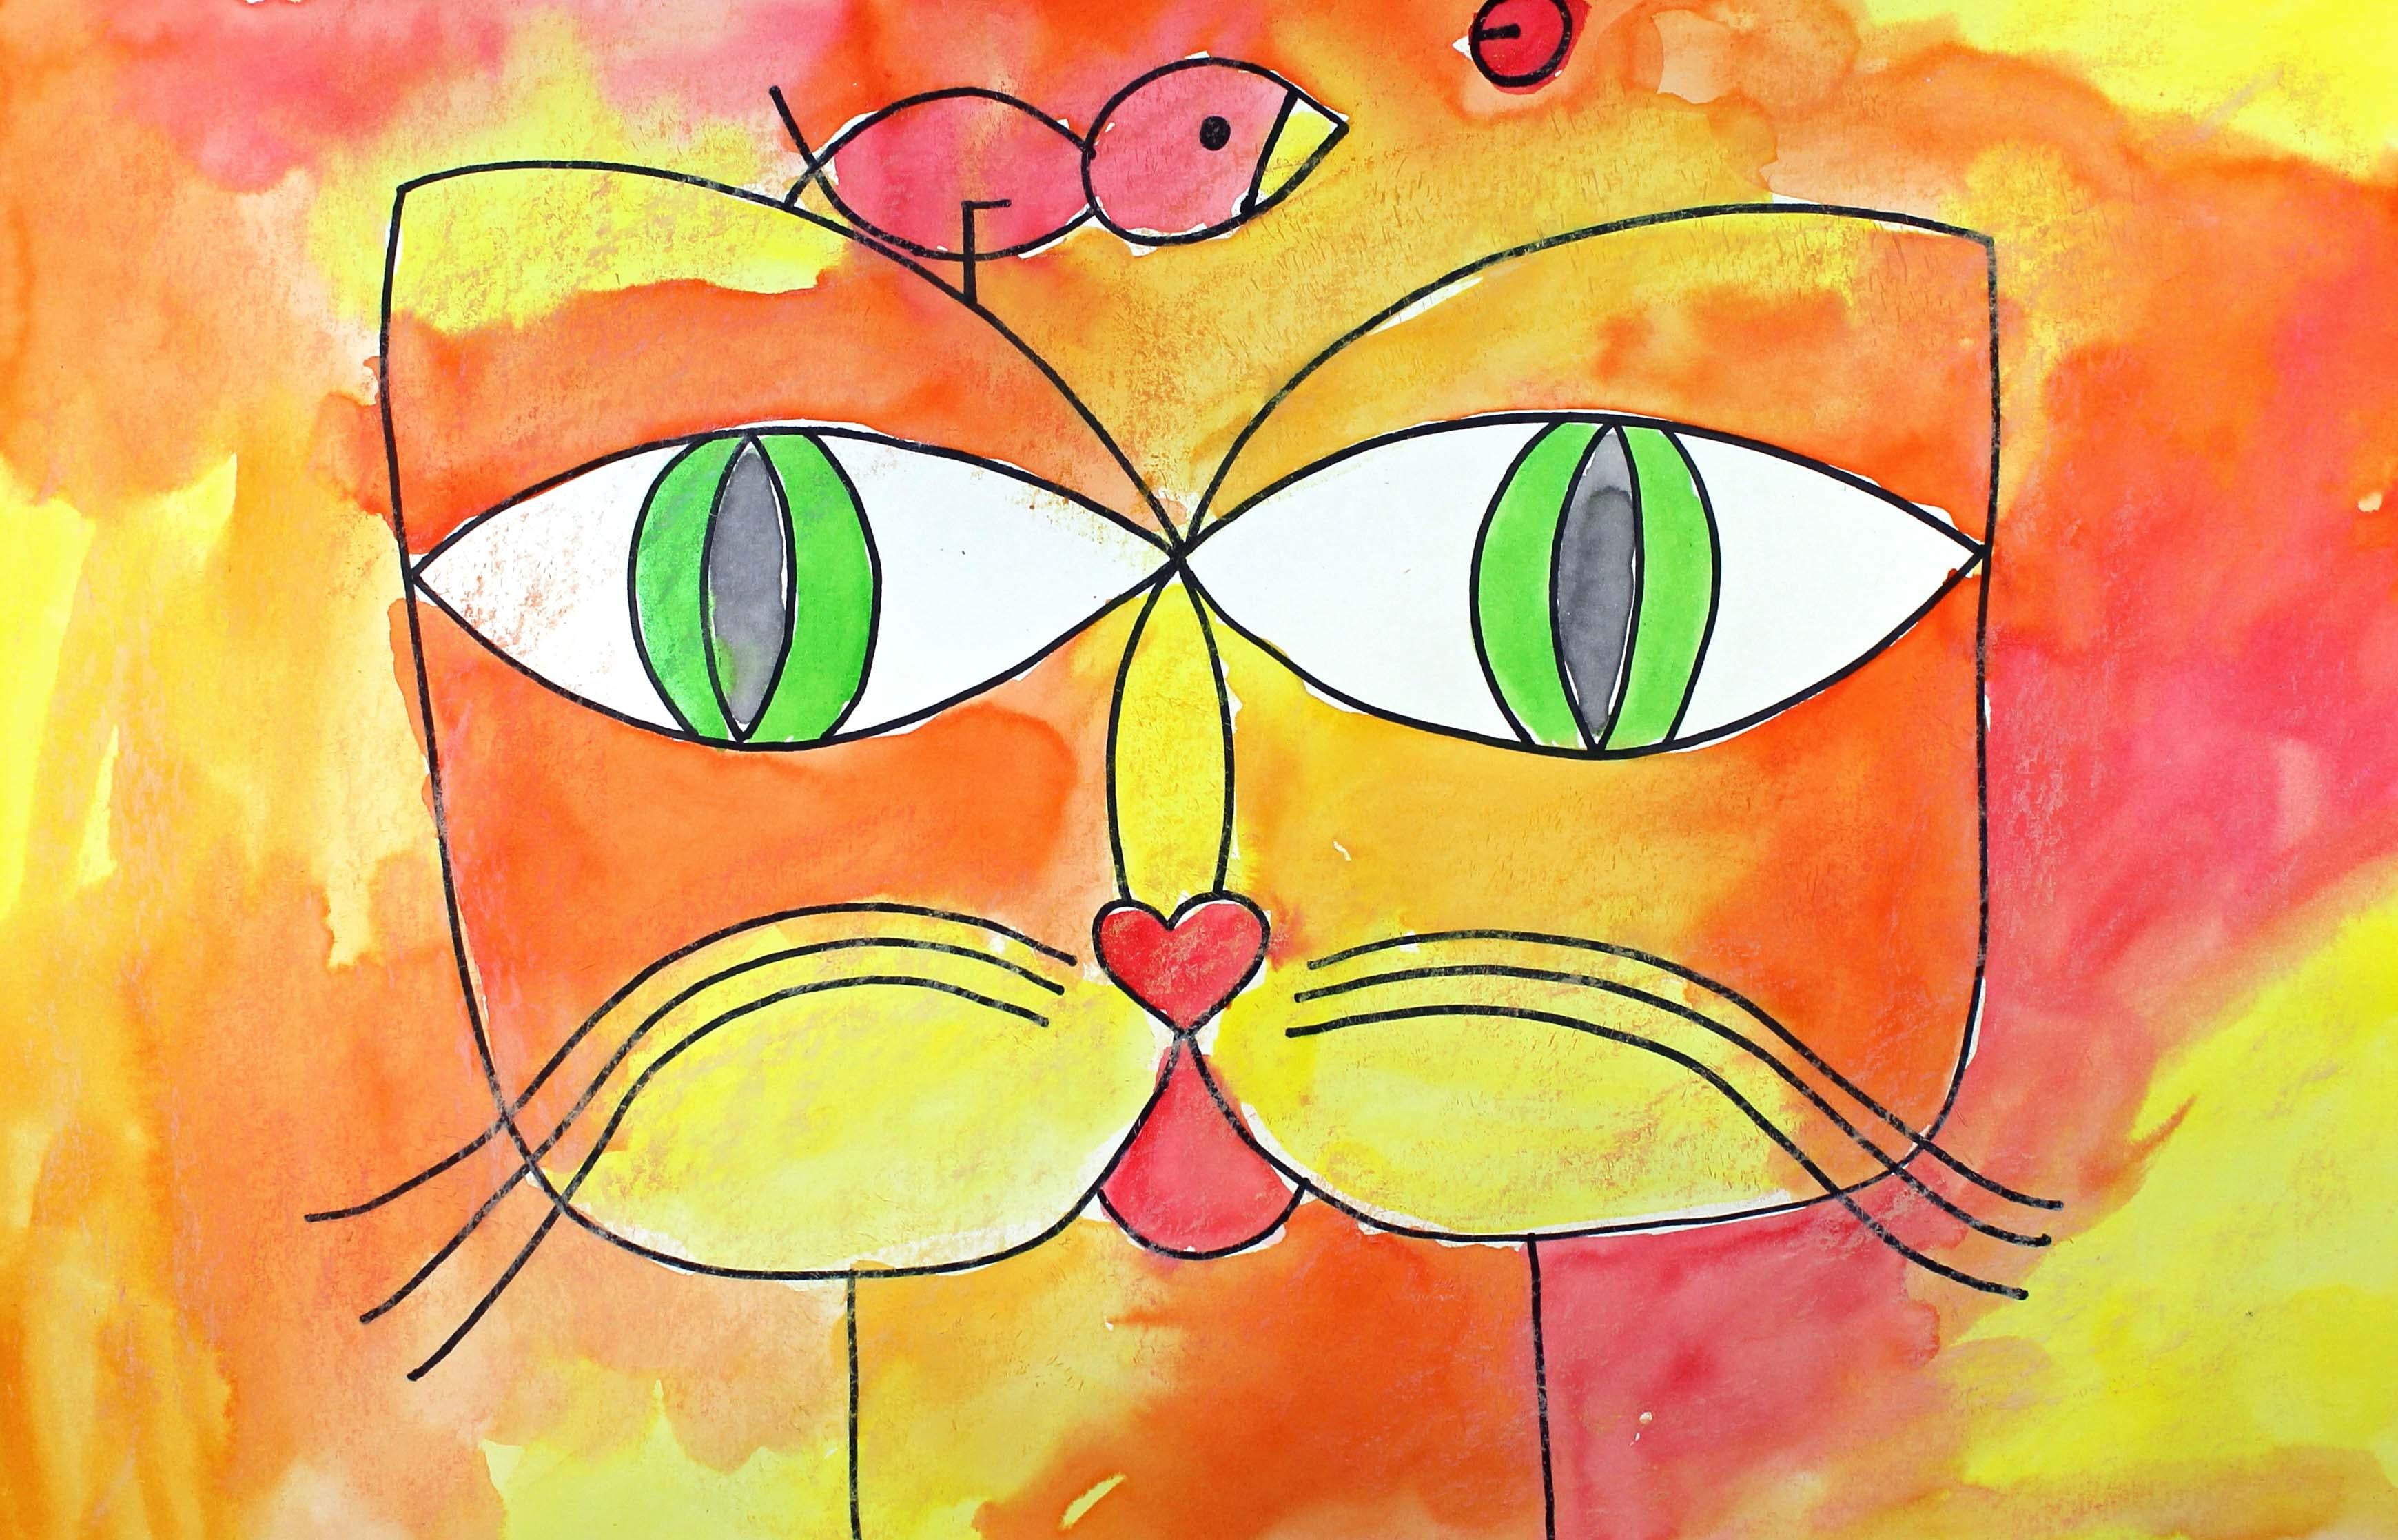
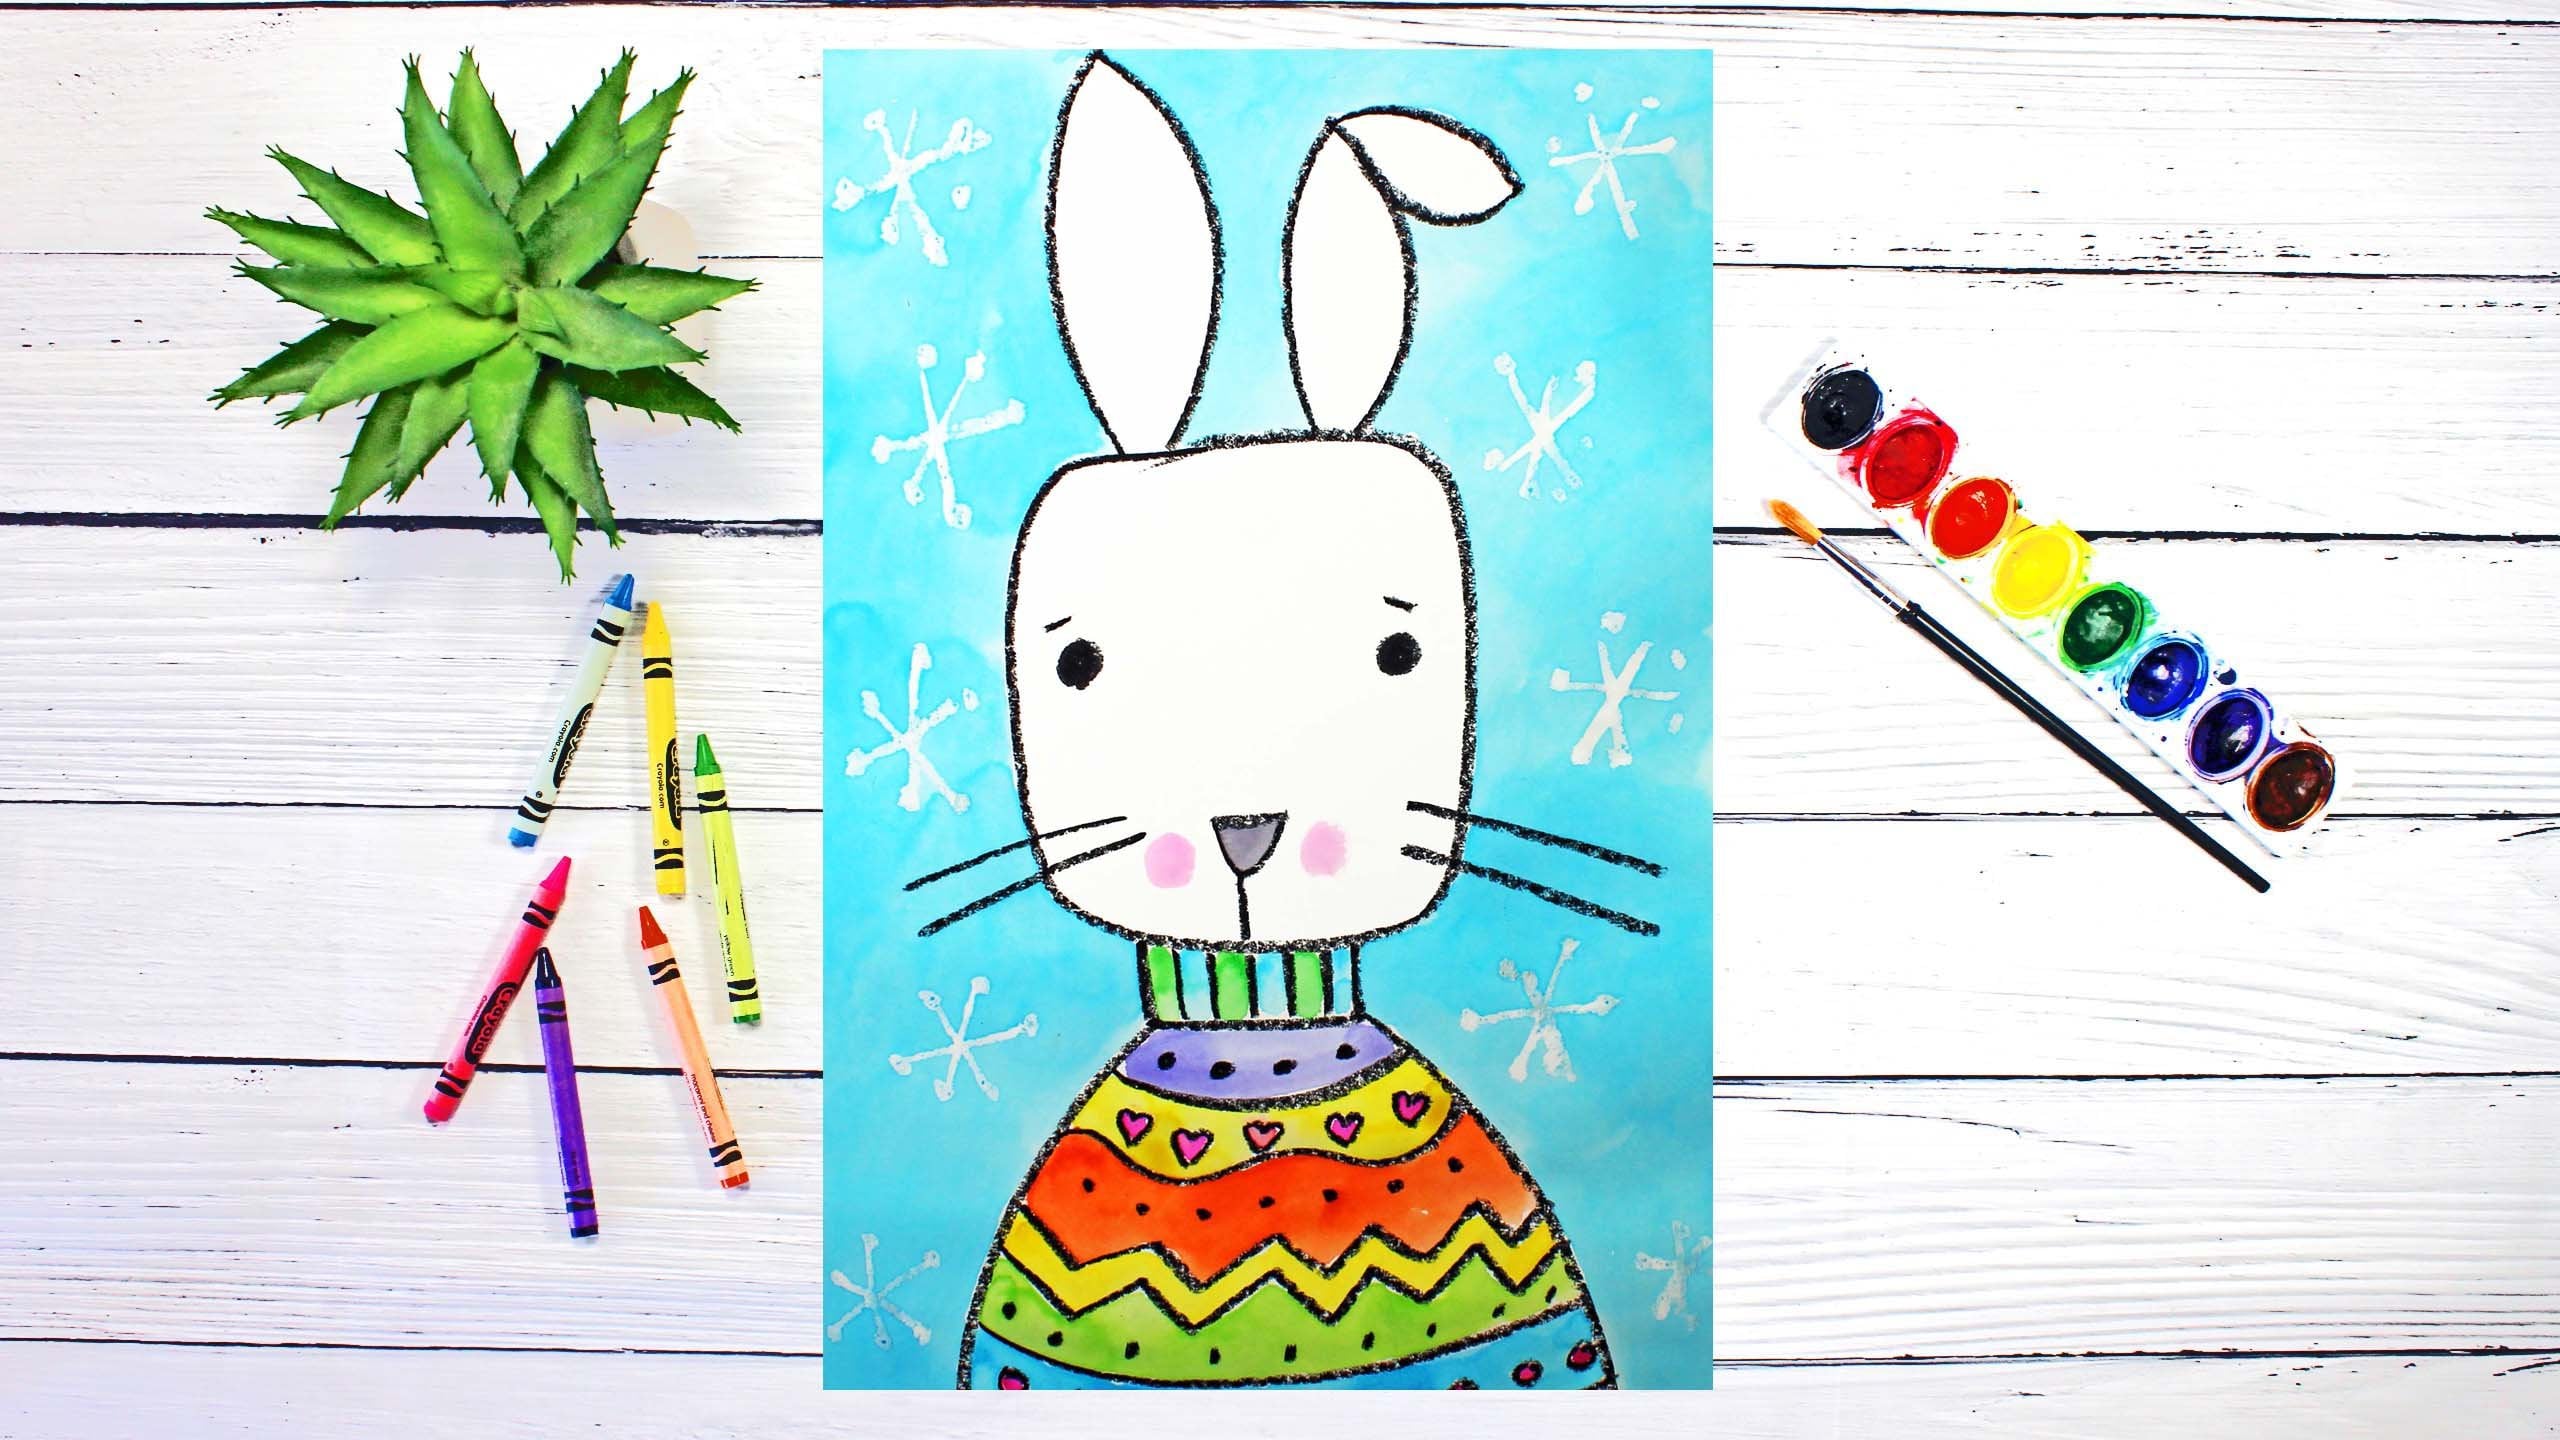
that you need to take. Today, we are going to
be creating this cat and bird that is
inspired by Paul Clay. We are going to be using
some watercolor paints, and we are going to draw a cat and a bird
with some marker. Let's go over the supplies and the materials that you will
need for this project. The first thing
that you'll need is a piece of watercolor paper. You will need some
watercolor paints. You will need a paintbrush. And a cup or a bowl
with clean water. You will need a
permanent marker. Permanent means that if you
add water to the marker, the ink will not run around. You will need a
white oil pastel, and you will need a paper towel. So go ahead and gather all of those supplies and materials, and I'll see you back
here in the next video.
2. Step 1: Draw a Cat and Bird: In this step, we will draw
our cat and bird design. So let's get started. The first thing that
we're going to do is pick up our marker and make sure that you
put the cap on the back of your marker
so it doesn't get lost. And we're going to find the
middle of our piece of paper. So my middle of my piece of paper is approximately
right here. I'm going to go up just a
little bit from that point, and I'm going to make a dot. This will be a guide dot
for our eyes and our nose. So what we're going to
do is start at this dot, and we're going to make a
large eye coming out this way, and then a large eye
coming out this way. We want to make sure
that the eyes are really big and wide,
not very small. The eyes will determine how
large our face of our cat is. So we want to make sure
they're really nice and wide. Let me show you what I mean. So the first thing
that we're going to do is start on our dot. And make a curve
line about that big. That's pretty big, isn't it? But we want it to be
very, very large. And then I'm going to do the same thing
over on this side, about the same size. If they're not exactly
the same size, that's okay. No problem. Now we're going to
go back to that dot, and we're going to
make another line that comes down like this, a curve line, and
we're going to meet up where that first line ended. And then we're going to do
the same thing on this side. Now that we have
our shapes here, we can fill them in with the iris and the
pupil for the cat. So let's start with
this one on the left. We're going to make a curved
line starting at the top and going to the bottom line and then do the same
thing on the other side. And then inside here, we're going to do
the same thing, curve line and
another curve line. So this is the pupil, and then this is the iris. And then we're going to do
the same thing in this shape. Yeah. Alright, now
that we have our eyes, what we're going to
do next is we are going to create our nose, and our nose is going
to come down here. So what we're going to do first so we can have a
little guide for our nose is we'll come down probably about
3 " about this far. That would be about
4.5 or 5 centimeters. And we're going to
make a small heart. This is going to be the
tip of our cat's nose. Now we're going to go
from this initial dot, and we're going to come down to the heart and met it right here. Same thing on the other side. So this is the nose for our cat. Now what we're going to
do is we're going to come back up to the
top and we're going to make the top of the
cat's head and his ears. So let me show you how
we're going to do that. So we're going to start
over here on this side, and we're going to
go up a little bit, probably about 3 ", maybe about 4.5 centimeters, and we're going to come up. And stop about right there. And I just gave myself
a little visual and I want to come about the same
distance with that line. And then I'm going to do the
same thing on this side. If things aren't perfect, you really don't need
to worry about it, especially when you're creating artwork that's inspired by Paul Clay because he likes
things to be not perfect. Okay, now what we're going to
do is we're going to create the side and the bottom
part of our cat's face. So let me show you what
we're going to do. We're going to start here
and come right to that line. And then we're going
to do the same thing on the other side like this. Alright? Now we're
going to come down here and we're going
to make his cheeks, and then we're
going to meet back up at the bottom of this heart. So we're going to come down. Come over, and come back up. And then we're going to do the same thing on the other side. Come down, come over,
and come back up. Now that we have this part, this lower part of
our cat's face, we can add a little
bit of detail. Let's put a little
curve line down here for his little tongue. And then also let's
give him some whiskers. So they're going to be
curve lines that come down. Now, do you see how I just
followed that initial whisker? I followed it along, so it would just be
pretty much parallel. Now I'm going to do the same
thing on the other side. Now that we have our whiskers and our detail for our face, what we're going to do is
move down here to the neck, and we're going to just
make two straight lines coming down from the
bottom of those cheeks. And some of your
necks might be a little bit thinner,
some thicker. This is just where I
chose to put my neck. Now that we have our
cat's face and his neck, what we're going to do
next is we are going to put a bird up here at the top of our piece of paper
on top of our cat's head. So what we're going to do is
we're going to make a bird. I'm going to make a bird
that looks like this. And then if you'd like a
different type of a bird, go ahead and make the
type that you'd like. So I'm going to make
his body right here, coming down this way, and then up this way. It's kind of like
a stylized bird. And then his leg will
come down this way, and it will touch the
top of my cat's head. If you would like your bird to be more in the
center right here, go ahead and put
your bird there, but just make sure
that it's on top of the head of the
cat somewhere. I'm going to give my bird
an eye so he can see, and I might even
put some details right here for his beak. Okay. Now, the last thing that I'm going to do
is I'm going to make a circle because if you look at the painting that
Paul Clay created, there's a circle with a
line in it like this. Okay? Alrighty friends, when we come back
in the next step, we will start
watercolor painting.
3. Step 2: Paint the Design: In this step, we are going
to paint our design. So let's get started. The first thing that we're
going to do is we are going to place a drop or two of water inside
each pan of paint. That way, the paints will
be ready for us to use. They will soften up. They
will dissolve a little bit. So go ahead and take
a moment to do that. Now that our paints
are softening up, let's turn our attention
to our drawing. So Paul Clay used the warm colors mostly
with this artwork. So that's what we're
going to do today. We are going to put a little
bit of green in there, which is one of the cool colors. But for the most
part, we are going to just make sure that we put the warm colors
on our piece of paper. So the warm colors are yellow. Orange, red, and we can
also use some pink. That's a warm color as well. And then Paul Clay like to
use green for the eyes and a little bit of detail in
the outside of the cat. So we will be using
the warm colors today. So what we're going to do
is we're just going to start with our lightest
color, which is yellow, and just put spots of yellow in different places
on your cat's face. So I'm going to put
some yellow here, some yellow down here. And remember, these colors are going to mix together
a little bit. So what that means is
they will run into each other and it will create
more of a dreamy type look. I'm also going to put some yellow and
different splotches on the background because I noticed that Paul Clay did that with his
artwork, as well. Mine my artwork is not going to look exactly like Paul
Clay's, and that's okay. We want your artwork
to look like your artwork and my
artwork to look like mine. Alright. I think I'm
finished with the yellow. Actually, maybe I'll put
some yellow on his nose, and I'm going to
move on to orange. So I'll use my orange. So what I'm going to do
is go ahead and do this. Going to just put the colors
down on the piece of paper, and I am going to encourage my colors to blend
together with each other. So it does create
that dreamy look. Alrighty friends. So now I'm
finished painting my cat, my bird, my background, and my eyes on my cat. The last thing that I'm going
to do is I'm going to paint the pupils on my cat's eyes, in my cat's eyes, and I'm going to
use black for that. It's a watered down black, so it's not super dark. And I'm going to try to
be really careful so it doesn't go into that green. Alrighty friends, I'm
finished painting. We have one more step
for this artwork, and that is going to be to apply a little bit of our
white oil pastel. So what we need to
do first, though, is we need to allow this
painting to dry completely so that we can add our white oil
pastel. So let's do that. I will see you back here
after your painting is dry.
4. Step 3: Apply White Oil Pastel: I in this step, we are going to add some white oil pastel to our painting. And what this will do is it will add a little
bit of texture. We're not going to add a lot of oil pastel just a little bit. So go ahead and make sure that your oil pastel
paper is peeled off. And what we're going
to do is just use the side of the oil pastel like this on our piece of paper. So go ahead and find the side of your oil
pastel and just start rubbing your white oil pastel
around on your painting. It doesn't have to cover
the whole piece of paper, but just rub it
around a little bit. And what this will do is it will add a little bit of texture. Alrighty friends,
I'm finished rubbing the side of my white oil
pastel around on my painting. I think that it looks awesome, and it adds a little
bit more texture. I hope that you had a lot
of fun with this lesson. I will see you next time. And
 Em Winn, Teacher, Art Instructor, Artist