Transcripts
1. Introduction: I've always been making
toys for my kids. And most of them have
created a lot of joy, both for me in making them
and for my kids to play with. In this class, you will learn
how to make wooden toys. I've done two projects
for this class, the 2D bear and their 3D bear. The 2D bear is suitable
for the beginner and the 3D bear is geared towards the more
skilled woodworker. You will be able to
make toys from easy to find materials
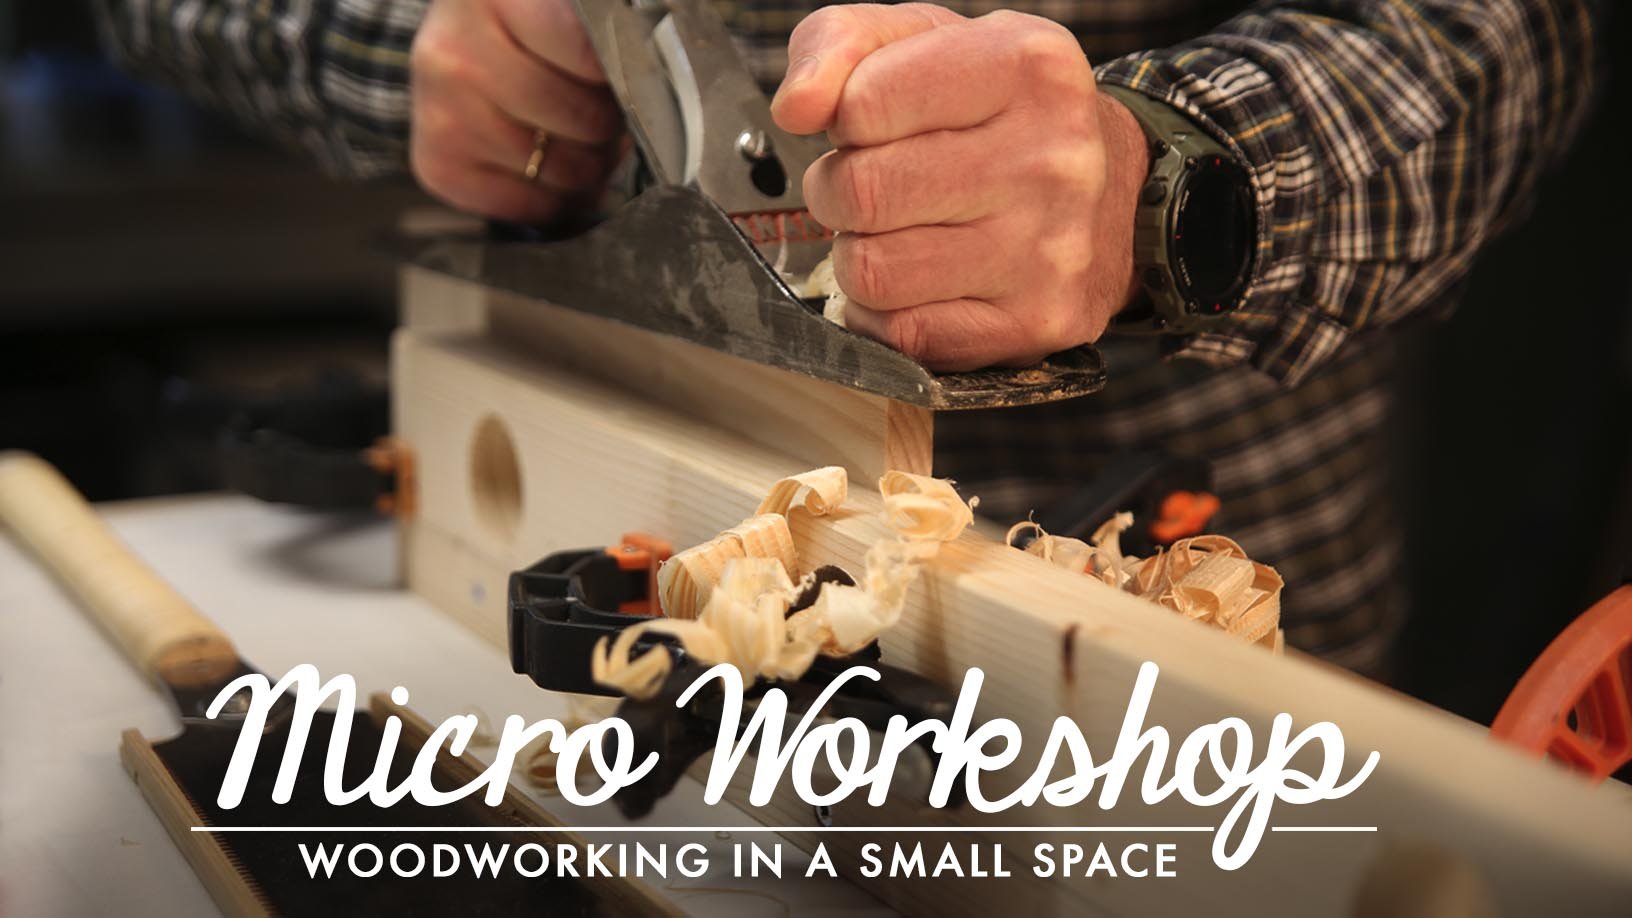
and basic tools. If you've done the
micro workshop class, you have the skills and the setup needed
for this project. If you haven't done the class, I recommend you to do so. My name is Øivind Lie-Jacobsen, and I'm educated as
a graphic designer. But that changed my career ten years ago and started
working as a journalist. I also bought a small farm and moved from the city
to the countryside. The first thing I did was
to realize my big dream, building a workshop in the barn. I've worked for different
magazines and write about cabin life
home improvement and woodworking. Of course.
2. Class Project: Your class project is to
design and make a toy, either 2D or 3D, depending on skills. Look through both projects
before you choose. Your toy may be an animal
figure, a fantasy figure, or maybe some kind of hardware, a car, or a plane for instance. Remember, you are the designer.
3. Design: Start with something
that has a simple shape. It's often easier to add details and expressions in
the painting process. I start with the
inspiration process. Pinterest, for instance, is a place where I
spend a lot of time. Then you need to
make the drawing. I may use an iPad or paper. I start with a bunch of ideas. I'm drawing fast
thumbnail sketches. The more, the better. I pick the best
idea and start to do the final drawing
in full size. Remember, don't make
the toy to small. Big means easier to shape. Close to 200
millimeters is okay. I do all the corrections
and changes at this level. When I'm happy, I'm
putting a fresh sheet or a new layer on the top and
trace the final drawing. If you are going
for the 2D version, you just need a drawing
from the front. In 3D, you will need
both front and side.
4. Tools and materials: The harder the wood, the more durable
your toy will be. At the same time,
if it's too hard, it will be tough to shape. For me. It's much about
what is available. Birch is my preferred wood. It's pretty easy to shape
and it's easy to find. Regardless of the type of wood, the most important
thing for me is that the wood is
of good quality. It needs to be dry, straight, and have as
few knots as possible. A short distance between the growth rings indicates
good quality. You can do both projects with hand tools if you have a jigsaw. I'm also showing you how
to use that kind of tool. A jigsaw is one
of the tools that is suitable for a
small workshop. You can cut tight curves without too much noise and sawdust. When it comes to hand tools, you will need a Japanese Handsaw. I prefer the type with teeth just on one side
and a rounded tip. You will also need a few rasps in different
roughness and shapes. Then chisels. A mallet, pencil, clamps, would glue, spray glue, and paint.
5. The 2D bear: The first version of the
toys is the 2D bear. It's made from 220
millimeter birch boards that are glued together. Since this is 2D, I only need the front drawing. I use spray glue and place
the drawing on my work-piece. With the work piece clamped to
the base, I start sawing. I do a cut for every 10
millimeters from all sides. The cut ends at the
outer line of the drawing. Then it's time to get
the profile right. I start sawing
along the outer line For the top and the bottom, I use a chisel. The next step is to start using the rasps These are the tools
that will give the outer line I
rounded and nice shape. I keep on using the rasps until I have rounded off all the flat areas. I used the saw to make the cuts
at the inside of the arms. Now it's time for sanding. I start with 80 width, then 120, and finish
with 240 grit.
6. The 3D bear: When the 2D beer was
cut from only one side, the 3D version needs to
be cut from two sides. Starting with a drawing, you need to draw the bear from the front and from the side. The whole job can
be done with a hand saw as I did on the 2D bear, but this time I'm going to use a jigsaw to cut the
front silhouette. I made my work piece
from three pieces of wood. Two of them have
been glued together. I need to split into two parts because of the limitation
of the jigsaw blade, it does not cut deep enough to cut the whole piece in one? Therefore, I need to split
the cutting operation in two. I cut the drawing using
my square as a guide. I need to front and two sides in one of the sides
and make a mirror drawing on the flip side. Then I apply spray glue. I clamp them together
and place the sides. These two have to be aligned. Then I cut the paper along the joint between the
single and a double piece. Then I have a thick
and the thin piece. I glue the front drawing each of them before cutting out
the shape with a jigsaw, I need to do several cuts at the front and back with a hand saw. These cuts go down to
the line on the sites. Before firing up the jigsaw, the orbiting
needs to be set to 0. That gives a more precise cut. The workpiece is firmly
clamped to the workbench. I'm not pushing the saw, letting the blade do the
job in his its tempo. Now, it's time to glue
the pieces together. If you have followed my class
or the micro workshop, you have recognized the base. I have made an improvement to make it even more stable with a extra board screwed at the back.
That is needed for what we're going to do
in the following steps. We are talking of knocking
a chisel with a mallet. I do the rough shaping with a chisel. Be sure to always
work with the grain. If you use the chisel
against the grain, big wood chunks will tear off. Using the chisel with the grain, you are getting
complete control. The next step is to
pick up the rasps. These are the tools I use to give the toy the right shape. I keep on using the rasps until I have rounded off all the flat areas. Now it's time for
some serious sanding. I start with 80 grit , then 120, and
finish with 240 grits. I cut the paper into strips. Then it's easier to follow
the shape when sanding.
7. Paint and structure: I use non-toxic paint. I have a white base and the primary colors
to get the exact tone. Before painting, I've
done a lot of testing on the colors, structures,
and expressions. Getting a smooth surface
is all about preparation. I start with a coat of primer. Then, when dry I sand the surface
smooth with 240 grit paper. I brush off all the dust. Then I wipe off with some alcohol on a clothe
to get rid of the fine dust. I'm filling all the bumps
and scratches with putty. When dry, it's time for sanding and wiping
off the dust again. Now, our bear is
ready for some color. I put on three coats of paint between every coat I sand and wipe. The 2D bear is getting a painted fur. When the fur is dry, Im putting a
face on my bear. For me, this is the hard part. I'm not too familiar
with brushes. Even if I did a lot of testing. This took a few rounds
of doing and undoing. If you're not satisfied, there is an undo. Not as easy as on your computer. You need to sand and put
on a coat of base color. Using quality brushes
is a success factor. I decided to give the 3D bear a structure instead
of a painted fur. The job, required, a carving
tool with a V shape, also called a V-tool I wanted the direction
of the hair to go from the face
and out. To help. I made help lines with a pencil. To avoid stubbing my
beer in the cheek. I made protection from a
few layers of masking tape. After putting on the face, I needed to do some
retouching with the base color.
8. Final words: This method can be applied
to all kinds of figures, classic wooden figures,
and all sorts of toys. Also details on a
piece of furniture. Since we're making toys, I need to say two
words about safety. Even if there are no
tiny parts on the toy, small pieces can come off and cause
a risk of choking. When using paint, go for
the non-toxic versions. If you're using power tools, read the manual, especially
the part about safety. Thank you so much for
joining my class. I hope you have
enjoyed yourself. And that you have ended up with toys
in all shapes and colors. Please show me your
work along the way. Post your projects
and ask questions. Press follow and new classes with new projects
will come to you.
 Oivind Lie-Jacobsen