Transcripts
1. Welcome to this beginner course!: There's an experience that's hard to explain that
comes with seeing a laser cutter creating
something that you designed with precision. What makes it even
more incredible are the updated
features that make it easy to take something like this photograph and engrave
it onto a piece of wood, or this hand-drawn
mandala and turn it into a custom jigsaw puzzle. A side from designing and
making flat products, we can also design a
product in parts and pieces that get assembled
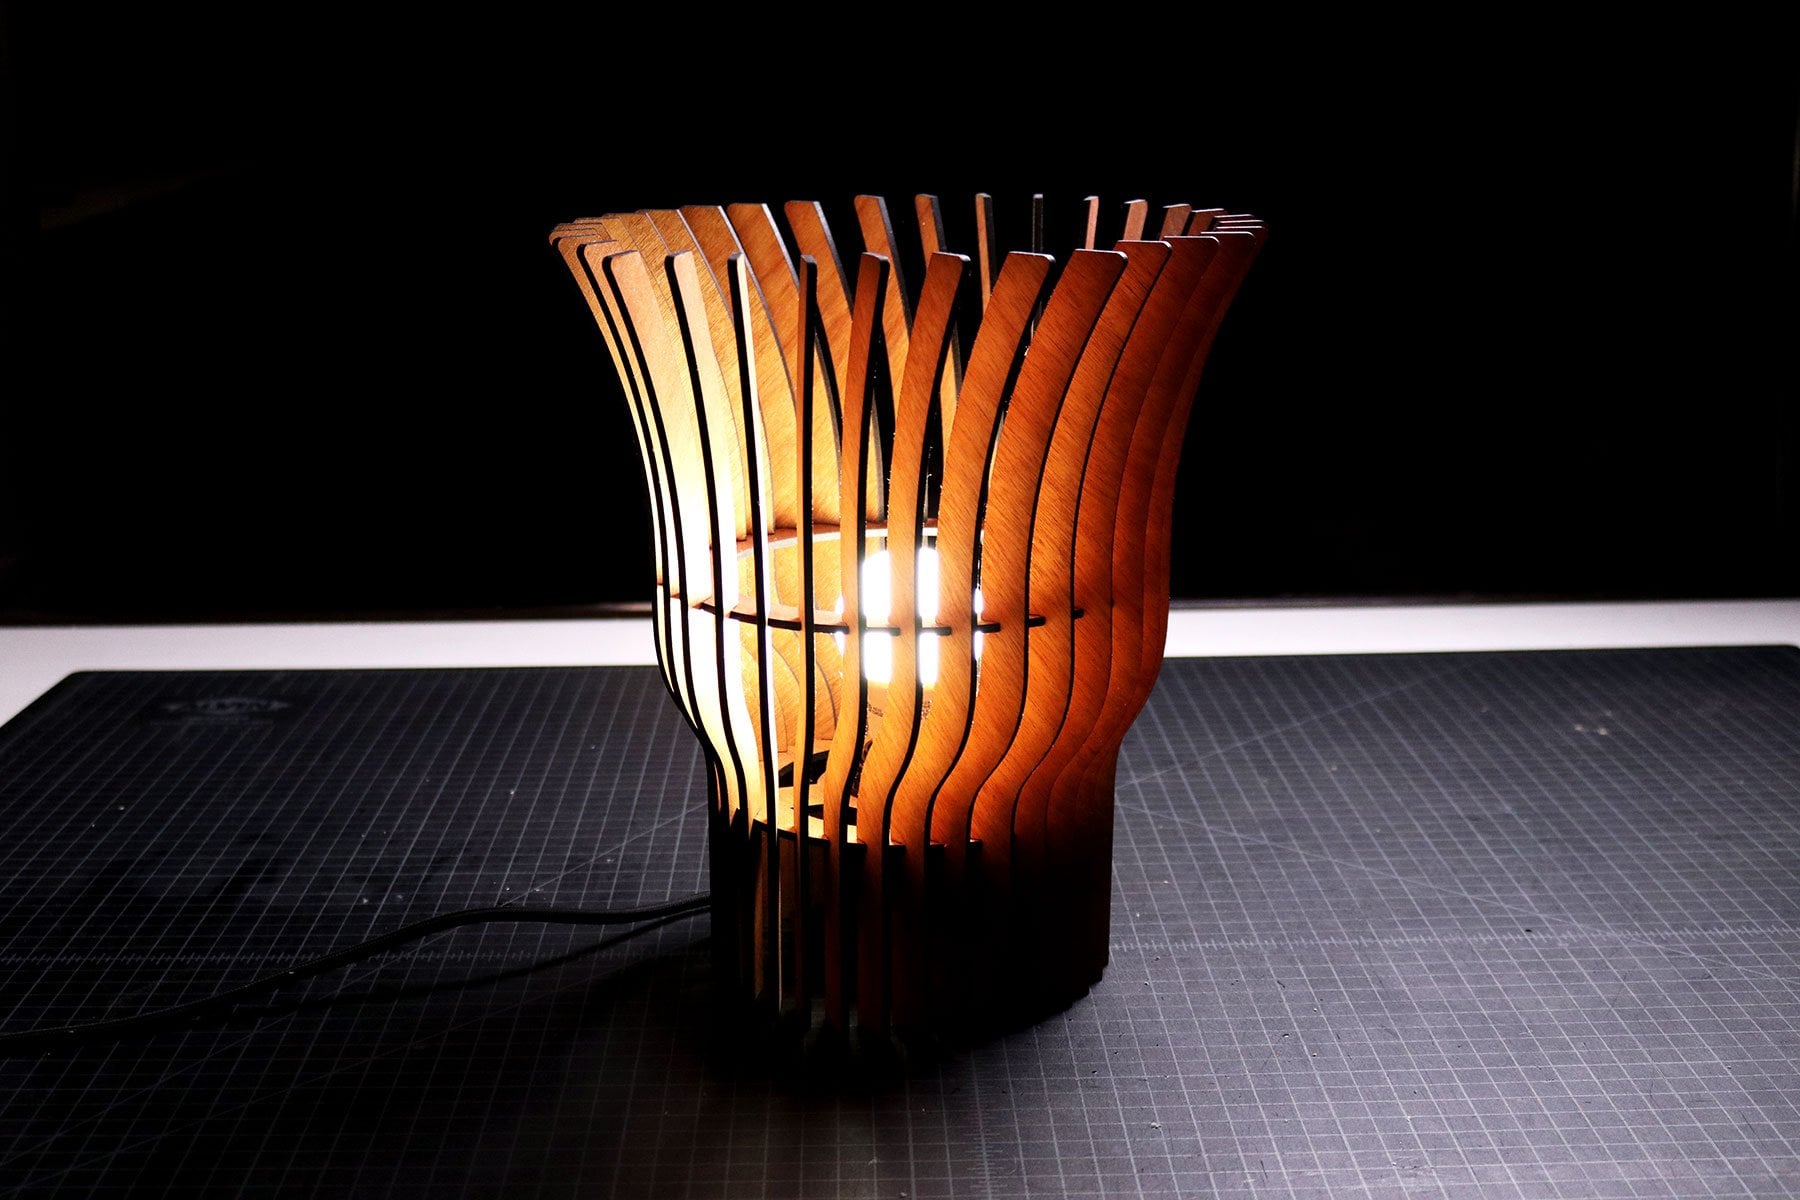
into furniture, like this side table, or intricate light fixtures
like this table lamp. Hey there, I'm Tim
Ung, an architect, and your instructor for this introductory level
course to laser cutting. I've been using a laser
cutter since 2010, and I have a YouTube
channel where I share my process of designing and
making physical products, and some inspiring
architecture projects. I'll be going over
common things that you need to know
about laser cutting, show you how you can create
custom products of your own at three different
difficulty levels, and also show you example
projects along the way. By the end of this course, you'll have a better
understanding of how laser cutters work, and how you can design custom products made
by a laser cutter. As you go through this course, remember to check out the
document that I put together in the resources
section to help you on your laser-cutting
journey. Let's get started.
2. What Laser Cutter Should You Get?: If you already have
a laser cutter, but you are new to this craft, you can skip this
lesson and move on to the next one but it's a
good primer where I'll be going over some of the most popular laser cutters out there and resources to get you
started on this journey. If you're a beginner and this is your first time designing
and cutting anything, I recommend getting a
Glowforge laser cutter. When you get a Glowforge, it actually comes
fully assembled and ready to plug into
an outlet and use. You'll need to have a window nearby so you can vent outside, but if you don't have a place to vent the fumes and smoke, you can also get
their air filter like if you live in an
apartment or a condo. Just keep in mind that the
air filter is as loud as a shop vacuum. It tends to fill up quickly and the cartridge needs
to be replaced. The more frequently you cut, the more you probably
will need to replace it. I always recommend Glowforge to beginners because
if their intuitive online app and
strong community on both Facebook and
their own forums. If you plan to use their
proof grade materials, their online app has cut, score, and engraved settings that the
camera that's onboard will actually scan automatically and identify the type of
material you're using, as well as the settings
that are right for it. If you don't have a
laser cutter yet, I'll share a link in
a document that I put in the resources
section of this class that'll get you a discount of up to $500 off of
a Glowforge pro. Once you get to a
point where you're comfortable in laser
cutting projects and you know that you wanted to do it as a small business
or a side hustle, I recommend upgrading to a stronger and more
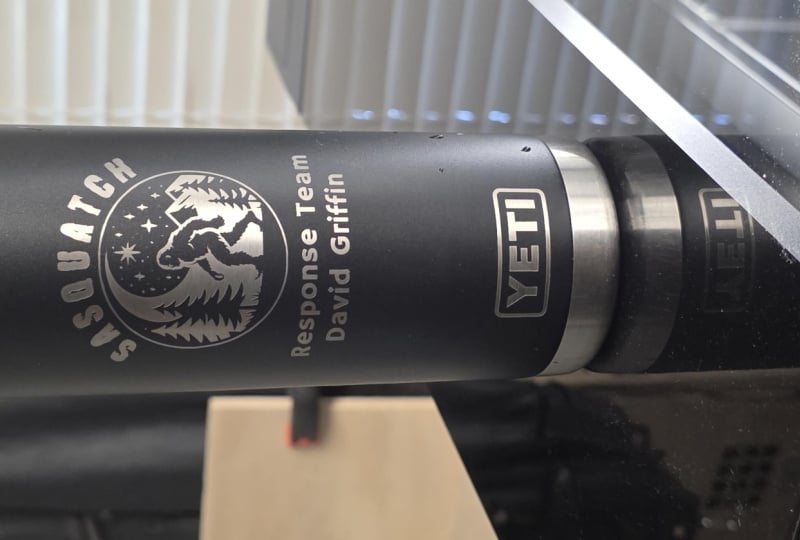
durable laser-cutter like an Aeon Mira, Trotec, Boss, Ometech, and others. These laser cutters cost
a little bit more money, but they're worth it
because of their power, speed, and optional accessories
for cups and bottles. When you get past this
level of laser cutters, then you're probably
looking at something more professional and custom
to your business. That's why you've done
something wonderful and you can look back
at this course and say, "Wow, I'm so grateful to that
Tim Ung guy on Skillshare." Let's move on to
the next lesson, which is understanding power
and speed for laser cutting.
3. How does Power and Speed Work?: The most essential part
of laser cutting is understanding how power and
speed are used to engrave, score, and cut a project. At its most basic level, more power means that the laser is going to
have a stronger beam, which gives it the ability to cut through thicker materials. Depending on the type of
laser cutter that you have, the amount of power
is going to vary. The more watts a laser cutter
is capable of handling, the more powerful the
beam is going to be and the more materials it's going to be able to cut through. For this course, we'll focus on the type of
laser cutter that most hobbyists and crafts people will be able to afford and use, which is a 40 or
a 45 watt laser. Most of these laser
cutters will be able to cut through a
quarter-inch thick piece of wood if it's running at full power and at a
slightly slower speed. The speed that the laser is moving across a
material determines how much time the
laser is going to spend in that specific area. The slower the speed, the more the laser
will be able to cut that specific area that it's
in and the faster the speed, the lesser the
laser's going to cut. Here's what a test
material looks like where I was
trying to figure out the right setting for a piece of leather
that I was cutting. This is helpful to
know for cutting and engraving because
the faster we can get the laser to
move while achieving the cut or the engraved
that we're looking for, the more time we can save on a project while
minimizing the amount of burns and scorches from too much power or
too little speed. When you get the hang of how deep you want the laser to cut a material and you know the speed settings
that you want to use, you can start getting
into scoring materials. Scoring is when a laser cuts through the
surface of a material, but it stops before it
cuts all the way through. Some materials like cardboard
and chip board can be scorched that it's easier to fold the material
along the line. In this lesson, you just
learned about how the power and speed setting of a laser
affects the ability to engrave, score, and cut a material. The higher the power, the more the laser can cut. The lower the speed, the more time the
laser will spend cutting through a specific area. Let's talk about materials
for laser cutting.
4. Basics of Materials: Most manufacturers will
give you a list of common materials and settings for cutting, scoring,
and engraving. In some cases, you'll
need to figure out what works best for the material
that you want to use. In this lesson, I'll
share information about common materials,
uncommon ones, and how you can figure
out the right settings for a specific one
that you want to use. First, let's talk about the unsafe materials
for laser cutting. As exciting as it
might seem to have the power of a laser cutter
at the tips of your fingers, it's important to know which ones you need to stay away from because they can
release gases that are actually harmful to your
health and the machine. If you ever have any
doubts about the material, my suggestion is, just stay away from using
it so that you protect yourself and your family
from potential harm. Some examples of
unsafe materials are plastics like PVC and ABS, which will emit a
harmful chlorine gas that can really
affect your health. Full leather because it often contains traces of
harmful plastic, chrome-tanned leather due to the chromium that's in
the tanning process being released as you cut the leather and
carbon-coated fiber. If there are any other
materials that you find in a scrap pile somewhere and you don't know if
its laser is safe, don't risk putting it
into your laser cutter. Now, let's briefly talk about common laser
cutting materials. The most popular
three materials that many laser cutter owners use are wood, acrylic, and paper, I'm starting to see more people using rubber for stamp making and vegetable-tanned leather for products and really
awesome outfits. In some cases, manufacturers will have their own
software or app with recommended settings that
work for specific materials which you can use
as a basis to start from start adjusting
the power and speed based on what you learned from your first few
cuts and engraves. Every material will have a slight variation from
the manufacturing process, so the same settings
might not always work with a new batch of
the same material. One of the questions that I
see the most about plywood, which is probably the
most popular material to use for laser cutting, is why doesn't my laser cutter cut through my plywood
in some areas, but it goes all the way
through and others? This usually happens because plywood comes with two
different core types, MDF and layered ply. MDF has a consistent
density throughout, which means that the
laser is going to cut through every
part of it the same. Layered ply has inconsistencies because of the
fibers of the wood, the amount of glue
that was used, and whether the layers
were full or had voids where pieces of
wood were missing. What worked in one area of layered ply might not
work in the other. You can tell if it's layered ply by looking at the side of the sheet of wood
where you'll find a pattern of dark
and light layers. If it's an MDF core, you'll see one solid
color throughout where the thin sheet of
wood veneer on both sides. Now let's shift over to some of the uncommon materials
that are fun to try along with some of the things to consider
when you're using them. First, there's
vegetable-tanned leather, which is safe to use in a laser because the
tanning process involves natural materials
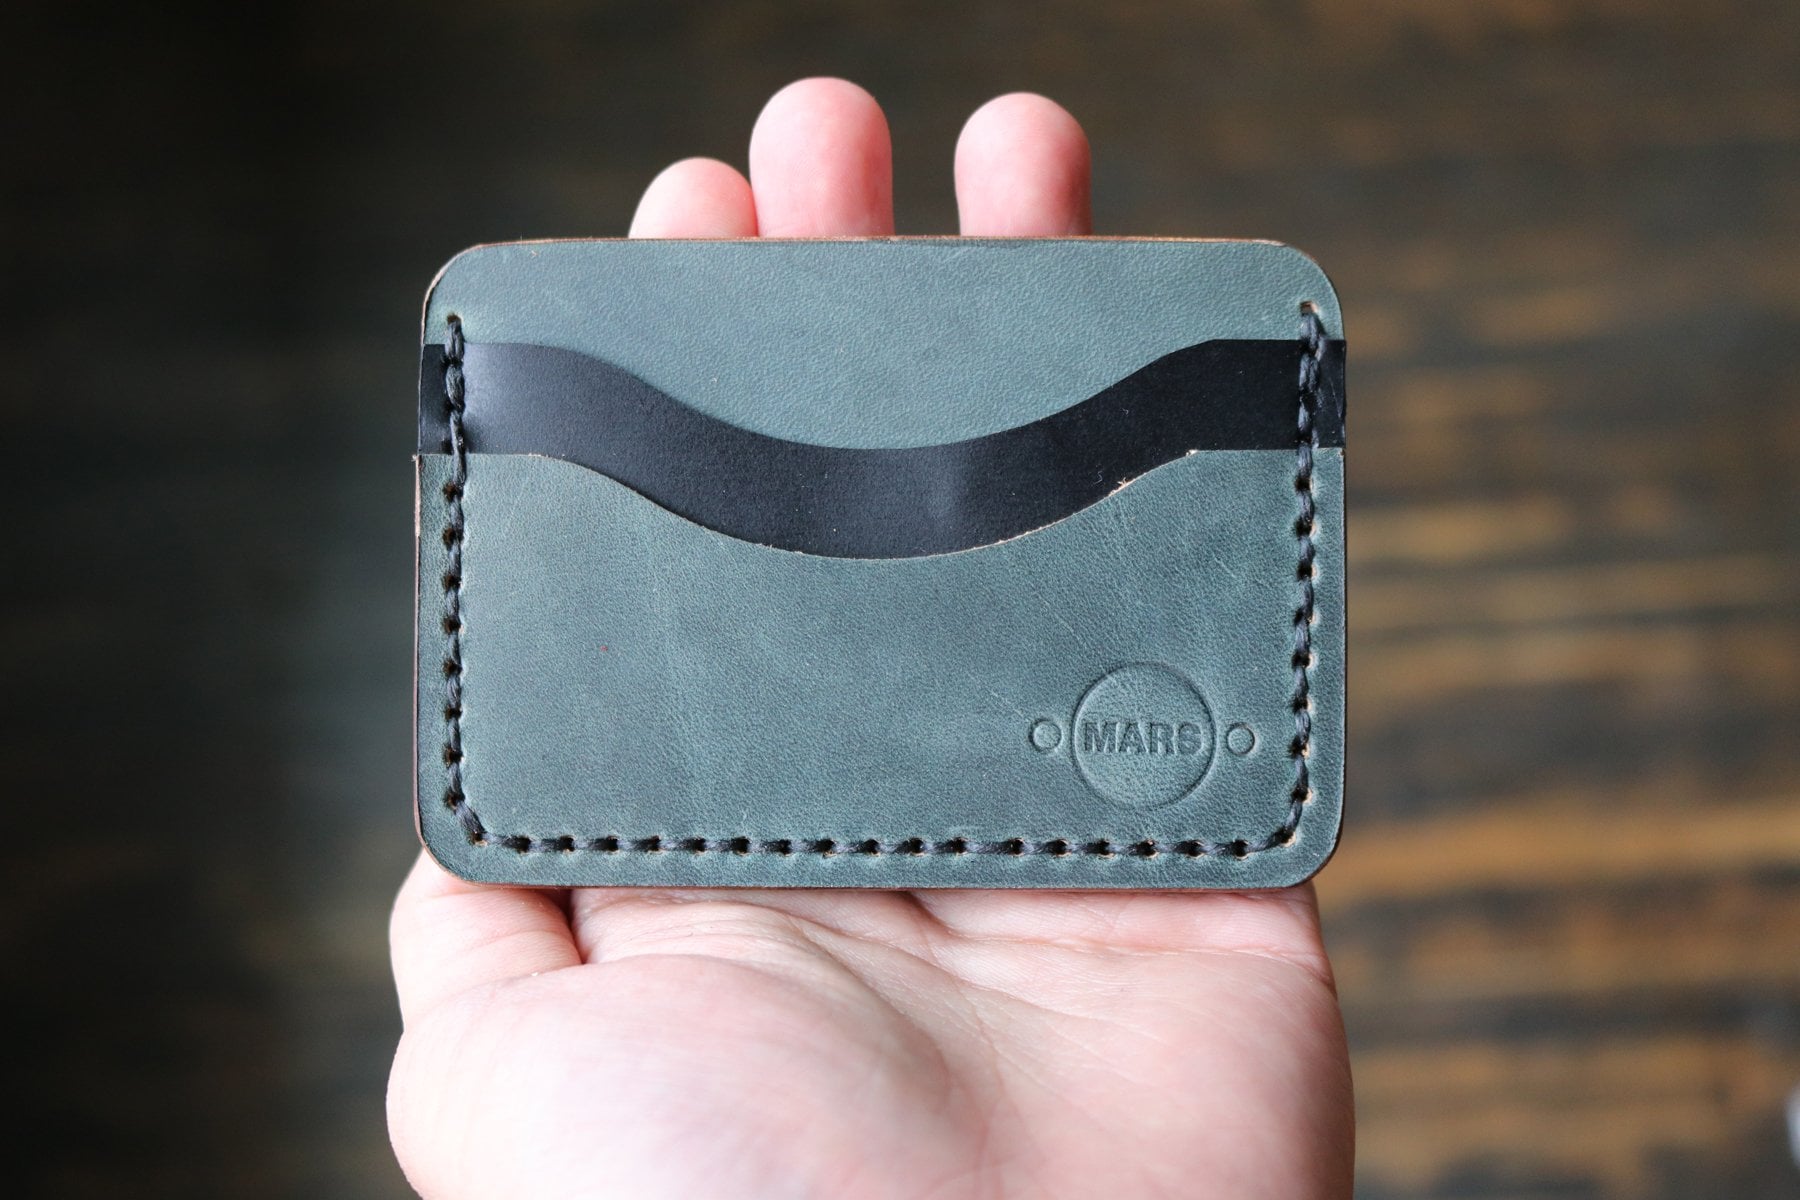
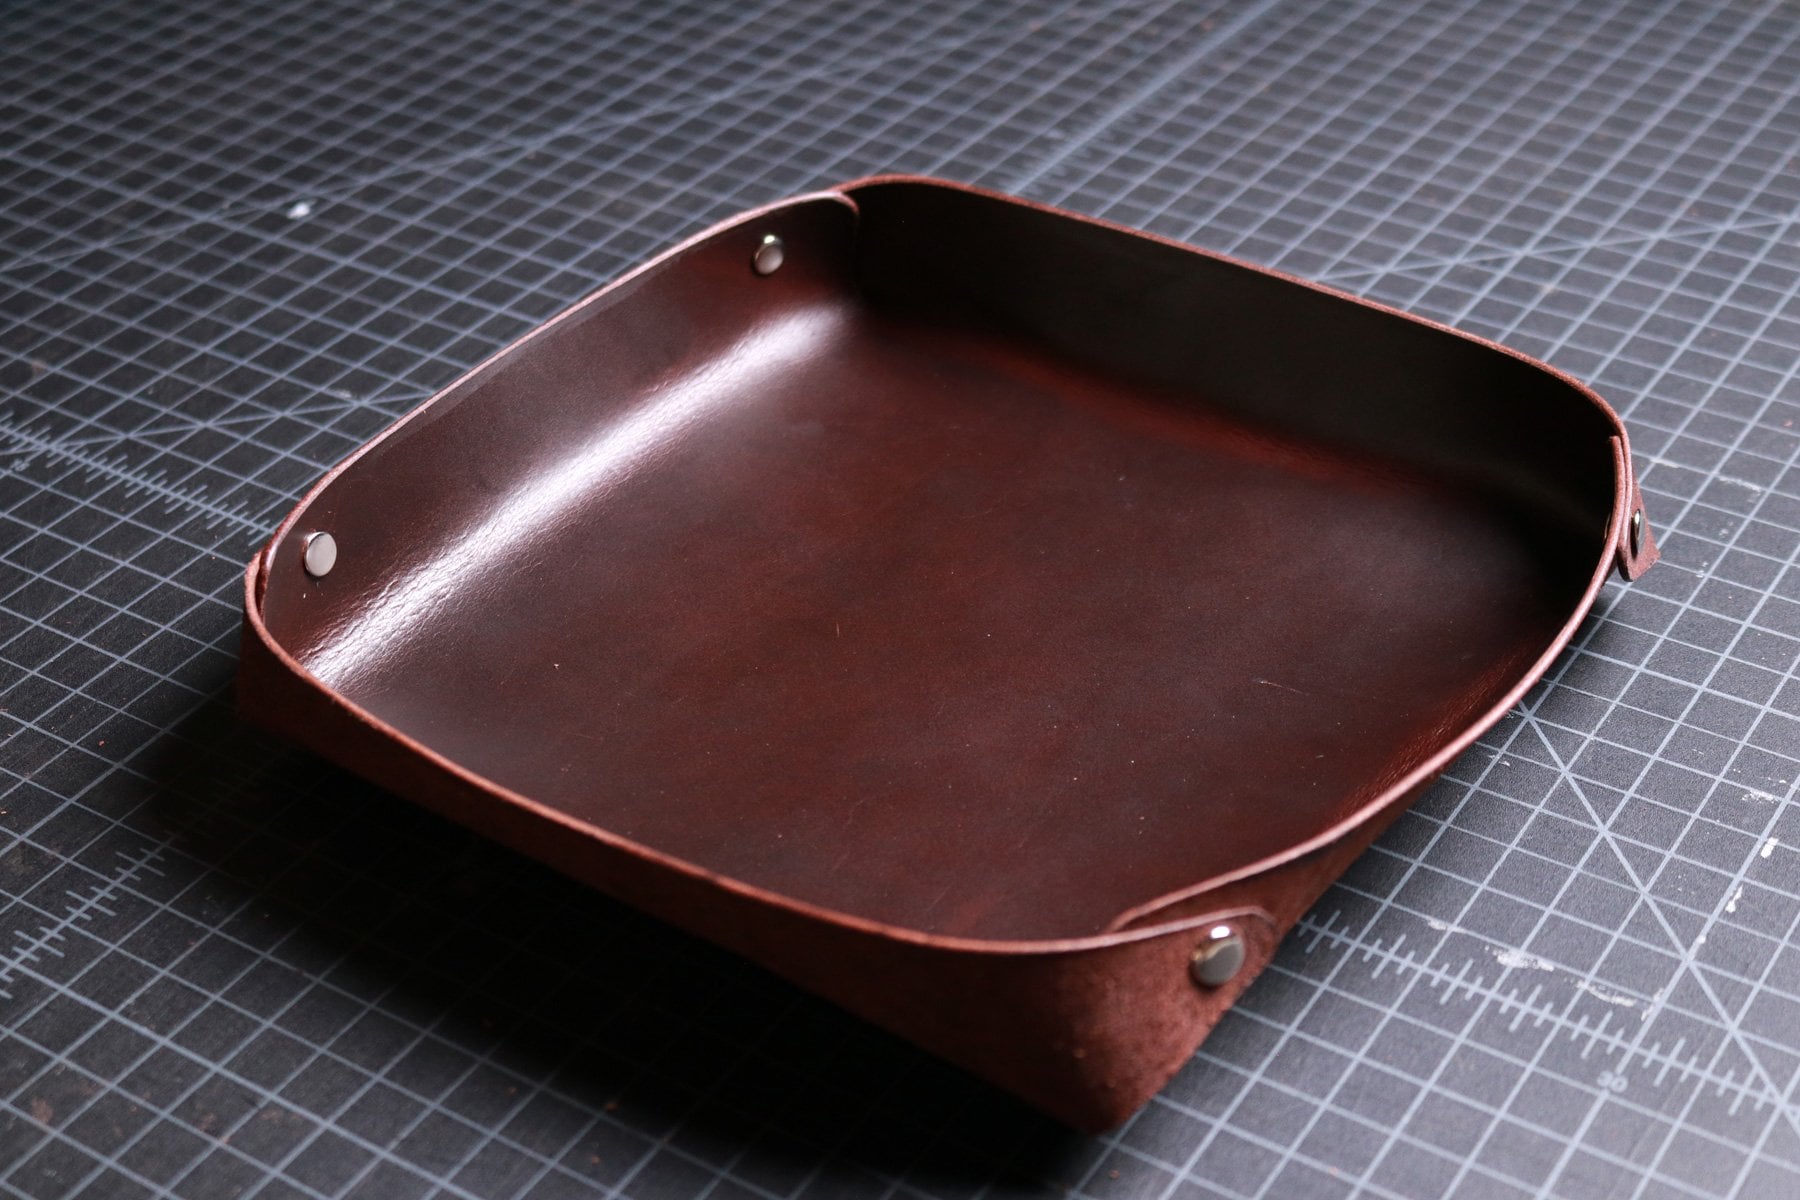
to preserve the actual hide. This material is great for a handcrafted products
like wallets, bracelets, bags, and more. However, one of the downsides
of using leather is the smell that it
releases when it's cut, which is indescribable. There's also the chart
edges where the laser cut all the way through
which needs to be cleaned. If you plan to saddle stitch
the product together, any pre-cut stitching
holes need to be clean so that the saddle doesn't get
stuck to the waxed thread. As the leather gets thicker, the ability to cut
through it with a laser starts to go away. Eventually, some areas of
the leather is going to cut, while others don't because of
the different patterns and densities of fibers
across the entire hide. If you have the time and patience to learn
a little bit of leatherworking and
you want to try laser cutting your own
patterns for products, it can be an amazing
experience and lead to the most unique
products that people love. Like this weekend duffel
bag that I made for myself. I can't tell you how
many comments and offers I've received to
purchase this from me. Just to remember that
leatherworking takes extra time due to saddle
stitching and edge finishing. It's a material that most small shop owners
will stay away from. Next, there are
different types of food that you can
cut or engrave. The most popular
choice that I've seen when putting food into
a laser cutter is this thick to engraving the surface of something
like macaroons because cutting through the food can lead to burning
and charring. If you plan to put food
into your laser cutter, make sure that your machine is dedicated to edible crafts only. Cutting different materials,
then trying to put food into your machine can
lead to leftover, dust, and debris from previous
projects landing on the surface of the food
and making it inedible. I recently started
experimenting with different types of food
in my laser cutter, which I'll use as an
example to show you how I would test a new
material that's laser safe, but I've never used before. In this case, we'll be
using a slice of bread, which could be any material that you're actually looking to cut. I start by creating a file
with multiple vertical lines, each set to a different color. In a laser cutter's app, I changed every line to a
slightly different setting. Depending on the material, I usually start with full power and change the speed from a fast setting to a slower
one in small increments. Once it's set, I run the
test and watch what happens. I'd like to say
that I've gotten so good at this that I know
what settings will work, but that's not true. I get surprised whenever I
finish one of these tests. If the material isn't food and I know I'll be buying more
from the same manufacturer, I add labels for the power
and speed settings and keep the tests somewhere so that I can reference
it in the future. [MUSIC] Something else to keep in mind is when
you're ready to cut any common materials
in your laser cutter, it should have a proper
masking tape applied to the surfaces to protect
it from dust, debris, and burns from the
laser cutting through the material and bouncing off of the webbing of
the crumb tray. Some manufacturers
like Glowforge and family-owned
businesses that cater to laser crafters will actually sell materials with
pre-applied masking tape. If your material
doesn't have it, there're a lot of paper
masking tapes suppliers out there who make high-tech
adhesive ones. To apply it, you simply
unroll the masking tape, place it on top of the surface of the
material that you're going to be cutting and take a
squeegee or in my case, an old plastic card and
run it along the surface of the tape to ensure that it's completely adhered
to the material. Do this on both sides
of the material and remove it when
your cut is complete, there should be no
air bubbles left. If you're going to be
painting your projects or simply cutting wood pieces that you'll be finishing later, you don't need to apply
the paper masking tape. You can cut your project and prime and paint as
you usually do. If it's a wood project and you plan to
finish with stains, oils, and sealers, you can use an orbital saddler
with a finished level grit sandpaper and quickly use
it to remove any scorches, burns, and debris that's stuck on the surface
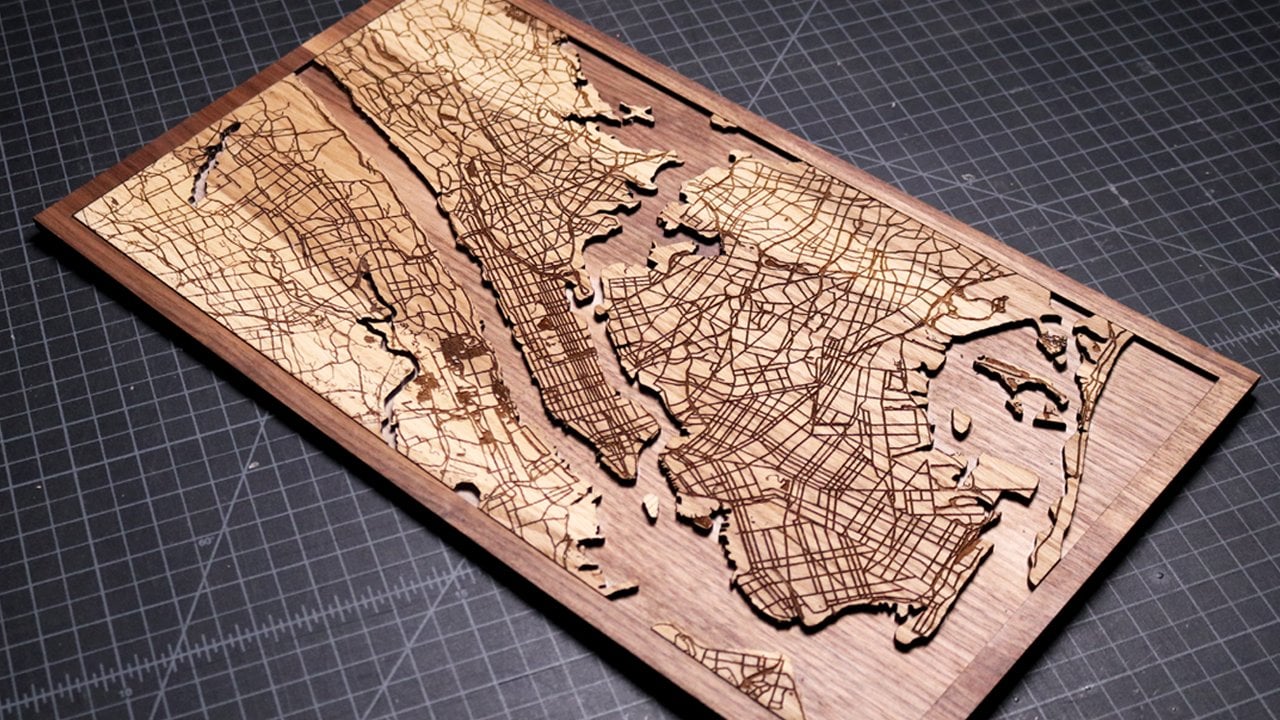
of the wood. For some projects that focus on engraving photographs
or a complex graphics, I usually make a judgment call to remove the paper
masking so that I don't need to peel
away hundreds of tiny pieces of
paper masking tape. Like the time that I engraved the custom map of
Buffalo, New York. In this case, you can also
leave the paper masking tape, apply a very strong
duct tape over all the areas with a tiny paper masking tape and peel it off. It just needs to be a super sticky duct
tape for this to work. In this lesson, we
talked about common, uncommon, figuring out
the right laser settings, some materials to
stay away from, and how to protect
your materials during the laser cutting and
engraving process. Now let's talk about some of
the basic design software and apps that will help you
create custom projects.
5. Design Software and Apps: Before I get into each of the software and apps
that I'd recommend, remember to check out
the document that I shared in the resources
section of this course, I'll share links to each of these apps to help you
find them quicker. A fundamental part of
laser cutting is to understand the difference
between a vector and an image. In basic terms, a vector is a line
on your computer that's drawn by
connecting two points. Whatever shapes you
draw using vectors can be cut or scored
with your laser cutter. For your laser, to
know the path that it needs to take to
precisely cut a line, it needs to have
the vectors drawn and a software that's
capable of doing this. An image is something that's
made up of different pixels. It's a photograph, a scan or something that
was drawn in an app, and saved as a JPEG image. These are usually JPEG and PNG file types, among many others. The images are usually
engraved onto a material, and some laser cutter apps have the ability to actually scan, trace, and cut the
outline of the image. This is important to remember
as we get into some of the basic design software
and apps that I recommend, because it'll help us talk about the different types of projects that you can design in them, and how you can do it. One of the easiest apps to learn how to use for
laser cutting that also makes the process
efficient is Adobe Illustrator. This app is available on both
a tablet and a computer, which is fantastic for quickly sketching
something by hand, and making final
adjustments on a computer. Everything drawn in Illustrator
can be done as a vector, a field shape, or both. A laser cutter will
read the vector as lines to be cut and scored, and the field shapes
as things to engrave. There are two important
notes about Illustrator. The first is the cost
of the software, which is usually
out of reach for people who are
just starting out. If this sounds like
a big commitment that you're not willing
to make right away, you can check out
another software that a lot of my laser friends use called the Affinity
Designer and CorelDRAW, which has a one-time
purchase price, rather than a monthly
payments like Adobe products. For its price, features,
and functions, Affinity Designer is a big win for people who are
just starting out. It works in a similar
way to Illustrator, and my friends love it. The second note about
Adobe Illustrator and Affinity Designer is that using the tablet version with a
pencil is great for people who might not be the
best at coming up with graphics on a computer, but instead are great at
drawing things by hand. There are some projects
where I prefer to draw the overall
designs by hand, and make minor adjustments
on my computer like this pumpkin outline for a layered Mandala
project that I designed. The next software that I would recommend for people moving into more advanced
stages of designing laser-cut projects are Computer
Aided Design software, also known as CAD. Personally, I use one
called Rhinoceros, which I learned back in
architecture school, and I've been using ever since. There are so many
alternatives out there including CorelCAD, which is made by the same
company as CorelDRAW, AutoCAD from Autodesk
and many others. The reason why I
recommend CAD programs, is because you've got
a lot more precision with every line, curve, angle, and
shape that you draw. Once you get the hang
of typing commands, or finding the tools to draw the vectors
in your project, you can move quickly, and get into prototyping more complex
three-dimensional projects, like these lamps that I
designed in Rhinoceros. The best part is that most of these CAD programs
are capable of extruding the shapes
that you draw, into 3D blocks that
you can rotate, and move into place
to check that your designs are working
as you intended. Now, the last part of this is, if you aren't interested in
designing custom projects, and instead you want to
purchase design files, and make them as gifts to sell, you can find a lot
of amazing projects from trusted sellers on Etsy, Glowforge Design Catalog
if you own a Glowforge, and illustrations from a subscription
website like Envato. Finding a trusted seller on Etsy requires reading
through reviews, making sure that the photos and design aren't copies
from someone else. If you're unsure, sending a question
about the product, and seeing if you
get a response. If you have any specific
design ideas in mind, but you don't know
how to make it, try reaching out to a friend of yours who's in a
design profession, like a graphic designer, an illustrator, an architect, or an industrial designer, and see if you can pay them
to design to file for you. Now that we've gone over the
basics of laser cutting, let's get into some of the basic projects to get
you started with this craft.
6. Engraving a Photograph: One of the most popular projects for laser crafters to make and sell are photo engravings
of family and honestly, a lot of furry friends. People love sending photographs
of their cats, dogs, horses, and other
animals that they want to recreate in a unique medium. What better way to do
that than to engrave the photo right onto a
piece of beautiful wood. For these kinds of projects, I found that having a
standard template file of the frame to be very helpful in streamlining this
entire process especially, if you plan to do this
for a lot of people or as a service for
your small business. The frame can be as simple as a rectangular cutout with the photo engraved onto
the entire surface, or if you want to
clean it up a bit, I like having a small
half inch border around the entire piece. Sometimes, people will
request the names of people or their pet to be
engraved onto the frame, which adds a nice personal
touch to the product and an additional
service that you can charge in your final price. Here's how I design
the frames that I use. I go into Adobe Illustrator, click on the "Rectangle" tool, click onto "Screen," and type in the exact dimensions
of the overall frame. I repeat this process again, but take an inch off of both
the x and y dimensions. Then I use the Align Center tool both
vertically and horizontally. Now, you've got a simple
and minimal frame. Once I get the photo
that I want to engrave like this one of my dog, I use any photo editing software including the one that comes
directly on your phone, like you can see me doing here and I modify the photograph. I start by making the
photograph black and white. Then I make my way through
all of the settings to get as much contrast into
photo as possible. It's important to have
different shades within the photo because that's
how the laser cutter will identify the different
areas that need more or less power to make it darker or lighter
on the material. When I'm satisfied
with the photograph, I import it into my Adobe Illustrator frame file and resize it to fit
within the frame. Now, I just need to crop the photo so that I
could engrave it. To do that, I left-click
on the photo, right-click, go to
order and send to back. This places the photo
behind all of the lines. Now, I select the line
of the inner border, go to the top of
the Window to edit. Select Copy, and go up to Edit and click "Paste" in place. With the copied
rectangle selected, I hold Shift on my keyboard, left-click on the
photograph to select it, right-click and select
Make Clipping Mask. The last step is to select the inner rectangular
line and change its color so that
we can identify it differently in our
laser cutters app, where we can change it to
a light scoring setting. Now, when we save the file, we can choose to save
it as an SVG file type, or in this case, I actually recommend saving this one as a PDF so it embeds the photo and it makes the importing process
easier in the next step. Next, we go to our laser cutters
app and upload the file. Once the file appears, we can move it
around to where we want it to be engraved and cut. I set the thickness of the material that I'm
using for this project, which is an eighth of an inch, set the outer line to cut, the inner line to the engraving setting and a
photograph to photo engrave. Now, we load our material
into the laser cutter and start the process of engraving and cutting
this photograph. My recommendation
for the type of wood to use for engraving
projects is to stick with something
lighter like maple and try not to go too much
darker than cherry. When you engrave onto the wood, the laser is burning
the surface at different levels to get varying shades of
brown and black. If the wood is too dark, it can be difficult to
see the final image. Once the photo
engraving is complete, you get to admire your hard
work and either keep it for yourself if it's your photo or pack it up and send
it to your customer. People always ask me, how much they should charge
for something like this? A price point that I've seen for custom photo engravings at about nine inches
by seven inches, sells for a range
between $75 and $150. It all depends on your clients, your location, and your brand. Now, let's move into the
next simple project that people love, creating
graphic engravings.
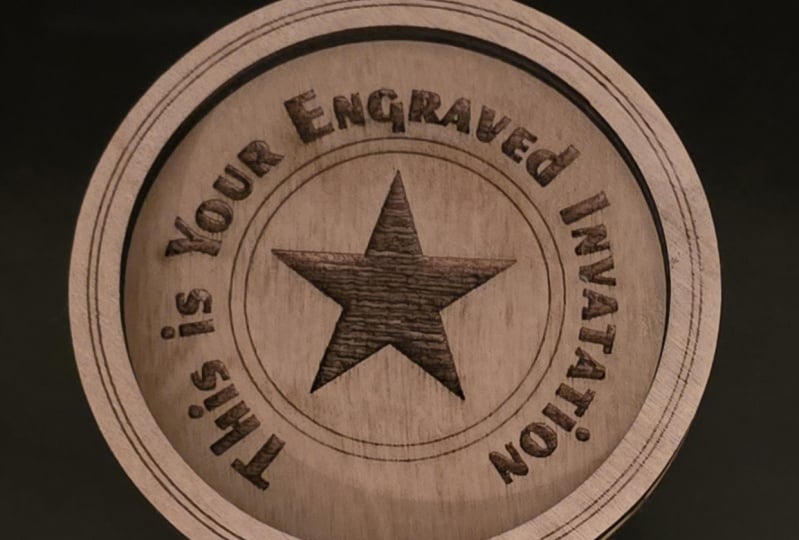
7. Designing Unique Graphics: Graphics are fun
to create and they could also be very
simple to make. In this lesson, I'll go over two different
ways that you can design and engrave custom
graphics for your laser cutter. First, you can use
a program like Adobe Illustrator or
Affinity Designer. Use the text tool and just
look for a font that has the look that you're
trying to get for the graphic that
you're developing. There are lots of open-source
fonts that you can actually find online that range
from serif to san serif, and unique ones that look
like handwritten notes. You can find fonts that write every word in beautiful
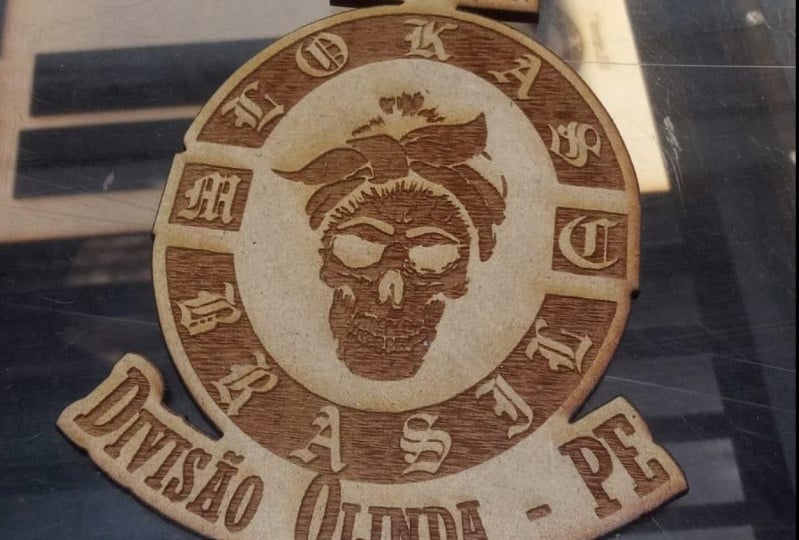
script for invitations, signs, and more. Another option for
typing out the text that you want to
engrave has to make it unique by using the type on path tool in Adobe Illustrator, which will allow you
to write words that follow a line or a curve
that you've drawn. To do this, you can start by drawing a shape with
the pre-made tools. Draw a custom one
using a pen tool or import one that you might've
drawn in a CAD software. For this example, we'll draw a circle with a
four-inch diameter. Use the scissor
tool and click on two points to trim it
into a semicircle. Now we go to the Text Tool, hold the left-click on it, select Type on path, and click on a line wherever
you want the text to start. When you start typing, you'll see the text
following the curve. You can get really creative
with this feature. For example, you can copy
the text, resize it, and make it look like layers
of a rainbow where it gets smaller as you go inward and
larger as you go outward. If you use the pen tool, you can also start drawing
something like the branches of a tree and turn it into text. This could work for
messages, inspirational art, and family trees where you make every branch a different name. The second way that
you can create graphics is to use
a tablet and pen and an app like Procreate where the possibilities of
hand-drawn art is limitless. My favorite tool to use
is the calligraphy pen, set to script where the
lines come out bold and the curves are seamlessly made with the
assistance of the app. Once you draw something you
like and you finalize it, you just need to export
it as a JPEG and import it into
your laser cutters app to start engraving it. If you decide that
you just want to cut or score the
outlines of the graphic, you can bring it into
Adobe Illustrator, use the trace function, turn off the infill, and turn on the outline color. Export this as an SVG or PDF file, import it into your
laser cutters app, and start the process
of scoring or cutting. Now let's move on
to the next project where we will be designing and making custom acrylic
labels for cake toppers, dessert toppers, plant labels, and also drink stirrers.
8. Designing Acrylic Labels: A simple project to laser
cut and give away as gifts or to sell are
labels made with acrylic. Some popular ones to make
are plant labels that gets staked into the soil of a
potted plant or in the garden, drinks stirrers
and cake toppers. I'll show you how to
design and make one of these by using a drink
stirrer as our example. For this project, we'll be using Adobe Illustrator on a computer. Using the line tool, I draw a line vertically down
seven inches and increase the thickness of
the line until it's about a quarter of an inch wide. I found that adjusting the line stroke to
10 worked for me. Now, we need to switch over
to the text tool and write out whatever we want to say
at the top of the stirrer. In this case, I'll write Happy New Year and switch
the font to my favorite, Helvetica, and use a heavy, bold font so the
letters are wide. Next, we need to outline the letters by selecting
the text box, going to the top of
the window to type, and selecting Create Outlines. At this point, there's
a lot of options available for how we can
make a custom drink stirrer. For mine, I decided to rotate the letters 90 degrees and move them so that Happy
was on the side of the line and New Year
was on the other. With the words selected, I make the outlines
of the letters black and remove the fill color so that all we see are
the shapes of every letter. I select the line, go to the top of the window, click "Object," go to
path and outline stroke. I make the outline
black and remove the fill colors so we can
see the rectangular shape. Now, we just need to move the letters so
that the bottom of Happy touches the
line and do the same with the top of New Year. Using the scissor tool, I trim the parts of the letters touching the line and delete it. When I'm done with the letters, I'll do the same
with a rectangle. I'll speed this part up
since it's just repeating the same step over
and over again. I'm sure there's another
easier way to do this, but this was the first thing
that came into my head. With the letters
and the rectangle trimmed and the
extra lines deleted, I like to clean up the design by joining all of the lines. You can't highlight all
of them and join them because it'll connect some
of the smaller shapes. Instead, I select them in
small areas and join them together by going to
Object, Path, Join. You can also just
select the lines, hold Control, and press "J." Now we have our drink
stirrer design and all we need to do is cut it
out of this blue acrylic. One thing I forgot to do here is remove the protective
paper masking, which is why you
see all the flames. Since it was a fast
project to cut, I just let it finish. Once the design was cut, I removed the
protective film from the acrylic and the drink
stirrer is complete. Now let's move on
to the next lesson where I'll show
you my process of designing and making a
more complex product using a CAD software, so that you can
see the potential of what your laser
cutter can do. It's going to be a
slightly difficult lesson. Don't worry if you
can't follow along now. I'll have more courses in
the future where I'll go step-by-step and you
can follow along there. Just watch the lesson, see how you feel, and see if it's something you
can get comfortable doing. Now let's get started.
9. Advanced Project - Home Decor: Designing home decor
and furniture is challenging but it's rewarding for any laser cutter owner. These projects are comprised of multiple parts
and pieces that are laser cut and assembled
to create a larger product. Up to this point, the
projects we've gone over are simple products
that are engraved and scored or cut and finished. 3D products require more
steps and more precision. To design these products, I highly recommend
that you learn a CAD software like I mentioned
earlier in this course. In this section of the course, I'll briefly go over my steps
for designing a 3D product, but I won't go into too much
detail since it's a little more advanced than this
introductory-level course. I'll have more in the future
where I'll actually go step-by-step and you
can follow along. My preferred CAD software
to use is Rhinoceros. It was programmed for complex and precise modeling of specific objects like yachts, jewelry, architecture, and more. The way that CAD software
work is that you can either find and click on specific commands like lines, curves, and shapes, or you can type it into the command
bar and press Enter. I was taught to use a software by typing all of the
commands that I want to use instead of looking for them so you'll see me typing
the commands as we go. For this project, we'll
be designing and making a side table and we'll be using Rhinoceros.
Let's get started. To design this project, I use a software
called Rhinoceros, and I start by drawing
the general pieces. This includes the
legs of the table, frame, and the top. The overall dimensions
for this project will be 19 inches tall and
18 inches square. As I work through the design, I'll figure out what
other components I need and add them later. At the top of the screen, you can see my command bar
which is where you can see all of the different
commands that I'm typing for this project. The command that I'm using
the most here is polyline. I'm also using copy and move. Polylines consist of a
bunch of points that are connected with these lines that you see appearing on the screen. If I wanted to end it without closing off the entire shape, I could just hit
the Enter button. Copy, lets me click on
that line or that shape, and copy it anywhere
in the screen. The move command, lets me move anything
on the screen to a specific area that I want to. When the pieces are drawn, I figure out specific
connection details for this project, like slots and tabs that'll attach the
legs to the frames. The idea here is
that the legs in the frame will include
a cutout where a wood piece can slot in and be wood glued to secure
both frames in place. What you're seeing here is
that I copied the legs of the table and I overlapped
it with the top frame. This ensures that all of the slots and tabs
that I'm drawing will align for every piece so
that when I laser cut them, the tabs will
actually fit and slot through all the pieces as
it's being designed here. The thickness of the slots
and tabs are based on my measurement with
digital calipers of the actual material
that I'll be using. When I'm satisfied
with the design, and location of the slots and tabs in the legs and top frame, I'll select all of them
and copy them over so that I have four
frames and four legs. The next step is to
design all of the end joins so that the
frames can overlap at the ends and help us
align every piece when we're ready to assemble
and glue them together. We'll also be designing
the finger joints at the top which is what you're
seeing here on the screen. Those finger joints
will go into slots in the tabletop so
that everything is aligned and held
together firmly. You can see here
that I'm constantly revising the design of
the end joins because I find that there's a better
way to do it or that they won't actually align the
way that I intended. That's the beauty
of designing with precision using a CAD software. One of the commands
that you can see me using pretty often here is the trim command which
allows me to trim off any excess lines that
overlap one another. I'm also intentionally
moving all of the pieces so that the
joints that should be aligned with any
slots are actually aligning and I use that
as a reference point so that everything that I'm drawing will actually
work when it's laser cut and align with the piece that it
should be going into. With these components drawn out, I want to check how precisely the pieces will come together. To do this, I extrude
the shapes to the specific thickness of my material and
build a 3D model. I place each component
where they're intended to go and test the slots and tabs. Building a 3D model is a lot simpler than
you might think. The commands that we'll be
using here are extrude, move, and rotate. Extrude allows you
to pull the piece into the exact thickness
that you're looking for. In my case, this is going to be a quarter-inch piece of plywood. I measured that was my
digital calipers and I extruded the shapes to
that exact dimension. Once I had that, I went into a different view
which is the side view, rotated that piece so
that it was vertical. Then I went into the top view, rotated every piece
that they were in the right orientation, and use the Move command in the 3D view to move
every piece into place. This is one of those
things that looks a lot harder than it
is to actually do. But with enough practice, you'll see how
simple this can be, especially when you start
developing your own workflow. One area of the
design that I felt needed additional support
were the legs of the table. From one side, they looked
sturdy, but from the other, they looked like
they'll fall apart if someone kicks a leg by accident. This prompted me to add in additional leg supports
at the bottom of the table to create a sturdier base and allow
it to carry more weight. To design the support
member pieces at the bottom of the table, you can see that I'm
following the same steps as earlier in this project
where I'm creating slots and tabs at the
bottom of the legs and I'm also designing the bars that'll
go across each of them. I'm also designing
the finger joints at the ends of those bars so they can slot directly into all of the slots
that I'm drawing. Here you can see that
I'm constantly working between the two-dimensional and three-dimensional
views where I'm designing every piece in
two dimensions then I'm extruding them like I did in a 3D modeling part
of this lesson. Then I rotate them and
put them into place. I do this because I want to make sure that every piece I'm designing are actually going to fit as they're intended to. Here, you can see the value of creating a 3D model
because I actually started to realize that I needed one additional support
member at the bottom. If I didn't include
this in my design, I might have wasted
materials by laser cutting and assembling a project
that didn't actually work. This is one of the
things that I love most about CAD software. Now that the design is complete, I apply paper masking tape to the quarter-inch
cedar plywood to protect its surface from
scorches and burns. Then I've placed the
cedar plywood into my Glowforge and begin the process of laser
cutting every piece. When the pieces are cut, I remove the paper
masking to reveal the beautiful wood finish and organize every piece
for the project. I start the assembly
process by aligning the slots of the legs
and associated frames. I apply wood glue
to the top, sides, and bottom of the tabs and use my rubber hammer to hit them
through the frame and leg. Using a damp paper towel, I wipe off any excess wood glue and repeat this process again. With the two legs
and frames attached, I assemble the base support
pieces separately by gluing the finger joints of the center support to the
slots in the side supports. I repeat this process with the top side panels
and center support. I place one leg and frame
assembly on my table and install the end joints of the support members into
the slots of the legs. When the supports are in place, I align the end joints
with the frame on the opposite side and
glue them into place. Once the wood glue is dry, I turn the assembly, with the top facing upwards, align the joints of the
tabletops with the frames, and glue them into place. I apply a natural oil finish to the surfaces of
the wood to bring out the natural beauty
of the material and to protect it
from dirt and debris. That's how I design and make this simple DIY side
table with my Glowforge.
10. Concluding Thoughts: I hope you enjoyed this introductory level
course to laser cutting. Where we covered the basics of designing files and engraving, scoring, and cutting materials
with a laser cutter. There's so many possibilities
for products that you can design and make
with your laser cutter. Lots of people have
created small businesses that focus on cutting and
selling custom products. Others, like me, have actually decided to be file designers where
they come up with amazing creations and sell their files to others instead of selling physical products. Remember to follow me
here on Skillshare, where I'll be sharing my
design process for some of my popular products
later this year. Since this was an introductory level course for beginners, we didn't get into
too much detail for the 3D project that I covered. In future courses, I'll share more information so
that you can actually follow along and understand the design process in more detail for these
more complex projects. Thanks again for
taking this course, and have fun creating
something unique.
 Tim Ung, Architect | Designer | Maker