Woodworking: How to Build a Micro Workshop | Oivind Lie-Jacobsen | Skillshare
Search

Playback Speed


  • 0.5x
  • 1x (Normal)
  • 1.25x
  • 1.5x
  • 2x

Woodworking: How to Build a Micro Workshop

teacher avatar Oivind Lie-Jacobsen

Watch this class and thousands more

Get unlimited access to every class
Taught by industry leaders & working professionals
Topics include illustration, design, photography, and more

Watch this class and thousands more

Get unlimited access to every class
Taught by industry leaders & working professionals
Topics include illustration, design, photography, and more

Lessons in This Class

    • 1.

      Introduction

      1:24

    • 2.

      Class Project

      1:36

    • 3.

      Build the Workshop

      1:47

    • 4.

      Make the Shoerack

      5:34

    • 5.

      Check out the tips and tricks

      1:22

    • 6.

      Final Words

      0:31

  • --
  • Beginner level
  • Intermediate level
  • Advanced level
  • All levels

Community Generated

The level is determined by a majority opinion of students who have reviewed this class. The teacher's recommendation is shown until at least 5 student responses are collected.

3,531

Students

1

Projects

About This Class

This class is about Woodworking in your apartment, basement, or other places where space is limited. I will show you how ta build a Micro Workshop that allows you to make stuff from wood, even if space is limited.

You will learn how to build the Workshop.  I'll also give you tips and tricks to make the work go smooth.


No skills are required, and the Workshop can be done with basic tools and materials that are easy to find.


If you want to get started in Woodworking, this is the class for you.

About me:

I'm educated as a graphic designer, but I changed my career 10 years ago and started working as a journalist. I live on a small farm in Norway and work for different magazines. Writing about cabin life, home improvement, and of course, Woodworking. I've also written a book on how to make your own furniture.

This is some of the stuff I've done lately:

Firetable made from a charcoal grill

Worktable made from buliding hatdware

Dining table lamp made from a massive piece of lumber.
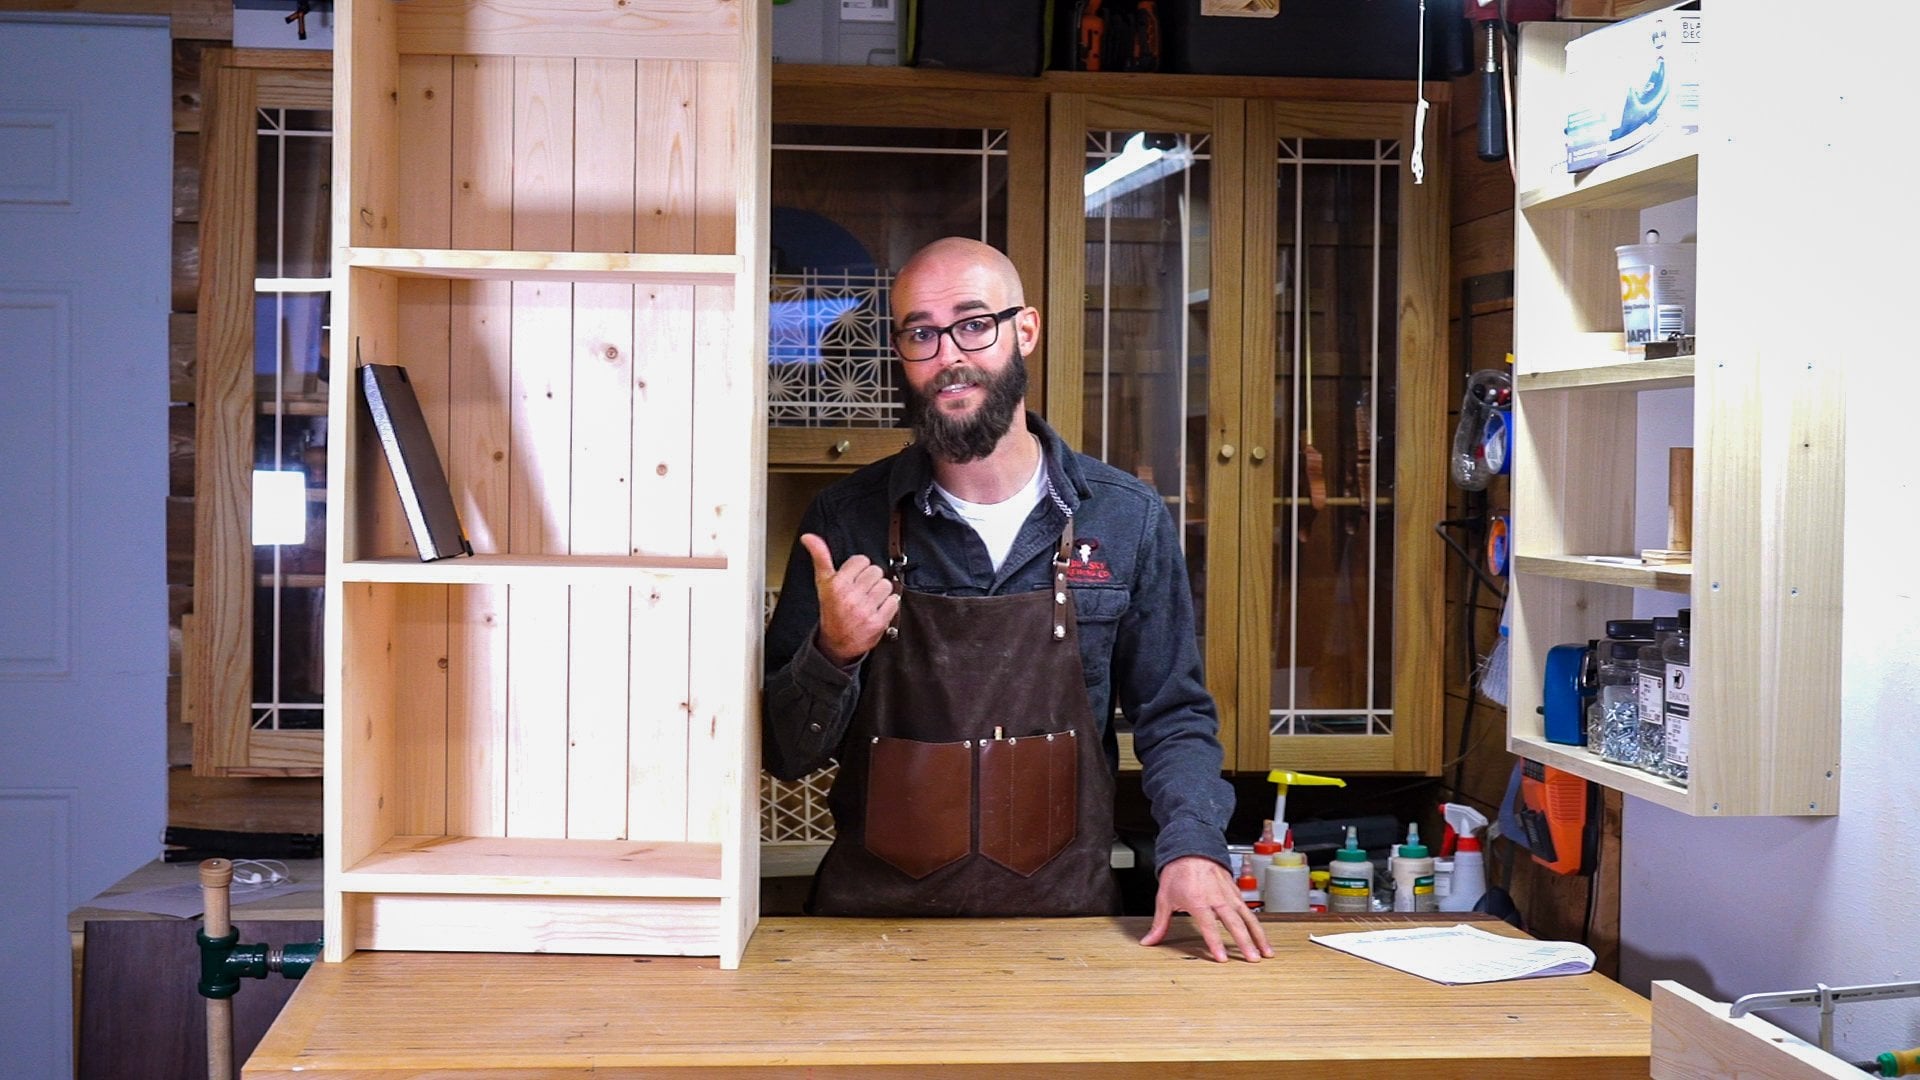
Meet Your Teacher

Hello, I'm Oivind. I work as a journalist and live in Norway.

Making things is my big passion, and it has been a big part of my life as long as I can remember. My Grandfather was a furniture maker, and I loved to be in his workshop as a kid. On my sixth birthday, we went into his workshop, and I watched him make a stool, which he gave me as a birthday present. Similar to the stool in this class. Later I have realized that the real gift was the impression he made on me, making the stool with ease and confidence. Demonstrating that you can pick up a piece of lumber and make it into something useful.

I am educated as a graphic designer, but I changed my career 10 years ago and started working as a journalist. I also bought a small farm and moved from the city to the countrysi... See full profile

Level: Beginner

Class Ratings

Expectations Met?
    Exceeded!
  • 0%
  • Yes
  • 0%
  • Somewhat
  • 0%
  • Not really
  • 0%

Why Join Skillshare?

Take award-winning Skillshare Original Classes

Each class has short lessons, hands-on projects

Your membership supports Skillshare teachers

Learn From Anywhere

Take classes on the go with the Skillshare app. Stream or download to watch on the plane, the subway, or wherever you learn best.

Transcripts

1. Introduction: I've always done woodworking no matter where I've lived. I've learned the hard way, that woodworking doesn't always match up with a small apartment and neighbors all around you. In this class, you will be making a workshop that allows you to do woodworking, even if the space is limited. A workshop you can set up in your apartment, garage, garden, or in your shed. The project is geared towards the absolute beginner. All you need is the desire to make something useful from wood. When your workshop is all set up, you will be ready for simple woodworking projects. To get you off the ground, I will make short classes that shows simple projects. These are all doable in your micro workshop. The first project, starting already at end of this class. My name is [inaudible] Gibson. I live on a small farm in Norway and I worked as a journalist and a book writer, writing about all kinds of woodworking projects. 2. Class Project: Your class project is to make the micro workshop. Woodworking is much about securing your workpiece properly. The micro workshop is simply a base that it can clamp to a table, underneath a piece of canvas. Then you can secure a workpiece to the base to do sawing, drilling, planing, or sanding. The canvas underneath protects the table and collects dust. These are the tools and the materials you need to make the micro workshop: clamps, a measuring tape, a pencil, a square, a Japanese pull saw, a power drill, large wood screws, a hole saw, a piece of canvas, and two pieces of construction lumber. After you have finished the workshop, you are ready for some serious woodworking. To get you off the ground, I will make short classes that show simple projects that are doable in your micro workshop. The first class shows how you can make a shoe rack. After that, more classes will follow. 3. Build the Workshop: The workshop consists of a piece of canvas and the base. To make the base, place two pieces of scrap wood underneath your workpiece and clamp it to the table. You start out by marking where to cut. Sawing straight is easier, if you have a guide. Clamp a piece of wood onto the line, then start sawing. Start out with light strokes and increase pressure when you've got a straight track. Next step is to make holes for the clamps. Make a line along with a piece of lumber, then mark where to drill. When making the holes, you drill until the guide drill bits comes out on the other side; then you turn the workpiece and drill from the other side. The last operation is to put the pieces together. Use three volt screws, start out with the one in the middle. Be sure to align the pieces properly. The canvas is cut to size and the edges are sewn to avoid fraying. To get some tips on using your tools, please check out my other class, make your own furniture. In Lesson 7, cutting out the pieces, I show the basics of hand tools. In the Projects and Resources, you will find a plan with all measurements. Please ask a question or share your projects in discussions below. Good luck. 4. Make the Shoerack: Your first project is a shoe rack. The construction is as simple as can be. Three boards are cut to length and put together. The size is up to you. You may make it wider or make several and put them above each other. Do also experiment with colors. Just remember that a dark color inside, maybe sparked because of stains, the rubber mat can be skipped or you can find another material that fits your taste better. Clamps, a measuring tape, a pencil, a square, and Japanese pull saw, a power drill, a hole saw, a drill bit, screw bits, wood glue, wood trim head screws, sand paper, a piece of rubber mat, and square edge boards. I start out measuring the boards. I use a square and draw a thin line. I clamp the board and clamp a small piece of wood aligned with a pencil line. This is going to be my support when sawing. I start sewing with light strokes. When I have a straight track, I increase the pressure. With all the pieces are cut to length, I'm sanding off the edges. Now, I'm going to drill the hole for the shoe horn. I measure the width and the center. I start drilling from one side. When the guide drill bit has gone through, I turn the board and drill from the other side. I sand the inside of the hole until the edges are smooth. Now, I'm ready to put everything together. I put on glue. Then placing the backboard in the right position. I do some adjustments until the sides are flush. Then I start screwing. I apply putty in all cracks and dots. Then I sand and wipe down the putty after it dries. The rack is supposed to be screwed to the wall, therefore, I need to drill two holes for the screws. I've chosen to paint the inside black. When the paint is dry, I sand down the edges. On the outside, white paint thinned out until I get a whitewash effect. Measure the bottom of the rack and cut the rubber mat to the right size. To get some tips on using your tools, please check out my other class, make your own furniture. In lesson 7, cutting out the pieces, I show the basics of hand tools. In the projects and resources, you will find a plan with all measurements, and please ask a question or share your projects in discussions below. Good luck. 5. Check out the tips and tricks: Tips number 1 hand tools produce less dust and noise than power tools. With some training, they are pretty effective as well. Tips number 2, double threaded wood screws have a tiny head that almost disappears in the wood. The extra set of threads under the head, drag the pieces together and give a good hold in the wood. Tips number 3, to make a sanding block, I glue a piece of sanding paper to a wood piece using double-sided carpet tape. Tips number 4, I keep my ducting pin close to the workshop, cleaning off the table every now and then. Tips number 5, do some scrap wood training. If there's an operation that is new to you, practice on scrap wood first. Tips number 6, put a non slip mat under the canvas to get extra protection for your table or under your work piece to get a better hold. 6. Final Words: Thank you so much for joining my class. I hope you have enjoyed yourself, and I wish I've got to start it on woodworking. Remember, this is just the start. Please show me your work along the way, and post your projects, and ask questions. Please follow and new classes with new projects will come to you pretty soon.