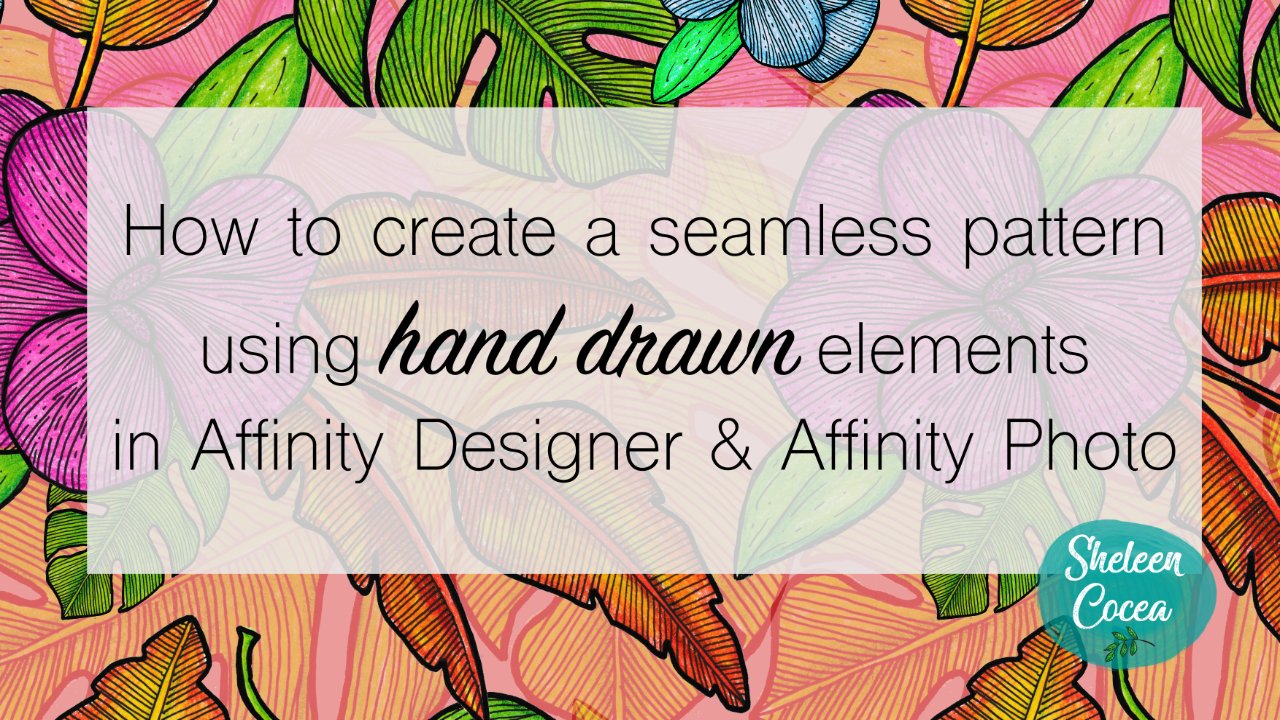
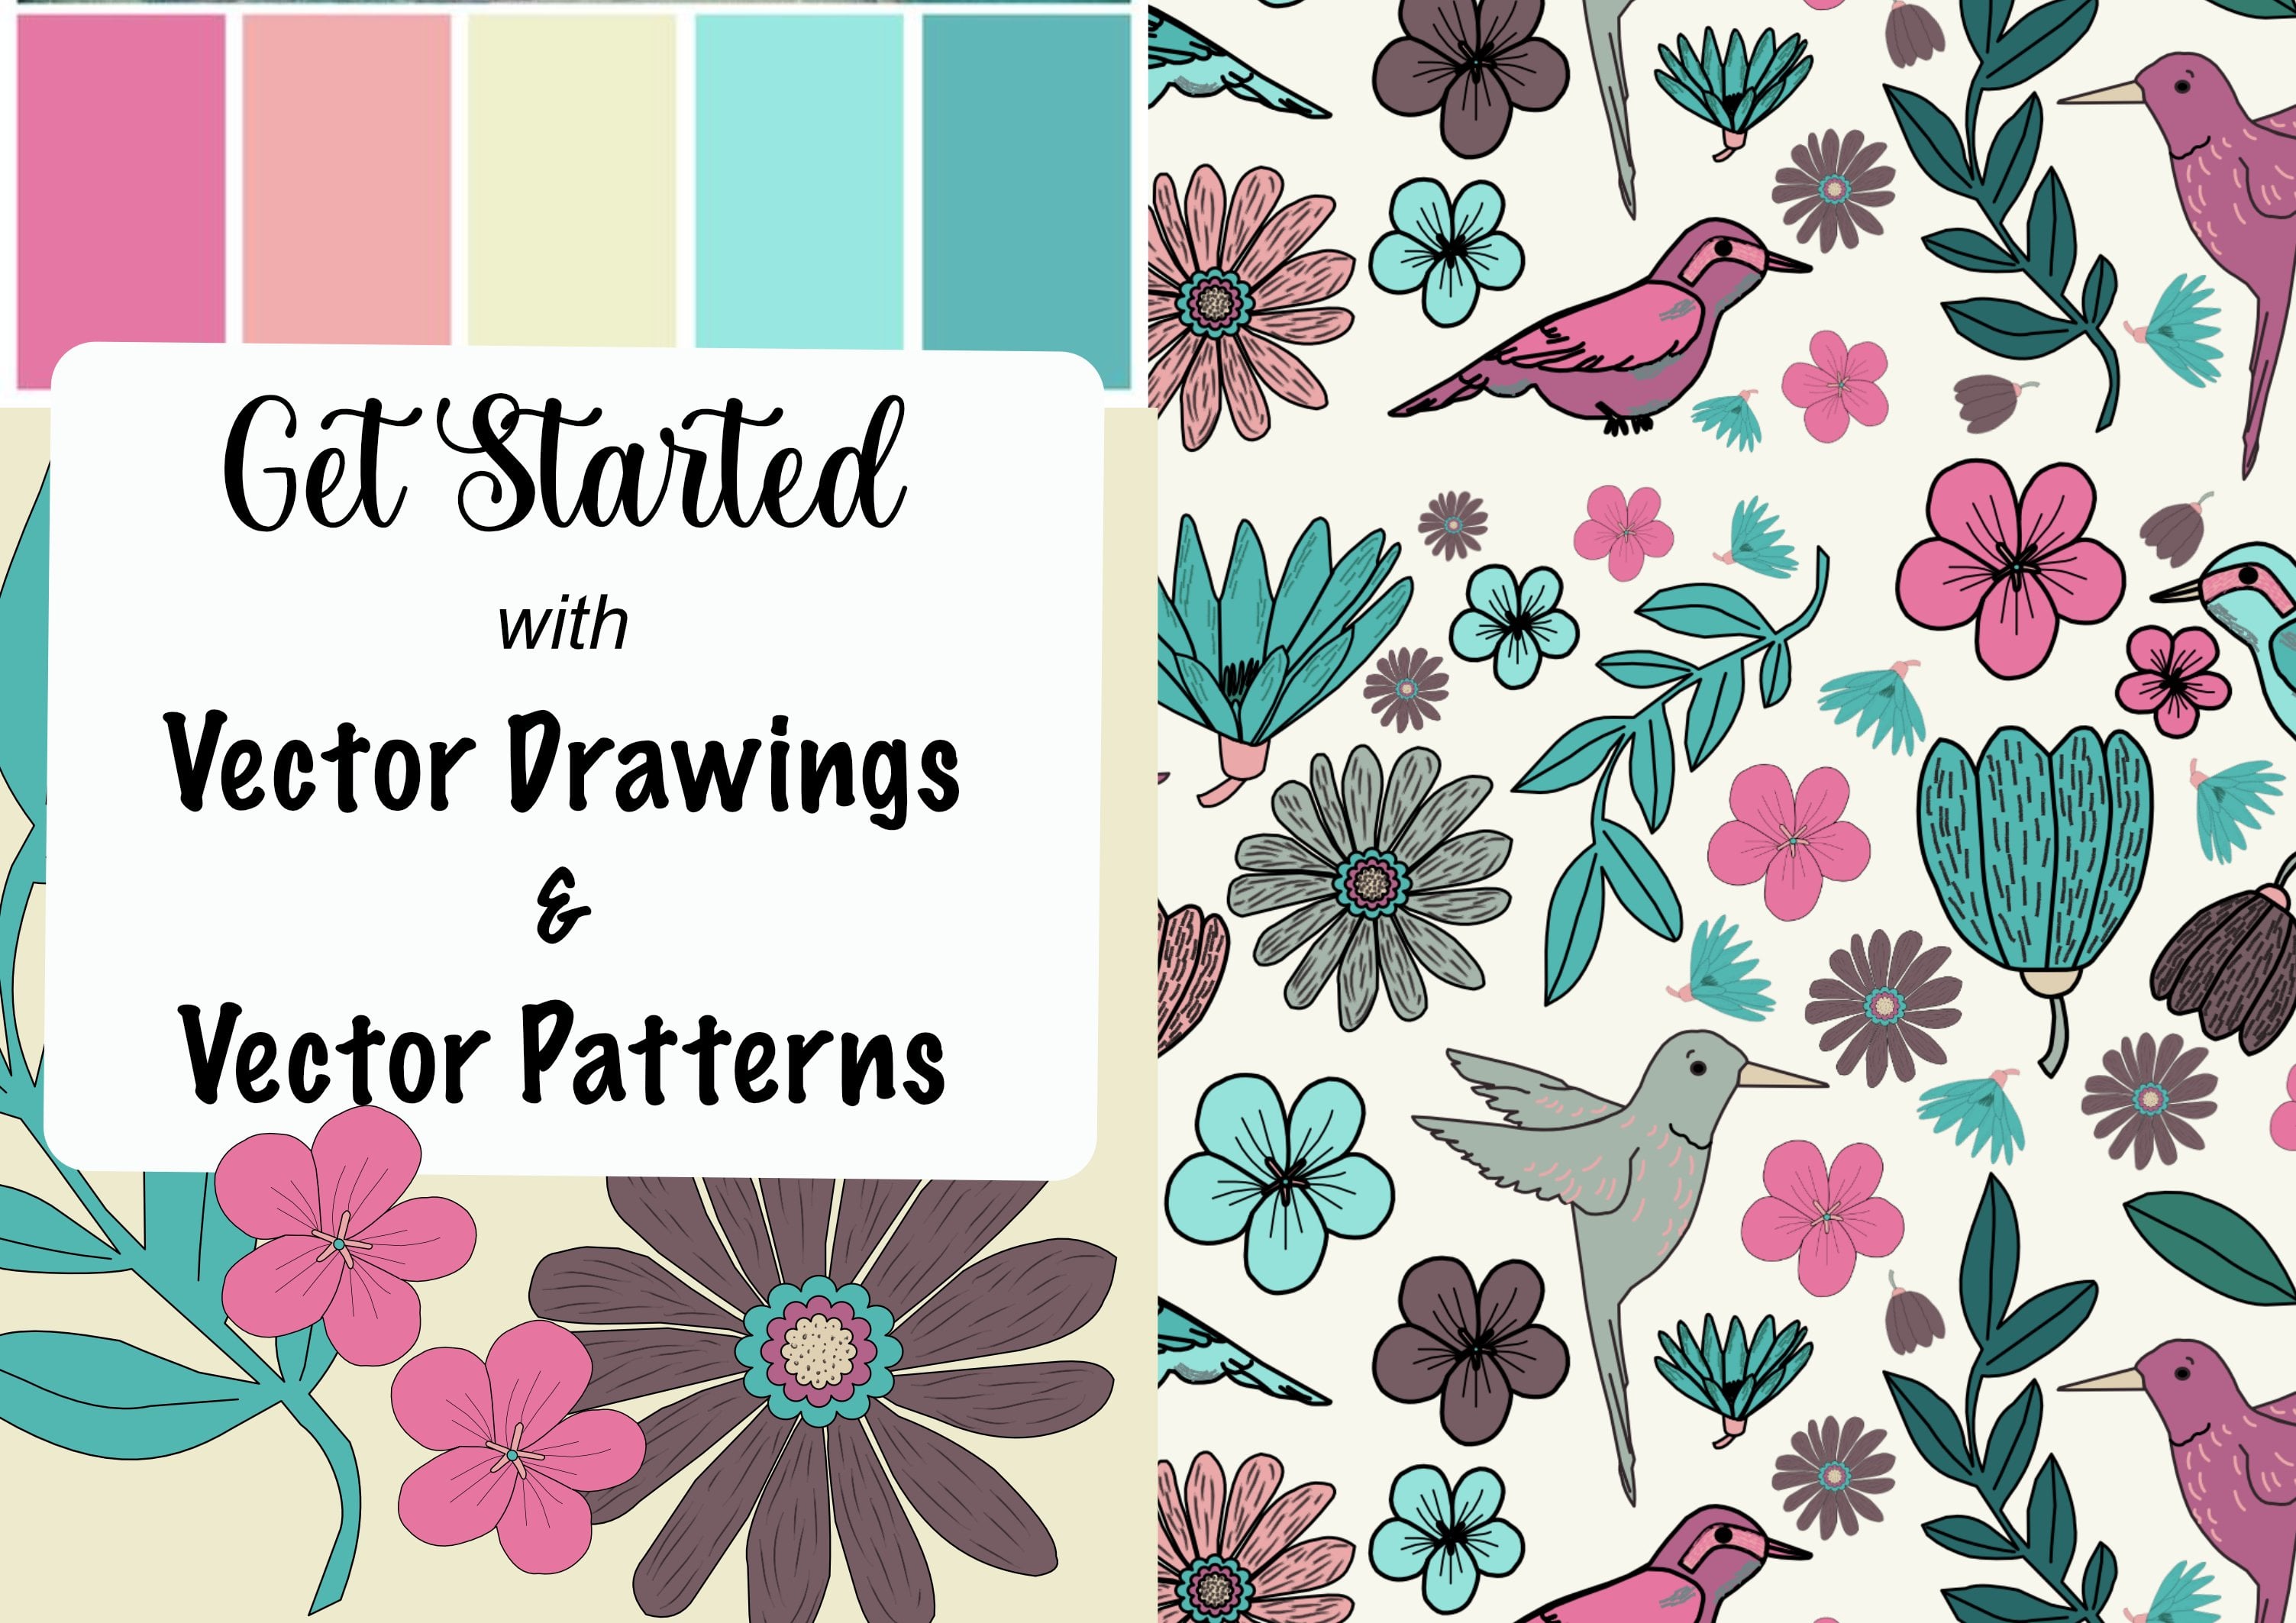
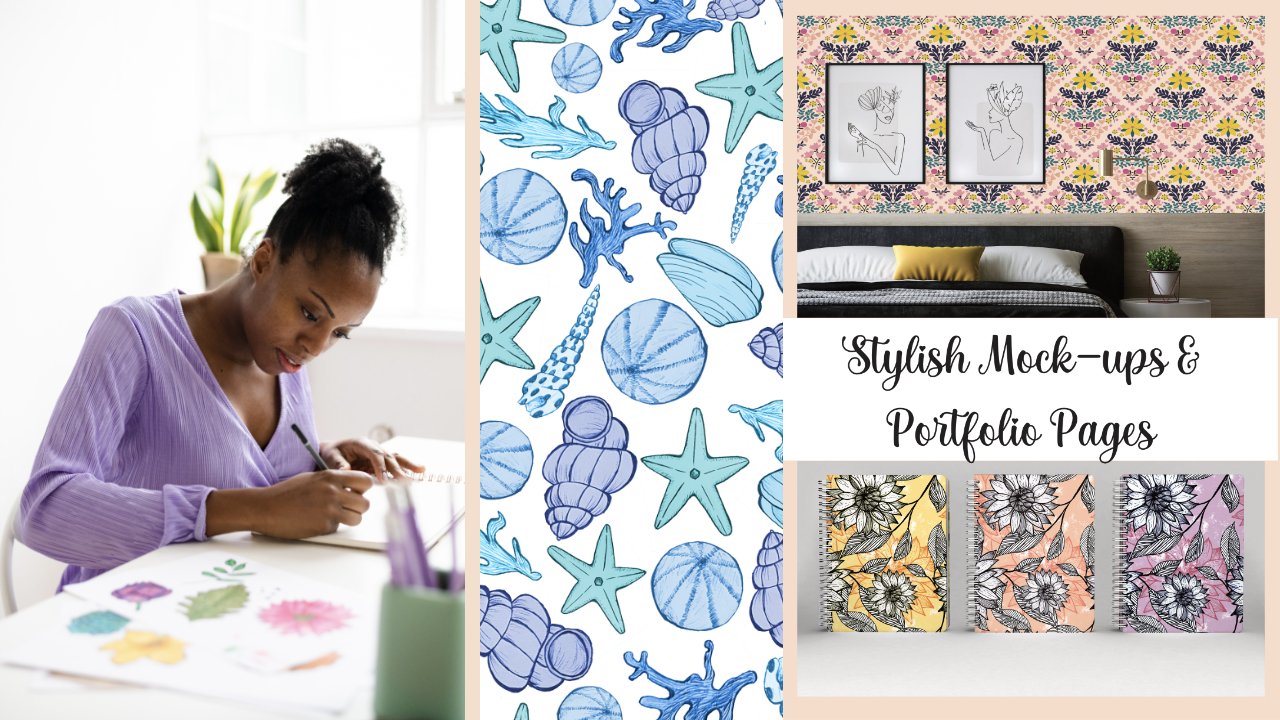
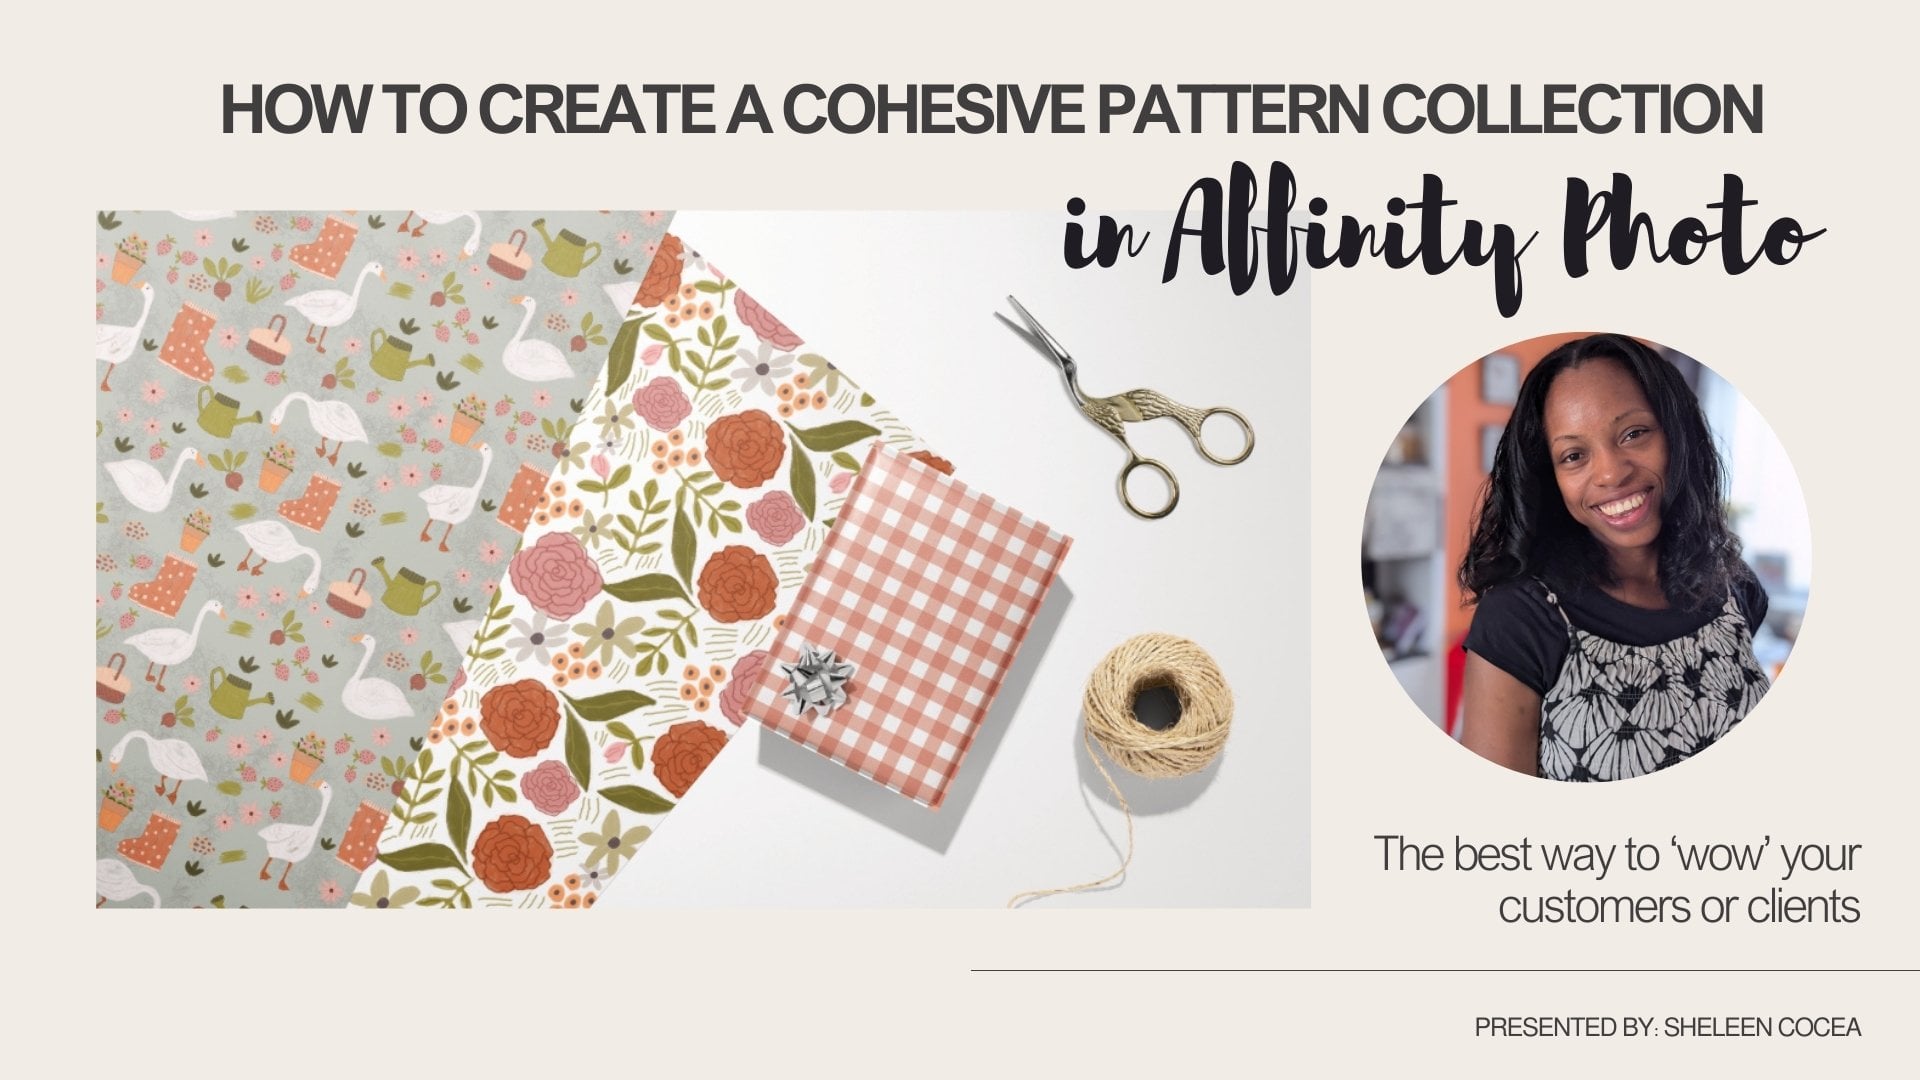
Transcripts
1. Intro: Hello, my name is Helene surface pattern
designer and art teacher. And I'm here today to
show you how to create your own eye catching
surface pattern design using affinity photo. Have you ever wondered
how to create a seamless pattern
that stands out that doesn't have an obvious
repeat pattern pattern that is eye, a pattern that creates fail. Then this is the class for you. I will give you the
steps that I use to create a nice flowing,
seamless pattern. Here you will learn
the process of creating a toss technique
of the seamless pattern. You can use either your own hand drawn elements or
even vector element. The preferred element of
choice would be floral, knees, and other nature element. There'll be no emitting about. This is straightforward, easy to learn Leso
Here you can start building your portfolio and creating your own patterns
to sell to clients, even on your own
preton demand site. Join me in this
class if you'd like to create eye catching,
seamless pattern. And we will be using
the Finity photo, looking forward to
seeing you there.
2. The 4 Step Plan: How to create an eye
catching, seamless pattern. These are the steps that I use. Number one, you need
to have good elements. Whether you're doing this hand drawn or you're doing
vector elements. The best thing for you to do, for your viewer to look at your pattern in a way
that stands out to them, is to try and do elements that have a little bit
of a curve on the end. So this is an example of a leaf. And you can see this first
one here is straight, and then this one just
has a little bit of a bend and you'll see
y in the next slide. It creates more flow. So one on the left where you have the leaves
that are straight, and then one on the right that has leaves that have
curve at the end. So the ones with the curve at the end just brings a more flow. And what you'll find
is with the one on the left with the
straight lines here. When you're creating
a seamless pattern and you blow it up and
you change a scale of it, you're going to
see lots of lines. The viewer's eye,
we'll be dotted around seeing that line
across the pattern. But when you do something
that has a bit of a curve, it kind of takes
the viewer's focus away from all the
lines that they can see and where the
repeat is happening. So I'll show you an
example of that. Here are two of my patterns. This one with the butterfly. It is a task pattern, but it has a linear
way about it, so it's not completely tossed, but it has the elements to it. For example, the
flowers upside down. Now you can see
with the flowers, they're not straight, so
it just has a slight bend. Okay? And then even this leaf
here is just a slight bend. It doesn't have to
be a complete curve. Very, very slight bend, and that will make all the
difference to your pattern. And then this one on the right, we have some florals, so you're not having any
lines there, so that's okay. But I have added some
lines in the background. I've added line, but it's
very minimal and that's it. I haven't added loads
of lines going around, but the main focus is your main elements and just making sure that there
is a flow to it. So just having that bend. So let's go to the next slide. So point number two is
having a focal point. Now again, it's all about what your viewers sees and what
you want them to see. So here I've got an example. I've just put a G shape in
the middle of the pattern. Well, it's not a pattern yet, but you can see that's
how it will start. So you have your focal point. Now if you turn to
the right here, this example, I have added
a two can in the middle of. And I wanted that to
be the focal point because it was a pattern, but it has birds in
the pattern there. And then you've got
the leaves here. And you can see also that how's that curve going on there? You've got another
curve in each of these. Yeah. And you can see
this one is a small line, but it's very, very small. You don't want to show
too many straight lines, the main drawings of
your elements there. So this is my focal point. So yeah, number two is
having a focal point. So onto number three is
working from the inside out. I have my focal point, I might double on that again
in making that smaller. And then I just put my other
elements around it and work ray around the elements.
Yeah, that's how it is. So you work from the
inside outwards. You can have a bit more of
creativity when you do that. It's quite fun, especially when you're doing task patterns. Then number four is
to feel in the edges. So once you fill the inside, it starts to go to the edges. You work on the edges, and then you repeat
it to the other side. And we repeat it
to the other side, the four sides of the tile. So these are the four
things that you will need to have when you're doing your eye catching
seamless pattern. As we start our next class, I will show you how to design your seamless
pattern using these steps.
3. Design The Pattern: You want to have your elements. Having around four to
five elements can work really nicely and making sure
that you have edited them. I have a class on
Skillshare which will teach you about how to edit
your hand drawn elements. It doesn't have
to be hand drawn, it can be elements as well. Drawings, these ones
have been hand drawn, but they've been using ink. It has a nice effect to it. And what I found with editing, it just edited really nicely. So that's worth for try. So, I'm doing a paisley design and the first thing
we need to work on, so we've already worked
on the elements, so making sure there
is curves in it, has a bit of curves,
any straight lines. And so the next point
is the focal point, which is your favorite element. So for me it's going
to be this one. This is like the hero one. So it doesn't have to be
directly in the center. You can put it off the
center if you want to. So I'm going to put mine here, so that's my focal point
with the detail, et cetera. And then I'm going to put all the other
elements around it. So working from the inside out. So I've got this here, we might want to turn it around. You put my elements here, and I start working
from the inside out. Because I have
these five elements here, I want to double on it. So I can choose
something like this. Go to Edit, copy, Edit, Paste. Again, when you're
doing toss patterns, you want to think
about the sizing, all the elements will
be the same size. Gives a bit more interest. When you've got some that are different sizes as well.
Just make that smaller. I quite like the detail in this one to make
this one bigger. Now we're filling the center now and it's going to start going to the edges because it's
getting quite close. Now when you're using
another element, you want to think about
changing it slightly. You don't want to have
it where you can. You can see the pattern
going there and there. You can see this one is upside
down. The same as that. Think about moving it around so it's not
exactly the same. It takes people's eyes
off that obvious repeat. I'm just move that around here, keeping it the same size. This time what, what you can
do is work on one corner, one side first I'm doing this side can use
this pattern again. Another thing you can
do, toss things around, but also you can flip
them if you right click and then
click on Transform. And you can flip it either
horizontally or vertically. I'm going to do it horizontally. It's just fled that way. Again, you can just fill in the gaps as well along the way. Let's see if we can
do, if we can flip it vertically and reduce
the size of that. You just want them hanging
at the edge of little bit. Turn, turn that around. Now what I'm happy
with this size, I just select all the
elements using the shift key. Then I copy and paste it. Then I go onto the
side, I'm doing the x, I'm going to put
whatever the amount, the size of your square
minus 33500 pixels. And then enter. Then you do
the same thing on the top. You want to try and do something slightly different
for the top as well. I'm going to use this element here once
you've got the hand of, It's pretty straightforward
if you look at my class about creating
hand drawn element, creating a seamless pattern, using hand drawn elements, you'll get an idea of
how to create a pattern. Then when you've got
the basics there, it becomes a more easier to do patterns and a lot
more quicker as well. It's all about
composition here and working out what works nicely. You have to have a bit of a creative eye when it
comes to task patterns. That's what I love about it. It just gives me a
bit of freedom to work out what works
well for the pattern. I could do one there, but this element here and
there will be too close. I think we've got that
one. Let's try this one. Okay, that's filled
in the space there. I'm going to select those three, then it copy and it paste. Then I'm going to
go on the y axis. You don't need to do minus, you just can do plus
3,500 and Enter. And it does it will you. Then you can see that it's
overlaps on this one here. I can either change
the one at the top, make that smaller, which I think I'm going to do
this one here smaller. I'll just see if
that has worked. It's touching, so
delete that one. Maybe I can put some in there. Edit, copy, edit, paste. And then I'm going to
put that on the x five. There we go. Now it's just
filling in all the blank. Okay? And that's it really. You've got your pattern
here, obviously. You need to test it to
see if it looks right. You can then add texture. So I've already got
my texture here, so I'm just adding it to the background gives a bit
of a different look to it. So what I'm going to do now, I'm going to save my file, then. Once I've done that, I'm
going to it as Jpeg. This Jpeg could change depending
on how the repeat is in. If I'm happy with that, go to the file export as a j and where you
want to save it.
4. Test The Pattern : Test the pattern over
the square here. First of all, once
I've done that, I will save it and then I'm
going to test the pattern. Now what you do, you just
get the square over the top. That square needs to
be on the top layer. I'll go to the bitmap
is my favorite part. Click on the Jpeg that you have and then I'm just
going to use this. Just bring it in. You can see the repeat. That's it really.
You can see it's repeating very
nicely in my eyes. I probably would put one
more and then there, because I feel like there's
a little space again, you go back to your original
file and then add that. And then when you
finish with it, you then overwrite the new one. You save it as a Jpegs, the one that you previously
Did you overwrite it? Yeah, that's repeating nicely. And then you can use
that you like fabrics. The surface pattern has so many surfaces
you can use it on. Yes, that is it. Thank you very much for joining me in my class. Please show me your final
pieces and what you have. So if you have some designs
that you've been working on, or even just a paisley
design that I've done here, and it would be lovely
to see what you can design yourself and see
how the repeat has come. That would be lovely. Thank you for joining me in my class.
5. Outro: Thank you for joining
me in this class. I hope you've enjoyed it. I hope you've understood it. And if you have any
questions, please do. Feel free to let me know. It'll be lovely to see
your final piece or pieces and just put them
into the resources tab. And I would love to
see what you have produced and for others to
see what you've done as well. So I'm here to help you. If you have any questions, tips you would like to
learn. I'm here to help. Thank you again for
joining me in this class. Again, you can look at
all my other videos that I've done on
seamless patterns in affinity photo and
affinity signer and also markups I have done. I will be doing some
more classes as well. If you have any questions
again or any ideas, I'll be happy to bring
in some content for you. Thank you again and
happy creating.
 Sheleen Cocea, Teacher of Pattern Design in Affinity