Transcripts
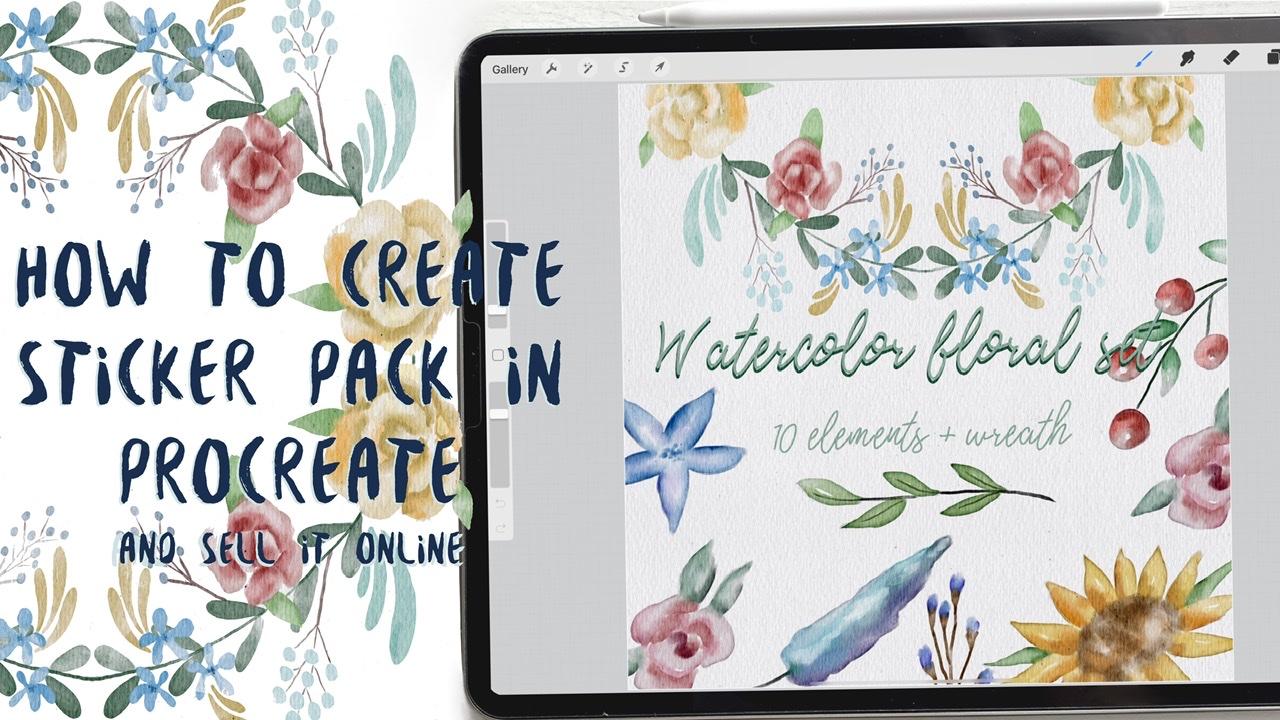
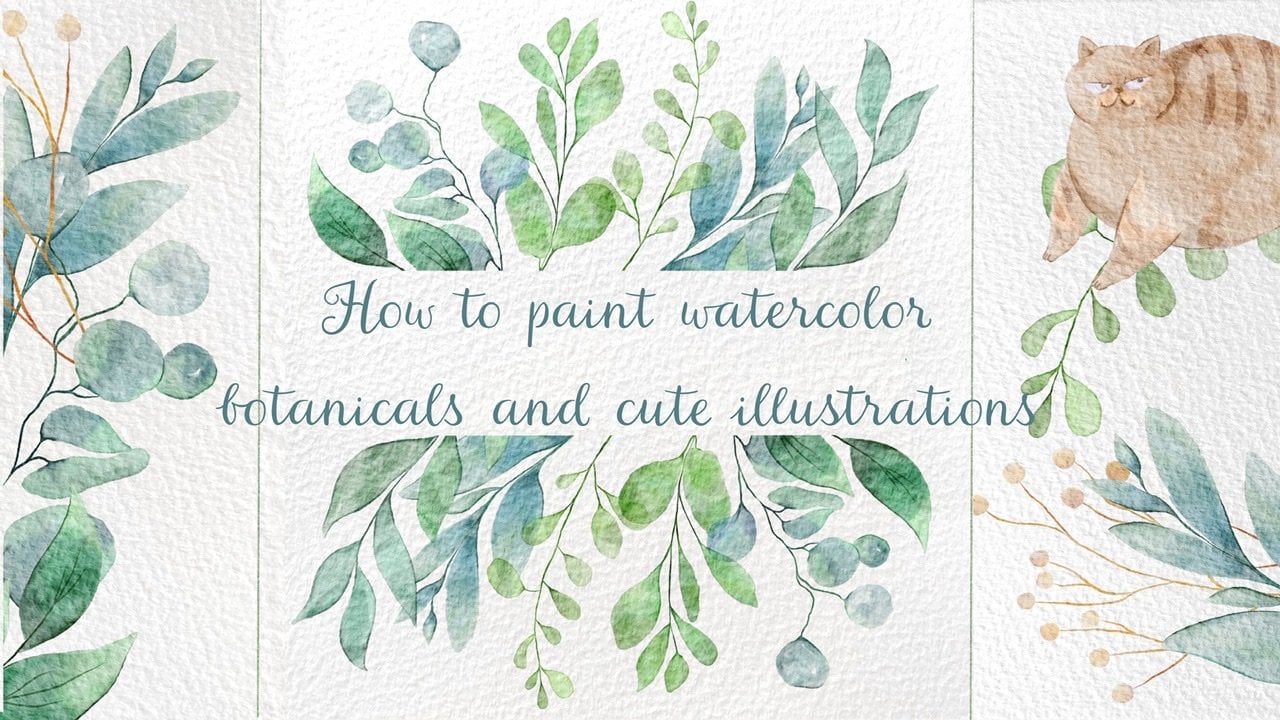
1. Introduction: Hello, guys. Hello, everyone. I am glad to see you all you here during my class and I want to tell you that our today stop. It will be about how to create your sticker set that you can sell different platforms and it will be in a water car style. And I will tell you all details that you need to know about said. And I want to tell you also, one more trick. How to separate your picture from the background. Because, as you know, lots off buyers they actually need to have your picture separated is transparent background and announce it. For some artists, it might be a problem. So today I will tell you hold to solves it and all the details that you need to know about selling your item. I also go shares that you. So let's get started. Hello. Guess I'm Inga, freelance illustrator, and that's our next class. Today will teach you how to create your own digital sticker pack that you can sell on different art platforms. How to save what color picture? Res Transparent background. How to separate your painting from textured background. How to create covered picture for your sticker set and how to locate different elements on a canvas in a beautiful way, how to pay and flowers in watercolor style, how to create texture paper and how to be ready for selling your own pictures. I will show my whole process step by step from the start to finish, and as a bonus, I share with you my new custom brush that I created. I will also add PNG files off sketch texture paper and my pain tints that I drew. This class is more for intermediate level but can be useful for beginners. If you watched my previous classes and for experienced artists yokels project will be next greed, your own water car sticker said, using the chiefs and brides that I give you today, I will use procreate for this class with ive and apple pencil. So if you have it or some other drawing bets, please join our class and good luck
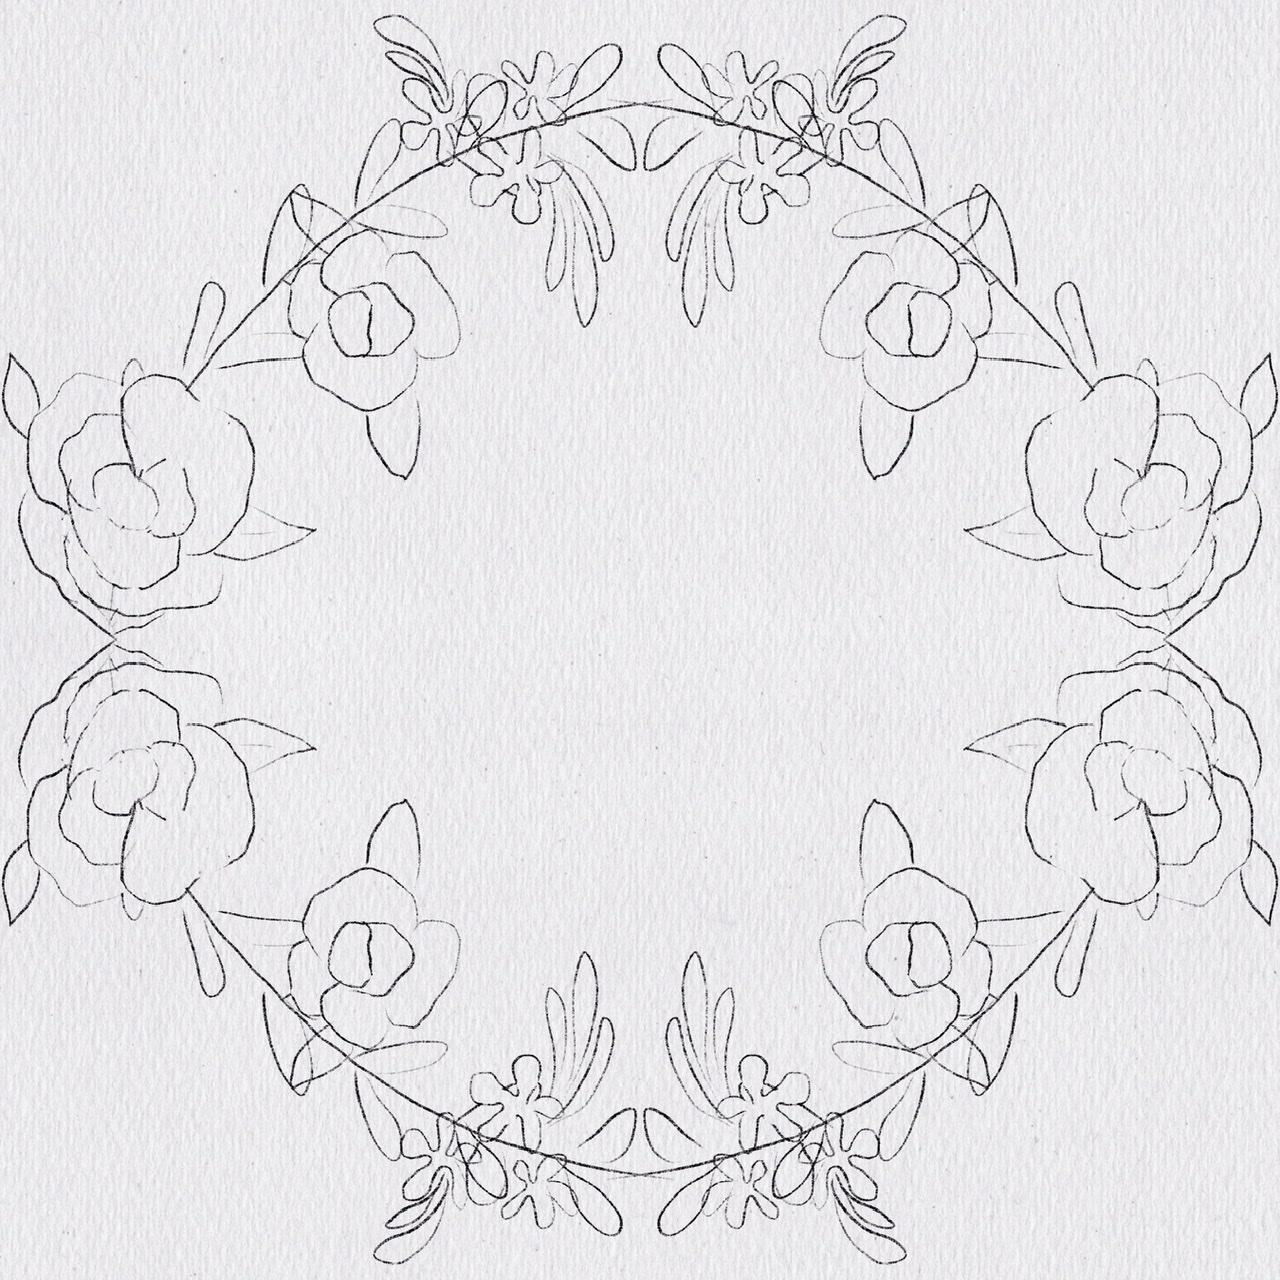
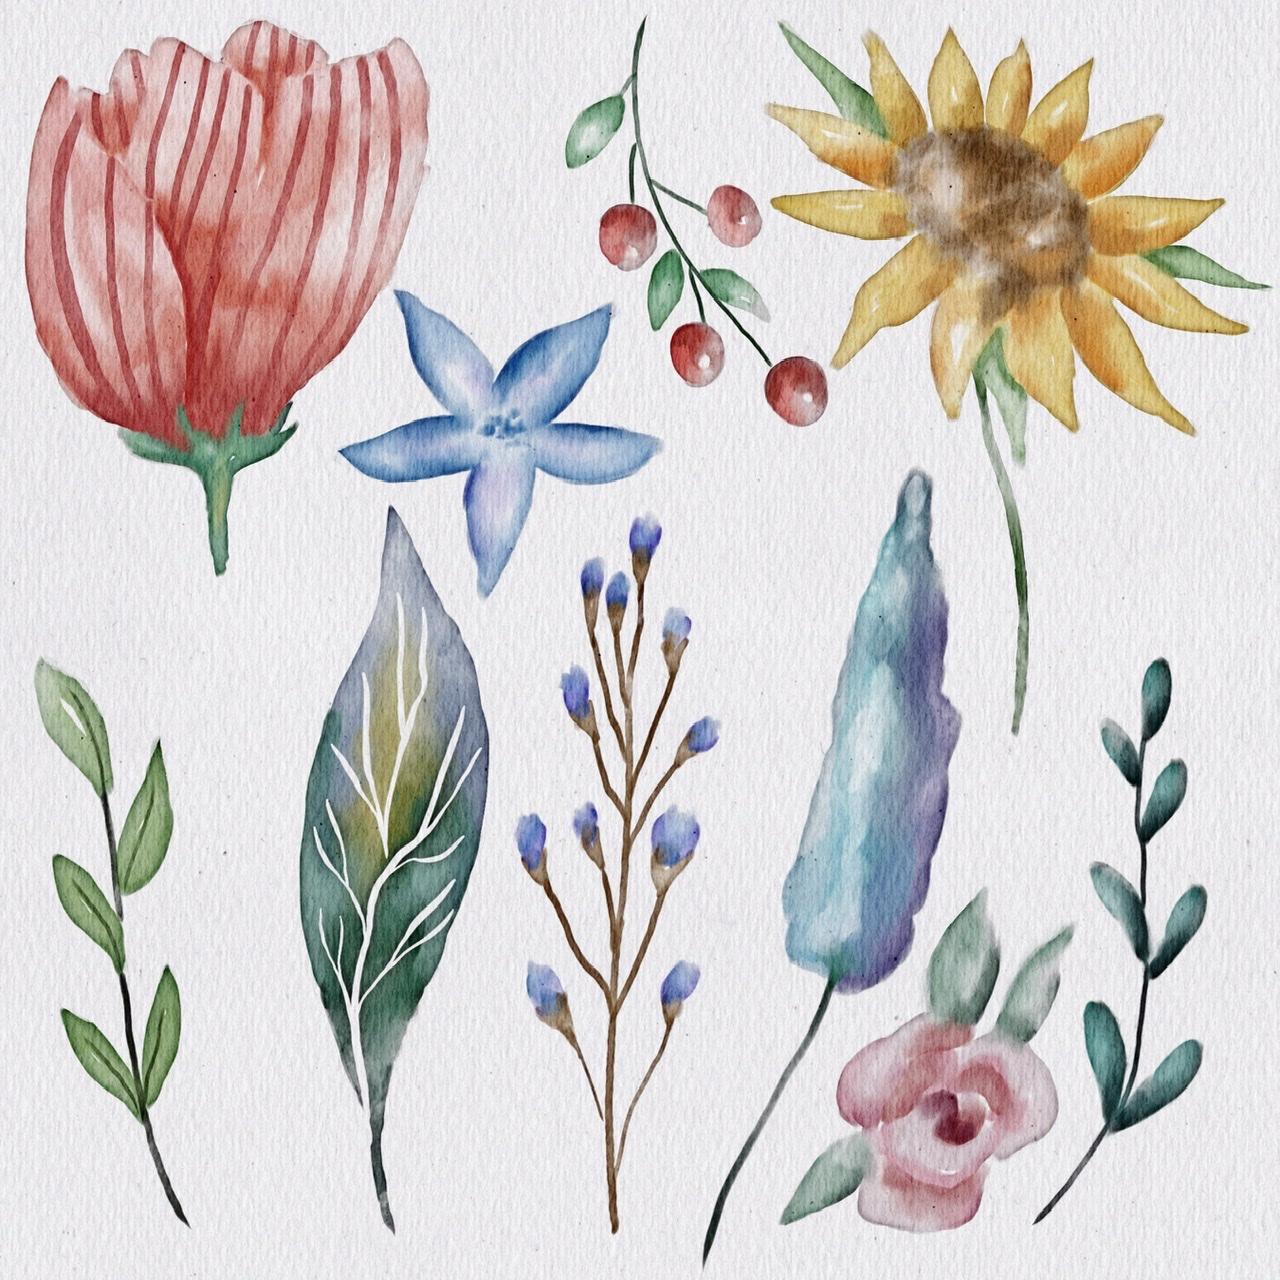
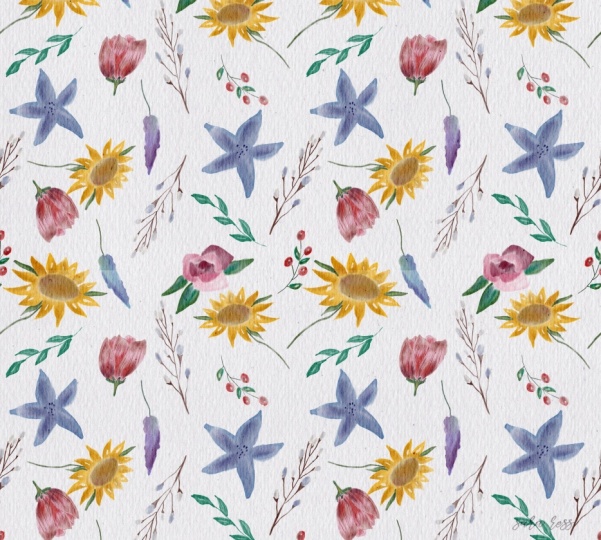
2. Creating paper and sketch: Well, guys, I think you can start. And first of all, yep, we will create our texture paper first. And how well does it we move at Go to add insult to file And now we're gonna go and grab my paper And today, which is rectangle shaped papers, So you need to Margaret slightly through the sides. So here we have our texture paper and we need to public aids at a couple of times. You remember? So I will march 2 layers together and two layers together. And after I will go and move toe leaner, burn and color burn. And once again, I've duplicates at a couple of times. Great. And I've emergent and merch. And now I'm going a group our layers And now I want to play is a positive. So I think that's fine for me. So, yes, we have our texture paper. We can even renames that extra paper. Great. So now we need everything that we are going to create should be underneath our texture paper. So let's get started. And our today's class we will be about how to create what color stickers and wreath that So the whole watercolor said that you lately can sell. Our task today is to create what a car set off stickers. And I do hope this class will be useful for you. Wow! During our today's class of excellent will not use any reference pictures Just cage that I created and I will share the sketch with you. So don't worry, I will add it to the description off the class. So we have our sketch first and second it's zipped will be during our first half off the class and second half, we're gonna go and draws this wreath. That is also what color and we'll use my brush that I created and I shared with you last week. And it's gold Full cactus work our brush So all our flowers today will be created. Just respond single brush and I will teach you how to do that. So let's get started. Well, the first step is we need to be on you, layer that is underneath our texture paper and underneath our sketch layer. So I've taken calls it kitsch Samos, this one kitsch. Okay, great. So, uh, via on a new layers it is here, and this letter should be visible And first of all, we're gonna go and grab my book characters. Watercolor brush. And actually, guys lately created a new watercolor set off brushes. So if you like, you can check it. I will believes the link in a description of the class. So I think we can start and first flowers that we gonna draws. You see, we have nine flowers, nine floors here, and later you actually can using as a base for your wreath. Or you can create new flowers as I've door during our next half off class.
3. Painting flowers Pt. 1: I'm gonna draw this beautiful stark once again. I want a new layer that is underneath all all layers. So let's start Wow. And also guys is you might see when I use my brush. Right? And I need to have a sharp edge. I don't really have that. So I need to use a razor. You're gonna go to my brush to sentence on my brush. You have a taper here, and if you press size in after move a taper, there's a mito Yep. No, you can have this. Edges. Yes. And mito no delight her And I also want to add some a little bit, uh, purplish color here and also even dark blue. Okay, So now ago. And grabbed my boob Gentle blender water color. This is from my old set. So in my new set of Russia's I have new blenders that are also very, very nice. Great. Also, what I want to do is I want to lovers a positive, my sketch layer. So next step right before that I want Oh, some dots here is a mito. So now we go to Rose on and it being a color. Yep. No, it's going wrong. Just add different shades, different color variations. Try to leave A gentle Arkin, after said, I also don't forget about leaks. I want to blend them all together. So just at some colors and finally you can blend. Wow, Now, next three halves is floral so and probably it will be something between green and blue color. - Now you see the need to increase a paucity and lovers at size of the brush move slightly toe dark blue, dark greens and a stroll. Okay, great. So also same you can adds shadows and vendor. - And actually, guys, what I think I might want to do I will duplicate the layers. And after I will make one there in a peaceable in the 2nd 1 And ideologues that and second layer I will make visible. And I want to increase the size off our florals because as for me, this size is pretty too small. I want to increase size or is it my slightly Okay, that would be fine. And we need to return toe our painting layer. And I want to throw some of my paintings because I think some colors overlapping each other and I want to blend some nicely and I want to create a watercolor look. So guys feel free to do it. So we're on same painting layer. Don't draw on this sketch layer. If you like, you can also log set, and in this way no one can draw on it. So when a threat color for our Berries. - Wow . - Well , now leaves with Wow. Wow. Wow. - No , this leaf is very interesting. I'll show your wife. So was it when we go to color? - No , that's blend. I'm going to use my studio. Penn knows mine. Just suit up. - Everyone we've done be set. I also can go to some other What? Color flowers and God's edges. I got some parts that you don't like. Okay, Great. Great. Great, great.
4. Painting flowers Pt. 2: After that you go and grab my book. Actress What color? As in the razor and as a man brushes well so next step I want to go and draw survival leaves is too big flowers to the end Once again we're on our pain to layer and I want to go on figures is to flowers So let's do it No green you might believe Ah, flour, wheat Great. So one more And here I want to use I think Dark brown would be great Wow, Are you done justice to as well. But before that weighed I want to show some light sites. So the last tool sunflower and popeo Showers and robberies. Something between yellow and orange color. No, that's your race. It's corners. You remember I told you they should be very sharp. Wow, - no green color. Wow! Wow! Wow! Wow On video Sinanovic in turn off our reference picture And now they can grab our blender and puree some parts or blend some parts that you think might be better. And after I'll show you one magic trick that I promised to show you. So just wait for a while and let's just improve our Well, guys, Now, I told you that I promised you about my magic tricks up. I'm gonna show you how to turn this beautiful watercolor painting into even more with the colorist one. So, what we're gonna do? We go and after grab selection tools And after we go and grab automatic. So big grips, maybe legs is after Fraser and maybe 6% is fine. And after he situation and brightness and you can play visa corners, make it list dark, caress and more situated or less situated. I think you are the more situated. It's fine. Okay. All right. I like it. And now you might see that. Is that the corn? The edges off all the paint in this very, very sharp. You might get it here. And I like this feeling so you can make a living dark hair even more sharper or just keep it like that. I do like the feelings that created now, So I'm gonna keep it that way. So frustrated that we're gonna do a revolt, implicate our out florals, and now you need to separate each of them how to do it. So you need each of the selection tool and after free hand gripped Ron cut and paste. Now it's on a new layer. So selection tool. Be careful, cut and paste. Same. - I ended it.
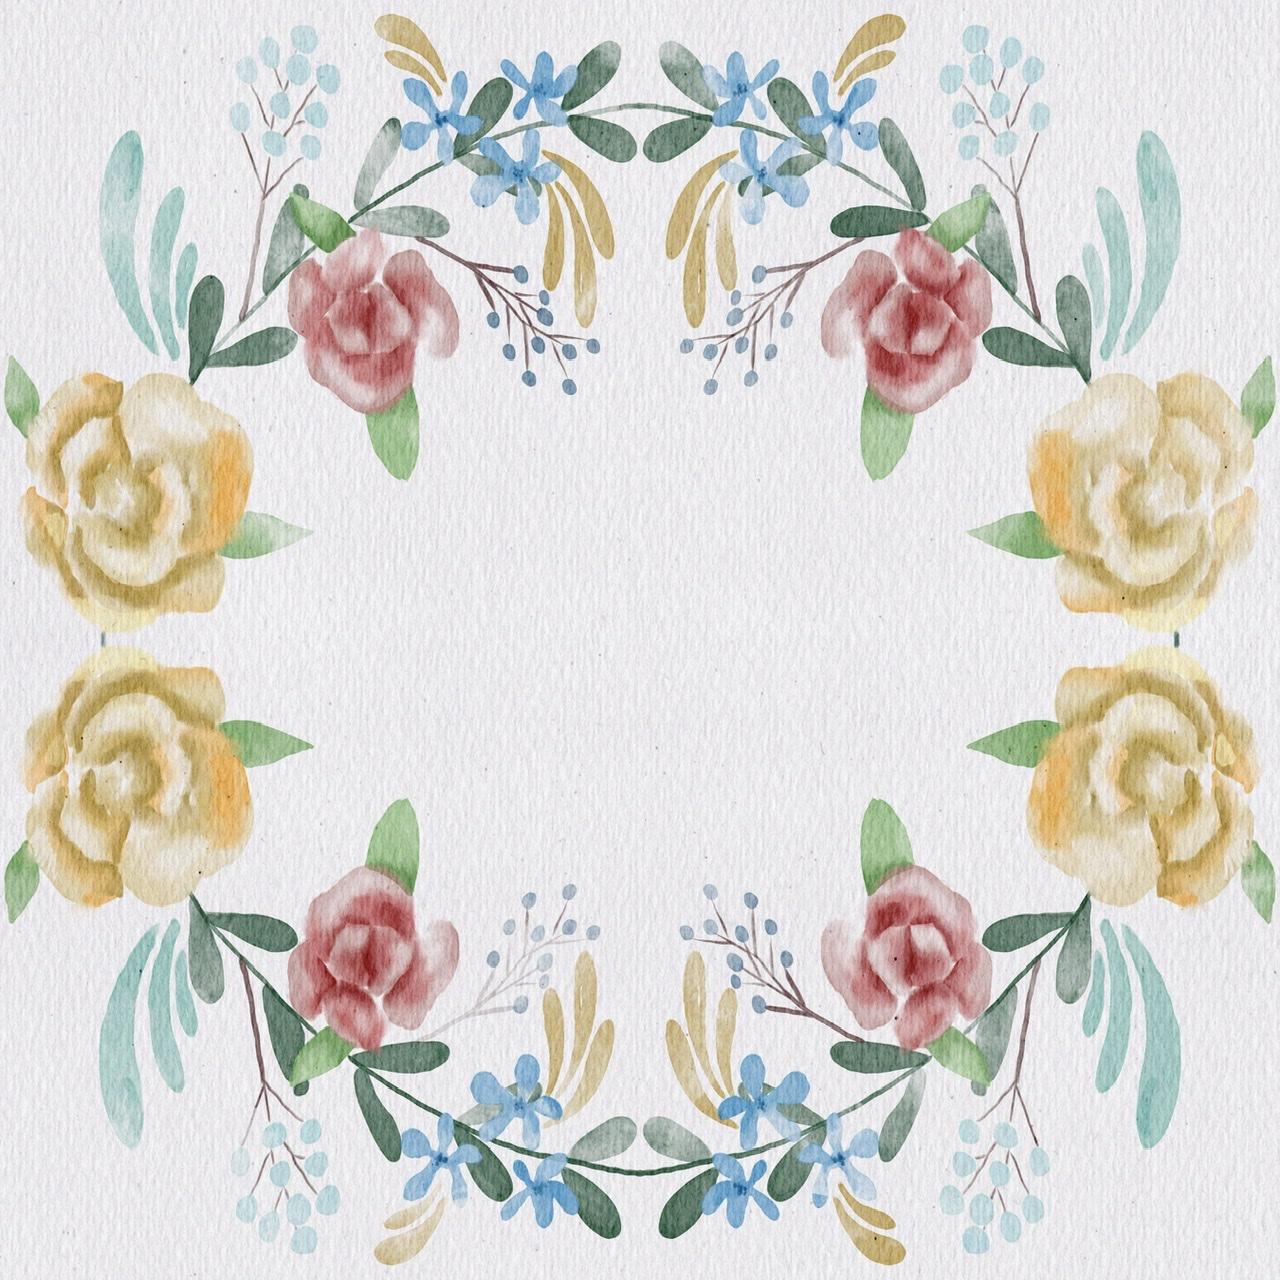
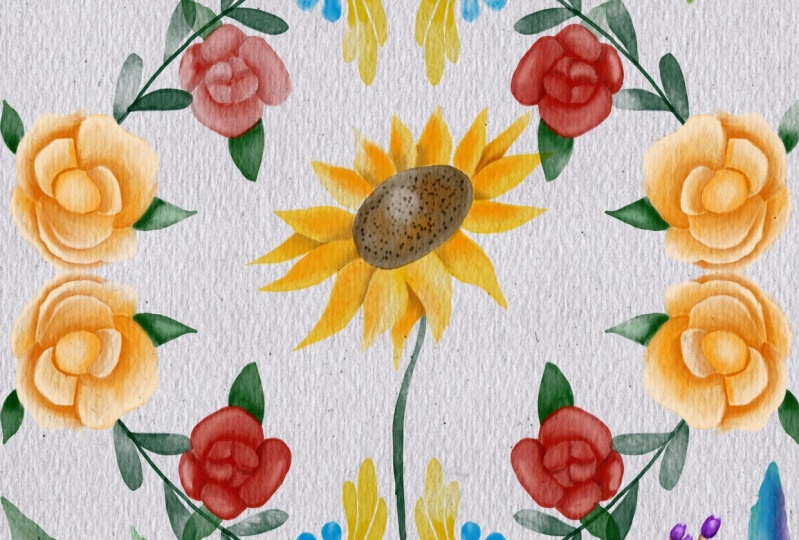
5. Painting wreath: Wow. Well, guys, I create this kitsch layer. Uh, but I'm going to show you how toe ease your job and I want to make it less visible. So we need to create a new layer that is under niece house. Catch layer in after I go and press canvas. Uh, drawing guide added drawing guide. And after options, you can use radio or quadrant. I'm gonna squadron and turn on assisted drawing. So now we're ready. And once again, we are funding niece are texture paper off kitchen layer and know that your layer should be assisted. So now I'm gonna go and grab, Grab, grab, grab green colors First of I smoke too. This leaves so steel the steel use our pool actress What color brush? And as you might see, all our floral Saturday will be created Just things to one single brush Hands and knowledge said to acquire here. Great cool parking next step. I want toe colors this moral as well. Wow, it's colors is flowers Did it now The last two roses on took the end pink color and second rose. I want to make it hell. Wow, - It's fucking cool. Let's turn off off kitsch layer and that that's our reef. And actually, guys, I think we can add more floral elements. I think that would be great. So we still stay on same layer. Is it just assisted layer and I'm gonna go on and crib. Yeah, this color And I wouldn't draw more floral comets. Wow. - So we made it. We made our grief. And let's move to the next step. Well, we're ready now to finish all decorations and pack our stickers in a set and after consort selling that So first of rural Venator Turn off our sister drawing guide and said We need to Goto added Driven guide. And after options, assisted drawing turned off and done done and after driving guides turned off. So that's it.
6. Removing background from the paintings: Well, guys, once again, if you want to sell your stickers, almost all buyers they need this stickers. A big picture, painted piece, transparent background. But here we can't give it to our buyer because you might see that I have a texture paper. So what to do in this this case, how to get our floral, these transparent background and now I'm going to show you how to do that. So, first of all, what you need to do is you go and share G pack saved files, for example, I go and I create a new folder. It is Cold sticker said procreate. So I made it. And now we have almost ticker safe probe said procreate. And I'm gonna save our file in treat so cool. And now I'm gonna show you what to do and how to remove this texture, paper, background. And once again, I want to explain why we need to remove our texture paper and why we can't save our painting like that. Maybe you might think, OK, I can just turn off our texture paper, but in this way you might see that you're what color painting Isn't that what color but If you turn it on, we can get We got our what color things In this way you need to keep your texture paper that its own our painting by. You need to remove everything that is textured behind your flubber and I'm gonna show you how to how to reach it. So first of all, you need to turn off our texture paper and we need to be only new layers. It is about our texture paper. And after that we need to get at in certify working. So we have our sticker said pro creates and you're gonna go and grab how what color painted ? As you might see, it's jazz a picture. We can increase the size and once again there's just a picture. So the next step, what we need to do we're still on our layer. We can create one more, but we still on our picture layer and after you go and group selection toe, turn into automatic wait and just moments lightly. I think now is fine and after that you see our flower is selected in the depressed, inert, our flowers selected and after copy and paste Dan, you can delete it if you like and weaken, turn off our background color. And as you might see, we have off lover and it has its what color texture. But we have this flower is transparent background. It's what we need. And now you say they have some dots, we need to remove them. How can you do that? You can use a razor and just raise or you can grab selection Tool freehand. Just go and grip some dots that you see so you can do it all around. Oh, you can just move your flower does the edges and perfect Great. I do like it. So now we have our flowers turns bearing the ground. So what we should do next? Next thing is, we go and after share and after you need to save that transparent the ground in PNG saved files. We have our sticker said procreate and safe, and you need to do all of it with all our laurels. So I have done with the 1st 1 Let's turn it off, Allessio. Same without next thing teen and let it be our poppy. So I moved to the centre. I'm gonna go and g peg safety files we have, our seeker said. Procreate. Keep both because I didn't remember her name. Is that so cool? Let's turn it off. Let's turn off our texture paper. We need to be on a new layer. After that, Add insult to file and we have poor people. After that, I want to increase the size. So team great automatic selection toe automatic. And now let's move it to the right. Great invert copy and paste enough to remove our picture. And we still have the dots. You remember? Okay, I think now is fine. So will the same is all our maintenance. And once again, now is the background to stern off. So share PNG file store sticker said Procreate. Keep both. So let's just say it was as a maintenance. - You see this away off separating the ground? It's fine, but there are some downsize of that. You see, you might erase some parts that you don't want. You didn't actually want to raise, but you need it. So you need to be careful. Bizet and invert copy and paste. So now you might see we have our floro of wreath. We use a transparent background. I don't like it. And also you can save it. Same share p and G's so cool. But now, after that, we need to. The same is all is really all our flowers. So let's keep joins that texture paper layer I will make it possible. I will make my background color reasonable enough to set. I'm gonna go and grab my Berries. Also share G peg sticker said procreate keyboard. Great. Next I will turn it off. Turn off Creating you layer. After that ed answer to file, I'm gonna go and zoom it. You need to save that Reese Transparent background. That's very important. You might see that here. Very beautiful. Uh, share PNG Stick your set. Procreate. Keep off. Great. Let's turn it off. Turn on our texture Paper, background color and next with you. Perfect and, uh, share PNG turn it off. Turned own background color. Um, texture paper. And what do we have? Yes, I love are That's the same perfect share. PNG safety files stickers for creating him. Boss Key. Turn it off during the phone background color textured paper. Wow. - I made it, guys. You made it Finally
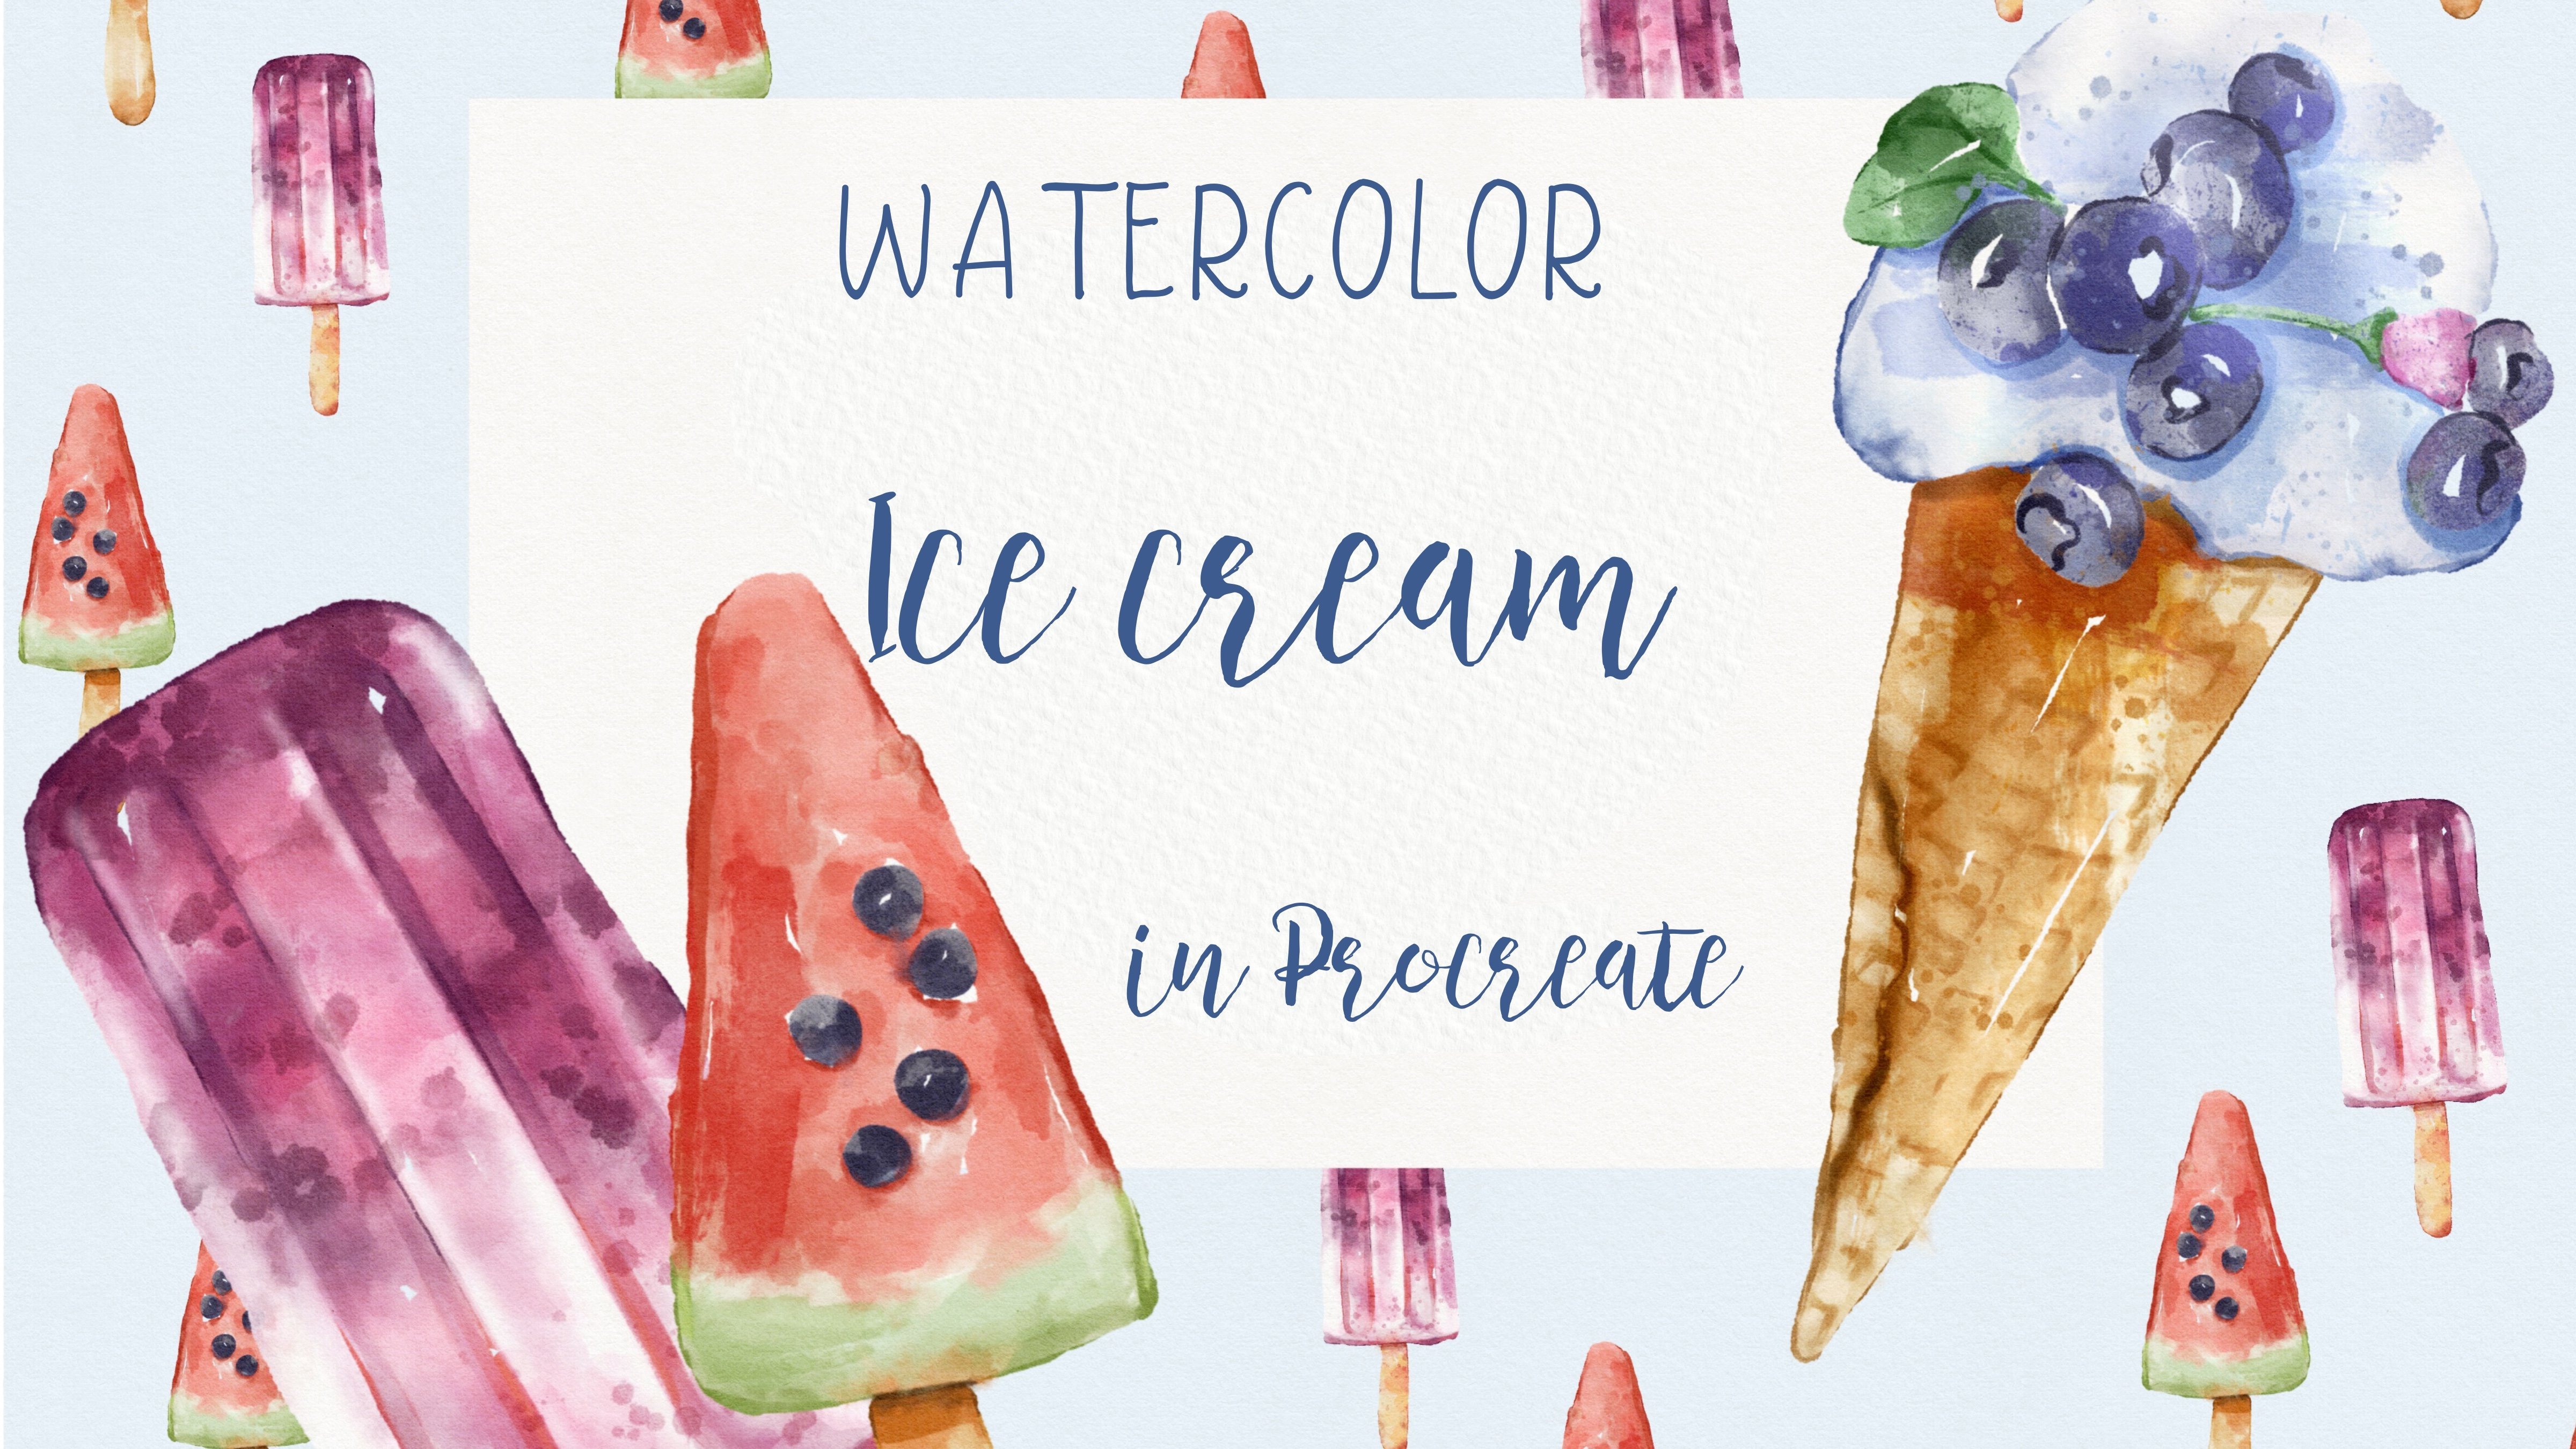
7. Creating cover picture : on our last step. Ease to make a cover picture off all our sticker said. So how it'll makes it. We need to create layers. It is underneath our texture, paper and burial rites. Some at some text 10 elements class and I wanted to create our cover photo. So let's do that together. And first of all, I want to duplicate my wreath new to public keys. That and after use you just any way you like. Korpi Select. Feel there. So we made our cover photo. And guys, I hope you enjoyed our today's tutorial. So what they can do with this cover picture? You can post it in on any website you like. I told it can be at sea, a creative market. Creative Fabrica design cuts whatever and you already created your first What color sticker said so congratulations was it was end of class. I do hope you enjoyed our today's class, and I hope that my tips that I'm using or selling my items are useful for you as well. And let's see Chazal later next week, so
 Inga Yoon, Digital illustrator and teacher