Transcripts
1. Welcome to Class: Not too long ago, I
gained over 30,000 new Instagram followers after a few of my painting
videos went viral. In this video, I just wanted to share some of my tips and tricks for creating eye catching reels
specifically for artists. We'll talk about some
of the technical stuff, like filming and editing, but also how to create reels
that feel authentic to you. Your artwork and your brand and not just getting caught up in creating trendy content
in the hopes of going viral. I'll be breaking down some
of my most viral reels, including this one
from last year that got 1.5 million views, and brought in over 23,000 new followers just from
this one single video. So without further ado,
let's get into it.
2. Reminders and Class Project: Let me start by saying,
I fully understand the social media algorithms are tricky and unpredictable
and frustrating. And while there's not one
secret to going viral, there are a few things
that I've implemented into my painting process reels that have definitely
increased overall views, even if not all of
them are going viral. And just one more thing
before we get into it, I know you already know this, but just a reminder to
you and also to myself, more followers on social media
does not equal happiness. It does not equal
business success, so it's definitely not something
to get too caught up in, but it can be a great tool for marketing your art business
and more importantly, connecting with other
fellow creators. And before we jump in,
for your class project, I encourage you to share
the link to your new and improved Instagram reels in
the project section below. I would love to see
what you create.
3. Using Manual Focus : Number one, use manual
focus when you're doing painting process videos
or drawing process videos. This makes a huge difference in the quality of your videos, and it took me a couple years
before I started doing it. And here's what I mean by that. When you film yourself painting, if you use automatic focus, the camera is going to switch between focusing on the painting and focusing on your hand when your hand is in the
middle of the screen. What I mean? The painting is switching between
being clear and fuzzy because the camera
doesn't know if it should focus on the art or your hand. A lot of my first
YouTube videos and even my first few
Skillshare classes used automatic focus, and now I cringe when
I look back on them. Now I always use manual
focus when I film. So no matter where my hand is or what I'm
doing on the paper, the camera will always be clear and focused on the
actual painting, which is what the
viewer wants to see. It's a much better experience
for your audience, and it helps your video look
a lot more professional.
4. Mounting Your Camera: Number two, whatever
you use to film with, whether it's a tripod or just some sort of
clamp for your phone, make sure it's
mounted to something other than your desk or
your painting surface. So many painting videos
end up being shaky because every time you move your arm or you rinse off
your paint brush, the camera is shaking or
swing with the movement. Even if it's just
the slightest bit, it can be a little
uncomfortable to watch or sometimes it
can even make you dizzy. And again, this is another
one of those that I am totally guilty of
doing in the past. I typically use the
Canvas mount when I film. It's typically meant for phones, but I just rest my Sony ZV
one camera in the phone slot. Used to have it
mounted to the base, which rested on my desk, and that caused shakiness
in my old videos. Even though my desk
is pretty solid, the constant moving of my arm caused movement
in the camera. Now I have it clamped to my
window sill above my desk. So even if my desk is
moving like crazy, the camera isn't moving at all, so my footage is
still nice and still. And this will obviously depend on your specific painting setup, but try your best
to find something else to put your phone
or your camera on, whether it's a desk
nearby or a dresser. Or just putting your tripod
on the floor instead of your desk to help keep your
camera nice and steady, which will then make your
footage nice and steady.
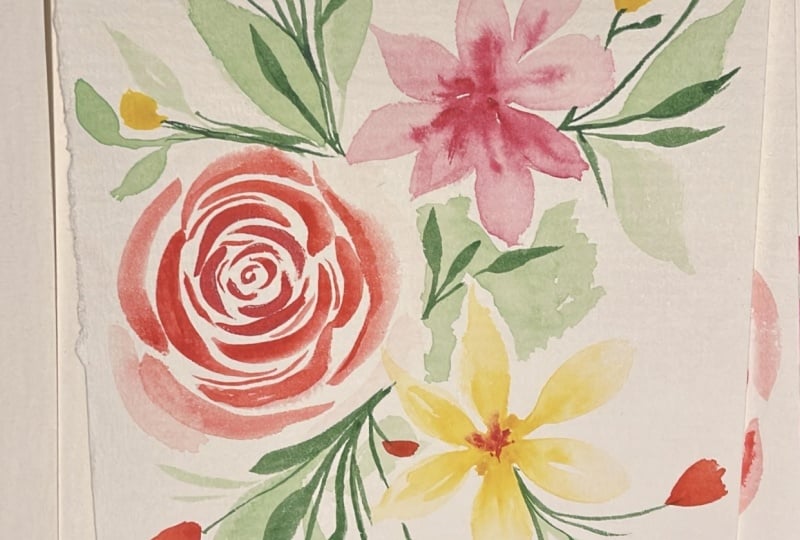
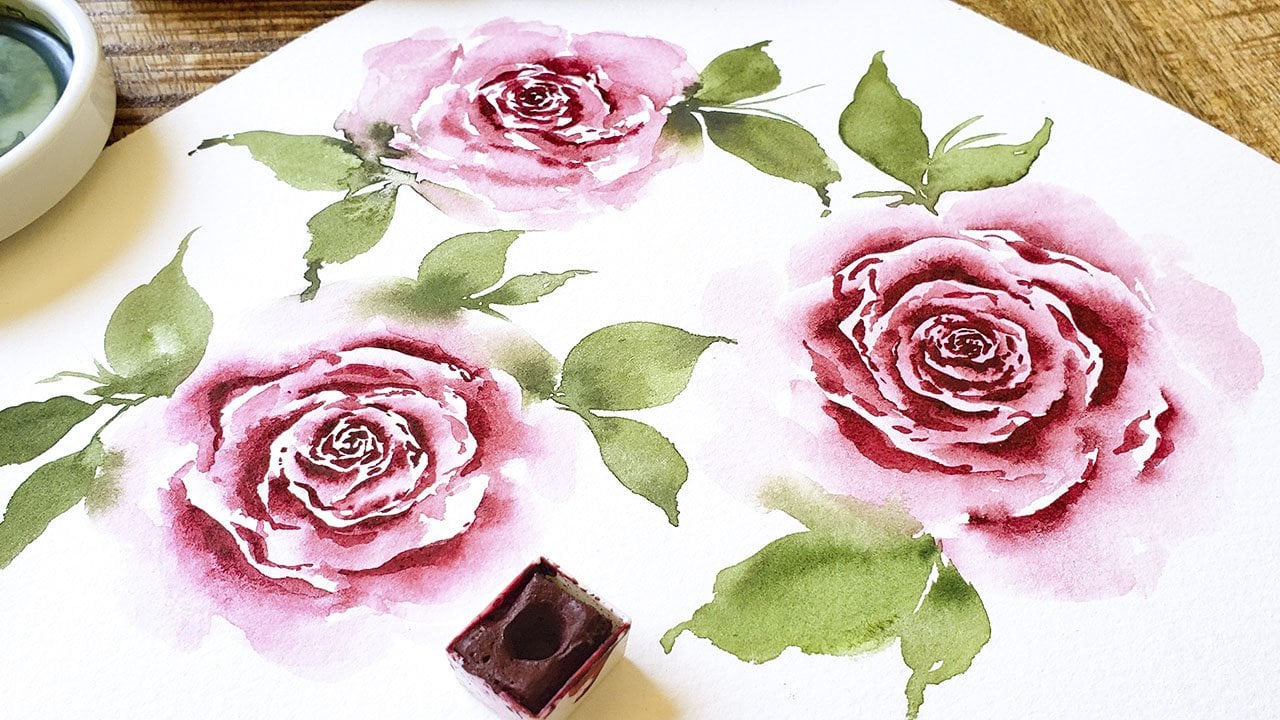
5. Simplicity Goes a Long Way: Number three, sometimes
the simpler, the better. In my personal experience, the reels that I
post of painting one simple flower or
a simple leaf stem, they always outperform any
of the reels that have a more intricate composition or something that's
filled with florals. The simple ones always always outperform
the intricate ones. For example, this reel that I mentioned at the
beginning of the video, which got 1.5 million views, and this one reel alone brought
in 23,241 new followers. It's just one simple flower. It's nothing extravagant. It's just some loose
brush strokes. But those strokes capture
your attention from the start and they
make the viewer wonder what that end
result will look like. So they stick
around to watch it. Another example is this real. Again, it's a very
simple flower. I honestly just painted it
on a scrap piece of paper, and this is the one that got 693,000 views and brought in over 8,000 new
followers alone. And it's still racking
up these to this day. But of course, if you do have a more intricate or complex piece that you're
really proud of, by all means, post it. You should absolutely post whatever the heck you want
to post on Instagram. But I'm just meaning
to say you shouldn't count out those sweet
and simple paintings or the little doodles or warm up paintings because those can
really perform well, too. So I usually end up doing
a little bit of both.
6. Filming Real Time-Footage: Number four, use real
time footage instead of or in addition to sped
up or time lapse videos. I think there was a time and place for those
time lapse videos, especially in 2020 and 2021. They were super popular
and I had a lot of my time lapse videos
go viral back then, but I'm seeing a lot
less of that now. What I do now to make
my reels feel more cinematic is to use
real time footage, but just slice and dice the
painting process to just show the most beautiful brush
strokes like adding little details to a rose or showing a
sweeping stroke of a and try to include
different angles instead of just the top view. I like to also
include side views and close ups in addition
to the bird's eye view. That way, you can
still show bits and pieces of the
overall process, but in a little more of an
interesting and dynamic way than just one top view shot
in a full sped up process.
7. Teasing with Sneak Peeks: Number five, show a quick
peek of the end result before you get into the beginning part of
the painting process. Here's an example
of one I posted recently that got
over 70,000 views. I showed a quick preview of the final rose with some
text overlay that said, Let's paint a loose
watercolor rose. So the viewer knows
what's coming. They see the final result, but now they want to
see how you got there, which I then show bits and
pieces of throughout the real. So that's an easy way to hook the attention of the
viewer rather than just starting with a
blank page where they don't know what you might
be painting or drawing. You only get a second
or two to catch their attention and stop
them from scrolling. So that's an easy
way to do that. I don't do this on
all of my reels, but I do incorporate
it every now and then, and those reels tend
to do pretty well.
8. Embracing Authenticity: Number six is one that
I feel deep in my soul, and I mentioned it briefly at
the beginning of the video, but that is to only
create content that feels natural and authentic to yourself and your art
and your business. One thing that I've
always known deep down as I've grown my
Instagram account over the past four ish years is that I never
wanted to fall into creating trendy content just
for the hope of going viral. So I didn't want to create reels of me dancing on the
screen or pointing to words or lip syncing a trending audio and absolutely no shade
to anyone who does that, but I personally
cannot pull that off. If I were to do
something like that, I always feel very awkward. So I've just tried to find
ways that I can still create unique content that is fun
to watch and binge worthy, but just in my own
way and related to stuff I'm actually doing
in my art practice. So that's commonly just painting
process videos that I then turn into reels. Sometimes I'll do an order
packing video or one time I showed a book binding
project that I did for creating
my own sketchbook, but it's always related
to something I'm personally working on or
related to my art in some way. And again, if there is a
trend that you feel very excited about and it's still
lets you be authentic, then by all means, go for it
and have fun being creative. But just don't feel
like you have to do those trendy things just again, for the hope of going viral. Usually pretty obvious to see
when someone is doing this, and it doesn't always
feel authentic, and they're probably attracting an audience that
doesn't necessarily fit with them or their brand.
9. Utilizing Trending Audio: Number seven, this counters what I just said in number six, but that is to experiment
with trending audio. I know I just said not to
fall into the trendy stuff, but that was more so with the content that you're posting. When it comes to audio, I do usually try to find songs that still fit the
vibe of my videos, but ones that are still on
the trending audio list. So for example, if I'm posting a floral painting process
video, which is what I normally I'm not going to choose a trending audio clip
that is, let's say, a rap song or a funny quote from a movie just for the sake of
being on the trending list. Obviously, that wouldn't really
fit the vibe of my video. It wouldn't complement
my artwork. But I can still
usually find serene, beautiful songs that fit my video that are still
on the trending list. So that's one way that
you can still increase the chance of your real going viral by using
trending audio. But using trending audio that still complements
your video. And you can always tell if the song is on a
trending list by looking for that upwards arrow next to the name of the audio.
10. Posting to Pinterest: Number eight is a
little bit different, and that is to utilize Pintst to drive traffic
back to your reels. I could go on for
hours about how beneficial Pinters has been
for growing my art business. It reached almost 3 million monthly views at one
point last year, but I'll keep it short for
the sake of this video. My top performing pins on
Pinters have always been my Instagram reels that I just
basically repost to Pints. So I literally just upload my reel to Instagram
like I normally would. And then I also
upload it to Pintst. And then I add in my keywords into the title and description. You can also just copy
and paste your caption, and then I put the link to
my reel into the URL box. So it's a simple step of reposting content that
you've already made onto another platform
to get more eyes onto your Instagram
account or your real. Don't sleep on Pinterest when it comes to marketing
your art business. It's the perfect place
for doing just that, and it can really
be a game changer. It has been for my business. And if you're new to
posting on Pinterest, maybe you've just
been using it to find recipes or find art inspiration, a good way to start is by
doing what I just said, reposting your reels
or your TikToks or your YouTube shorts onto Pinterest, and
you're good to go. So that's a quick and
easy way to get started.
11. Uploading at Highest Quality: Number nine is a quick one, and you might already
be doing this, but make sure when you upload your reels within
the Instagram app, you turn on the
setting that allows it to upload at the
highest quality. Of course, you want your video
that you just spent time and energy on to look good
once it's actually posted. And if this setting
is turned off, Instagram will likely decrease the video quality to upload
it as quickly as possible. But if you can spare a
couple extra seconds to make sure it uploads
at the full quality, you should definitely have
this setting turned on.
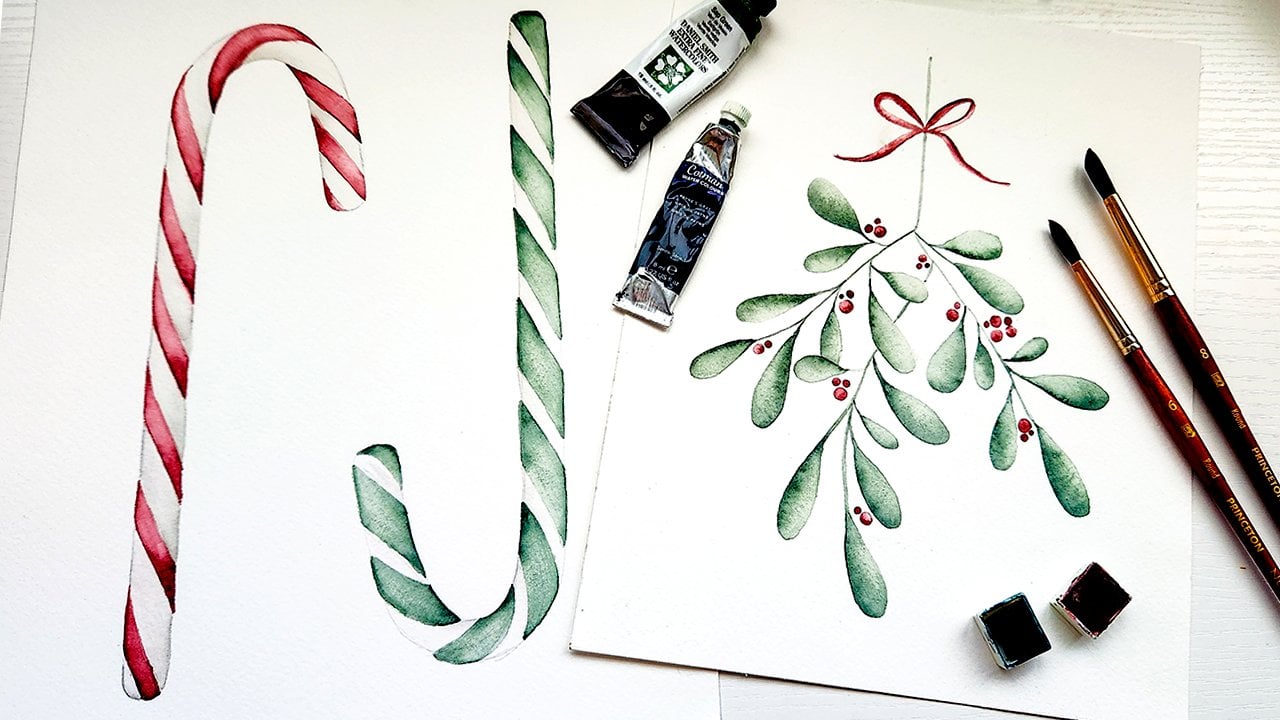
12. Tagging Art Brands: Alright, and number ten
is to tag the brands or the companies that you use in your painting or
drawing process. As an example, I am a
Princeton ambassador, so I'm always tagging
Princeton and all of my reels, but you can also tag the paper or the paint
brands that you use. No guarantee that anything
will come from this, but most of the
time, those brands usually have tens or hundreds
of thousands of followers. Sometimes they will like or
comment or repost your reels, which will help get
thousands of eyes on it. Most brands really appreciate user generated
content like this, and they want to be
able to show off real life artists
using their products. So it's a good habit to just
start tagging those brands, and you'll likely see a lot more attraction
start building up.
13. Final Thoughts: There you have it. Those
are my top ten tips for creating Instagram reels, specifically for
artists or painters. Again, these are just based
on my own experience of creating reels and building my audience over
the past few years. Obviously, things
change all the time. Algorithms change, but just
do your best to experiment, get creative, and
most importantly, have fun with the process. Yes, it would be amazing if your reels could go
viral every time. But if you put that expectation and that pressure on yourself
every time you create a it's gonna end up
being a lot more stressful than it is enjoyable. So let me know down below, if you have any other
tips or tricks or techniques for creating your reels, I would
love to hear them. And be sure to share a link to your Instagram reels in
the project section, so I can see what you create. Thanks so much for joining
me in this class today, and I'll see you
in the next one.
 Petals by Priya Watercolor, Watercolor Artist & Teacher