Transcripts
1. Intro: M. Hi and welcome to
Mew Skillshare class. My name is Brenda Backer. I'm an artist and teacher
based in the Netherlands. In this class, I will
show you my way on how I create my funti shirts using
procreate and cricket. There are several
ways to do this, and there are several
brands you can use, but this is my way. So if you want to design
your own stuff and you do have a cricket machine,
this is the class for you. But maybe if you
have another brand, I can help you out
with some ideas. So if you are curious
about how I do that, or maybe you want to
create your own shirts, let's dive in and I
will show you how
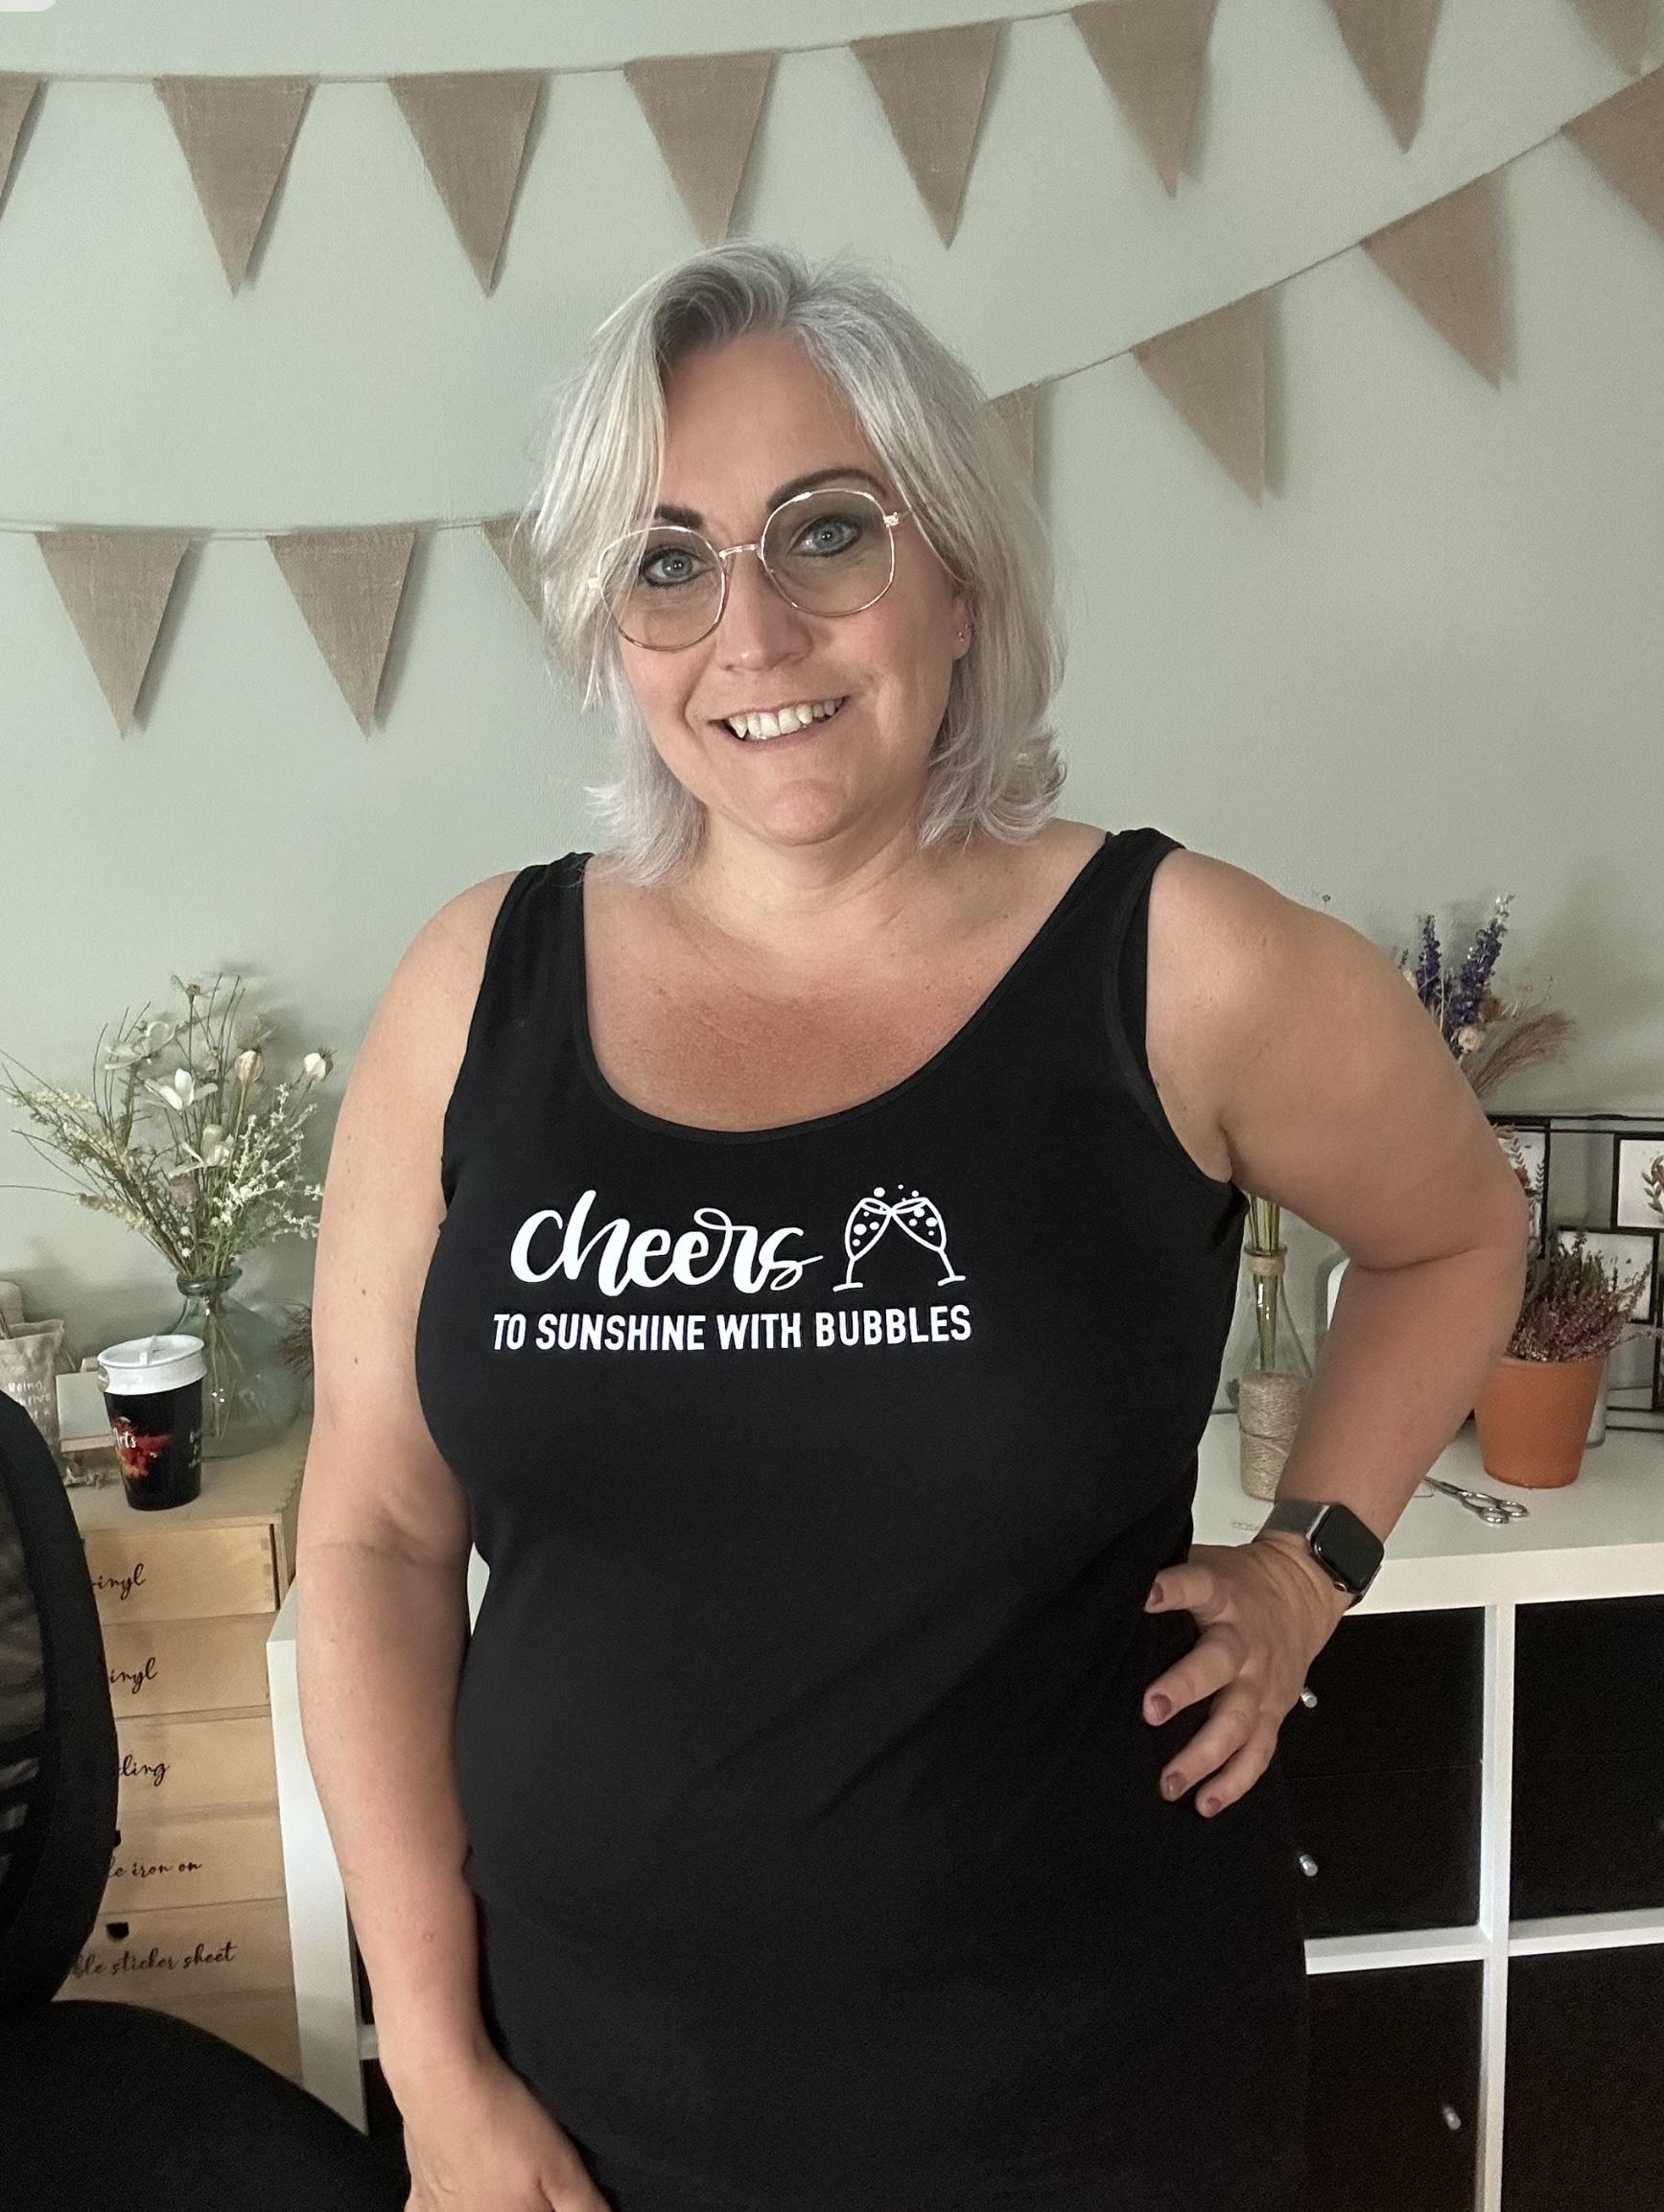
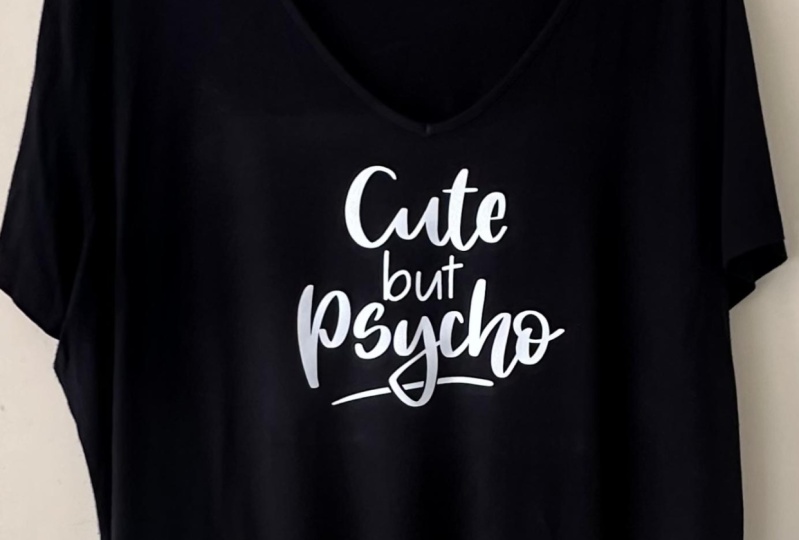
2. What this class is about: So in this class, I
will show you how I converted this procreate
creation into a T shirt. So let's get on. You see, I've got some
font used in Procreate. It's procreate native font
so everybody can use that. And here I did some
hand lettering. I'm using my procreate
lettering brush, but I made it smoothly
with very soft lines. So I removed the messy part of the brush to keep it for a
clean cut for your final. And I've also been doing this part with my
mono liner brush. Also, I've been using my
dots brush for this part, and then you have
your new design ready to create on a T shirt. So let's get started.
3. Create the canvas and using a font: Let's start out with making new canvas and I create
inches my canvas, it's with in 14 inch and
it's hight in ten inch. I'm mostly wearing
black T shirts and my lettering is white, but you can choose
the colors yourself. It's easier when you
create your design, in your colors, you will be
making the T shirt later. But you can always
change that later on as well in procreate as in
your cricket design space. For me, I'm easier working
visually in black and white. I change my ground color to black and I create a new
layer on top of that. I already know I want to create some lettering
and for the easy part, it's always convenient to create your drawing guide
at a drawing guide. I'm choosing the color white. Because that will
be easier visible, and I'm going to create it's
a little bit more thickness. I can see if it will fit in
my space later on, type done. I will do adding my
text, choosing white, and I'm going to select D N condensed and then I'll choose all
capitals for this one, and I will type two Shine, Okay. Okay. With bubbles because
I like it sparkly. I want this to be
together, so I size it up. I'm going to remove this a
little bit, make it bigger. Place it somehow in
the middle, sometimes, but I think it's easier
to fit it between lines, and then I can create
my lettering above that and I will be doing everything on
a new layer for that. I will write the
word cheers first.
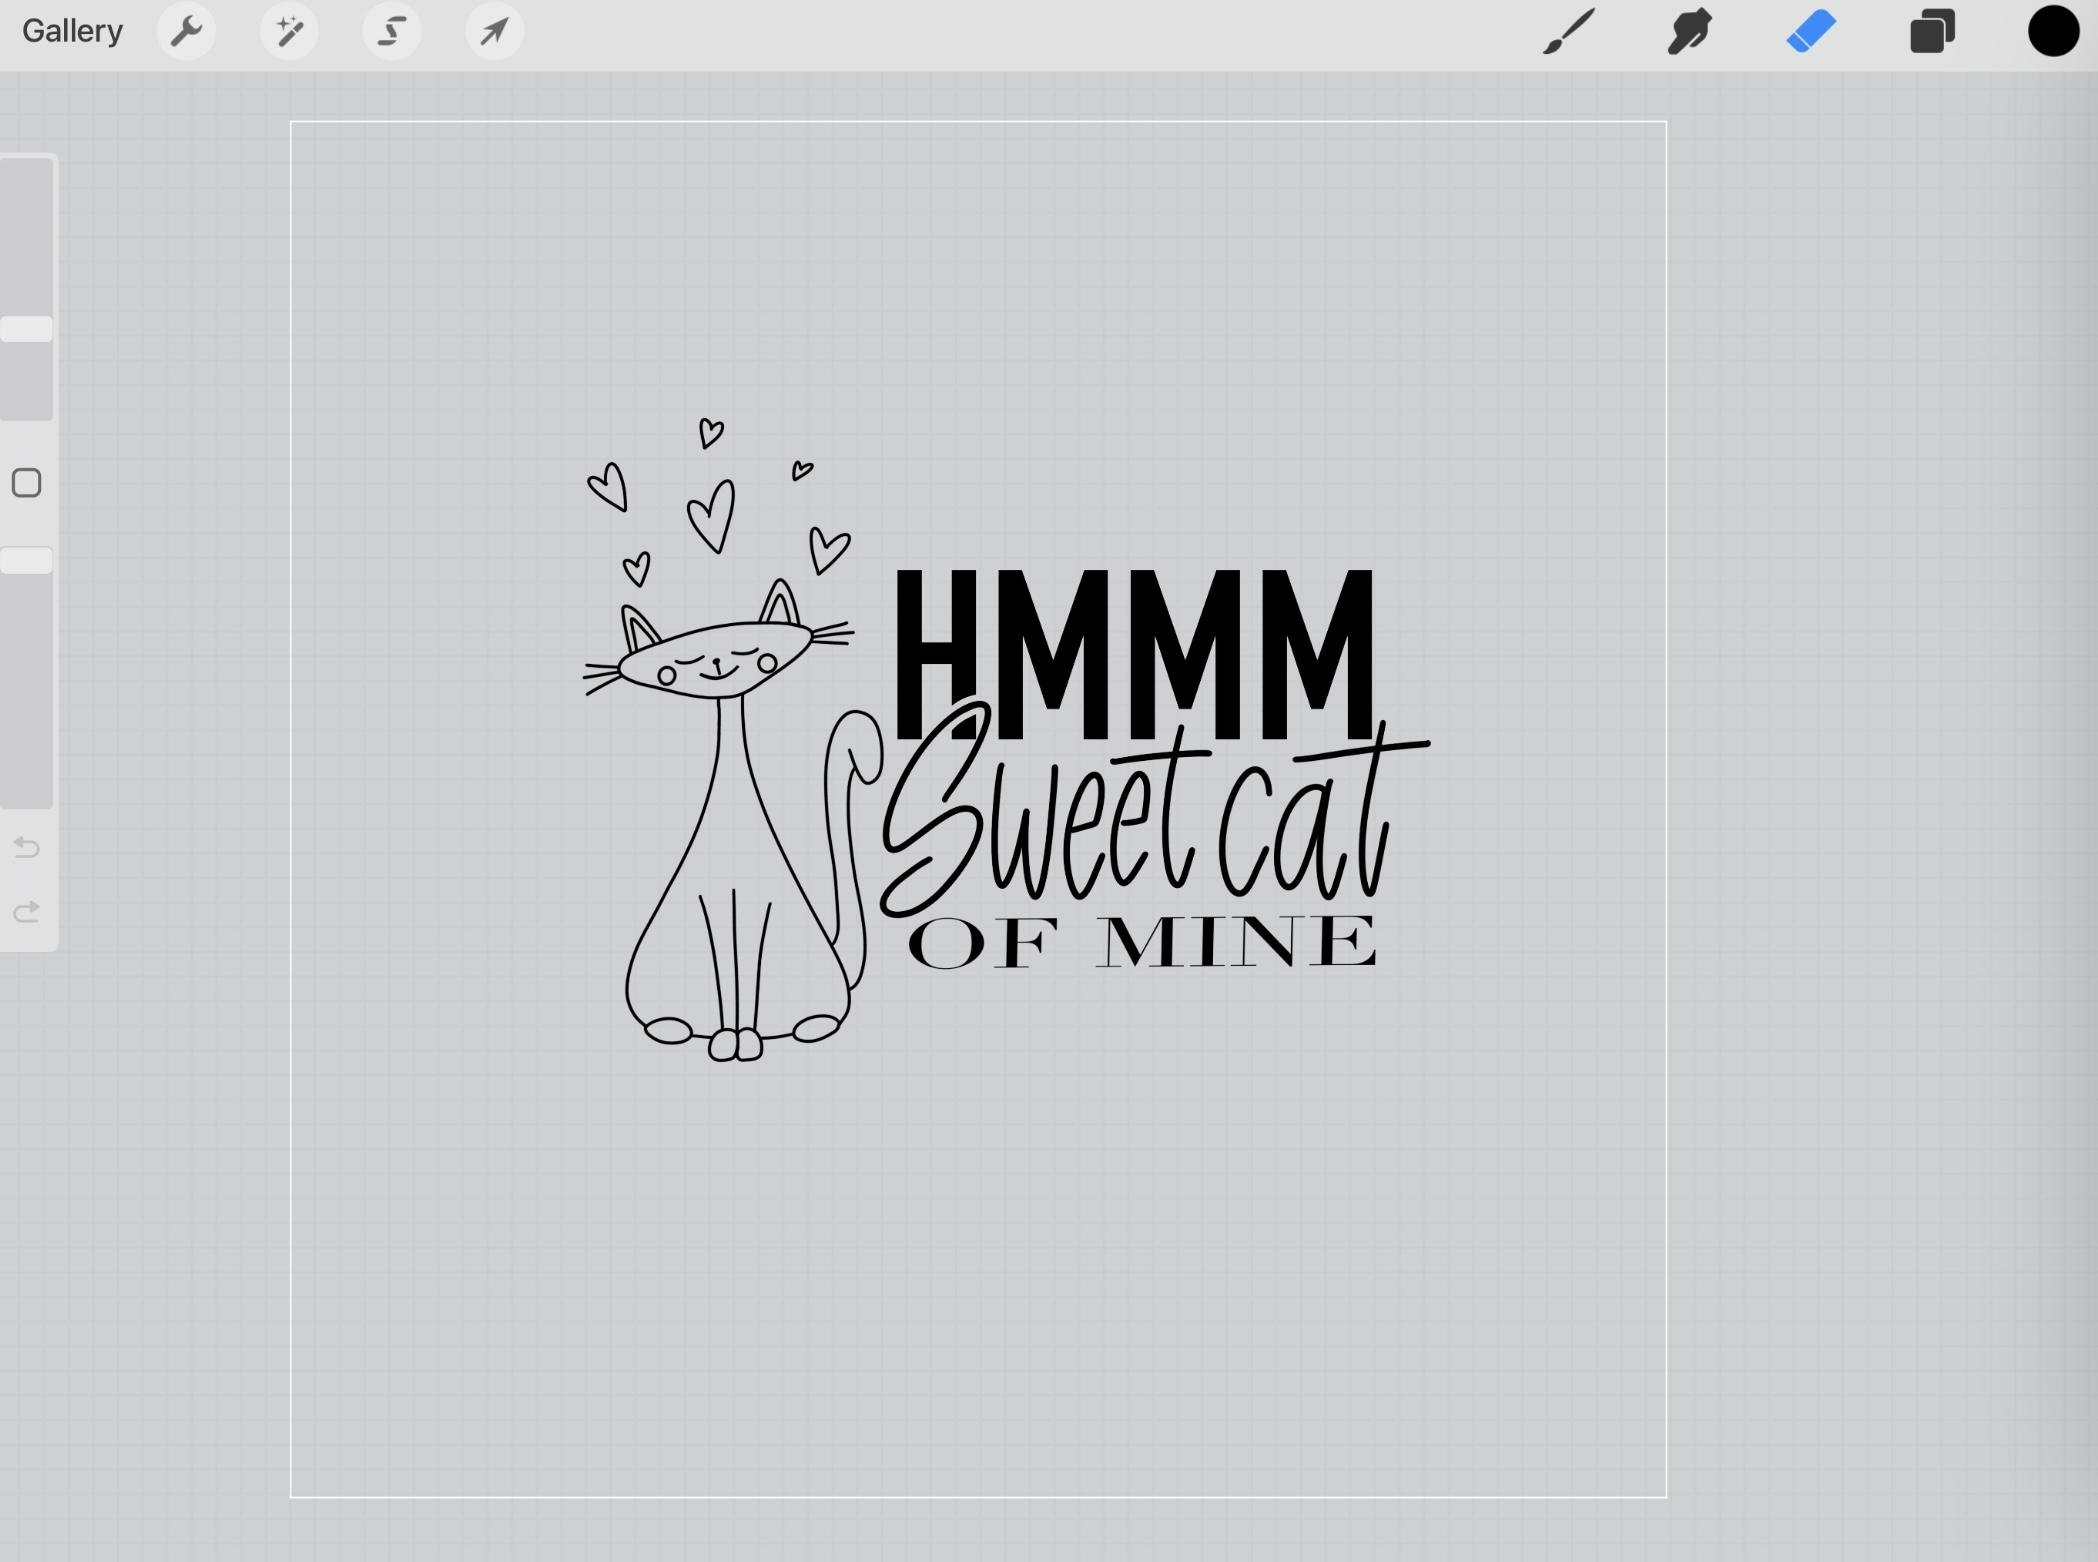
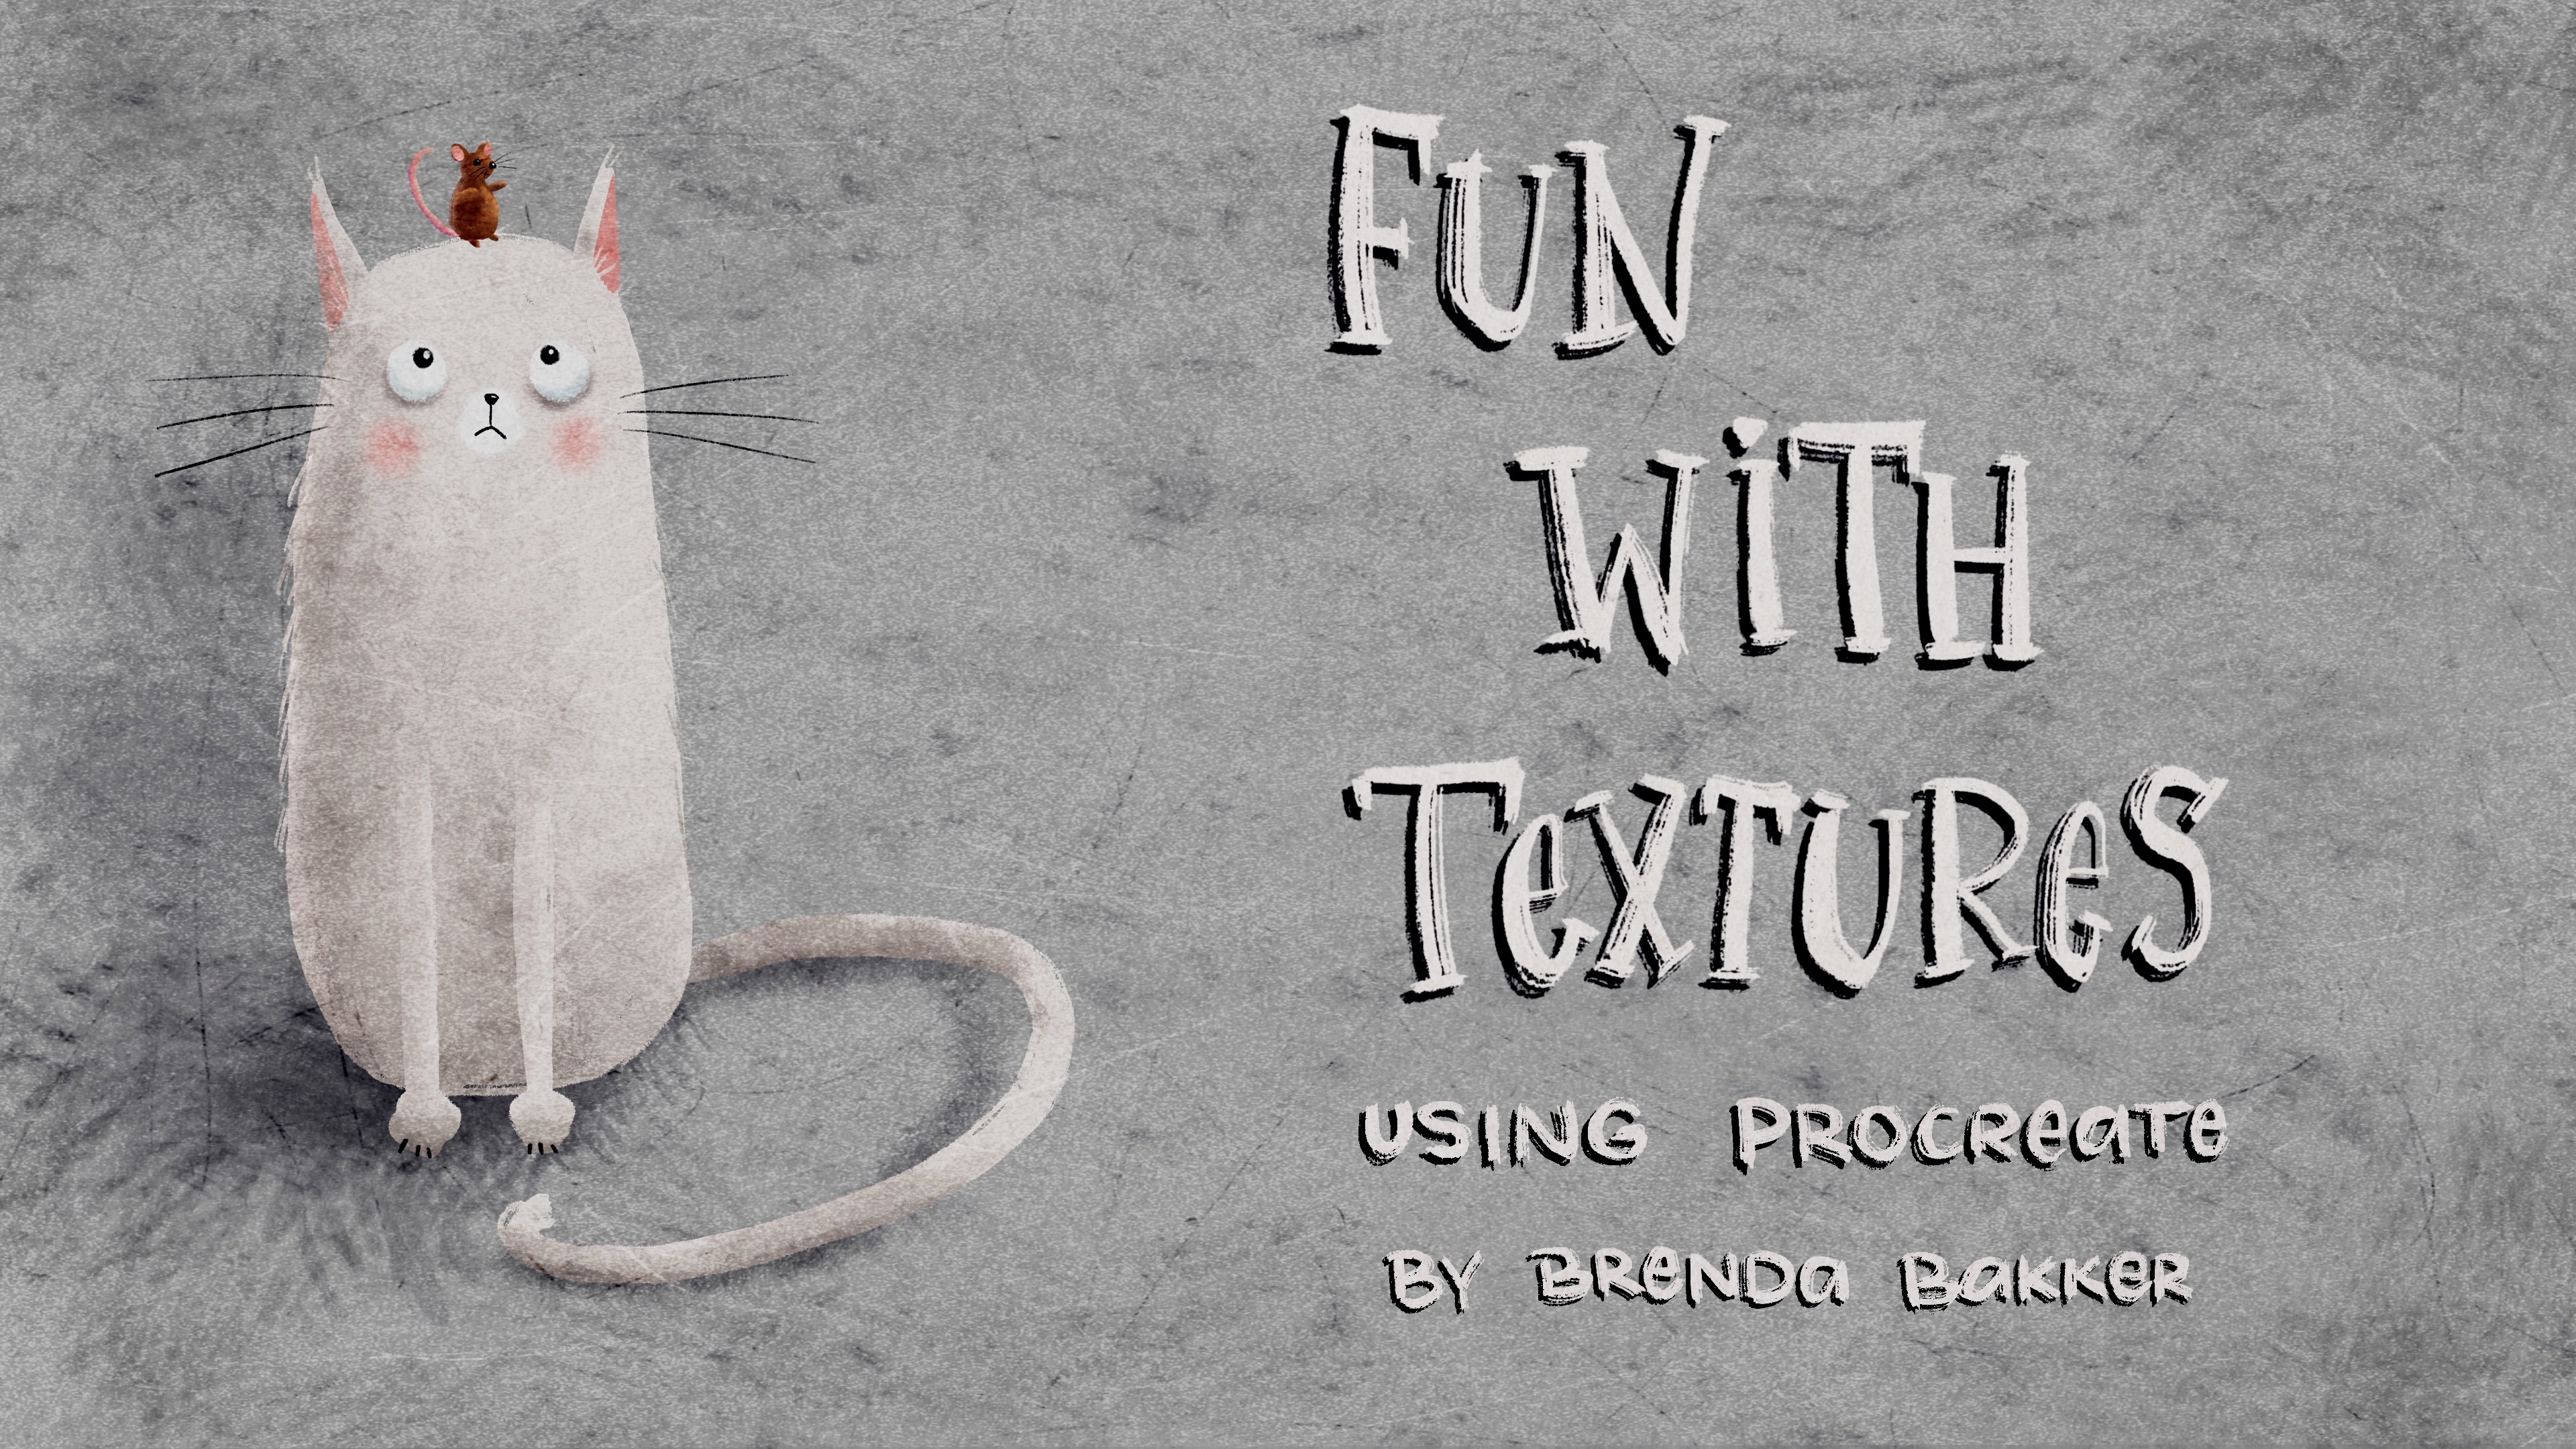
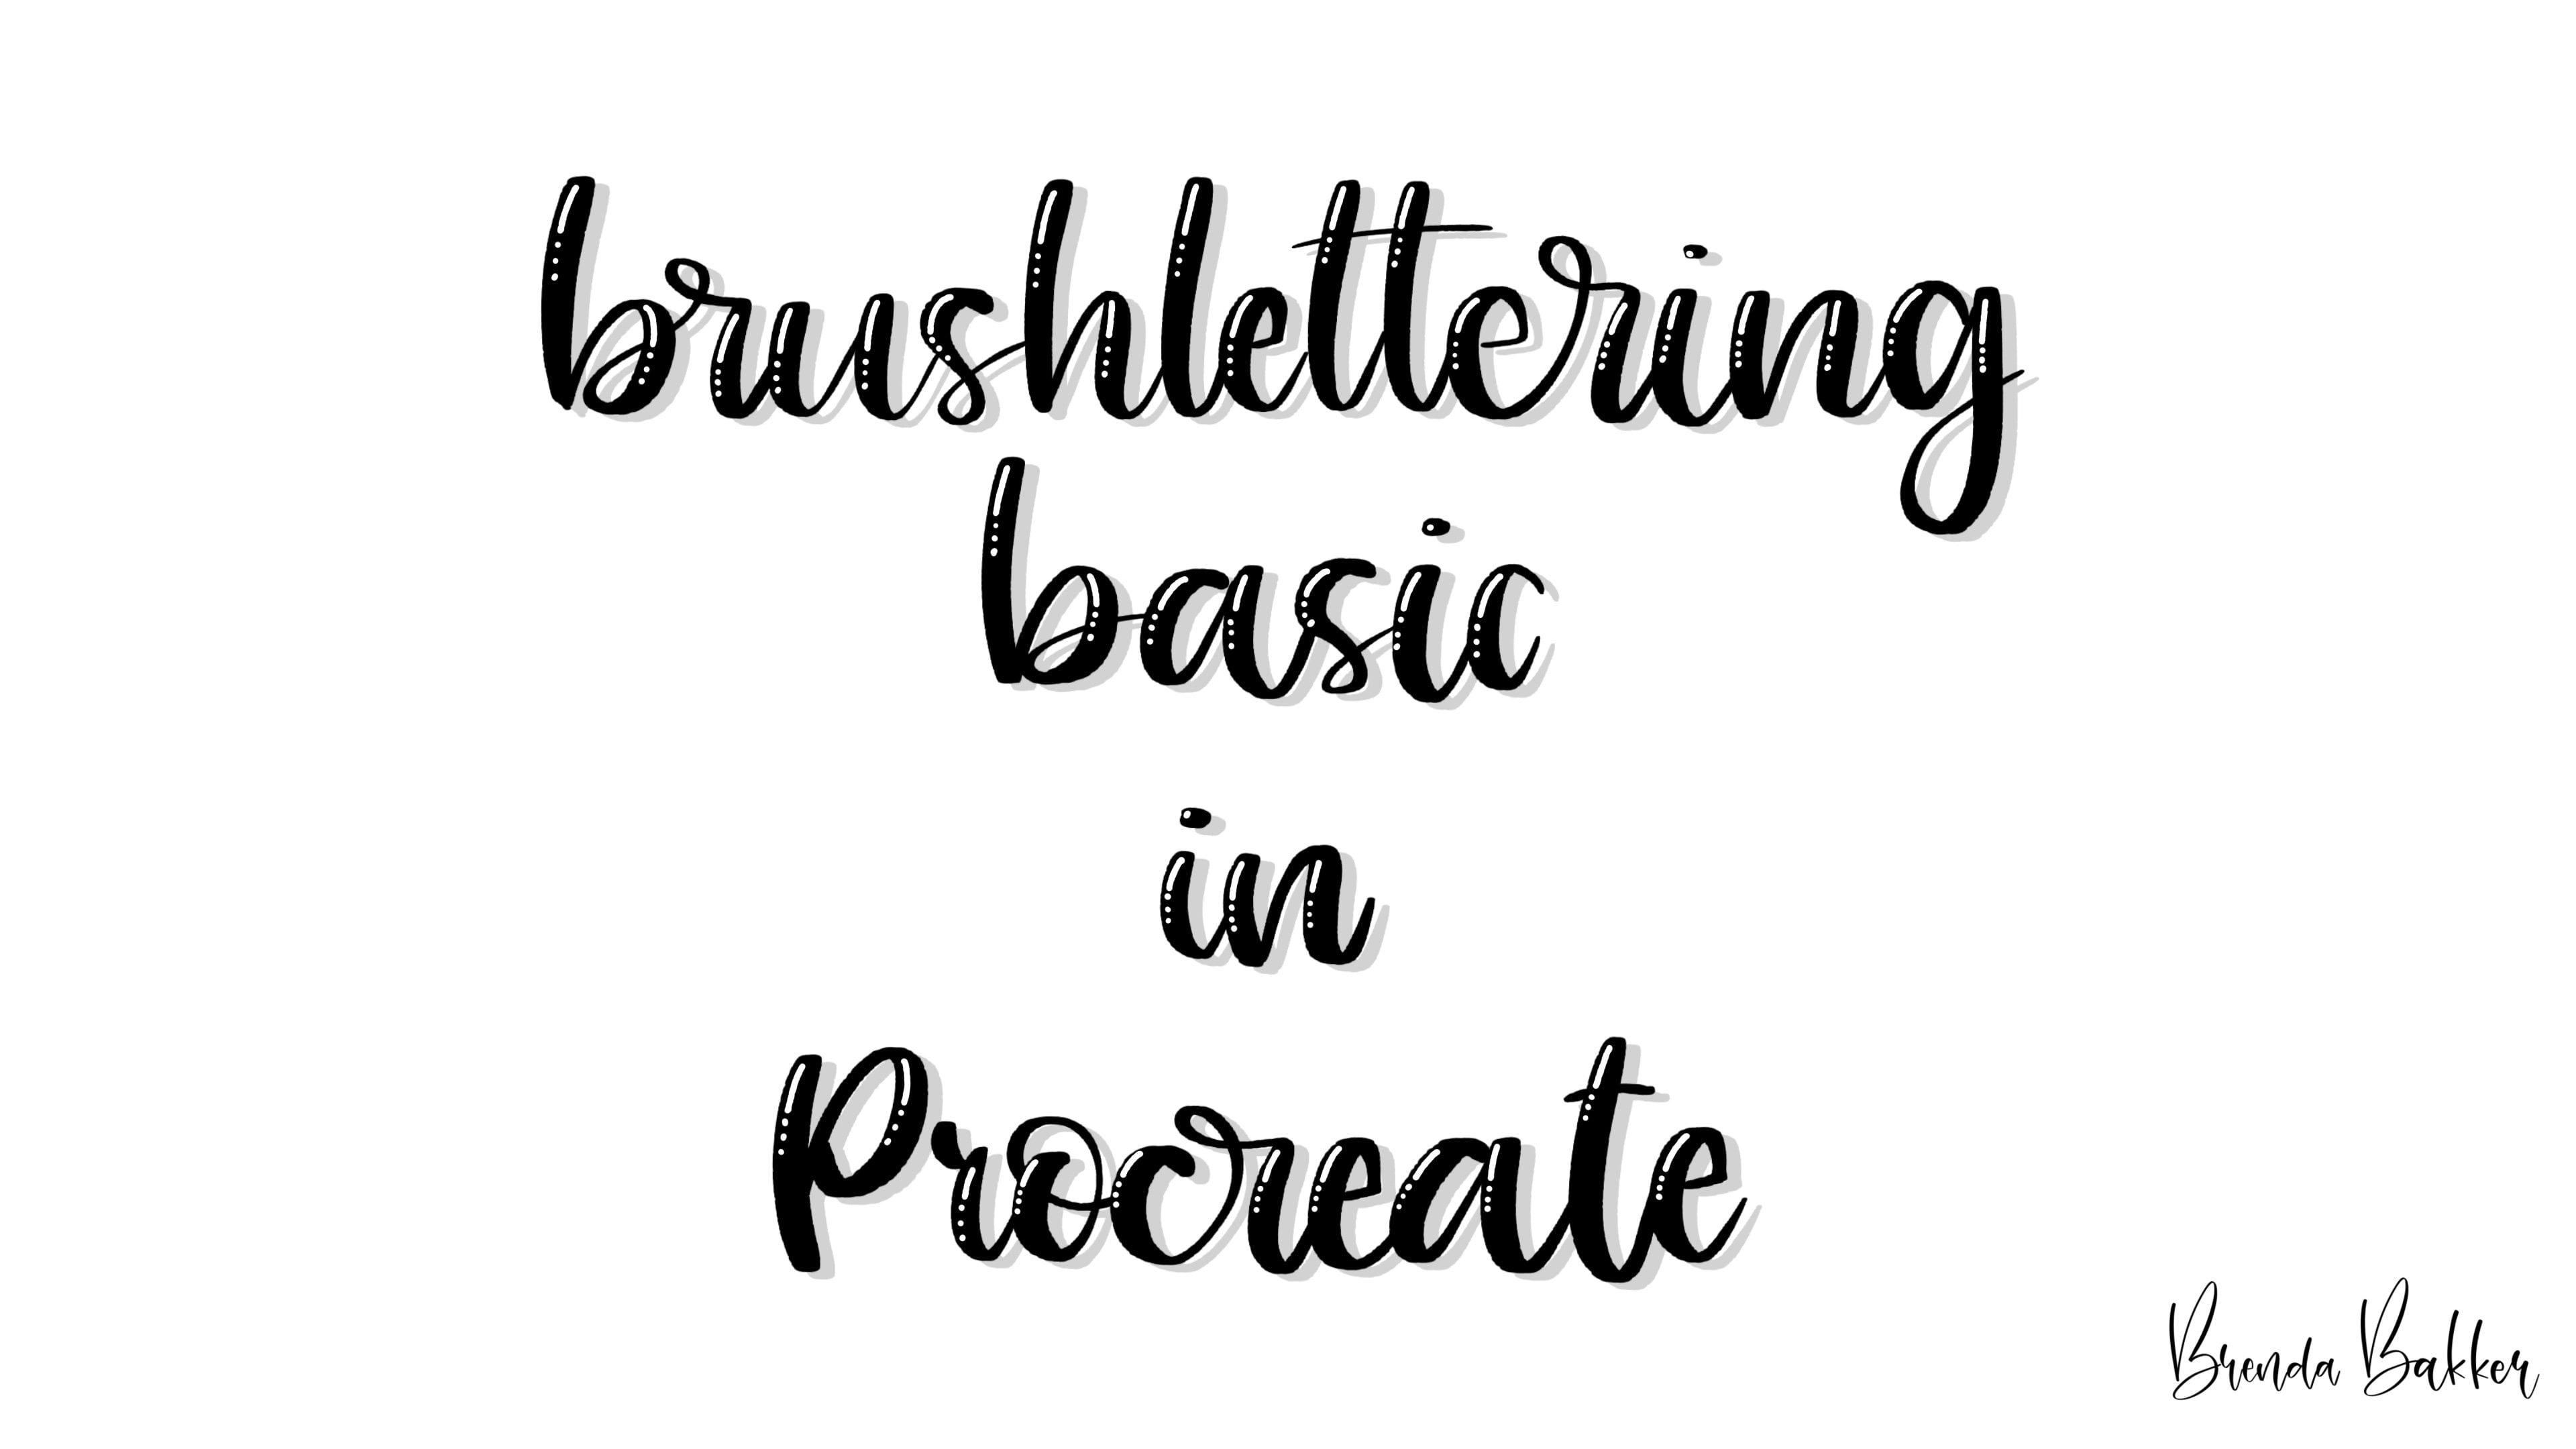
4. Create handlettering and line art: So on a new layer, I go
to the next brush pen, and I will write cheers. And if you've done my
brush lettering class, you already know
how to hand letter, but you can also choose hand lettered phones
if you can find one. But I like it to
be my own design and my own land lettering, so that will be fun for me. I go up pressure a
little bit harder, but I want my letters to connect
so I have to go in more. A. I like this. I don't
like these lines, but I will be back at that
in a couple of minutes. So I'm going to a new
layer above that, and I'll be choosing
the medium messy tip, and then I will correct
everything I don't like. Because this one is too sharp, I can correct this very easily. I'm a little bit
smaller. Round it up a. This one is correct matching, but this one is
also very hooked, round it up a little bit. Then you can create it
more to your liking. It's also easier to
cut for your machine. And I like a little bit of flaws because that's the hand
lettering part of it. But since it's on a t shirt, I think it would be best if
it's properly connected. So and I will be doing this on a different layer because then I can easily adjust
if I don't like it. So if I'm fully okay with it, maybe I will merge them down, but maybe I will leave it like this because we are saving it as a PNG later on, so
that will be okay. I think this one is fun. I want this one part to
line up with this letter. So I can move that one around. I have to group
this one together. So I can move the whole group. So this is now lined
up with this one. And here I have some
room for my drawing. And my drawing, I will be
doing with my messy tip. And I want them
approximately the same size like this because my original design will be approximately like 17 or 18
centimeters. So let me check. And I will be checking
this fishery here. So it will be like this
for on my t shirt, maybe. So yeah, this will be
easily cuttable with my machine and also
very much easy to weed. And so I'm going to
create a new layer. Again, I'm going to
draw some glasses, and they're tasting together,
like saying cheers. So maybe a little bit thicker. And just easy shapes. They have to be drawn like
it's a quick drawing. So it doesn't have to be perfect because
it's an illustration. I want my hand lettering, my hand drawn image
to stick out there. So, I want them to be funny. I don't like how it is started. Maybe a little bit longer. It has to be like that. And now you can see it's
outside where this line is, and I want it to
be closer to that, so maybe I can do
something about it. I will not. I can only resize it when my whole drawing is
complete because otherwise, my brush size don't match
up with these lines. So if I think my
drawing is okay, I can resize it a bit. Maybe a little bit bigger. I have room up til the
latest part of the S, so I think this will be okay. I also will line these up with approximately the top of the
H. So I think that's okay. But maybe my bubbles will
stick out a little bit more. So I'm going to draw
some bubbles now. And I've imported this now
for you all to use as well. And I will be doing that
on a le layer as well because then I can
move the bubbles around if I don't like them. So Maybe they are too big. Also, I don't want
them to be too small. I don't want them
to be overlapping. Maybe some little
ones here as well. It's just like randomly
they come out. So once you have to
try several times, but you can also make them free go smaller or duplicate or
replace them if you like. Just as long as they
look random and funny and cute to you. I think let me check this one
first with the true size. When I want to print it, it's 17 centimeters, I want to make sure the
ones aren't too small. So I think these are a
little bit too small now. So I can go select them as well, make them a little bit taller. Okay. Okay. Otherwise, they look
like a little bit of dust on my T shirt later on. And that's why the easy part is to do them on
separate layers, so you can play a little
bit more with them. This one is also a
little bit too small. Yes. And I think this one is too close to the edge of the gloss. I don't like that either. So you can play around
with that as well. It's a little bit
of trial and error. Now these are way to be
the same in the middle. I don't like that either. Check in this one again, maybe a little bit
more to the left. Yeah. I think this
looks better and way more imbalanced or out
of balance, if you like. Yeah, it's a little bit more randomly and I
like that better. Now, I think my design
is complete like this and let's get
over to some cutting. Okay.
5. Prepare art for cutting: What are we going to do is now
get rid of the background, get rid of the background layer. I also want to make
sure my lines are off, although you will not be
doing that for saving them. But for me, it's easier
to look at if there's anything wrong about it. Yeah. I think now I've
created this one. You've seen my workflow. Sometimes I do a little
bit more lettering. I do the words over and over
again as you can see here in my other piece which
I've done before. And I did it the same way, but I liked this design. So I'm going over
to this one now. Creating it checking if it's still a great size like
approximately 17 centimeters. It will be 8
centimeters in height. These are approximately
lining up. And yeah. Okay. So I did a little
bit of fine tuning. If you can see the
little layers, I've done everything
on different layers. And yeah, I did some
lettering before, and then I scaled it, yeah. So this one I did prior
to the one I did live. And it's just because I like the outcome of
this one very much. Then I'm going to use this
one again in the video, but I work exactly the same way. And you can see, I've got a
lot of layers to practice, my drawings, made a little
bit bigger the glasses. You can do this as many
times as you like, as long as you like to design. And in the end, you'll
be working with that. So now I'm going to remove
the background in layering. I get rid of everything
I don't want. So I'm just keeping the
bubbles and the glasses and the cheers and the sunset
Sunshine with bubbles, and I'm getting rid
of the drawing guide. And I will save that as
a PNG. To my images.
6. Importing art to Design Space: And I will be going over to
my cricket design space. I don't need a trial. I don't want to pay for access because I can design
my own stuff. So here I'm going to
create a new one. This is the one I did
for my sister recently, so I don't need it anymore. I'm going to replace that one. I'm going to upload
choose from library. And I'm choosing my design. I just made I don't
need this one. I want to allow it here, and I want to make it from only one color in a silhouette. And here I can see my design. I think it still looks
lovely like this. I'm giving it a name. It has to be done, so
I'm calling it cheers. And I'm uploading the design. And now it's way too big. So I'm going to scale
this to the size I need. I'm checking if there's nothing wrong because
sometimes I did have some things I didn't erase very well so that
you have to search for. And it's easier to get rid of that stuff when you
have it enlarged. But I want it to resize it now. So I'm tapping on
it, and I can see it's 42 centimeters wide, and I want it like 17
or 18 centimeters. So I'm going to scale that 17.5. I think that's okay. Let
me check that again. What will it look
like in real life? Like this size. I'm going to measure it on
my own T shirt right now, and I say, that's okay. It's proper size for that one. So yes, I think that's okay. And for me, I always move
it upwards in the corner. I don't know why, it's
something I get used to doing. And I say let's make it. I want to save this one as
cheers at the same size, so that's easy and I always
save it into the cloud. I'm going to do this
with an iron on. So I have to mirror
image this So I mirror image on because here it says mirror
image for iron on. I'm clicking next,
and now you can see it's all mirror imaged. And you see some
bubbles are connected, but I think that will
be okay like this. Let's get over to our
vinyl and the machine. So first thing I have to do
is measure something like approximately 8
centimeters by 18, I guess, because it's
a little bit bigger, and I want to let some
space free just in hand. So mostly I'm taking a
centimeter more in the size. So I'm going to measure that.
7. Cricut cutting and weeding : I set some dots on how
big I want this to be, and then I'm going
to line these up. It's a little bit bigger
than it needs to be. Then I'm going with
a sharp knife. I'm going to cut through this Safety first, always put a little on it. And then I have to stick
it to my met my cricket met get rid of the protection sheet
because this is an iron on, you can see it has a shiny
side and a met side. And we always put the shiny side down because we're going
to mirror image that. I'm placing this in the left upper corner and I'm using my
brayer to roll it in, so it sticks perfectly
to the met Okay. And now I'm going to
move my setup for my camera to my cricket machine, so you can see what I'm doing. So I have my camera set
up. You can see already. And now I'm going to
turn in my sheet, and my cricket design space. Exactly will tell me
what I should do. So I should type next. And he must find and
locate my cricket machine. I have Joy Extra. It will take a
couple of seconds. Make sure it's mirror imaged. Then I can choose my material. In this case, I'll be
using the smart iron on. I have something similar,
not exactly one. But it's similar cutting. I have one for vinyl
and one for paper. So I keep those two separate. So I say smart iron on. It says, make sure you've got a mirror imaged with
a shiny side down, so it's always a remembering
for you as well. And then it says load tools
and me I'll be doing that. As you can see, it's
loading in perfectly. Now it's going to test run it to see if there's enouging
material on it. And then it's a fresh start. So I will be doing
that. And the machine will start cutting right away. So the cutting part is over. It says, load your material off of the cutting
machine, so I say. It's getting rid of it, and
my cricket work is done. So here's my sheet. You can see the cutting lines, and now we have to get rid of all the extra materials
we don't need. I don't need this one
as well, either now. So I'm going to remove the iPad. And you can also do
this on your desktop. But since Procreate
users have an iPad, it's easy to use it
on your iPad as well. I'm going to turn the mat
around because this way, it's easier to get
rid of the vinyl, and it doesn't curl that much. So I'm doing my protection
sheet over it again. So it stays as clean
as possible. Okay. And let's start to weed out
everything that's on here. Sometimes we need to check where the lines are and
sometimes that's hard to see. It's a process. I thought it would
be terrible to do, but it seems I like
it, so that's okay. I will speed this up as well. I'll be starting to weed with everything
that's not needed. So I will cut out the
inside of the letter. So every little gap that needs to be taken
out, I can get rid of. So I got rid of all
the insides, I think, so I can turn to the
outside of everything. And this is an easy
elastic material to weed. I like this one very much. Be very careful with
the little dots we made so we don't take
them along with us, but as long as you
carved perfectly, you've got settings right for your machine, it will work fine. Sometimes with different brand, you have to search for what is the exact precise
setting you need. You can always get rid of
extras if it will tear a bit. So far so good. Okay. Okay. Okay. And here it is perfectly cut. Hoping I did not make any spelling errors because
that happened to me once. So always check that
before you do that. And I think it's ready to
put on T shirt right now, so let's get over to that. Yeah.
8. Pressing the vinyl art on to the shirt: So I put on my shirt just to measure where approximately
I want my text to be. And I want it to be a little
underneath my neck area, where the shirt starts. So it would be a little
bit about 3 centimeters below this line. Make sure I have the front on
the front side. Yes, I do. Play flat turning off on my machine and it will
set the right temperature. I hope I mostly turns into
the latest part you use. I want to use 150 degrees for 15 seconds because that's what the of the vinyl set to use. I'm going to press a
little bit in front to get all of the moist and all of the folds
out of the fabric. So waiting now to start
the temperature is right. That will take a
couple of seconds. So the right temperature is set, but I want to use
it for 5 seconds. I press timer and
I go to 5 seconds. And I'm going to do
a first press to get out of the moist out and
to get rid of the folds. So I'm sliding it in and say go. Okay. Now it will leave
press for 5 seconds and it stops immediately. There's the fun part.
I never could have ironed it so good myself. I'm going to use a lind roller to get rid of the
excess fabric or dust it's on my shirt
because there probably is because I own a dog and
everything is h in the house, as well as I can clean. It's always a little bit messy. I'm going to get rid of every
thing I don't want here. Okay. And I'm going to
lay down my design. And I have to measure from side to side,
what is the middle. And mostly, I do
eyeballts a little bit. Just don't stick it yet. Maybe a little bit
more downwards like 4 centimeters below
3 centimeters below for the first
letter to start. Going to do this
part, a little bit. Then let me decide what's
the middle of everything. The turned out to
be 18 centimeters. It will be 9 centimeters
from the text. So that's the top
A little bit next. To this part will be the middle. That's correct. I bolt it. Go to stand a little bit behind it to make sure this is even, and I mostly compare it to
the downside of the board. Then I see because this line
is a little bit crooked, but I want to make sure
I look at this part. That's okay. Then I use a little te sheet that comes
with a machine or otherwise, you can use some baking paper
to get on it and I have to set the time again
to 15 seconds. Okay. Do it is back again
and then press start. You can turn the
machine off again. And this is the fun part. I'm going to move the camera. Because I love this so much. I want you to see it in close up because this one
is so rewarding. So when you pull off this, you can easily pull
it when it's hot. It's a hot pal. You have to look for the
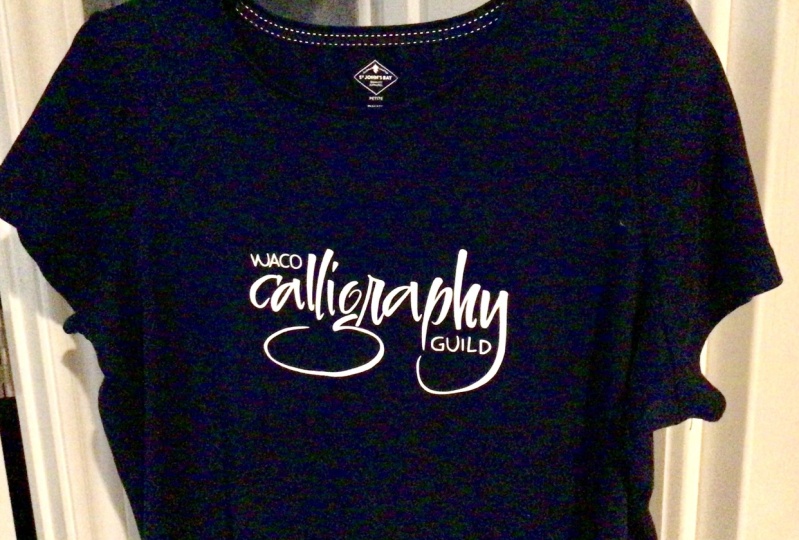
fabric of the final, what you must be using for this. Now, it's clear and clean, you've got your own new T shirt. I'm not going to wear it
for you because me and a small top like this isn't very nice to see, but it's okay. Then you have your own
fabric and you must wait 48 hours to wash it and
always wash it inside out, only iron it inside out and
don't use a fabric softener. Here you go. Having
your own design, your own hand lettering, your own illustration, used
in final on your fabric.
9. Final thoughts and thank you: Thank you for watching this
class until the very end. I hope you have fun, and I hope you have learned
something along the way. So now if you have
all the equipment, I hope you get the
inspiration to create your own fun T shirts. Create it for a present
for someone else, or maybe just for you for fun, or maybe you want something
you can wear only one time. You have a special party and you want something
crazy on it. Now you can create on your own. I hope you like this
class very much, and I would love to see what you create out of this class. Your class project, you can
put below and let me know in the reviews of the class if you enjoy the class and what
you made out of it. Thank you again for
watching and see you in the next class. By
 Brenda Bakker, Sharing my skills is sharing my joy