Transcripts
1. INTRO: Do you feel overwhelmed by the amount of
information you need to process every day and think you could be getting
more out of life. In this course,
you will learn to build a notion
command center and template that will act as a second brain to help you track your life and work tasks. But that's not all. You
will learn to share your notion template with loved ones to help them
manage their days. Or package up the
template to sell it online as a digital download
by leveraging the software. Canva Hey friend, my name
is Olivier Engineer, government product manager and wannabe Youtuber
and digital Nomad. This class is a
beginners friendly class where you will
learn about notion, namely how to make a
nice notion dashboard. How to leverage notion databases to power
your notion dashboard. How to set up your notion
dashboard for duplication. How to use Canva to
make a nice package for your notion template if you want to give it away or sell it. We'll also talk about
where you could sell your template
if you wanted to. All right, let's dive in.
2. PROJECT: By the end of this course, you will have a notion command center that
looks like this. To follow along and build yours. You'll need a free
notion account. Get one by signing up for
free at Notion.com You'll also have a nicely
designed package for your notion template. If you were to give it
away or sell it for that, we will be using Canva. Canva also has a free tier that should be plenty for
us to use right now. Please head off to
Canva.com to set yourself up with a free account
so you can follow along. Once you've gone for the course and have your dashboard set up. Don't forget to post a screenshot or a link
to your dashboard in the project section
of this course so we can all give
feedback to one another as it is a safe place. And while you're going
through the course, if you have any questions, do not hesitate to message me. All right. I'll see
you in the next one.
3. BUILDING THE DASHBOARD: All right, let's
create our Notion page and start laying
out our dashboard. To do this, we come to
the left hand side here, click on a page
we're going to call our page Life Command Center. Of course, we want pre icon because it will be
our second brain. And we'll add a
cover and exchange the cover to something
from unsplash. And we want a future
looking cover. Let's pick this one here. All right, cool. So we're
going to go with empty page. Let's start laying
out our dashboard. If you press, you can pick from commands and we want
page two heading to do. And let's start to
make it look good. As we kick off, let's
do green background. It's going to be our
tasks to be done. Moji, to represent that to do, let's start breaking the page. Like as you can see, it's just taking the middle
section of the page. But for this command center, we want to expand
the entire page. We're going to come to
those three dots on the top right hand side
and click full Width. Here we have it.
What we want next is basically to have another two. This is going to be our
idea thought section, where we can do anything that comes to
mind, any new ideas. Let's put it in yellow and
turn the text to yellow. Because it's ideas, we
want a nice idea icon. Next one will be for every quotes we come
across when we're reading, listening to podcasts,
walking around, seeing stuff. To this one it's, we are going to
put a script emerg for let's have this
text here in gray. All right. The cool thing about notion is it's very dynamic. So we could actually put this two column layout
to not lose space. Next one we would want
lives in this section here, we'll put it in red because
that's pretty important. Basically, this is
where we're going in life and we're going to put a target because
that's our life goal. Let's assume we are a
Youtube for a minute, we would have Youtube
projects every week. Let's have Youtube section, we'll have it in blue. Since it's Youtube,
we'll put in film emoji. We would obviously
have a weekly task that we would like to track. And let's put that
one in orange, and let's give it a
little calendar emoji. And we will also track
the books we're reading. And that's going to
take a book emerging. And last but not least, we will have an
appendix section. The appendix section is where all the databases
are going to go, which we're going to talk
about in the next lesson. But for now, we would
like our appendix to have a great background and we will give it filing Emogingllright. That's the layout
of our dashboard. One cool thing we've
notion is that it's mobile friendly
as you can see here. It's responsive to actually
be seen on smaller screen. The problem with that is
if you have a long list, you would have to scroll through the whole thing to see
what's at the bottom. What we're going to do is we're going to add some quick links up here to give us easy
access to all sections. What we do is we will call the toggle list so we can
collapse quick links. We will give it, let's say, a compass icon because
it's quick links in the table with a
table of content. And voila, this is the
quick links to all section. If I go appendix, it will scroll me down
to the appendix section. Books, ideas, thoughts. All right, I'll see you in the next lesson where we'll talk about how to use databases
to power this page.
4. TASK DATABASE: All right, let's
add some databases to power our notion dashboard. So we're going to add a page and we're going to
call it databases. Let's add an icon that represents a database and it's
going to be an empty page. If we go back to
the command center, we can see databases in
our appendix databases. All right, the phase
database we're going to do is inline database
means add a database to this actual page itself or full page database
is open a full page and that's going to
be our database, which we're going to do here. We're going to call it task. We're going to add our task. This is going to be
our task database. We do not need tag. We're going to go ahead
and delete this property. All right, let's add some
tasks to our database. We will be adding
tasks that relates to our three core project areas
we talked about before, which were Youtube weekly
tasks and books for Youtube. We want to create a
video on how to become a millionaire three years. Another one on
mastering self spline, a seven steps guide. A third one on how
to tenx thinking. Then for weekly tasks, we want to clean the house. We would like to buy, spread, and do the washing. Then for the books, we want to read the magic of Thinking Big Man's
Search for Meaning by Victor Frankel and
The Way of Kings, which is fantasy fiction
by Brandon Sanderson. All right, We have a database, we have some tests in there. What we would like to potentially
have is when all those, we will add property to this database and it
will be a date property, and we will call it Due Date. Here we have it. Let's add some due date. Let's say we need to film this first video
here in a week time. This one here in two weeks time. This one in three,
clean the house. We need to clean the
house two days from now, we need to buy bread. Tomorrow, the washing
is for next Saturday. The magic of thinking big, we are starting
to read it today. Search for meaning,
hopefully in a week time. And the ways of kings, hopefully in two weeks times. One thing would be to see this
view here, Due date order. We're going to sort
it on due date. And boom, now we have all
our tasks when they are due. Due date is in ascending
order because we want to see the one that's due
the soonest first. All right. The good thing about databases is we can
have different views. We're going to add a
view and we're going to call this week, we're going to press Enter. And we are now going to
use what's called filters. We will use a filter for this. We want to filter on
due date and we want to see everything that
is due this week. Boom. As you can see, we can now see everything
that is true this week. Another useful view to have
is of course completed tasks. We'll add another view for that. For this, we will need
to add another property. We will get a checkbox property, we will call it done. We can make this very much small and we can even place
it at the front. We can check Tsk
as we go on with our S obviously want to only see things that are
completed in this view. We're going to apply another
filter, the done property. And we're going
to say everything that's in this view
should be checked. Now, we don't see any
of the not done item. If you go back to task, we can see all of the
Don and not done item. If we click this one, let's make it first again. If we click this one,
it's Mark as Done. And if we go to the
completed view, we can see that it's here. But in this view here, we might only want things
that are not completed. We will add a filter on Done. If done is check, show it here.
Otherwise, don't show. The things that are
done will be shown on the completed sections
this week here as well. If it's due this week
and we've completed it, we potentially want to
filter done wins out. We will add a new
filter on Done. If done is unchecked, this is when we want to see
it in this view completed. We have this here, but technically we
haven't completed it. We'll check that
and it will appear back on this week
because it's due today. And it will appear back on. And there you have a
simple task database with three views. One more property that
we want to have here is the status property
and that will become obvious later on when we
talk about the Canon Board. Here the statuses are not started in progress
and completed. We will leave it at that F, how do we link the tasks
back to the projects? Let's look at that in
the next video where we'll talk about the
project database.
5. PROJECT DATABASE: All right, so these tasks here are really related to projects. We will need a
project database to assign the tasks to
the specific project. Let's go back to databases. That's our database. We will create another
one full page. We will give it a map icon because it's all projects and we're
going to call it projects. We're going to delete this
time because we don't need it. All right, the first
project is Youtube. The next one is weekly tasks. Finally, we have books. All right, so how do we now get the Youtube tasks
assigned to Youtube? For that, we will need
to add a new property to our database relation. Its relation is
going to be tasks, Each project projects
will have task. But what we really
want to do is we want for project to have task. And a task needs to be assigned
to obviously a project, all projects will have a task will be
related to a project. Okay. Now we add relation
and look at that. We can see the task
here with Youtube. How to tax think,
mastering self discipline, and how to become
a millionaire in, for years, which are
all related to Youtube, since we have a two
way relationship. If we go back to
the task database, look at this really cool thing, we can start to see
the project that the tasks are assigned
to in this view. Back to projects, and let's
finish this weekly task. We need to do the washing, fired, clean the house. The books we are reading
are magic of thinking big, the ways of things and man's search for meaning.
Here you have it. If we go back to the database, all projects are assigned
and project database, and you can see it here. If you go back to
the task database, you can add a new, give it a jud d,
two weeks from now, we can assign it to a
project, Let's say Youtube. However, if we go
back to projects, we can see it here,
which is great. But how do we add a task to the project from the project view
itself, which is this? We can't really do that
right now to do that, to be able to add tasks
directly to the project, what we're going to need
to do is we're going to need to create this thing
called a new template. Now we're going to
call this project. In the project template, we will want to see a table of tasks that's related
to the project. We're going to add table view. It's going to ask us
what table view we want. We're going to want
the tasks now. It's going to give
us all the tasks. But what we want is
really we want to see tasks for a
particular project. What we're going
to have to do is we're going to have to filter. And we're going to
add a filter here. And we're going to add
an advanced filter. What we're going to tell
it is we want to filter where project contains
project template. Basically where the project
contains its own template. That's called a self
referential mechanic. In a second, you will
see what that does. That's going to be
our project template. If we close this, we go back. Now we open Youtube. You can see the template here. Technically you can create templates where then you can use it to have all pages inherit. Some basic information
here is going to inherit. Project template. Youtube is going to inherit
project template. And if you remember, project
template has a filter that where the project
references itself. When it comes to
the task database, if I click on this magic, I can only see Youtube
related items. Now the thing is,
if I want to add a task to Youtube task, it will add itself to Youtube. And if we go back to
the task database, you can see test two. And we haven't
assigned a date to it, but if we assign a date to it, let's say Saturday,
test two for Saturday. And if we go back to Youtube, test two is due on Saturday. Very cool. All right, so let's do this now for weekly, you inherit project template. We can see all the weekly
Cass here and let's do that. We can see all the books here. And if we want to
add a new book, we can just test book and give
date and test books here. And it will also be in the
main tasks database here. Now let's start
populating our dashboard. We'll go to databases. First off, we want to add tasks to the two do
section of the main dashboard. We come here, the three, we're going to copy a link to this view copy link and we're going to go back
to our main dashboard. When we come here, we faced that we're going to tell it to create link
view of database. Here we have our database, we can hide this
high database title. Now we can, if you come to your dashboard and we need
to go shopping this week, we're going to add
closed shopping with the family on Wednesday here, and it's a weekly task. We can now see closed shopping. If we bought bread already, we can check it and it's
just going to disappear. And obviously it went to the t database
completed section. We can see here
we've bought bread. The cool thing we could
do is if we come to do, we can link it directly
to the task database. So if I click on this, it will go to the task database right back to the
command center. Right, let's clean
this up a little. Let's add Youtube.
Make it nicer. All right, let's add
Youtube to our dashboard. So we'll go to
Projects, Open Youtube. Let's copy a link to this view. Come here, we'll go Paste. There you have it all. Youtuber tasks. Let's hide the
task title status. This is where status
becomes handy. Each of those views can
be displayed differently. What we're going to do here,
we're going to click on those three dots and
we're going to go Layout. And we're going to
do Board Layout. Now we have a can band
view for Youtube. Whenever we start something, we can move it and
see it in progress. Here, let's add a link to the Youtube database
for easy navigation. And boom, back to
the command center. Let's do our weekly task. Let's copy the link, Paste, create, link view. Let's hide this. We're going
to use the board layout. She's easier to track the task, maybe we can start cleaning. Cleaning house is in progress. And last but not
least, the books. Let's copy the link to the book view and back
to command center. Create linked view of database. These are all our books. We want to also, we want to also see this on a board layout. As you change the status
on the board layout, you can see it reflected here. If we click our quick links, now we can see their use. As this page gets bigger, the quick links become
more important. All right, nice progress. I'll see you in the next
video where we'll talk about ideas,
thoughts, and quotes.
6. IDEAS, THOUGHTS & QUOTES: All right, let's look
at ideas and thoughts, quotes, and life goals. For this, we're going
to need new databases. We will go back to databases and we'll
create a new database. We will add a light bulb
as its ideas thoughts. All right, first idea is to
explore digital nomad life. Next, use money for access. Don't be afraid to buy courses to skill fast or don't be afraid to
outsource grant work. Next idea is to
sell digital goods. Next is have a pig vision
and create a business. All right, we don't
need this tags property but a new property that we're
going to need, a formula. Property in notion you can actually create
formulas and we're going to call this one
random. Why we want this? I'm going to put this in the
description of this course, so you can copy it is
because we will use a formula to actually
randomize this list. Every minute is going
to shuffle the list, which will give us exposure to different ideas at
different point in time. The list wants static. If we add new ideas to it, it will basically over time show us some of
our old thoughts. There you go, Random. Okay, we're going to add this to our dashboard to
copy, link to view. Going to go back to our
dashboard to add it past. Create linked view to database. Don't want to show random property shown,
don't show random. We want to expand this. What we're going to want to
do is hide this one here. We also want to sort by
random every minute. This list will update to give us a new random list which will become very handy when
you have heaps of ideas. This so you can keep seeing
the ideas over time as usual. Let's link this to the table. Create a business is
first, explore digital. Normal life is second, have a big vision is
third, let's take a look. When we come back, let's
do the quotes one, same. Let's go databases. Let's create a new database
and an icon crypt. You first quote Marino. Remember, remember
to leave either way. Life is suffering, chose the suffering you want. Bao does teaching Well done is better than well side. Benjamin Franklin as usual.
Let's get rid of this. Let's add the formula
property to also have a randomized list of double click here
to add the formula. And we will copy
this back to here. Look at that it
updated use money for accesses now first we'll pass this year we are going to hide random and we will sort it by random. Let's clean it up a little bit. Let me sing this. Here we go. And let's hide the title. Okay. Last but not
least, life goals. We forgot to add the link, so let's goods right, databases. Let's add database. And since it's life goals, we went to a target. First one, health and fitness, and then finding
freedom relationships, work experience. Let's populate
those for us again, and you'll see why soon. Hell give you an icon. It's out of copper. Let's do the same
for all of them. I want to work all
over the world. All right, so let's add
this to our dashboard, which is coming up nicely for this one. What we want to do is lay out and we want a
callery layout. Then preview, we
want page cover. Here we go. Let's hide
this database title. Here we have our dashboard
is ready for use. And you can use this
life goal section here to add your life goals
under each of these themes. Basically, there you have it. I'll see you in the next
course where we'll talk about how to share
your dashboard.
7. TEMPLATE DUPLICATION: How to allow others to duplicate your notion dashboard so they can actually use
it for themselves. And without having
to touch your stuff, really it'll be a copy and they can use that copy
for their own purposes. First thing is you come up here and what we want
to do is not share, but we want to publish it. And we want to publish, we, we want to make sure that we're allowing duplicate us template. We don't allow to edit
the actual template. And we're not
allowing to comment on the actual original template. We're not allowing
Google to index it. Basically, that's it,
that's basically published. We can view the site. If you gave that
URL to somebody, they could come here
and click on Duplicate. What would happen is not will duplicate the template and would assign it to
their notion account. Now there's a duplicated
template there, which is this one. Let's delete it. You can see an ocean
telling us here that it's basically life for copying
or for duplication. That's the URL for once again, you can copy from here
and share that URL. If you want someone to
duplicate your template, pass that URL to them. I'll see you in the next lesson where we will talk about how to package the URL
to sell it online.
8. PACKAGING FOR DISTRIBUTION: So how do you package your
template URL as a giveaway, or for sales, you
basically put it in a PDF file to be distributed. This is mine, as
you can see here. If I hover on this second brain, your life's command
center, click here, you can see the URL
to my template. Then on the second page here is how to set
up the template. This is what I've uploaded to my e commerce platforms
for distribution. How did I create that template? Easy. You sign up
for an account on Canva.com As you sign
up, it's a free account. You just need a
free tier for this. You can see here, Free Canva has heaps of templates
as you can see here. You could explore them. Many different templates
that we could choose from. We go back, there are posters if you hover over it and you can
see the different pages. All right, let's go back. How I created mine
was basically, I went and looked through the
templates and pick one of the size that I want
to pound document. If we search through here, this was it here. And just hit and
customize this template. All right, so this template
contains paid element. If you try to share and you click download,
you can see here. So it will tell you your design contain premium content
you need to upgrade. So what you can do is basically those are the
paid elements here. So we could just remove them. These four here. This one, the ones you can obviously
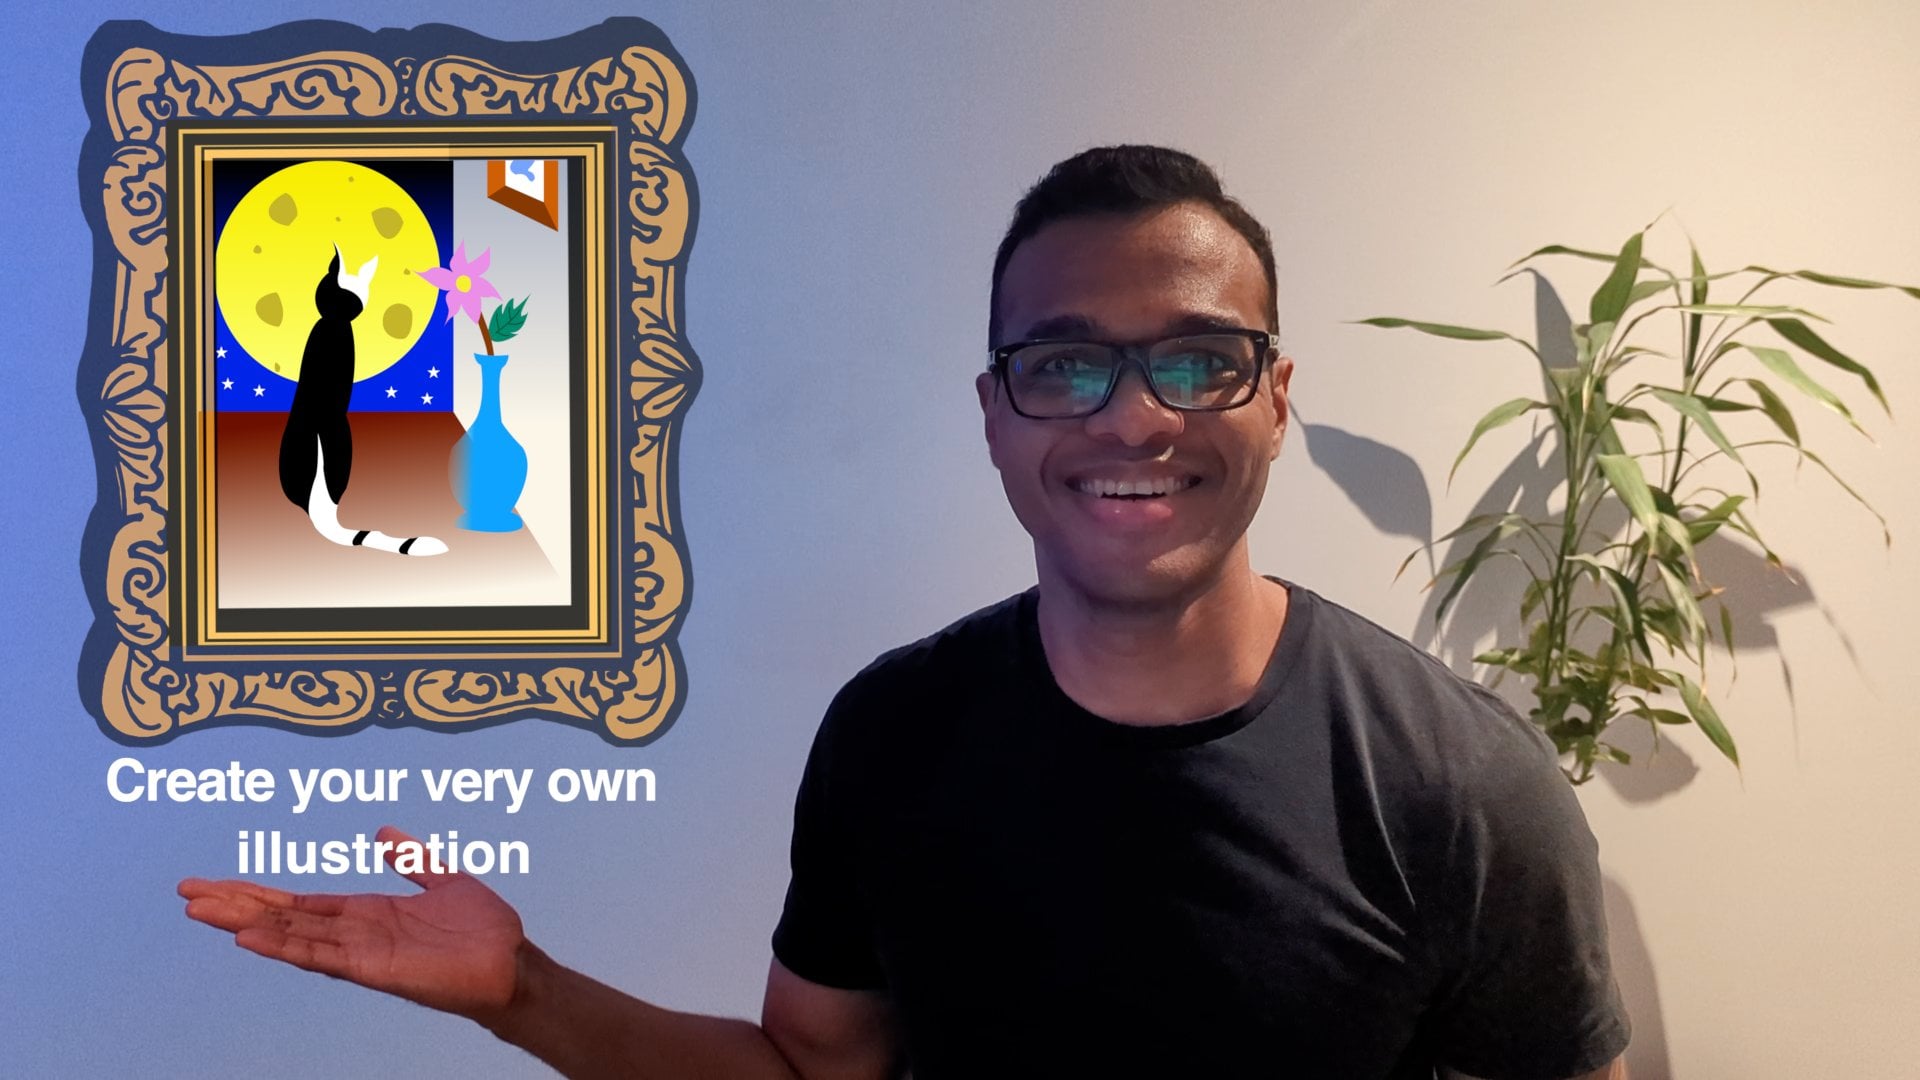
edit everything here, we're going to say second brain, add your own logo, you can add your own image. One really cool thing
here with Canva, if we go elements, you can use AI to
generate your own image. We're going to click
on Generate your own. Here you input the text that you want the AI to use to
generate your image, describe the image you want, and we'll generate it for you. Let's try this. And there you have it. We could use this for
example. There you go. And you can see how the
packaging starts to take shape. All right, I'll
leave it at that. Use your creative juice to
create your own packaging. And don't forget
to post it down in the project section of
this course for feedback. Remember, it's a
safe environment. And I'll see you
in the next class.
9. SELLING YOUR TEMPLATE: If you would like to sell
your notion template, there are two ways to do so. You can use a platform
with organic traffic, or you could use a platform that you will need
to drive traffic to. If you would like to
test your product fast and don't already have a
social media following, it's better for you to
put your product on a platform like Ets that
already has organic traffic. On the other hand, if
you would like to have your own custom designed webpage with your
own custom URL, then it's better to leverage
a platform like Shoppy File. Downside here though is that
you will need to figure out how to drive traffic to
your Shopify web page. You could have the best
product in the world, but if people don't know
about it, it won't sell. Here are some rapid
fire points on how to set up your Shopify page. And if you get stuck,
just leave a comment and I'll help you create
an account on Shopify. Then you'll need to get
the Shopify plug in that allows you to sell
downloadable files. Select a theme to set up
your Shopify webpage with. And I pick the Dawn theme. After much research
on the Internet, that was the most popular
and flexible page. There is a website called
Search Link Domain. Go there to figure out what.com URL are
available for you. You just need to type
in words related to your brand and it will spit
out available.com URLs. After you've found your.com URL, go to a site like Name
Chip to buy the URL. Once you've purchased your
custom URL on Name Chip, you will have to do
some configuration on both Name Chip and shop five to get your custom URL
to point to your shop shop. If you search how to do
this set up on Google, you will find the
instructions for it. Alternatively, just
leave a comment down below and I'll help you.
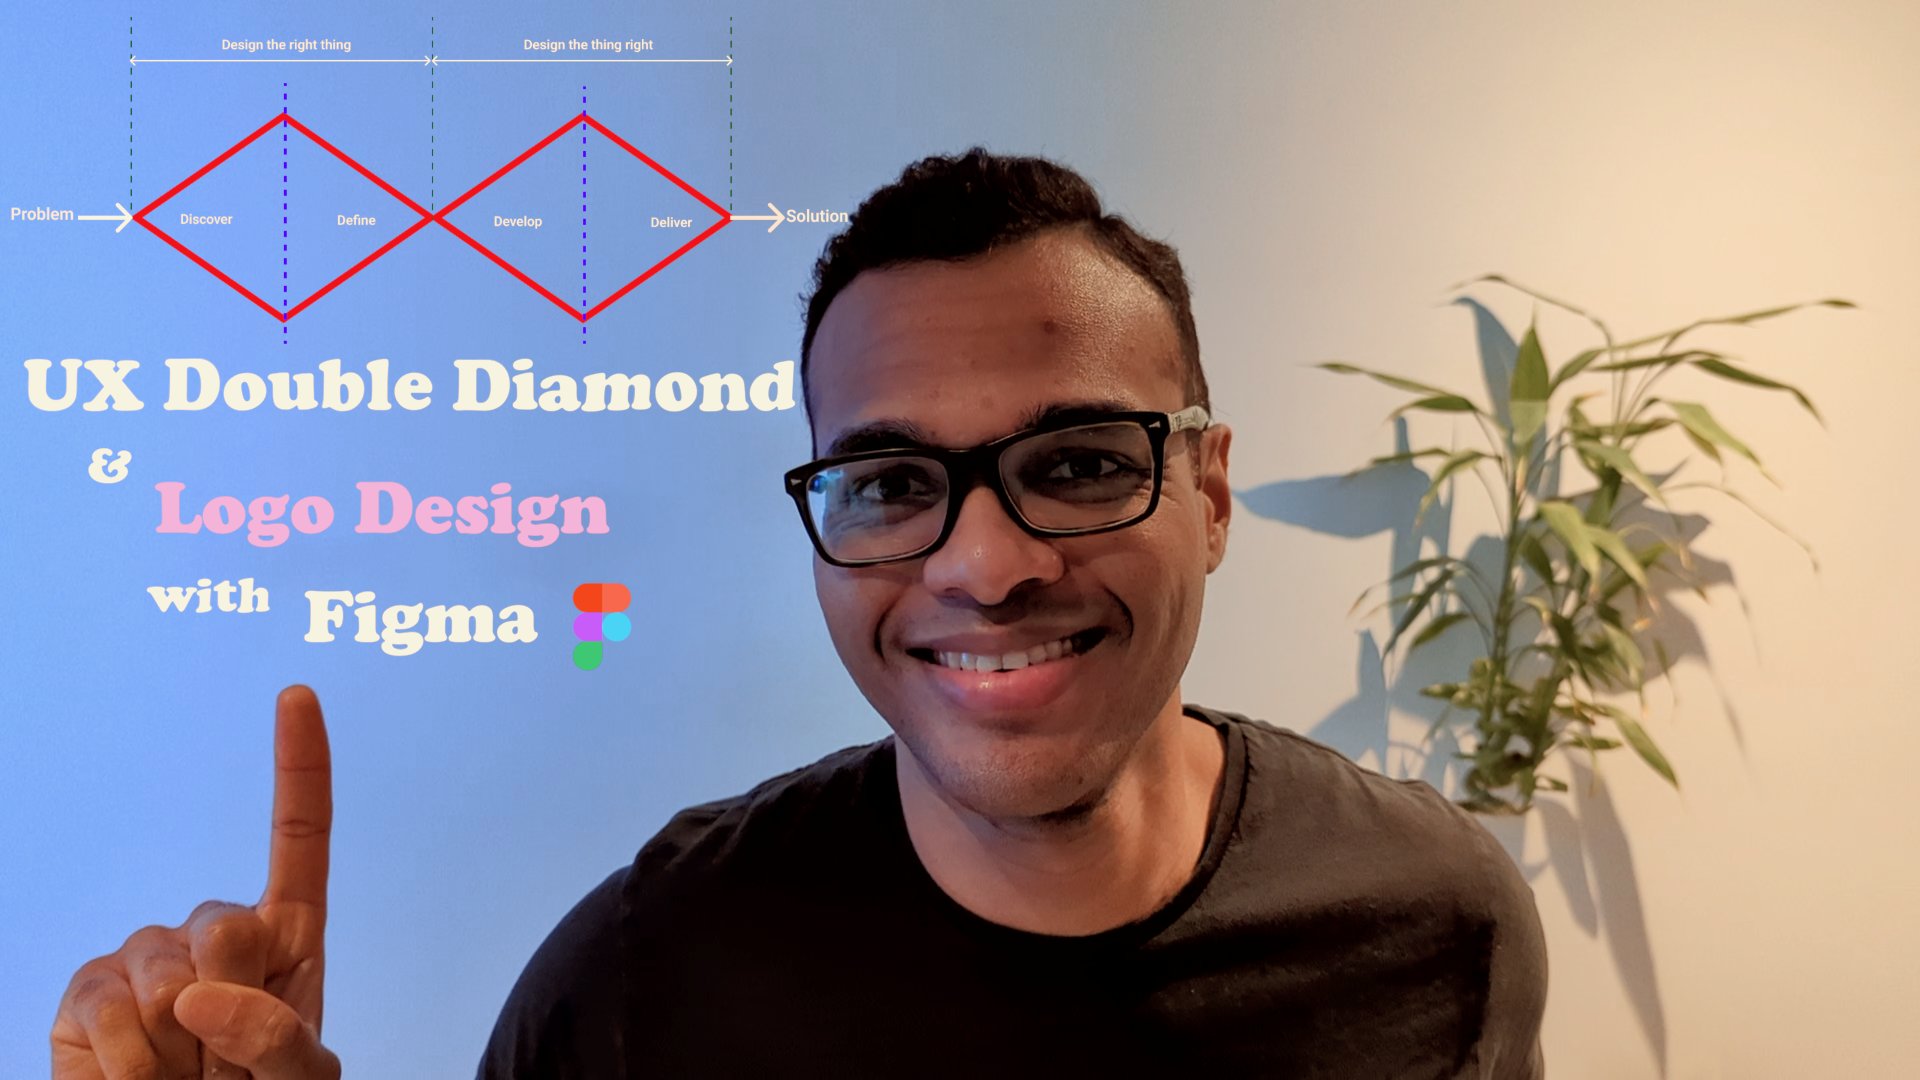
10. CONCLUSION: If you've enjoyed this class, you might like my class on
the Double Diamond Concept, which is a framework on
how to find new ideas. And then how to refine
those ideas to come up with products,
concepts, et cetera. It's basically applicable to any field that requires
knowledge work. Thank you for watching and until next time my friend take care.
 Olivier