Transcripts
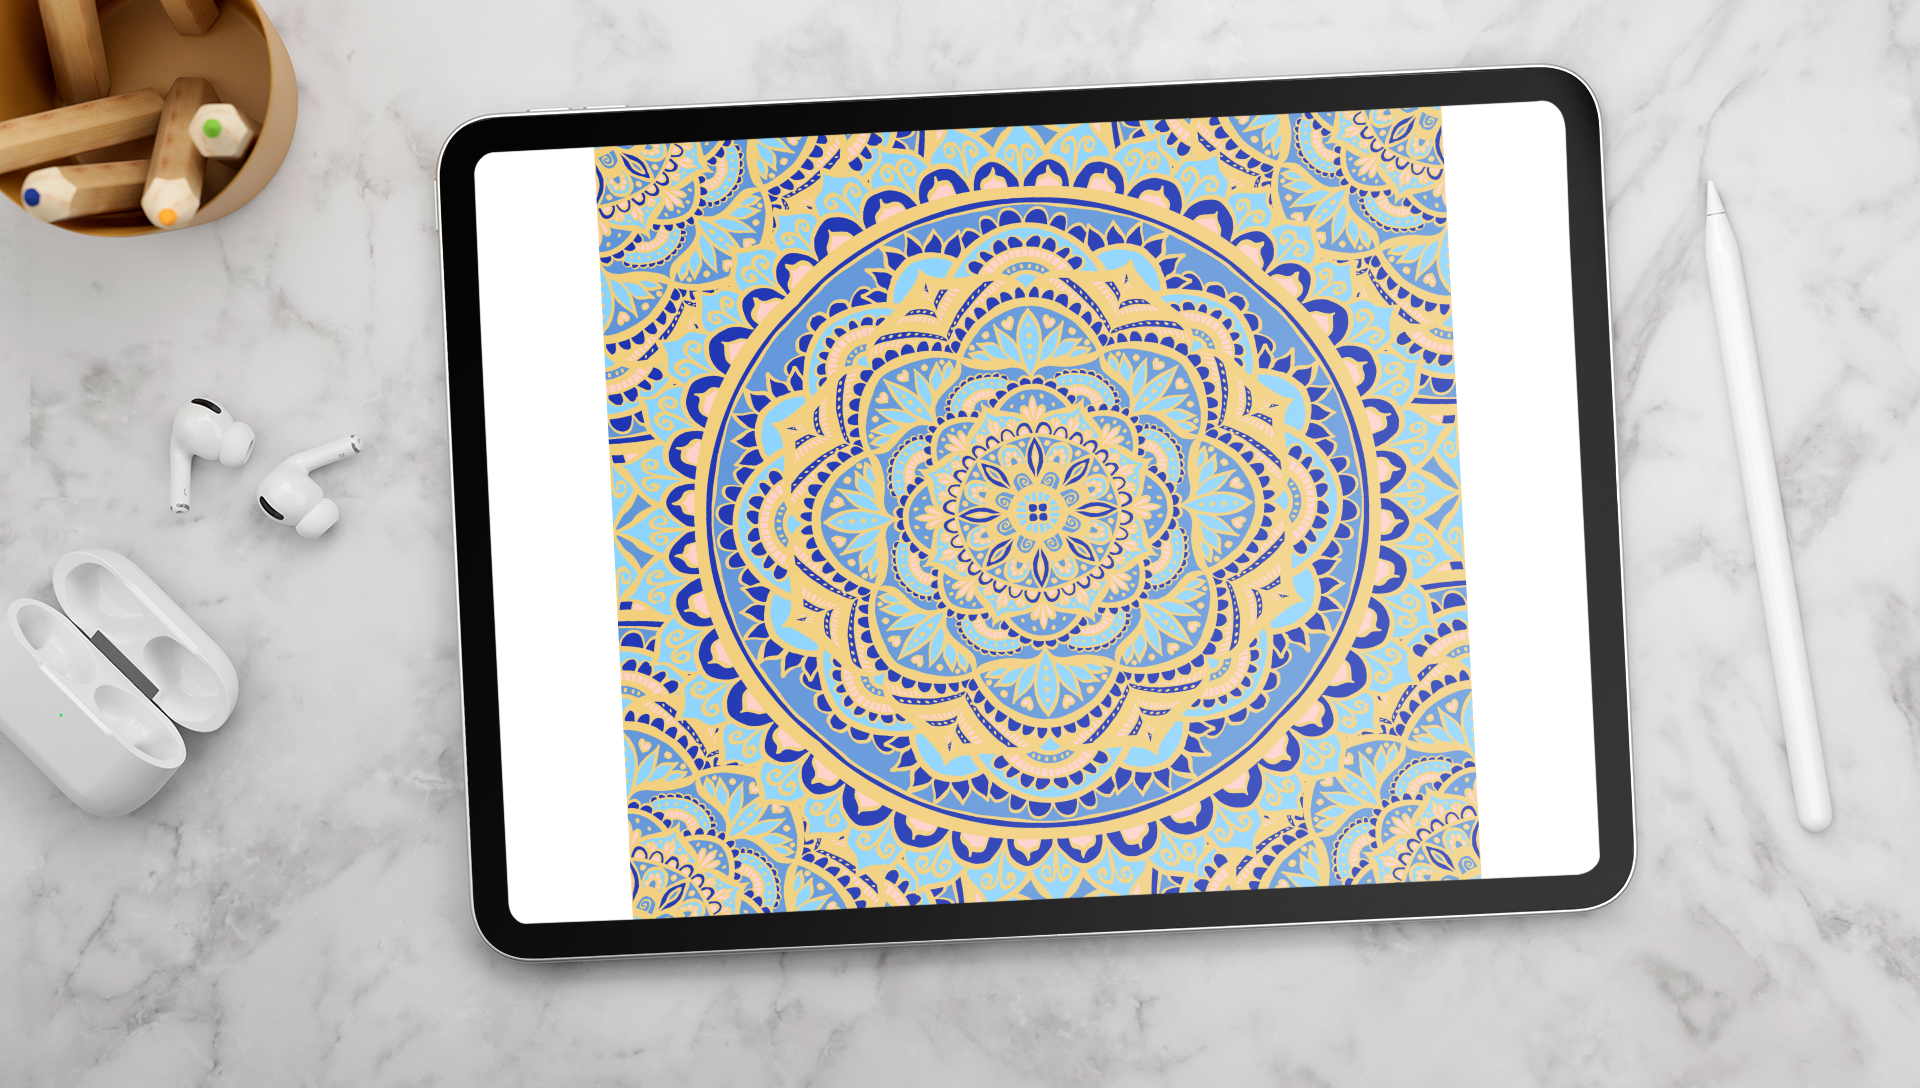
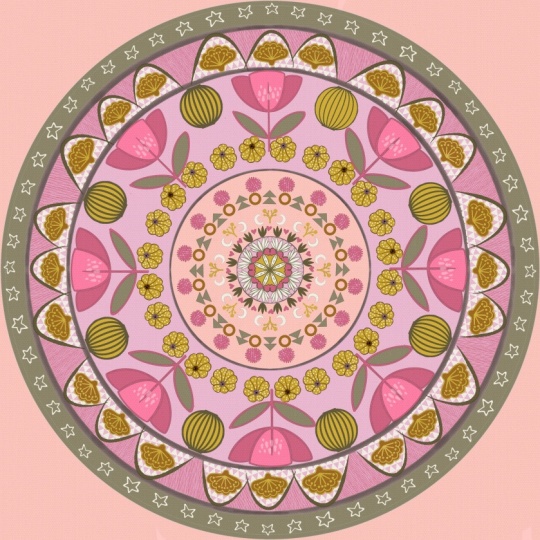
1. Introduction: Do you want to create scroll stopping mandala
designs like this one? With nothing but your iPad
and the Procreate app, then this class is for you. Hi, I'm Julie, and I'll be
your teacher in this class. I'm so happy to have
you here today. I'm a creative business owner with over ten years
of experience, and I've created hundreds
if not thousands of seamless pattern designs that I sell through print
on demand websites. Some of my favorite and
actually best selling patterns are seamless mandala
pattern designs. Like, the one we'll be creating
together in this class. Taking you step by step through the process from drawing
our mandala using the symmetry tools in Procreate to coloring it in and finally, creating a seamless pattern tile using the snapping tools. By the end of this
class, you'll have a pattern that's ready to use for all sorts of surface
design applications. All you're going to
need for this class is an iPad and your Apple pencil. So let's get started.
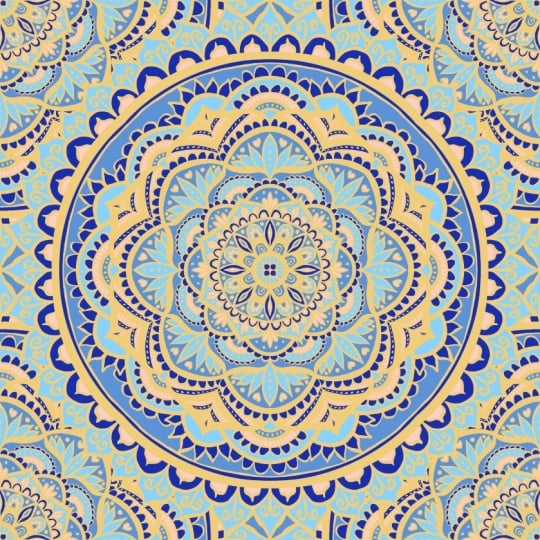
2. Supplies and Class Project: In this class, we'll
be creating this stunning, seamless
mandala pattern, which is super versatile that looks great on product mockups, cellphone, wallpaper and more. For the class,
you're going to need your iPad and an Apple
pencil or stylus, and also the Procreate app, which can be downloaded
from the Apple App Store. By the end of this class,
you'll have a stunning, seamless mandala pattern
design that you can share in the class project
section below the class. So if you're ready, let's
move on to the next lesson. I
3. Setting up the Canvas: So to get started, we first
need to set up our Canvas. So I'm going to click
on the plus sign on the top right and then choose pixels and create a canvas
of 4,000 by 4,000 pixels, and then hit Create. And now I'm going to go up to the Actions menu and I'm
going to click on Canvas. And then I'm going to
click on Drawing Guide and Edit Drawing Guide. Now I'm going to head over to symmetry and then options and
choose the radial option. You can also adjust the color of your
guidelines if you want. And you can also turn on
the rotational symmetry if you want a little bit of a different drawing experience. So now we're ready to
start drawing our mandala. So we'll see you in
the next lesson. Good
4. Drawing the Mandala: So now we can start
drawing our mandala. And you can use any
brush that you want. I'm going to use one from the new Procreate brush library, but feel free to use any brush that you
like to work with. So I'm going to go
with this one here, and I'm just going to use black, and we're going to
recolor this later. So now grabbing my Apple pencil, I'm going to just zoom in a
little bit to the middle of my canvas and just start
drawing my mandala. I usually like to start
with just a basic circle, and you can see how it's repeating across all
of the eight sections. So we only have to fill in
one section out of eight. And now I'm dragging from the
top right corner to fill in this line a little bit thicker and just cleaning
it up a little bit. And I'm just gonna start
adding some lines and shapes to add detail
to my mandala. So go ahead and follow
along with me or feel free to just freestyle and come up with
your own patterns. It can be super fun
just to play around and experiment with the app and the different brushes
that Procreate has. So, I like to play around with different thicknesses
of my lines by increasing or decreasing
the brush size or changing the
pressure as I draw. And it just adds some more
visual interest to the design. So now I'm just going
to go ahead and continue adding
details to my mandala. And one of the best parts
about mandala drawing in Procreate is that you
can undo your mistakes. And also, if you need
some inspiration for patterns to include
in your mandala design, I will link below a Pinters
board that I've created. So you can obviously get inspiration from other
people's artwork. Just don't 100% copy it. Just use it for inspiration
for your own work. And honestly, sometimes
pretty often, I just reuse the same
motifs over and over. And especially within
the same mandala, it actually just adds to the overall cohesiveness
of the design. So just keep on going and keep on filling out the
details of your mandala. It doesn't have to
be this detailed. You could obviously do
something much more simple. Just keep going until you've basically come to the
edge of your canvas. So just take your
time here and treat it as a fun,
meditative practice. This doesn't have to
be perfect in any way. It can just be loose
and free flowing, and it's still going to be symmetrical because we have
that drawing assist on. And so it really doesn't
matter what you do here. Just go with the flow
and enjoy the process. So, yeah, like I said, you want to have your mandala basically touching the
edge of your canvas. So I'm just adding
one last row of detail to my mandala to make sure that it's
touching the edges, at least on those four sides. So once you finish
drawing your mandala, we can move on to the next step, which is going to
be coloring it in. So finish up your design, and I will see you in
the next lesson. It
5. Colouring the Mandala: So now we can start
coloring our mandala. And first, I'm
going to duplicate this layer just to
keep a clean virgin. And then I'm going to tap on the layer and select Alpha lock. And I'm going to select a
color to replace the black. And I'm going to be using a
yellow and blue color scheme, and I always find that using contrasting or
complementary color schemes is what really makes
the mandala pop. So I'm going to tap on my layer again and then
select fill layer. So now our black line has been replaced by
the yellow color. And I'm also going
to select reference. Now I'm going to create
a new layer and put that behind our outline layer. And don't forget to also turn on the drawing assist
for this layer as well. And now I'm going to
drag my color over from the top right and plop it
into where I want it to go. And then I'm going to click
here on Continue filling. Now all I have to do
is tap my pencil on any section that I want to fill with this
dark blue color. So I'm just going to
go ahead and do that. And now I'm looking for
another color to use. So I've got a nice
light blue color here, and I'm going to
pinch to zoom in and then just do the same
thing with the continue filling and just tap my pencil and fill it in
wherever I think it's going to look good and
just go through and select a few areas where you want to have
this other color. And don't forget to tap on that check mark next to color
drop when you're finished. And then I'm going
to go in and find another color to continue
filling in my mandala. And I'm just doing the
exact same thing again, and I'm going to continue
doing this process until I've completely filled in
all the white spaces in my mandala design. So just take your time
here, enjoy the process. It's really fun and easy process just to drag and
drop your color. And I find that coloring
in the mandala is probably my most favorite
part of this whole process. So I'm also going back in with some of my existing colors. So I'm just pressing with
one finger on the screen and selecting that color
instead of going back into my palettes every time just speeds things
up a little bit. And then I'm just going to
continue filling in the areas that are white with the existing colors
that I've already used. So just keep on
going until you've completely filled in
your mandala with color. So I also decided to
add this really light, pale pink color in some areas of my mandala just to add a
little bit more variety. So I'm almost done
filling in my mandala. I'm also going to zoom
way in and just make sure that every single
pixel is colored. So once I finish that, we can
move on to the next step, which is to create a seamless tile from
our mandala design. So make sure you stay tuned for that and finish up your mandala, and we'll see you
in the next lesson.
6. Creating the Seamless Pattern: So this is the part
where the magic happens, and we create a
seamless pattern tile using our mandala illustration. So with my color layer selected, I'm going to swipe right on my outline layer
and create a group, and then I'm going to
duplicate the group and then tap on the group image
and select flatten. And then I'm going to go
to the Actions menu and turn off the drawing guide because we won't
need that anymore. Now, back in the Layers panel, I'm going to swipe
left and then click duplicates and I'm going to
create five total copies, so I'm going to
duplicate it four times. So now I'm going to
go to the move tool. And with Uniform selected, I'm going to go into
the snapping settings, turning on the magnetics
and the snapping, and then the distance and velocity are turned
up all the way. M So now I'm going to turn
off all the other layers. I'm just going to have
one layer selected, and now I'm going to drag
it over to the corner, and it's going to snap
to the middle there, and you're going to
see orange lines. So make sure it's
not the blue lines. Make sure it's snapping with the orange lines on both sides. And that's going to ensure
that it tiles correctly. Now I'm going to do the same
with three other layers. So turning off all
the other layers, just dragging that layer over to the corner and snapping
it to the middle. So we're going to do
that one more time. Turn off all the other layers, drag it to the corner, make sure you see
those orange lines and then it's snapping
just like that. And now we can turn
our layers back on. And with that, we have
our seamless tile. Now, you can see
there's a little bit of white showing there. So we can actually just
change the background color. That's just the background
showing through a little bit. So I'm just going to
go and apply one of the blue colors
that we've already used in our mandalillustration. So I'm just going to use
my finger to select one of the colors and then apply
that to the background. So I'm actually just
going to create a new layer and then
select a color from my mandala and drag it over to the background so that now
becomes the background. And I'm also going to pinch
those four corner layers together just to put them
all on one layer together. So now we have our
repeating pattern. And the next thing we can do
is just test it out to make sure that we tiled everything correctly and everything
is lining up properly. So to do that, I'm going to
go back out into my gallery. I'm going to click on select
and duplicate that file, and then I'm going
to pinch all of our layers together to
flatten them into one image. Now I'm going to swipe left and duplicate this three times, so we have four layers in total. And then I'm going to
click on my arrow tool, and under the snapping settings, I'm just going to turn
off the magnetics. And then dragging
down from one corner, I'm going to snap
that into the corner. So just like I'm doing here, just drag it down so that
it fits into one quadrant. And now I'm just zooming in to check that everything
is lining up properly, and I don't have any
gaps or white lines. And just to demonstrate what
our pattern looks like, we can do that whole
process one more time, so duplicating it three times. So we have four copies. And then using the snapping
tool with our pencil, I'm just dragging the
image into the corner, and then that is going to
create our seamless tile. So there we have it. And if for some reason
you do have some gaps or some white lines or whatever or some imperfections
in your pattern, you might just have to go
back to the original file and try that duplicating and snapping process one more
time and just be really, really careful
that you're seeing the orange lines and
not the blue lines. So just make sure that it's all lining up and
tiling correctly. So just take your time and make sure that it's
all tiling correctly. And now you have a
beautiful mandala pattern, and you can use
this for all sorts of surface pattern
designs, art prints. You know, upload to your
print on demand shops. If you have those, use it as like a background
for your phone, all sorts of applications posted on Instagram,
you name it. So in the next lesson, we'll just wrap up what
we learned today, and I will advise you with some next steps that you can take and just conclude
our course today. So we'll see you over there.
7. Final Thoughts and Next Steps: Thank you so much for
joining me today. I hope that you enjoyed
this class and learned how you can create beautiful mandala patterns for yourself. Be sure to follow me
here on Skillshare, so you'll be notified
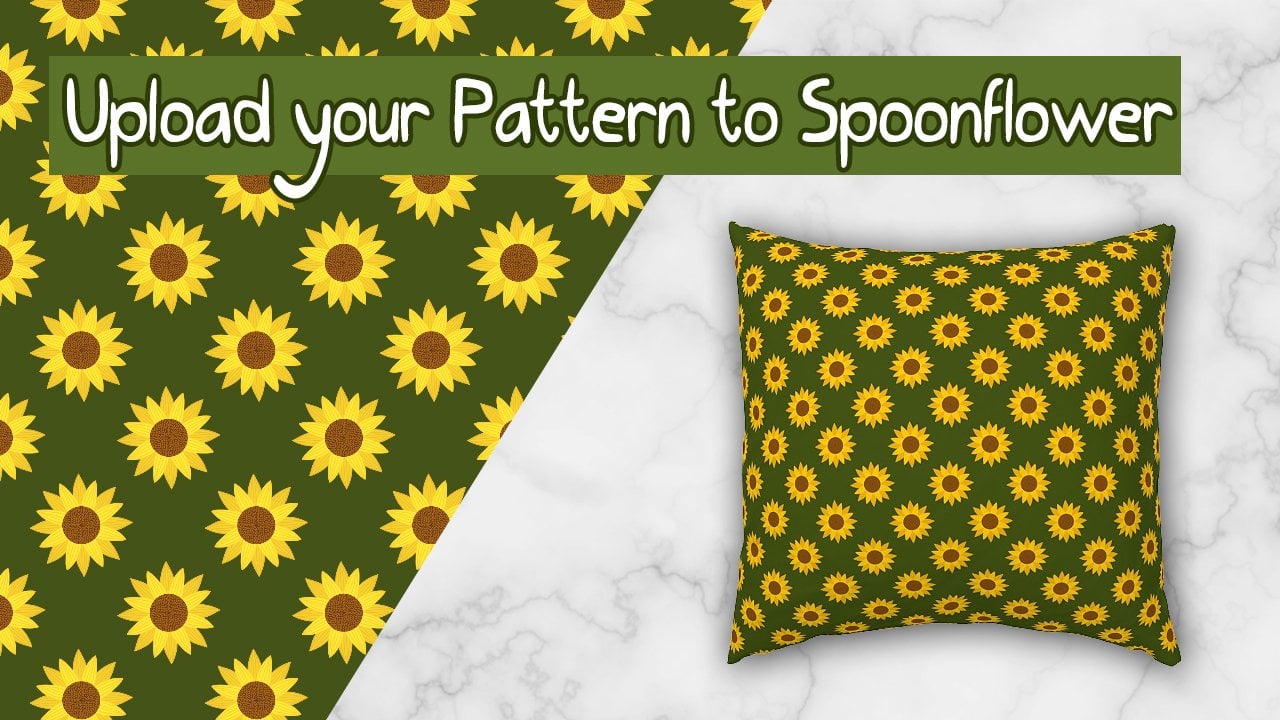
when I post new classes. I also have several classes available that would be
useful as a next step, like uploading your pattern to spoonflower or a whole step by step class on how to set up a az print on demand store where you can
upload your patterns as well. Can also check out my
website, juliarsigs.com, where I share lots of tutorials
and art business advice. I also have an Instagram and other social media under
Julie Designs, as well. So go ahead and follow me
there and join my community. As always, if you
have any questions, please leave them in
the discussion section below and make sure that you post your project to
the project section so that we can all see
your beautiful artwork. I can't wait to see all
of your unique patterns. And again, thank you so
much for joining me today. I hope you enjoyed this class, and I will see you in
my next one. Cheers.
 Julie Erin Designs, Artist and Entrepreneur