Transcripts
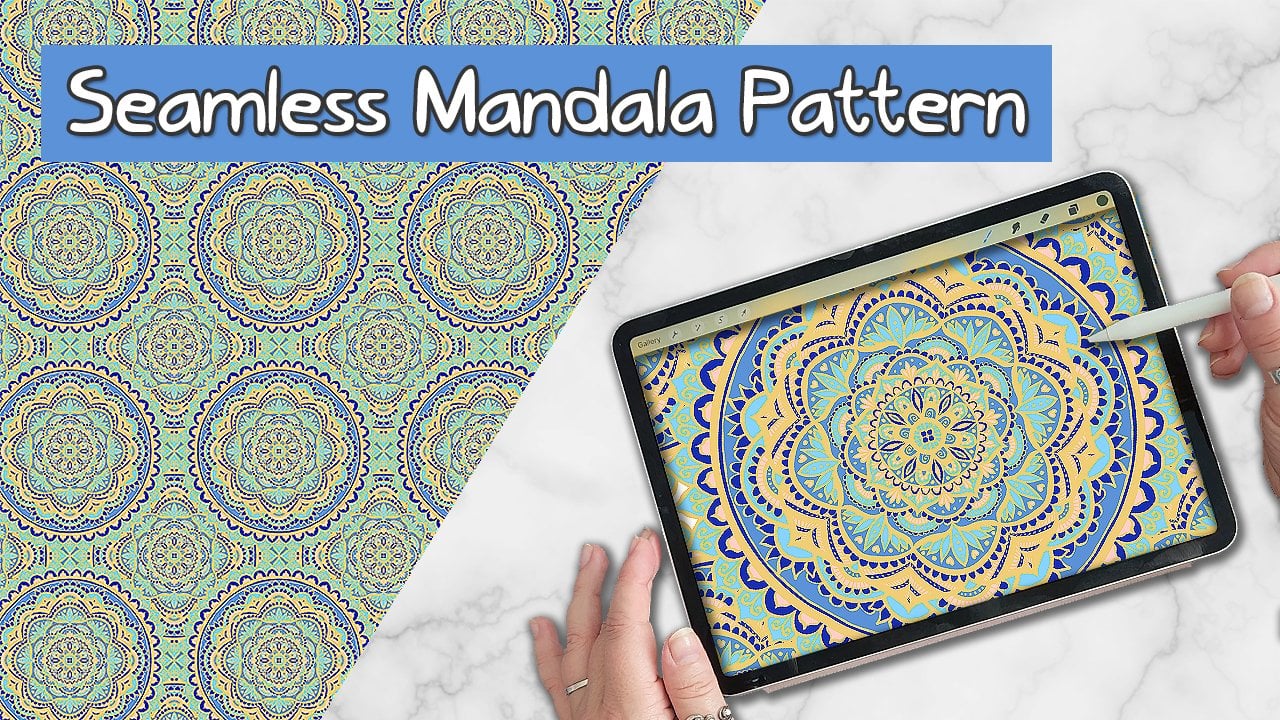
1. Intro: Ever wanted to create beautiful, seamless patterns and procreate
quickly and effortlessly? Hi, I'm Julie, an artist and surface
pattern designer from Vancouver, Canada. For nearly a decade, I've been creating and selling seamless pattern designs through print on demand websites
like Spoonflower, Zazzle, and Rd bubble. Now, in just under 10 minutes, I'm going to take you step by
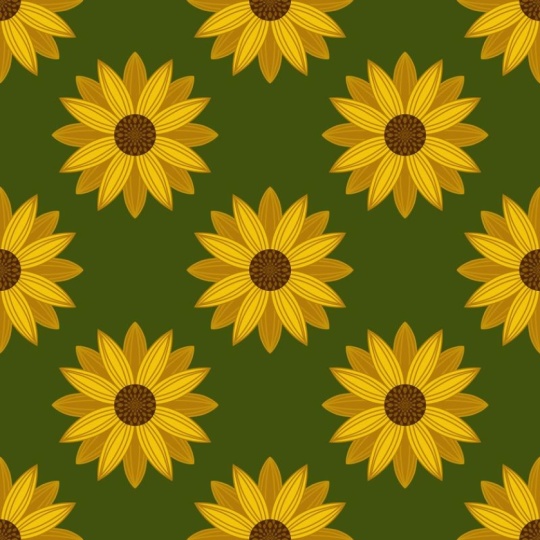
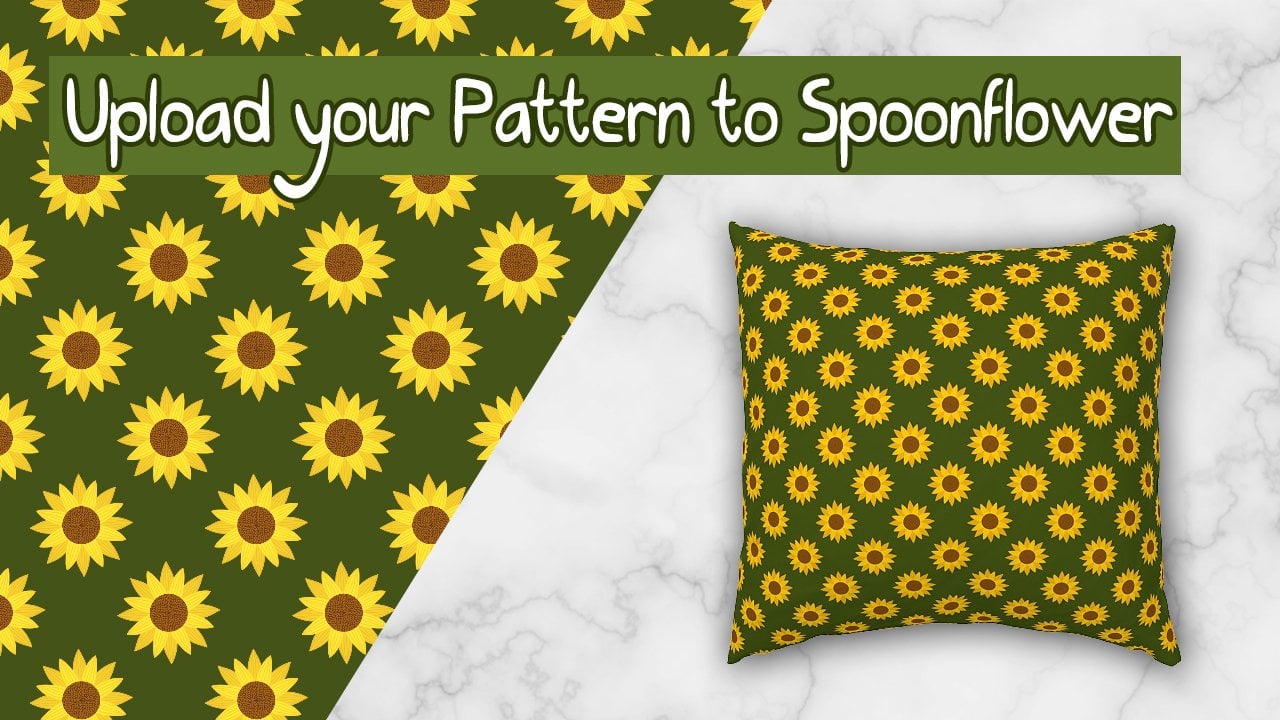
step through the process of creating the stunning sunflower
pattern in Procreate. This pattern is perfect
for print on demand sites, fabric design, and more. By the end of this class, you'll have a beautiful, seamless pattern design ready to use and the skills
to create many more. So I hope you'll
join me today in this quick and fun
class where I'll be showing you how you can create seamless pattern
designs in Procreate. So let's get started.
2. Creating the Sunflower Pattern: Going to get started by
opening up our Procreate app, and I'm going to
create a new Canvas, and I'm going to
make the Canvassize 3,500 by 3,500 pixels, and then press Create. So we've got a nice square
canvas to get started. And now we're going to
select our first color. So I'm going to head over to
the color palette section, and we're going to select
this dark brown color from the Sunflower palette, which I provided in the
resource section below. So make sure you download that color palette and install
it before getting started. Now using a monoline brush, I'm going to draw a circle
and then holding my pen down, tapping with one finger to
create a perfect circle shape and filling it in by dragging the color from the
corner into the circle. And now I'm going to turn on the snapping and magnetics with the move tool and just snap the circle right into the
middle of the canvas. Make sure you see
the orange lines, which will indicate that it's right in the middle
of the canvas. Next, I'm going to go
up to the Actions menu, and I'm going to turn on the drawing guide edit
drawing guide, and then select
symmetry options. And I'm going to choose
the radio option. I'm also going to turn on the rotational symmetry
option and then it Done. And now I'm going to go back to my Sunflower color palette, and I'm selecting a little
bit of a lighter brown color. And then I'm going back into my layers menu and
adding a new layer. And then I'm going to
click on that layer and turn on the
Drawing Assist Option. Now I'm selecting the
studio pen brush. You can continue with
the model line brush or any other brush that
you want to work with. And I'm just going to kind of
zoom in on that circle so I can start to add a bit of
detail to our brown circle, which is going to be the
center of our sunflower. So starting from the middle, I'm just going to
work my way out and add these kind
of tear drop shapes, and you can see how it's
repeating all the way around. And so I'm just going
to go ahead and fill in this circle with these seeds. So next, I'm going to
create a new layer and drag it down underneath
that first layer, and then select the layer
and turn on drawing a cyst. And next I'm gonna select a bright yellow color from
our sunflower color palette. So now I'm gonna draw
in the first layer of petals for our sunflower, and then I'm going to drag the color over to fill them in. Next, I'm going to select a
slightly darker yellow color. And then going into
the layers palette, I'm going to select
that layer and turn on the Alpha lock setting. And now I'm just going to
add a little bit of detail to these petals by
kind of outlining with the darker yellow and
adding some lines going vertically up from the bottom
to the top of the petal. I'm going to go back
into my layers and add a new layer
and drag the layer underneath all of
our other layers and turn the drawing assist
on this layer as well. And then with the same
color we've just used, I'm going to create
another layer of petals underneath the first one. And now I'm just turning
off my other layers and making sure that the
petals are connecting in the middle there so that
we can easily just drag and fill it in because if
they're not connected, it's just going to fill in your entire palette with
the yellow color. And then going ahead and selecting the layer and
turning on alpha lock. And then I'm going to select
a slightly darker color from our color palette and add the same decoration
to these petals. So now we've got the basis
for our sunflower motif. And the next step
is going to be to turn this into a
seamless pattern. So first, I'm going to just
change the background color. So I'm going to select one of these darker green colors from our sunflower
color palette. And now I'm going to go back into layers and
select all three of our layers by swiping right and then grouping
them together. And then I'm going to swipe
and duplicate that layer, and then flatten
all three layers so that they're all just
on one layer together. And then I'm going to
duplicate that layer. So then using my
model line brush and any one of the colors
from the color palette, this actually doesn't matter because we're going
to remove it. So first, we need to turn off the Alpha lock on this layer. So I'm going to unselect
the Alpha lock. And next, I'm going to also turn off the
drawing assist as well. And now I'm going to mark
all four of the corners. So making sure that the pixels
are right in the corner, filling the whole corner. So each of the four corners
I'm marking, and again, this is going to be deleted, so don't worry about making
it perfect or anything. Going to go into
our layers palette and duplicate this
layer three times. So we have four copies of this layer with
the corners marked. Now going up into our move
tool or the arrow tool. I'm going to make sure that the snapping and
magnetics are on, and then I'm going to drag the first layer up
into the corner. Making sure that those
orange lines are showing, make sure they're not blue in order for it to be
tying correctly. You can turn off some
of the other layers and just play around until that snapping exactly
into the middle there. And then you can pinch
those all together. And with the eraser,
I'm just going to erase that yellow corner marking that is now in the
middle of the Canvas. And now that that's
all been erased, I can turn back on my
original sunflower. And this is the basis for
our seamless pattern. So from here we can go back
up into the actions menu and turn off our drawing
guide because we don't need that drawing
guide on anymore. So now I'm going to go
into my layers and just group those two layers
together and then duplicate them and flatten
them like we did with the other one just so we can preserve our original drawing. I'm going to go ahead and duplicate this three more times. So we have another
four of this layer. Now I'm going to drag
this layer down from the corner until it snaps
into the middle here. So dragging it down until we see those
orange lines again. And this is basically
just to test that our seamless pattern design
is working correctly. And just turning off
that final layer. And now we can see that our
pattern has tiled correctly. And I'm just going to zoom in and double check that there's no stray pixels or lines
that haven't quite lined up. And if there are, then you
may need to go back a few steps and just redo the
original snapping process. This one's looking pretty good. I'm pretty happy with this, so it's pretty much
ready to export. So we're going to go back and
export our original tile. So turning off all of
these extra layers. I'm just going to turn back on our original pattern
that we created. And this is the pattern
that we're going to export. So to export this,
I'm going to go back into the actions menu, the wrench icon, and
then select Share. And then I'm going
to select JPEG. And then I'm going
to save two files, and then on my iPad. And then I'm just going to
title this Sunflower pattern. So once it's been exported, you can go ahead and upload
this to different print on demand websites if you want
to sell this on products. So in my next
class, I'm actually going to show you
how you can upload this exact pattern that we
created today to Spoonflower, which is a print
on demand website, which specializes in fabrics and home decor and wallpaper. So it's really great for
seamless pattern designers to make passive
income selling their w. So make sure that you
are following me here on Skillshare because
I'm going to be publishing this class soon. Also don't forget to share the pattern that you
created today in the class project section
so that I can see it and everybody else can
see it and enjoy it. And we'll see you
in my next class. Thanks so much for
watching Cheers.
 Julie Erin Designs, Artist and Entrepreneur