Transcripts
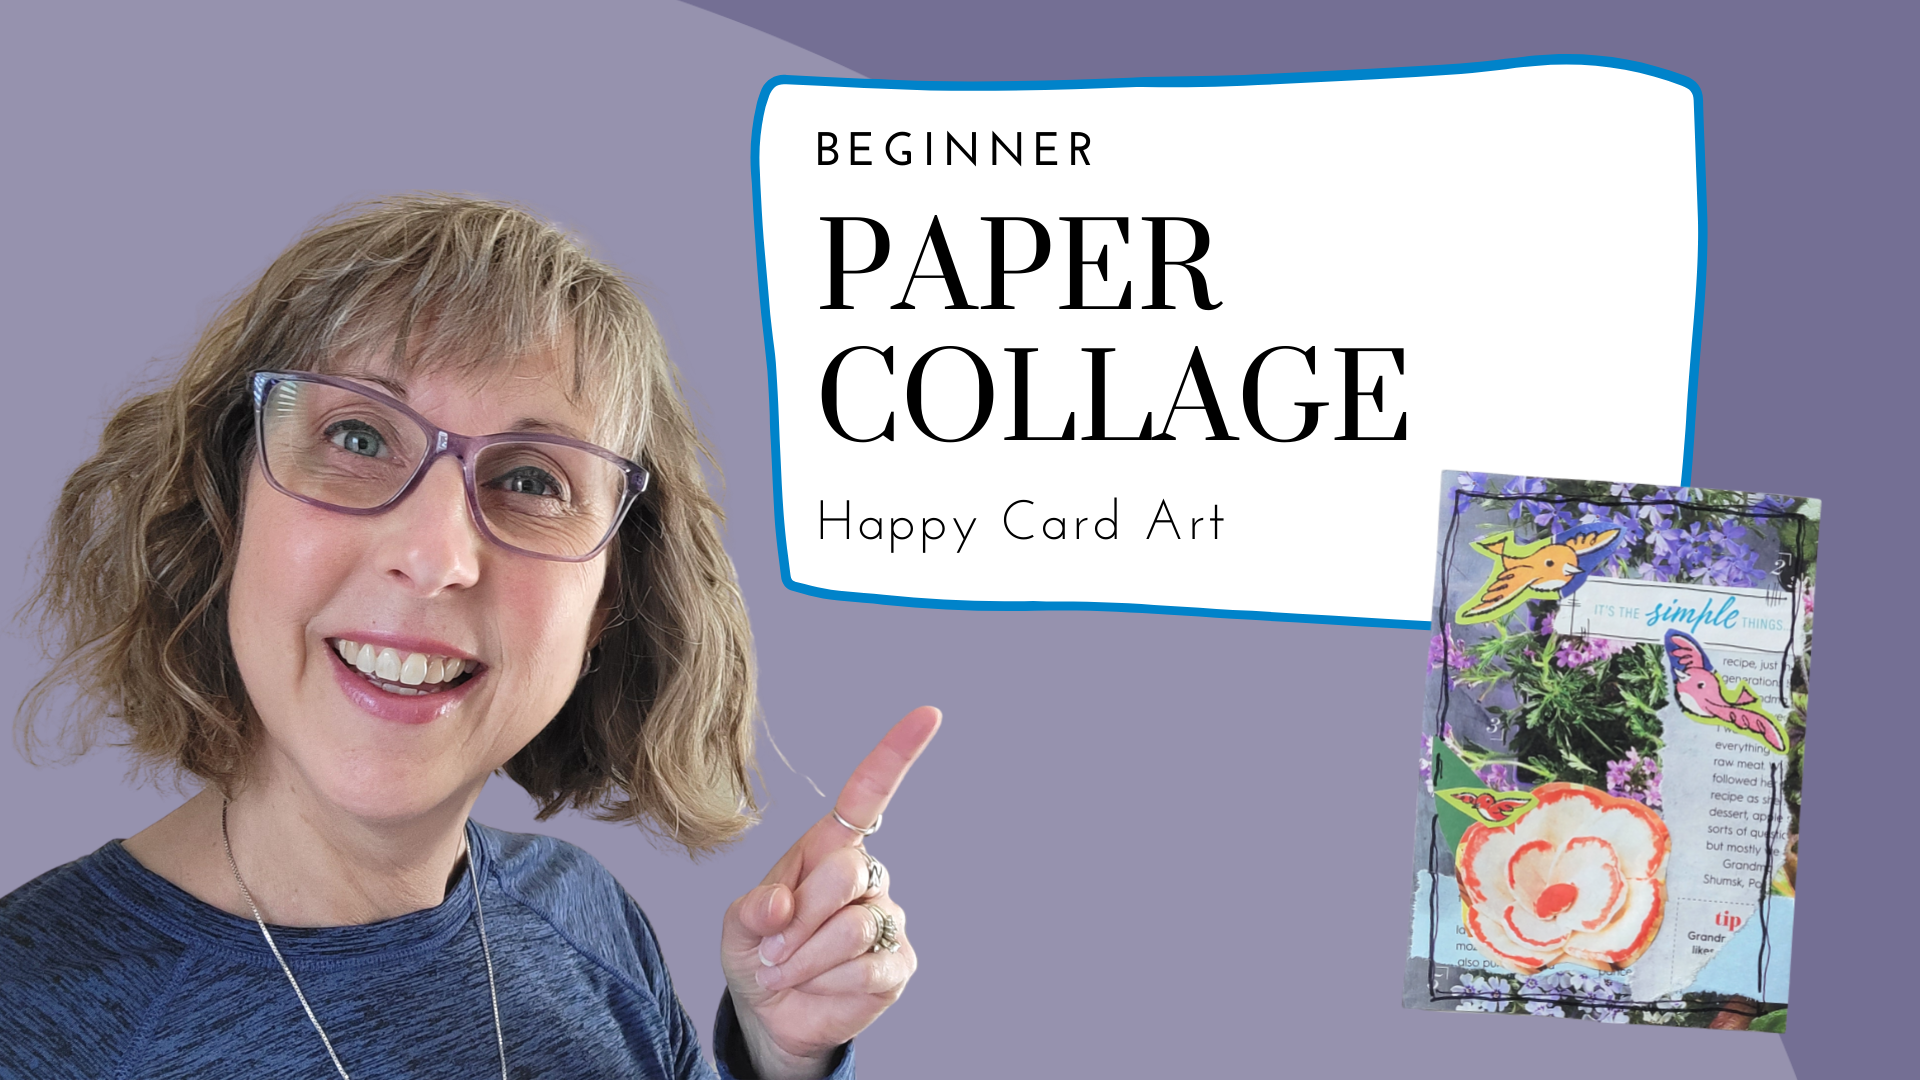
1. Welcome!: Hi friends. It's Tammy prayer. Thank you for joining me today. This brand new Skillshare
class is going to be amazing for beginners
learning collage. I started doing collage
about three years ago. I admit I struggled a bit. If you are new to collage, this is the class for you. If you've done
collage before, hey, join in also there might be triggered to that you can
pick up from my class. And the beauty of it is it's with supplies you
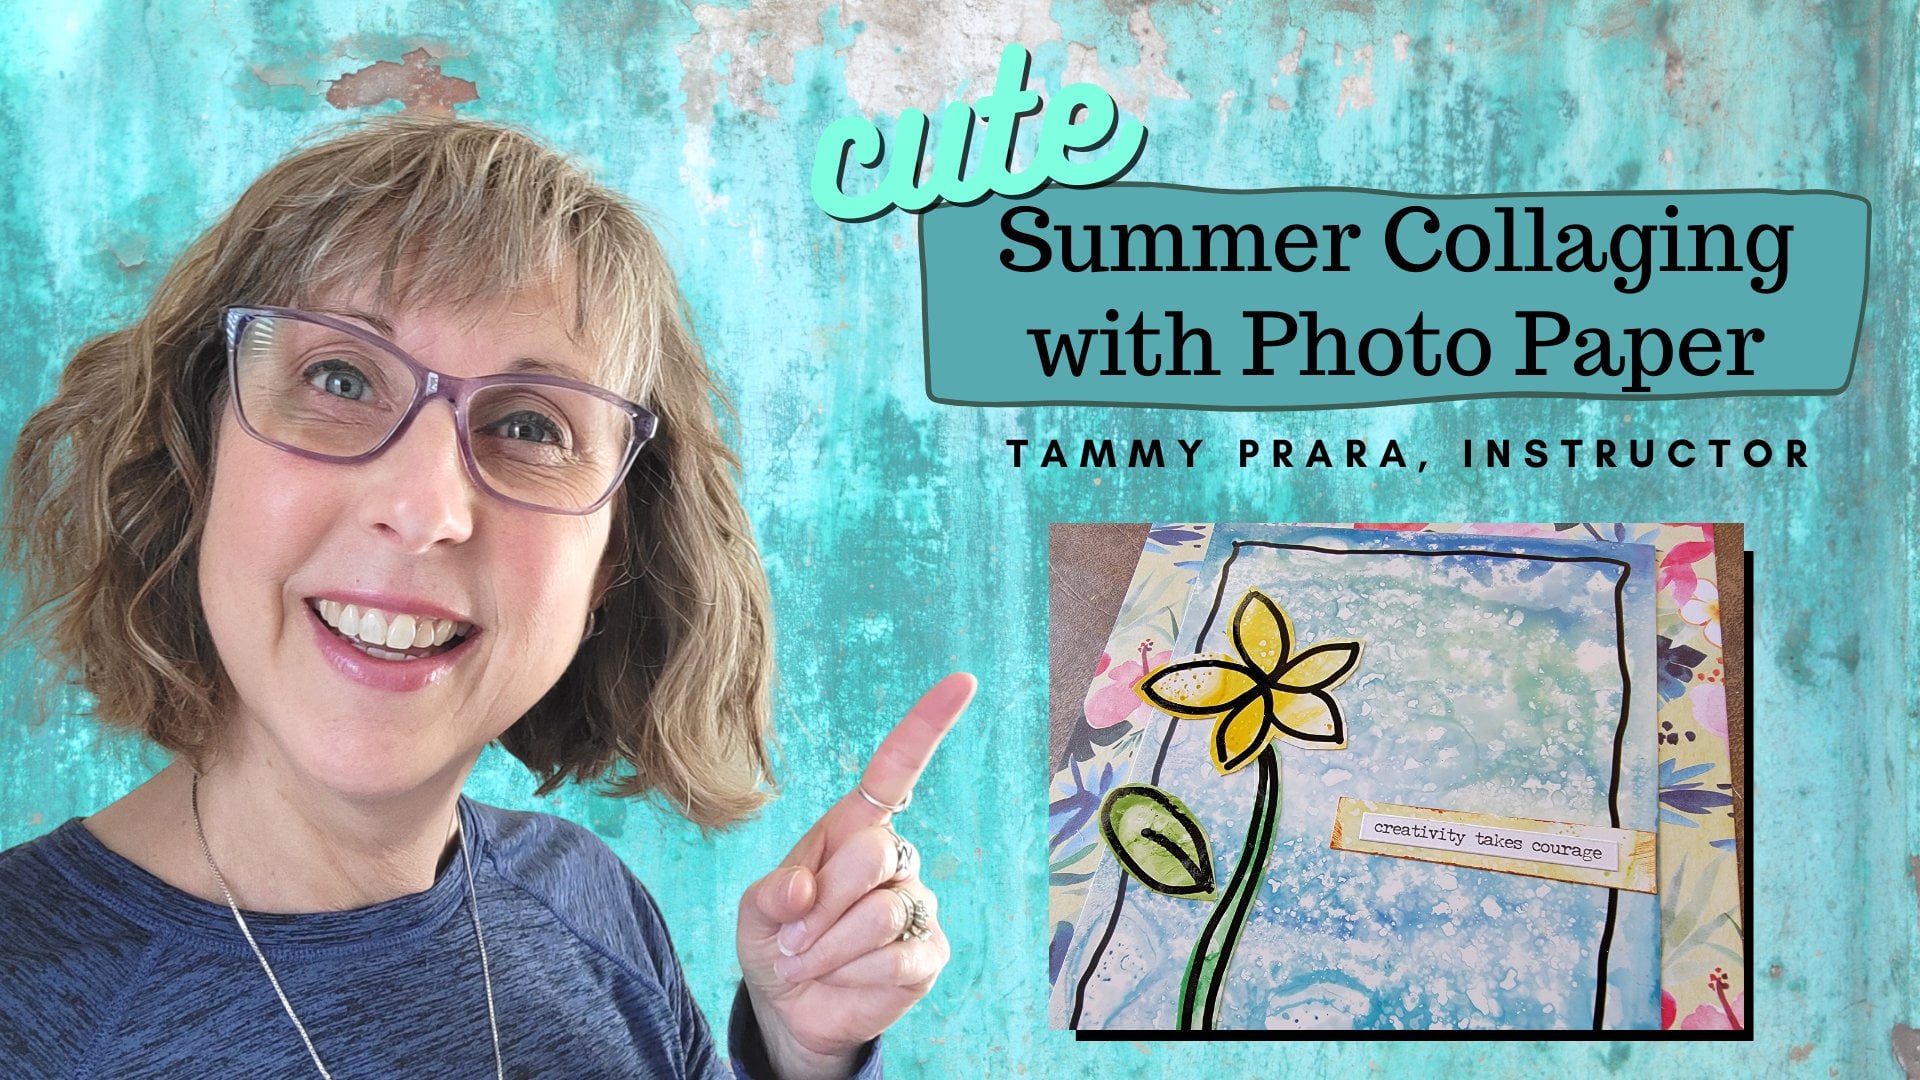
have around the house. Magazine. Do you have scissors? They have a glue stick. You can do this class. We're going to be making a card. I call them happy cards because I always have an inspirational, positive thought or
comment on the cards. And they're just fun and
pretty and inspiring. I made this with the
magazine I just showed you. And you can make it too. Now, I love making happy cards. And as you can see, it's not a folding card. You might even be able to
make this into a postcard. It's on a heavy card stock. You can write a
message on the back, put a magnet on it hanging
on your refrigerator. Put it in a frame and put it on your desk to inspire
you every day. Stay with me as we get into how to make a heavy
card collage art. The easy, basic beginner way.
2. Simple Supplies!: Here we go. We're going to
start with the supplies. Cardboard. Do you have a tissue box or a cereal box that would
work really well? Find some magazines. This simple collage is meant for you to have
things that you have around the house already. If you've got a
stash of magazines, pull those out and scissors. These are really
fine tip scissors. Not required but kinda helpful
or just regular scissors. Do you have any Sharpey's? Maybe a fine tip or
regular, just fine. This will, we can use to embellish our cards that
we're going to make. Now of course, if
you are a craft, are already get into your
paper card stock stash, newspapers, junk, mail,
art you've worked with, but you don't really love that. You don't mind cutting up. If you have stamps or
paint or stencils. All of those can go
onto your collage, but they're not necessary
for our lesson today. Just a few simple
things like glue. Today we're gonna be using
a glue stick because I'm looking for suppliers you probably already have
around the house. So use what you have and
meet me in the next video.
3. Preparing the Base: I wanted to show you how I
measured out my card stock. This is a tissue paper
box for facial tissue. I'm going to use
this larger square, but I'm going to cut it down. There's something about having mailable size that I prefer. I'm just going to cut this out. And I'm going to trim it
down once I get these edges are now you can
leave it a squared. Just now when you mail
things that are squared, they tend to charge
more postage. Although you can put it in
a rectangular envelope. That's up to you to. But I am going to cut this down to this is five
Good, five inches. And I'm gonna make this 3.5. I'm gonna mark it off to be 3.5. There's my half
mark, 3.5 inches. I think that's straight enough. I like doing collage on card stock because it's
very more durable. It'll hold glue really well. Especially if you're
using liquid glue. And it's up to you. You could collage this
side, collage this side. I'm going to close
this side today. I may just glue on tape on pretty piece of paper
here or something. Blank. And then you can hand-write your greetings to your
friends on there. That is prepping our
background of our collage.
4. Choosing Magazine Pages: Going to be looking
through my magazine, four elements to
put on my collage. When I first started
collage and I was handed some magazines,
immediately, I just started flipping through and finding things I liked. One thing I looked
for was words. Here. I've actually repre
marked this page. I'm going to tear it out
because it has a lot of green. What you can do with
pages that have a lot of color is cut-out shapes. You could cut out
the shape of leaves. If you are going to
collage a flower, I'm just going to save that. I'm going to set it aside. Just look through here
for things that you like. I know I marked this case because one thing that's
kind of attractive, especially to my eye or numbers. Numbers just seemed
to look really cool. These birds. These could be fun to cut out. These itty bitty plants. Those would look nice. Maybe you're doing a children's
card and these ABCs, the books would look really
cute on your children's card. Maybe you like those
word life that you want to make that an
element on your card. We're gonna save that one. Else is in here. You know
what I liked about this page. As I liked the look
of hand-drawn things. One, this could be a
inspiration for your drawing. Remember we have our Sharpies. Maybe you want to copy
something like this. I'm going to set that aside. Said I like numbers, so I may come back to that. This book is going to have, for this magazine
has things like that that really interests me. If you love these greens, you might want to save that. Maybe you've got something
in your mind of using red. Pull that page out. If you want to have that
color in your card. These pages are so cute. They caught my eye. I love the pretty colors on it. But mostly I imagined this flower being cut
out and put on my card. I'm saving that. Maybe you want to keep
these little chicks, these flowers. Now, when I first
started collaging, I pulled up pages I loved
I love this picture. I was getting confused between
making a vision board, a goal board of
things that inspire me versus creating
a piece of art. Here's yellow. If you are a fan of yellow, this would be a great
page to pull out. I know I save this because I use quite a bit of text
in my collage work. And I like recipes. I think these instructions would look really nice
and a background. So I'm going to save that. Now. I had just mentioned text. Here's a lot of text here. If you are not picky about what words are going
on your collage, this might work for you. For me. I don't want to have any
words poking out that would detract or lead your
mind into thinking of things. Because this is a
pharmaceutical page. Problems or issues I like happy, I want lots of happy things. Happy pictures, colors, styles. Think to what are things
that you really love. I wanted to put a
picture of the flowers. Maybe you want a picture
of a cat or a dog? I just saw this. I think I like this. I did it. That would look really great. Maybe you've got a
congratulations card that you're making for someone. There's some found words that
you could use on your card. Here's another text and
the reason I marked this was because the print was light and the background
had a color to it. It's not a bright
white and black page. I may use that in my background. Like I said, I might
use it right now. I'm still in the
brainstorming stage. I'm looking for colors, things I like, things
I couldn't imagine. Three, using. Something in collage is
having a background. And this would be a
nice block of color. Imagine this on your
card as the background. That's a possibility. Maybe you're more
of the pink side. Save that pink page. Especially when we
talk about colors and how to assemble
things on the color. This has some orange
that would look nice with your yellow if
you've saved that. Remember I said I
liked the recipes, so that would might be
some good texts to save. Here again, I say I highlighted
this text to remind me. This is light text. It's not a bold dark print
and the background is muted. Another really neat thing in collage art is antique
vintage pictures. That would work really well. If you are looking
for found art, for found text and symbols, that's a really striking
letter right there. Do you like stripes? There is an option right there. Again, I am saving this
page because the text is light and it has a
colored background. I'm going to save that. What else do we have here? Lots of pretty watts, a nice things for decorating. But what are we looking for? For art and crafting? I'm saving this for the
number, like adding numbers. I've, I've got a
collection of stamps that our numbers were
thought to the end. Remember I said I like numbers
to check out this page. These without pictures are elements attached to it so you could cut those
out nice and clean. I'm saving that as well. Remember I talked
about found words. Didn't that smarts look cool? I think I'm going to save that. Here's some more simple
words I like phrases. It's the simple things. I'm not a pretty text. That B would look really nice in a particular
kind of art. Remember I say it,
If you liked dogs, you could do all collage of your dogs and pets and things. Good words here are quotes. Sometimes quotes are
really awesome to find. That was just a once through in my latest magazine
that I had on hand. And I've saved a few pages now on to see what else
I can make with them.
5. Rough Cuts: Here I am. I'm cutting out the elements. I like. The pieces I like. I won't bore you with the whole fine art of
using your scissors. But I will share a few things. I'm cutting out large right now. Then later I'm going
to do something. The art circle they
call fussy cutting. Cutting as getting around
in the corners and the and all the crevices and getting tight in-between
your numbers. I'm going to save this 28. I think it's going to
be way too large for my for my card and I think
I'm gonna save that ten. I'm not going to work
on that right now. But I am going to save this blue and see how much
I can do with that. Remember I mentioned
the vintage picture. That's going to be fun. Like I said, maybe I'm
not using everything, but I'm saving as much
as I can right now. I will show you in a bit how I'm going to piece
it all together.
6. Fussy Cuts: A couple of pieces here that
we're going to work out the fussy cutting
of the picture. Remember that flower I mentioned that I wanted to trim around. Now, you know, if you've
ever worked with magazines, the paper is very fine. It's easy to tear
and it's delicate. So I am being a little
careful not tear. I'm being very gentle. One of the tricks to cutting is keeping your elbows
to your side. Move the paper. Like that, that might work. Remember I said I wanted
to save these birds. Let's trim that down a bit. Let's get this nice and tight. I'm still in the
stage right now. I'm collecting paper bits. We call that fodder. You might have a stash of
things that you've collected, but you just don't know
what to do with it yet. Save it. The moment of
inspiration will come. And you'll be wishing you
had that little bit of bird, that little tiny flower that you found that it was just adorable. Caught your eye,
caught your fancy, and it was meant
to be in your art. And again, that's what
collages all about. Taking what is putting
your spin on it. Part of the whole recycling, making something new
of something old. That's not new. This has been going
on for a long time. Your mother, your grandmother, probably your great grandmother, knew how to reuse and repurpose things until they're
to life just gave out. That object was finally
no good anymore. That's what we're
doing for bringing that lost art of going
on a scavenger hunt. That's what I like
about collage. I'm going on a scavenger
hunt and I'm looking for little bits that inspire me, little things that make me happy and saving them for
just the right moment. Now, organizing them
might be another thing, but we're not going to
discuss that right now. Look how you could even
layer itty bitty bird on this flower that might
make the flower look ginormous and proportion
to a normal size bird. That's fun. The other thing I wanted
to save these books, the plants and the ABCs. I don't know that it's
going in my art today. But it might in the future. Especially with the background
being the same colors. That might work really well. Having a turquoise, a piece. That's my fussy cutting tips.
7. Layout Ideas: Now I have slightly
organized my cuttings. I have my words, I have some numbers, I have some extra goodies. I have the collection
of birds and flowers. The card I'm going to work on my text and my background pages. And now I'm going
to start imagining any or all of these things
getting onto my card. And one thing that
I love about having a few things is it really
helps you to focus. What I'm noticing is
the words I like. I think I'd love to use the, I did it because it is our first project as
a beginner collage. But I also like it's
the simple things. What am I thinking? If I'm going to do
birds, this flower? It's the simple things that
might work really well. Versus I did it. To me that's referring
to our collage project. I'm going to save
these other words. Generally, I actually save
my words till the very end. But if you're someone who
needs a theme to work with, go ahead and pick your
phrase, pick your words. But I want to now
consider the colors I'm using and how I want to
arrange different elements. If I'm going to go with pinks, I'm going to go with
greens and purples. Then that sets me apart on my color wheel as to what would really
work well together. This little color wheel is going to help me
demonstrate what things might work well together
if you're new to assembling things that
will be cohesive. I actually really plan
on using this flower. I see it's in the red,
orange, orange red. If I had a pallet of elements, the violet, the red, the orange to the yellow. That would be a really
lovely combination together. So here I have that violet
and I have this red orange. And here's my little orange
bird, a purple bird. My red bird. That is a cohesive
looking palette. First says, if I wanted
to use them on this, pinks, still not bad. Pink is actually on
the the red spectrum. And I could still get away with the orange and yellow
and the violet here. But it just seems to not
work for me right now. I don't feel like I
can use the pink bird. Like I had thought. It just gets lost. I like the lighter colors
on this darker background. The other thing you're
going to notice is how the orange and reds
there are opposite. They're complimentary
color is straight across. It's that green. Here. I have green in this palette. That red orange works
with these teal blues. That lovely. So I'm, I'm really leaning
towards this combination. That's my little
lesson on colors. We can either keep them together when they're next to each
other on the color wheel, we can work in opposites
and really set colors off. There you go. How to complement your colors.
8. Assembly: You know, I'm working on this. I haven't predetermined
anything. I'm going with the
flow right here and you are a member of that. So I'm actually ready. I want to get that
background down. The purples and green florals. I'm making sure I'm gonna
get all the way to up to my corners of my
with my glue stick. Lay down really well. This is my craft bond. Extra strength, Elmer's glue, if you ever come across that, I've been really
happy with that. I'm going to lay it so I
have more of the purple. Then the green. I am pressing that in
using the warmth of my hands to get that
glue to spread. I want to trim it off
right now so I can continue looking at the shape of my card so that I'm not distracted by what
else is on this paper. Scissors have seen at all and
cut through just about it all this up and look,
I got a number. I love that makes me almost
want to use it this way. Maybe I have some new decisions. My flower, my birds. What texts can I use? I want to go with the black. The black looks nice with those black outlines
of the birds. But that teal blue
shirts Sets off with that coral flower. So I think that might
be my next thing. I do think I would
like to add some text and tearing your paper. That's a fun way to play with your papers,
with your colors. I think I may even go in
with this blue background. That now sometimes if I
have a straight edge, I might want to put that on. The straight edge of there. Doesn't have to be, but might be okay with that. And then overlapping the
rough edge that way. I think I'm gonna take
that straight edge off the top there. I think, and I like that. The other option is doing
more blue with that green. Turning it this way. I get more green. Then we're working with this. I think that's coming together. Now which to do about the words? Do I want more green? I want more words. I do think that should talk, eat bacon, kind of cracks me up. Make this skinnier. I'm going to bring that in. And actually, I don't know if I like the Sherwin
Williams text. I want to go brighter words. How about this? Getting that color edge blank? I think I might like that. And that bit of red down there. I like that too. Here we go. I think I'm ready to glue down. That's one thing I like about I'm not using
these papers anymore. Here's another tip
about glowing. Use scrap paper to glue over. Kind of weird about words. A lot of artists don't mind if third text is going
all over the place. That does bother
me a little bit. But that's just my preference. That doesn't have
to be your style. You may not even like
text on your art. My paper curled,
that's how fragile the magazine paper is. I love asymmetrical things. Having that tear go like that. I love it. I'm going
to trim this off. Wondering if I want
my birds first. They watching the flower. One of the things that I
think is important for a really nice-looking collage
is the rule of thirds. That is just explained
by having your art. I could tic-tac-toe board. These sections here are
really good focal points. If you imagine two lines this
way and two lines this way, placing your focal
piece at that mall, at that corner, at that
junction, sets it apart. I tend to put my words at that junction where I
imagine those dots would be. You can fill in these
extra little bits. Wherever. I need a number of green number. Well, that add anything. These are questions
I tend to ask. But you know what? I'm really happy
with this so far. I don't think I
can tear that off. Or should I? Let's tear this end. Even though I'm losing
that black line. Let's find some scrap
paper that's not sticky. Things tend to get
sticky really quick. My words are going in that
imaginary tic-tac-toe point. My flower, I think I'm
okay laying it down. I just thought of something
and look at that. I'm going to leave
that silly Flowers setting on my glue stick. What if I had a leaf? Would that add
anything or distract? I'm cutting a leaf shape. It's too badly made C curves. Here's a leaf and
here's my flower. What do you think? I don't know? I'm gonna do it.
I'm gonna do it. Go ahead and add a leaf to three, whatever. You want to get that laid down trying to
move out any air bubbles. I love that bird up there. He's off the page. I love things like that. There's a question you
have to ask yourself. Is this being mailed? Is this going in your art book? Is this going on
the refrigerator to remind you of it's
the simple things. Then maybe this
bird could be off. He needs to be on, depending on how
you're going to do. This. Is this a gift? Is it going in an envelope? Then this very fragile
paper bird needs to be put on something stiffer for him to come
up off your page. I think that looks fantastic. But I am not going
to worry about the extra card stock
and time to get him legitimately strong
enough to hang off my card. Go ahead and be
very aware of that. Another thing you might notice, even though it's a simple, It's the simple things
is a focal word for me. I like having things
overlap and touching. Where his little swing goes. Is he pointing towards
the word simple? Does he highlighting
where that is? What if my purple bird is
pointing to the word simple? Or as he better off
playing with his, his little flower down here. I think I'm going to put
my pink bird up here. These are just things I'm
thinking of as I work. I just lost my top of my glue stick. There you go. Whereas little, oh, my red bird. Forgot about my red bird. Here's another consideration. Do you work in groups of three? This to me works well as a
group of three or odd numbers. Three birds stands out, or two of them very
close together. It's up to you. What do you think? Do you like my red
bird up there and my purple one down here. Did I leave my red one off and I save them for another day. I already have two
things of that coral. Maybe he does need to
be on here here down at the bottom because
he's facing in. I do want him on this side, but triumph over here. Does it look okay for him
to be flying off the page? Does he need
something around him? Actually, that's not bad either. I think I like that. I'm going to put this
other red morally piece here on my flower. Now. That seemed balanced. What do you think? I think I'm pretty much done with this? What a mess on my desk. Now. I really think I want to do
something with my sharpies. One thing you can do with your sharpie is to
outline things. Straight lines are
not a criteria. One way to frame your
piece is to come in maybe a quarter of an
inch and draw your line. I forgot the five down there. Have you noticed that this is my decision to
jump and that's okay. I think I may even want to do a second with the fine line. Gifts. Such an artsy, for
artsy feel, I love it. I think those
elements are Darling. Now, granted, you made this. But having your own hand on it, your own drawing really is cool. One last thing I
want to add is to really highlight my phrase. It's the simple things. In case you didn't
even have a Sharpie. I'm using a pen. I'm going to give it a box. Now remember we lost
that line over here. And I've had a couple ideas. One was to make
curlicues around it. The other idea is little stitch marks and kind of gives the impression
that it was stitched on. I think that's cute. I think I am good to go. It's a simple things.
9. Bonus!: Now if this is going
to be a gift I wanted to share with you how
to finish it off. You didn't have this not
very attractive backing. One idea was magnet. If you put a magnet on the back, it can hang on
your refrigerator. Maybe you wanted to
make it a gift card. I had two ideas. One was to back the page with
something pretty with the floral or because I mostly want to save that
for another project. What if we backed
it with some green? Then I had some index cards. I'm going to put that on
the back of my my card. So let's get that attached. Guys, I am down to my
last bit, a glue stick. I may have to switch
to my other glue. In fact, I probably will
because I want to save the glue stick for my for my card stock. I'm putting my glue down. If you've got mod podge, if you've got anything besides glue, stick around the house, if you're a craft or you know exactly what I'm talking about. So I really liked this fine tip, but it's not great
for a large area, but that's what it is. We're using what we have. I'm getting this
paper right up on their edge to edge, sliding it. This is the thing
about liquid glue. You can see your glue. That's why I'm saving my
glue stick for my card. Now. This is fine because it is
going to be covered up. I wanted to have a pretty
place to write a note. That was the whole point of
backing this card stock. Let's move that out of the way. I have my back up. There's the verbage, turning
it this way and I'm going to lay my little index
card right there. Let's use up far. Can we get my glue stick? And I don't even have my scrap paper to get it all the way to the edge
and not get it on my desk. Wow, I'm so glad I got that far. My card stock does not
obviously cover completely. There's a couple of ideas. Did you want to do any detail
work with your Sharpey's? Are you good at doodling? Doodle in a design right there. But I had another idea. How about adding a little
element on the back? What do you think? Let's pray this glue goes
as far as I need it to go. My little birds going to
have a home on the back. If you remember, I
like over lapping. That's not good. Let's see how I
can salvage that. Well, how about this? We'll pretend it didn't happen. It did happen. I run some words across,
crack myself up. We're going to cover
that. Just like that. My little tear will never be known and we're not
going to tell anybody, are we really want this
glue stick to work. Come on baby. Get it finished here. Glue sticks and magazines are a great pair.
Let me tell you. Now see how my plant
comes off the index card. I like that. How about you? Now you can write
your greetings. Hey friend. Look at my first collage. I did it. They're going to love it.
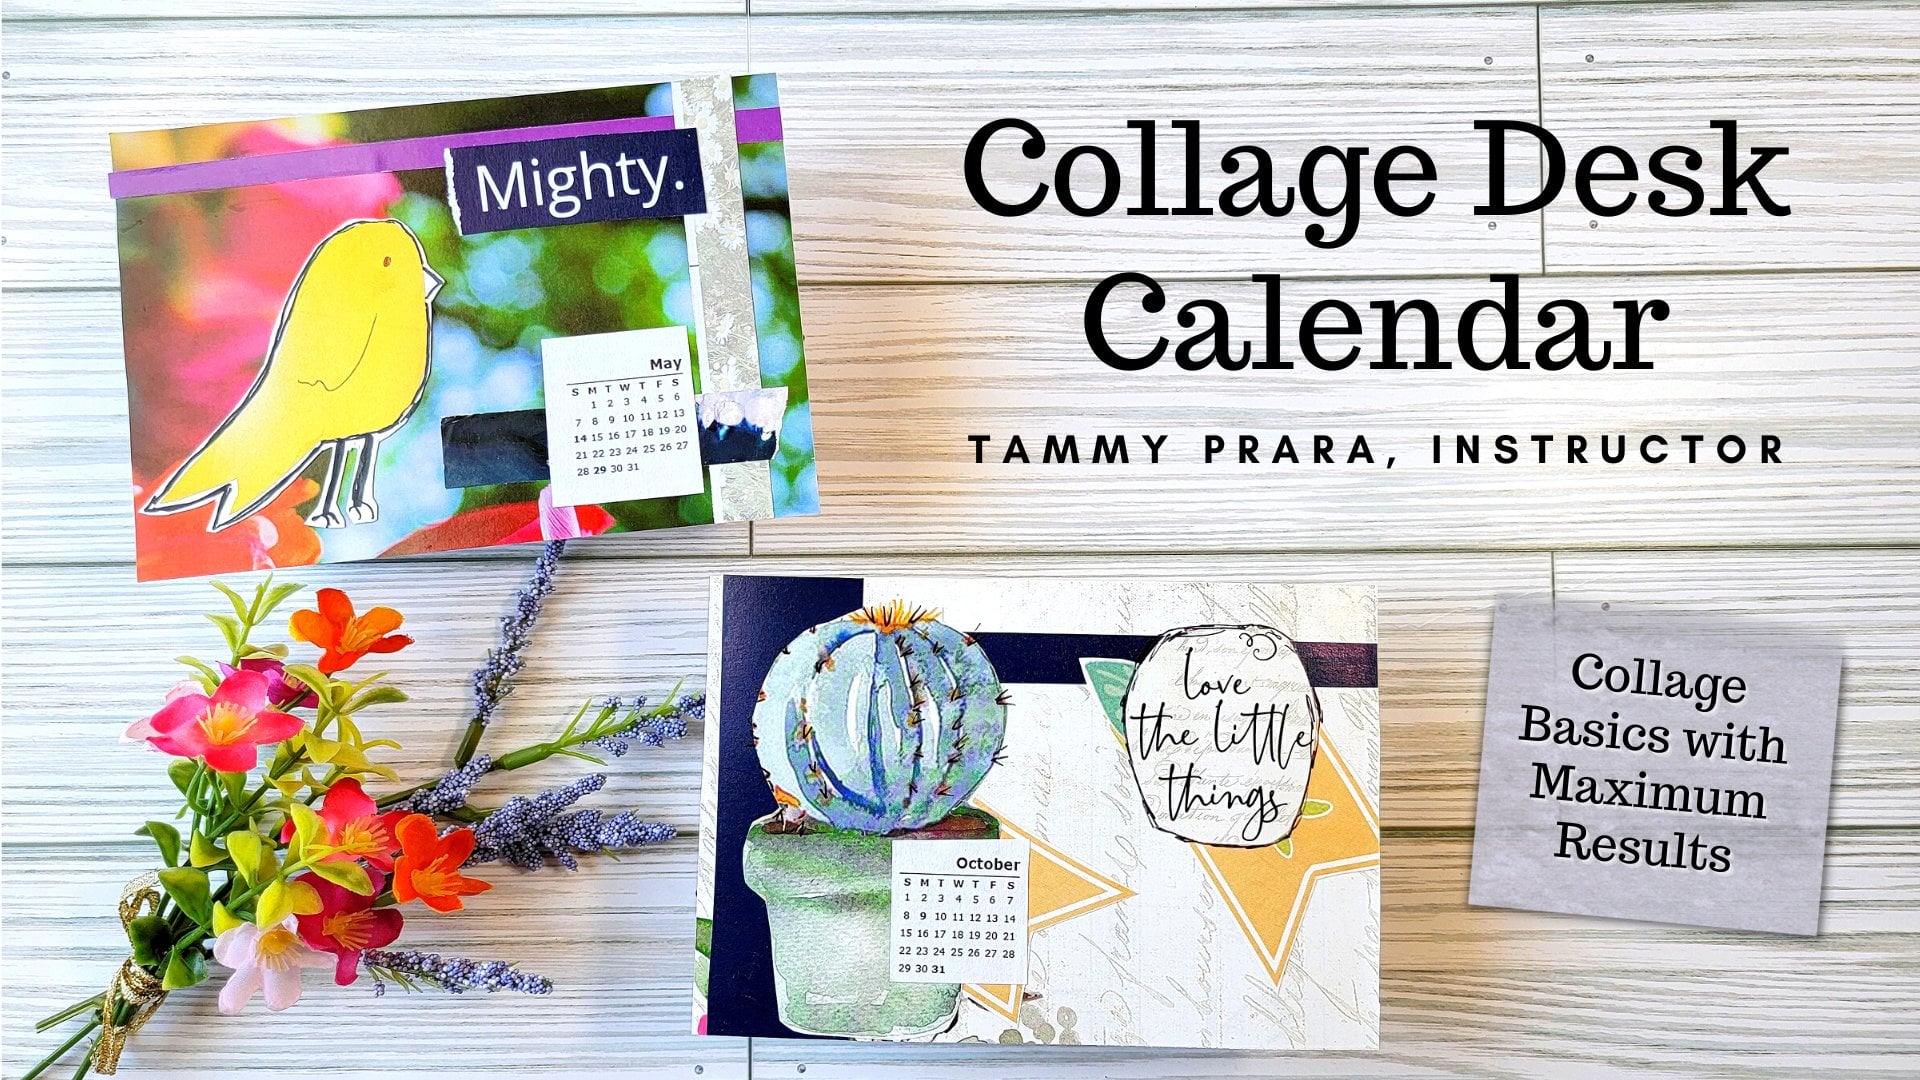
10. Wrap Up: Thank you for joining me. I hope you enjoyed this. How to make a happy card with a collage materials
you have around the house. I hope you have a magazine,
glue, stick, scissors, and show me in the project area how
your collage turned out. I can't wait to see it. I hope you found a few tips that might be new to you
are really helpful. So please share any
comments you have with me, any questions and be
happy to answer them. Please show me your work
and I would love to love on you because beginning
collage is fun. It's intimidating,
but you can do it. Remember. Have a great day. Thank you for joining me.
 Tammy Prara, Making Matters