Transcripts
1. Introduction: Hey, I'm Maya Faber. And in this class, I'm going to teach
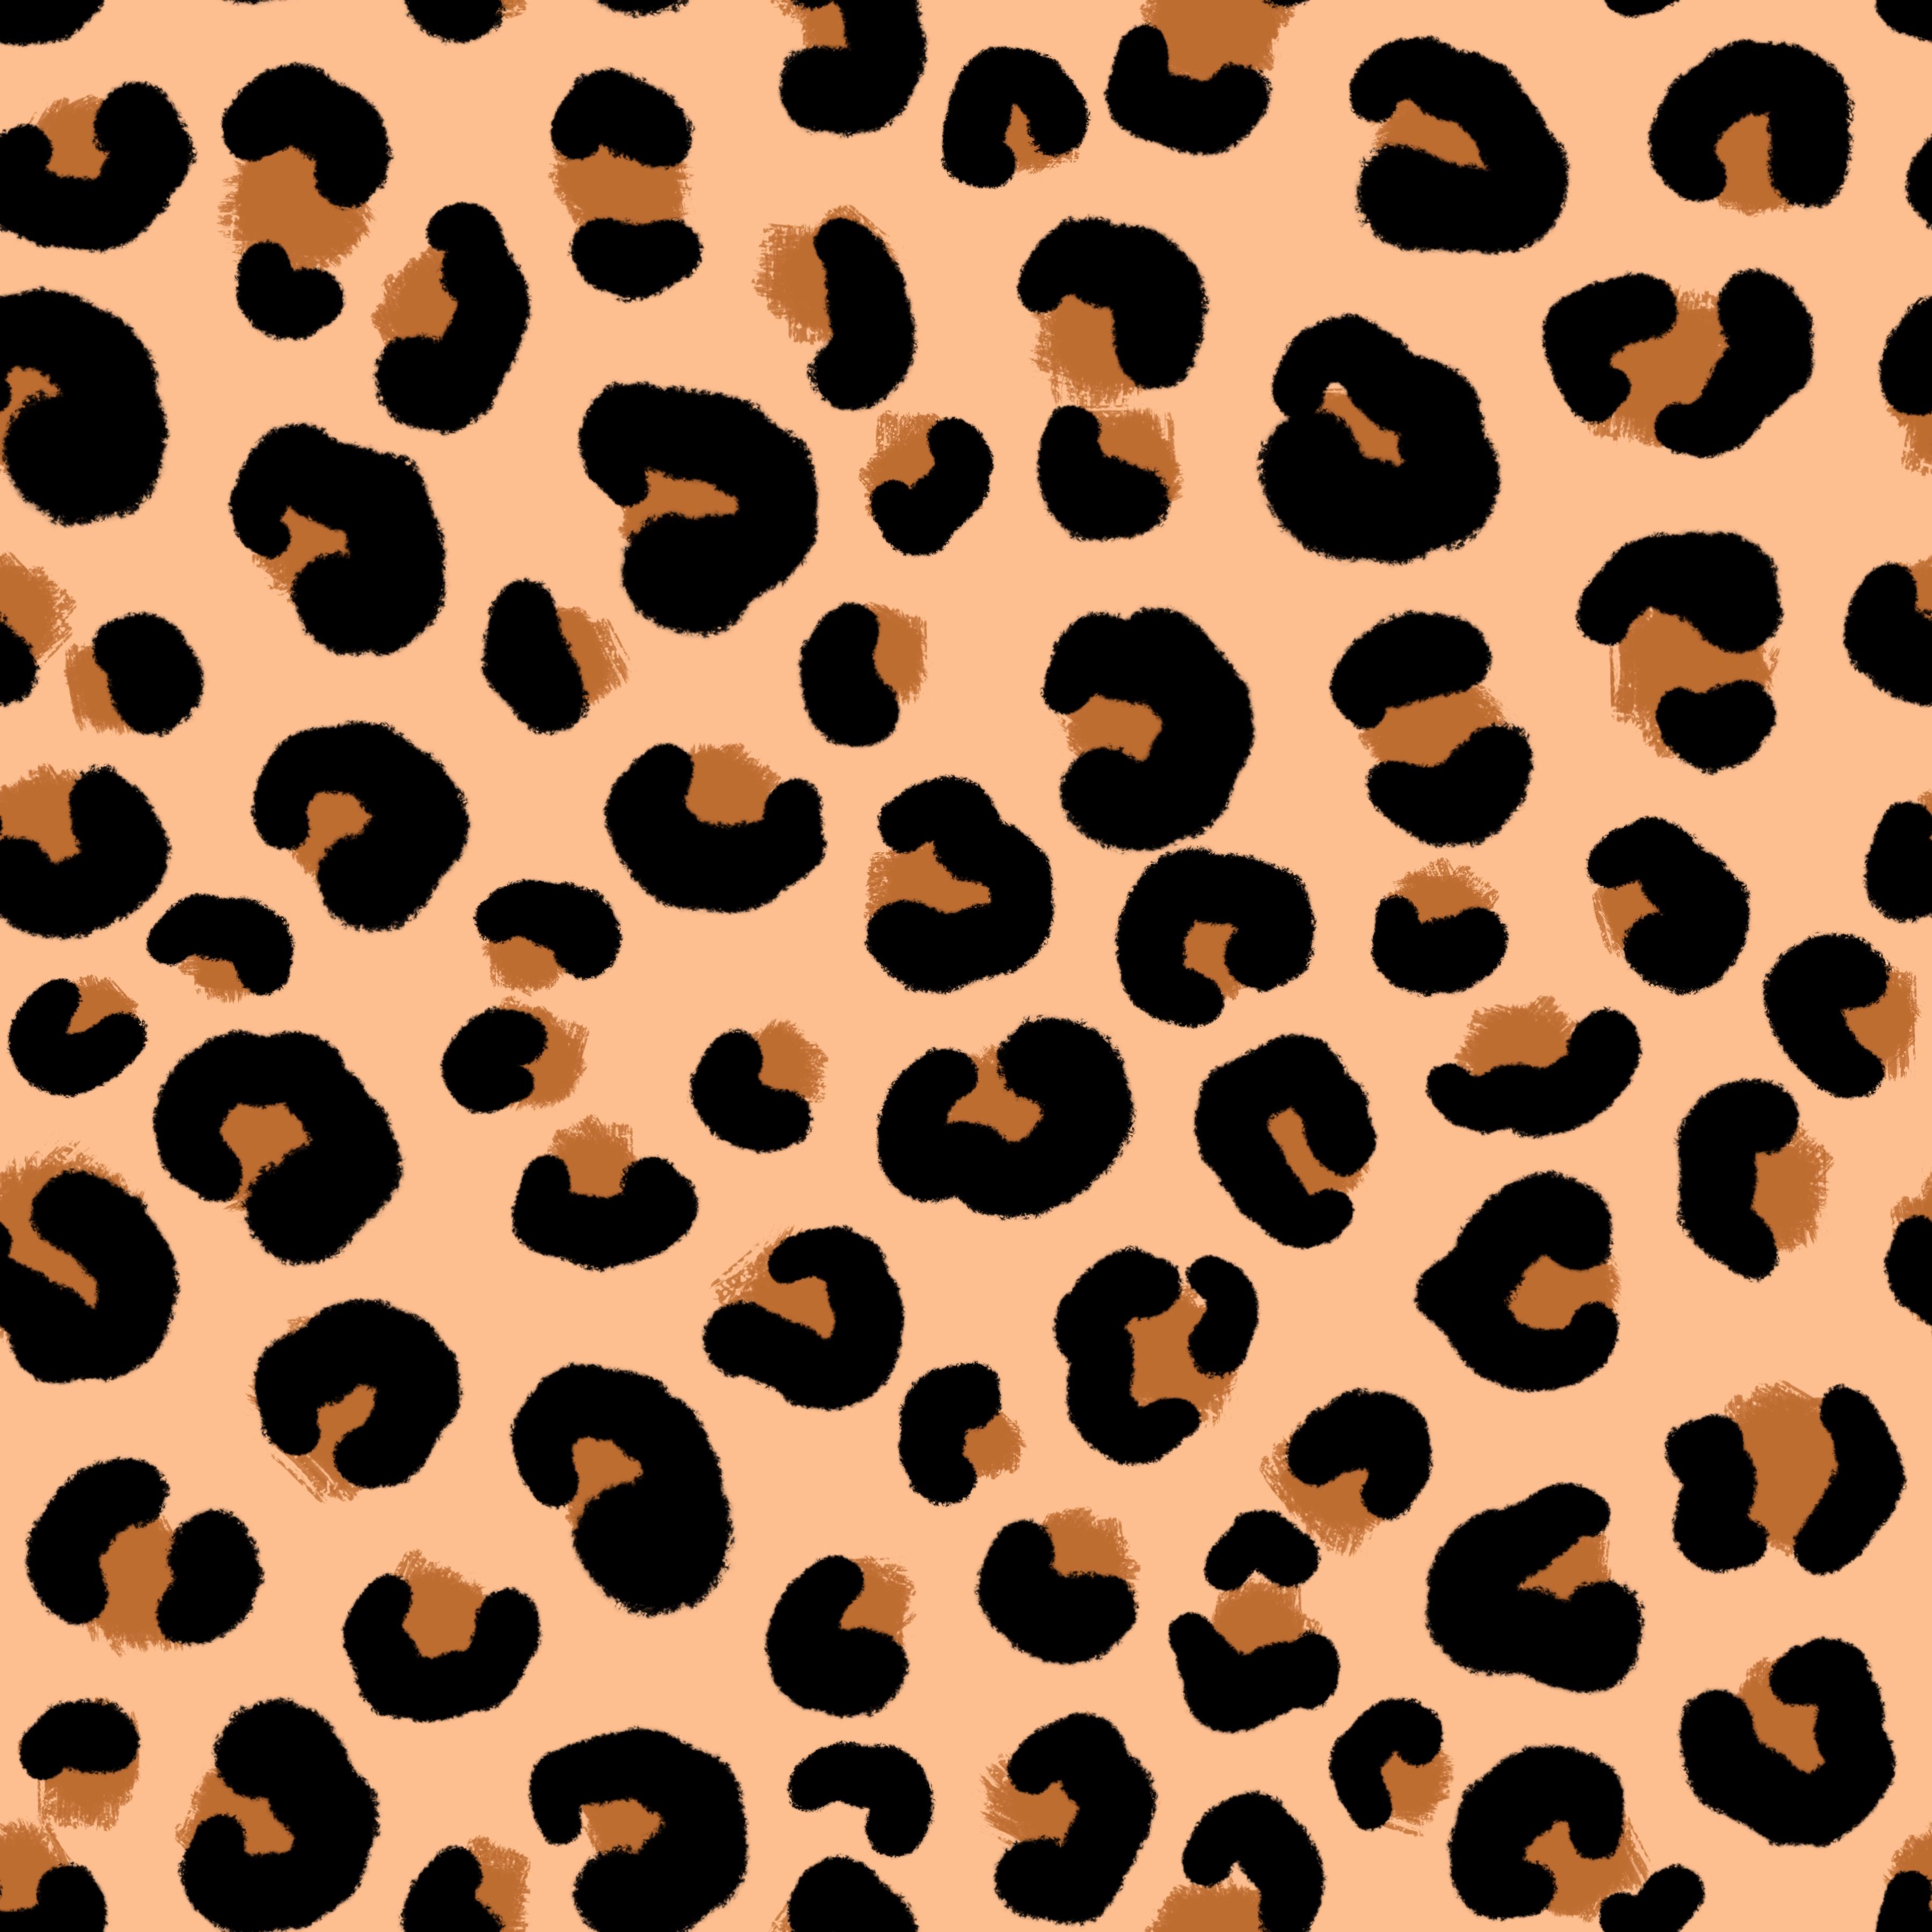
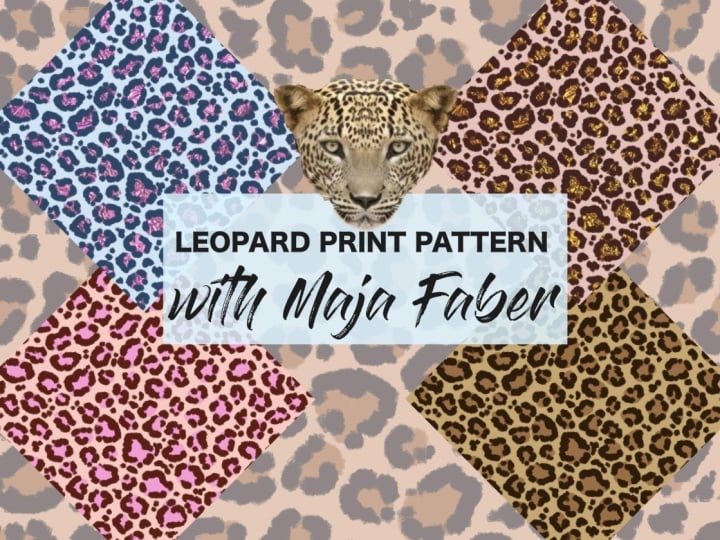
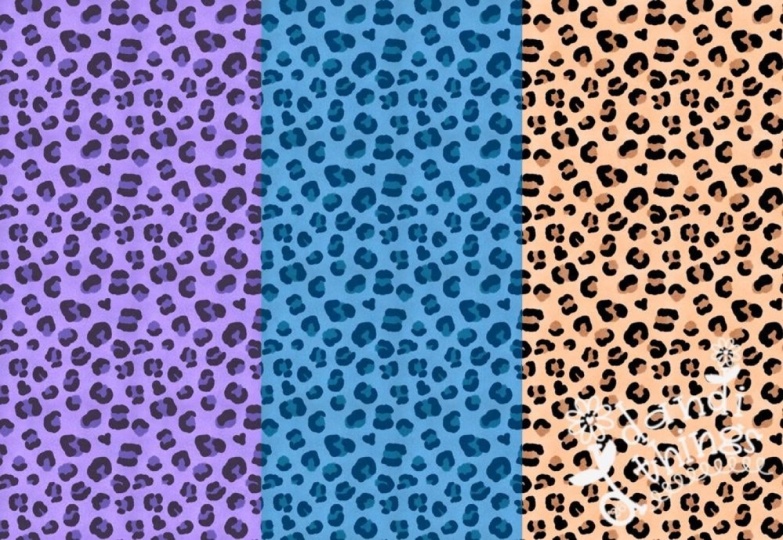
you how to draw this leopard shoes
pattern in procreate. You will learn how to use
painterly brushes to create abstract spots pattern to make your leper print
look professional. We'll cover everything
you need to know from finding inspiration to selecting colors and achieving
balance in your design. And I'll guide you through
the whole process of creating an abstract spots
pattern in procreate. In this class, we will
use the free downloads, which include two
procrete brushes and one procret color palette. So if you're ready to
take your creativity to the next level and create your own unique leopard
lessees pattern, join me in the class.
2. Your project: For this class project,
you will create your own leopard print
pattern in Procreate. You can experiment
with colors to make the pattern your own or use the downloadable
premade color palette if you prefer a guided
starting point. Make sure to share your
project here in class. I can't wait to see
what you create.
3. Finding Inspiration: So let's start the
class with how to find inspiration for your
leopard patterns. Creating these types of patterns can be a little bit
tricky because we want to be inspired by the
reality of the leper print, but we want to create kind of an abstract and stylized version, but you still don't
want to go too far from the original leper
print that you see on leopards out in the wild. So one of my favorite places to find image expiration is splash. Unsplash.com, they have
royalty free photos. You should always read
the license yourself. You can read here
splash license, so you know exactly what you
can use these images for. For this purpose
that we're using it for today is perfectly fine. So what I will do is
go to unsplash.com, and I will just type in Leopard. So here we get a few images. These ones up here
are paid images, so they are from Itok. But here we have
the free images. So I will just scroll down, and we actually have one print here that looks really good. When you find inspiration, you tap the image and you can either
screenshot your image, or you can tap Download free if you want to download
the full size image. We actually only
need a screenshot, but you can also tap
download free if you want to and download a
full size image. So I have searched Asplash
and I found that photo, and I also found this photo, which I think looks really cool. You can really see
the pattern here. So we will use these
two as inspiration when we create our patterns. I have saved my inspiration
in files on my iPad, so I have the whole leper there
and the print over there. Then we can use this as inspiration when we start
to draw the actual pattern, which we will do in
the next lesson.
4. Draw the Spots: So first things first,
let's create a new Canvas, tap the plus sign, and we will create that
3,000 pixels square. So tap, create new Canvas, 3,000 pixels in
width and in height, 300 NDPI and color profile, I will go to RdB and the
first one named SRB. And then I tap create. So now we have a new square canvas, and we will start with
drawing the spots. First things first, I will
actually add the image, so tap split view, and I will see
where my image is. So I have these two images. I would just tap and
drag to import them. I would just do it
with both of them. Oh, tap the transform
tool to place it, and then tap and drag to
import it and then place it. Now I have both of these images. I will just start with this
one and adjust the size. I want kind of a large size
here because I will try to mimic these spots and then turn off the
visibility of that one, tap the transform tool, and I just enlarged
image of that one, too. So now you can see which
one of these you like. I thought that I
would like this one, but I actually
like the other one better because it
has more spots. But we can do a
mix of them both. We can see if we need them both. But you can group
these together. And if you want to name your
layers and your groups, we can just name these
inspiration in spiation Okay. So now we know that we have the inspirational images on
these layers in this group. Now it's time to draw
the actual spots. So what I do then is
I will just turn off the visibility of
the first layer there and tap the end symbol on the layer with
image that I liked. And then I would just drag
down the past little bit. And as you can see, you get a
view of how the spots look, even if you have
really low opacity. I will have 20% to make sure
that you see this on screen, but if you want to
have a lower opacity, you can do that as
well if you don't want to be disturbed by
the background image. And then I will just
tap the little arrow to shut down that group
to not be confused, and I will add a
new layer on top. I use black as a
color here at first. You can always tap and
drag out your color panel. I do that here in
class so that you can see on screen which
colors I'm using. So this is the color palette
that we will use class, and it's basically one pattern will be made with three colors, but I want to show you a few different color variations
that you can make. So I've included nine colors. To use so that you can make different color variations of the pattern and try it
out and experiment. Okay, so let's start
with drawing the spots. Tap the brush library. And here in the
leperss brush set, we have two brushes,
the rough edge. And if I increase
the size on that, you can see that the edge is really rough
there can be really, really nice and it
looks like fur. And then we have the fluffy. So you can use these brushes in this class, however you want. I will use the fat and fluffy as the black part as the kind
of outline of the spots, and then I will use the
fluffy rough edge as the colored spots
in the background. But you can try it out and experiment and see which
ones you would like to use. But if you want to
do exactly like me, we start with the
fat and fluffy. And I will use the
first black color here in the color
panel in the palette. So we will start with the brown, which is the original
color of a leopard print, and then we will start
to draw the spots. I will just undo those strokes and make sure
that I'm on a new layer. And I use the fat and fluffy, as I mentioned,
black as a color. And here I can see which
size I want to use. Let's just try out 25. That was a little bit
too small, I think. Let's try out 30. Now I want it even
bigger. 40 maybe. Yeah, this looks pretty good. Okay, so I have my size on 40%, black as a color, and a
fat and fluffy brush. I won't completely
copy this pattern, but I will use it as an
inspiration to see how these leopard prints
are in the reality, and then we can do a little bit of stylized version of that. Okay, so starting out, I will just start with
maybe like this one. And here, if you want to make sure that you aren't
too detailed, we can move our hand
up on the pencil, and that will make
it a little bit more rough in our brush strokes. So I will just kind
of push and let go. When I use these brushes, and I can see that most of
these have open shapes, but you can also make it a little bit more stylized
if you want to have, like, more closed
shapes like that. I've seen that some leopard
patterns do it like that. So that can also
be a nice variety. And maybe you want just
some parts where there's just small spots like this and some parts
that are kind of, you know, more shut shape. So go over the pattern. As you can see, I'm
already moving away from the original
inspiration image here, and I'm just trying to make
it balanced and interesting. And I can even feel here that the original pattern is a little bit disturbing, like the original image
or inspiration image. So when you feel that you understand how these
shapes should be, you can always turn off
that inspiration image. And here I can see clearly that this wasn't what
I was looking for, but now I've kind of
practiced on the shapes. So I will actually try this out again because I'm not
happy with this result. So tap the visibility
symbol on that layer. If you too, aren't
happy with your result, tap that new layer, and now I will just with the
inspiration image again, just try out to add just a few
of these in the beginning. And then like that, maybe. And then I will turn off
the inspiration image. And now I think I will
have a better chance of making these spots balance if I just do it kind of from
what I see instead of using the inspiration
image as a background. So a good idea to make these
types of patterns balance is that if you're using kind of the same shapes in
some places like these ones, you want to spread
them out on your tie. So we're starting with
the same type of shapes, these kind of open, thick shapes, and I'm trying
to roll them a little bit, so they're not in the same
direction, all of them. Case, maybe something like that, and then maybe here too. And then we might want to
use some simpler shapes. So maybe just a few
like these half dots. Then you can place
some of those. We don't want to
do this too evenly because then it won't
look natural or organic. So just a few of those, and then we might
just want to use maybe some like half moon
shapes. Let's try that out. Like that. I'm trying to not make all of these
in the same direction, and I can feel that this
one is a little bit off, so I tap the transform tool
with free hand selected. I drag around that shape. Then I make sure
that I don't have snapping and
magnetics turned on, and I'll just pull that shape up a bit because I wanted to have this type of closed
shape over there. Okay, so I think that
this looks good. Maybe filling in some
of the parts here. But until I've added, like, the background spots, I'm not quite sure how I
want this to look. So let's just keep
it like this for now and we will add
a background color, and we will add the
spots of the background.
5. Add Details & Background: So now it's time to add the
details and the background. Let's start with the background because then we will see how the colored spots look and they will look
better altogether. I will just delete that first
layer that I didn't like, and then I will tap
that new layer and drag that beneath
my spots layer. And here I will use the
lighter beige color, and I'll just tap and drag to fill that as a background color. Then I will tap to add
a new layer on top, and I will use the
brown color there, a little bit darker
brown than the beige. And for this, I will use the
fluffy rough edge brush. So you can use
whichever you want, but I just want to show you
these different two brushes. So for this one, I will
use the fluffy rough edge. I'll have the size around
50. We can turn it out. Yeah, that looks good.
And then we can try out to just add a little
bit of color here, and I don't want
to be too detail. I want it to be kind of
not all thought true. So I don't want it
to be too perfect. So I'm just adding a little
bit of color here and there. So I really like how this look, although I think that
it's not dense enough. So first, I will try to just adjust these spots a little
bit and then fill them in. So if I want to move some dots, I can select both of the layers with the
dots and the color. And with free hand, maybe I want to move this one, so I select that one, tap the Transform tool, and I can just move it. So you might want to move them if you feel that they are
a little bit unbalanced, or if you think
that, for example, this one was way too big, then you can just delete
that by dragging it out. So maybe you want to
move some and maybe you want to add some spots. I just wanted to show you
how you can move some spots. I feel that that one
doesn't look that good. So now you can see
kind of as a whole. How your pattern will look. Another trick that I want to show you when we are creating these types of spots patterns is to use the reference window, and that is good at
this stage when we want to see how the
pattern will be repeated. So let's start with doing that. I will first just select the black color because
I will use it soon, and then I can zoom out a bit, and I can tap actions, Canvas, and reference and pull up
the reference window to a maximum size where
you see that the ends kind of start to hide there. And then I will zoom out. And here I can see if
I place my pattern, if I place my canvas here, you can see how the pattern
is repeated to the left. So now we get a better view of how these spots
will be repeated. So let's just use this to change our pattern and
add spots to our pattern. So with these layer selected,
use the selection to. Oops, something
happened over there. Adjust the pattern again. And then I would just adjust
a few of these spots that I feel would look better if they were a little
bit more balanced. I really don't like this spot, and then I would
just remove that, and then I can add other ones that I feel would look better. Okay, so now it's starting to look a bit more interesting. I don't like those
small over there. So there were all of these
small ones over here. Didn't look so balanced. Okay, so something
like that. Now we can go into our spots layer. Let's go to the black layer, and I will use the
fat and fluffy brush. And here I can add
some more spots. So I will just start to draw. Maybe like these shapes. And really, you can try
to experiment and see how large and how small you want your spots to be to make
them look balanced and yeah, to make it look like a
professional repeat. So basically, I would
say that a tip is that if you have
used this shape, you don't want to use that
exact shape beside that one. So vary your shapes
throughout the pattern. And as this is an
animal pattern, you don't want it to be
perfect because that isn't how animal patterns
look out in the wild, maybe that one
shouldn't be there. So select the two layers
again and just adjust the pattern to make it look
good when it's repeated. We have something strange
going on down there. So we'll just adjust this. So with these types
of abstract patterns, you can feel that they look
really complicated to make, or you can feel like they
look really easy to make, but they're actually not as
complicated as you think, and they're also probably not as easy as you might
think sometimes when you see abstract patterns
that people have made because you
need to work with them quite a bit to make them look balanced and professional. So now I make sure that I'm on the black layer and I will just add some more spots to where
I feel that they are needed. I'll just adjust this one. I will slit both of the layers and adjust
a few more spots. Oh while I adjust them, I look at reference windows so I can see how my pattern is repeated and I can
see where I want to fill in some more spots. So on the black layer, I'm starting to fill
in some more shapes. Yeah, I think that this
looks good for now. And then I will add
some brown as well with the fluffy rough
edge and just add a little bit of color
there to the spots. Okay, so now all of the
black spots have colors. I think that something
is strange around here, so I will actually
just adjust that. We can also adjust after
we have made the pattern. Okay, so this looks good, and now it's time to
make the actual repeat.
6. Make the Pattern: Okay, so it's time to
make the actual repeat, and I will tap to shut
down the reference window, and I will actually use the selections method
in this class. So the first thing that
I will do is just to group these layers
together, group, and let's just
name them Leopard, or whatever, so we know
which group it is. And then I will tap the
add new layer on top. And I will use a color, which color you want, tap and drag to fill that
layer, add a new layer. I will use another color. And I'm just using different colors because it's easier to see where the different squares
are that we will create, but you can use the same
color as well if you want to. But as long as you have
four different squares, and then when we have
our four squares, you will tap the transform tool, and we will start with
the top left corner. So tap in the top left corner, type in 1,500 pixels, tap the transform tool again, or the layers panel to place it. And the yellow layer
we will choose, tap the top right corner, 1,500 pixels, tap
the blue layer, bottom left corner,
1,500 pixels. The green layer, bottom right
corner of 1,500 pixels. So now we have
four squares here. That we want to
make selections of, I tap the first square, the red one, tap
it and tap select. And then when I have
the selections tool up, I tap saving load, and I get selection one. Then I tap the next layer, I need to untap the
selections tool. And if I want to
select this layer, I can tap with two fingers or I can tap the
layer and tap select. Tap save and load, and I have saved the
selection number two. Then I select the blue layer, save and load, the plus sign
to selection number three. Green layers, select, save
and load, and selection four. And here I have four squares selected in the
selections panel. Then I tap delete because I
don't need those anymore. So now we will create
the actual repeat, and we will tap the
group with a leopard. It's important that you have your background box
inside of that group. Then we tap the selections
to save and load, selection number
one, transform tool, flip vertical, and
flip horizontal. Save and load,
selection number two, flip vertical, and
flip horizontal. Save a load, selection
number three, transform tool, flip vertical,
and flip horizontal. Save a load, selection
number four, transform tool, flip vertical,
and flip horizontal. Now we have flipped
our pattern around and we are ready to create
a seamless pattern. So we need to fill
in these shapes, so we tap the layer and I
will add new spots here. You can choose to
have the reference window up here if you want to. I'm not going to do that, as you will see better on screen what I'm doing if I don't have the
reference window open. But if you feel that,
that will make you create a good balance
in your repeat, then use the reference window. Then I will select the black
color and fat and fluffy. And here I will just
fill in a few shapes that will make the pattern
look more balanced. So I'm filling in all of
these empty spaces here. And if you need to move
something, you can do that. Or maybe you can just
fill it in as it is. I need to move some things. I will select both
of these layers, and I will select the
spots that I need to move. And I will go over my pattern, and what I want is
a balanced pattern. So I don't want too many fat
spots next to each other, and I don't want too
many small spots next to each other, either. So it's all a matter of
balancing the pattern. So going over the pattern, changing, maybe the
rotation of the spots, maybe the size of the spots. Just try things out and
see how you like them. I really didn't like this spot. So I will just remove
that and add another one and maybe add a
little bit down here. So parts you might need to move to be able
to draw something else beside it that will
make it look more balanced. And some things
you might need to move because it's
too dense there. Okay, I'm starting to
really like this now. And then I tap the black
layer and I draw a few more of these spots I see that I want
to move this one. Maybe I just want to
create another one there. So what you do is that you
go over your whole pattern and you just make the changes that you need to make
the pattern balanced. Some spots you
might need to move and some spots you
might need to add. So I'm adding some, and I'm moving some
throughout the whole pattern. Okay, so something like that, and then I will add the
brown and the black. Maybe increase the size a bit
there to make it a little bit more rough in the edge. Okay, so this looks good. I will just do a few
more adjustments by selecting both
of these layers, and I think it's a
little bit crammed down here to make it balanced. Okay, something like this,
I think we look good. It's time to try
out our penantile.
7. Test the Pattern: So let's try out this pattern. Let's just tap the top
of your layers panel, and then I was wipe down
with three fingers copy. I wipe down three
fingers to paste. Now we can duplicate this. I will have five copies, and then I will tap
the transform tool and you can either tap the node and write
in your dimensions, which should be half of your canvas size or tap
magnetic size snapping and just tap and drag
until it snaps at 1,500 pixels and tap the
transform tool again. And then we will place all of these squares
next to each other. So tap and drag and make
one to the bottom left, one to the bottom right,
one to the top left, and one to the top right. And here we can see how our pattern is
repeated in Procreate. And now we want to see
this in my Pattern Tester. So what I will do
then is just use the original copied
and pasted image, tap split view, and
go back to Safari, and I will go to
the Pattern Tester, which is linked in the
description of this class. It's on my website, afib.com, and you can
also use the link. And I will tap and
drag my image to the pattern tester and see how my pattern is repeated. Zoom in. And I can see that I
really like this pattern. I think that it
looks really cool. If I would adjust anything, no, I think it looks good. I
think it looks really good. I think it should
be uneven and a little bit more organic to this look because
it's a leopard print.
8. Changes & Recoloring: But what if we would like
to make some changes to the pattern or if we
want to recolor it? So we go back to Procreate, and I will save this
as the original one. I will just name it
Leopard, original. And then I will select
it and duplicate it and tap the new one and delete
all of the flattened images. And here I want to
change the color. I will just swipe to right
to remove the layers with the inspiration images
as well because I don't need those one
in this pattern. So then we will change the colors of the pattern.
So let's do that first. We will swipe to the
right on the group, and on the new group, I will
change the background color. So let's use the green
one, tap and drag. That already looks kind of cool. But I also want to change
the color of the brown spot. So I will swipe the right with
two fingers on that layer. You can also tap
the layer and tap Alphao and then I want to
add this yellow color. So that looks
really, really cool. And you can also tap Alphao on the last layer because I have another black here
that is a little bit more greenish and feel that. So that looks
really, really cool. I really like this calibration, and then we can try to
do it one more time. So tap on the background box, and I will use this blue color. This looks really cool as well. And then we already have Alphalog selected
on these layers. So I will use the red there or the orange to fill that one. And on the last layer, I will tap the dark blue, tapped layer and tap fill layer. Oh, so this is really, really amazing. I love this. It will look awesome on, like, some kind of
clothes or something. Yeah. Okay, so that looks
really, really good. But what if we would like to
make changes to the pattern? Well, let's say we are
working with the blue pattern now and we want to make
changes to this pattern. What we would do is, let's say that we want
to move some spots. So if we would like
to move some spots, we do just as we did previously, we select both of these layers. We tap and drag with the selection tool to move
the spots and rotate them. Make sure that I don't have snapping and
magnetics turned on. And then place them again.
So we can do that with those that are in the center.
We'll just undo that. But if you want to change the things that
are on the edges, the objects that are
cut off in the edges, you can't just move them because your penile won't repeat. This object here is
repeated over here. So what we do then is that we need to make the
repeated pattern again. So we tap the group, tap the selections tool, save a node, and then
we flip it over again. So tap selection number
one, transform tool, flipwarGfy horizontal, selection number
two, transform tool, flipward golly horizontal, selection number
three, transform tool, flip art, column
flip horizontal, and selection four, flipward
column flip horizontal. And now it can
change the obvious that we're falling
off the edges. So now I can, for example, slick this one and
move that one. So that is how you
make changes to a pattern that you
already have repeated, and that is also how you make color variations
of this pattern.
9. Export Your Files: So it's time to
export the pentile. Let's first export the blue one and then the green one
and then the brown one. So I will untap the visibility
of the other two layers, and then I will tap
the actions panel, share JPEG, and I can see
that to my camera roll. And then we can do the
same with the green one, tap the actions panel, JPEG, and save image and the
same with the brown one. Actions panel, share
JPEG and save image. If you want to save
a repeated version, you will swipe down
with three fingers. I will save the brown
one now, copy all, swipe down to paste, and then I have my
flattened image here. I will duplicate it three times, and then I will tap and drag, make sure that I have snapping
and magnetics turned on. I will tap and drag until
I reach 1,500 pixels, tap to transform to
and tap and drag. And then, oops, tap and drag until you have
repeated all your ties. If you end up like me here that I don't want
to snap correctly, I get 1501 or 1499. I would instead of
tapping and dragging, I would tap the node and go
for 1,500 pixels like that. Okay, so now we have our repeated pattern
and we can share it as a Pig and save
it to our camaro. And that is how you export the pattern that we have
created in this class, this leopard licious pattern with these three
different calibrations. Personally, I really
enjoy creating these kind of abstract and spots and dots and those
kind of patterns. I hope that you enjoyed
this class as well and that you found it useful and learned some new
tips and tricks.
10. Next Step: Grab Your Free Starter Pack: Before we end this class, I want to give you
something extra. If you enjoy this
class and want to keep building your
pattern design skills, I put together a free Pattern Rebels starter
pack just for you. Inside, you will find two mini classes,
procreate brushes, a playful color palette, time saving templates, and
even a procreate mockup. All designed to help you create beautiful patterns with more confidence and
less overwhelm. It's a real taste of the classes tools and
resources that you find inside the Pattern
Rebels membership without the commitment. No credit card, no
deadline, no catch. Everything is yours
to keep forever. You can grab it
right now through the link I've shared
here in class. Just click Sign up and you will get instant
access to everything. It's completely free. I can't wait to see what
you create with it. The link is in the
description about this class. And if you're excited
to dive even deeper, check out Pattern Rebels
my membership program. Inside, you will get
monthly classes, resources like brushes,
palettes, mockups, and pattern layout templates, plus design challenges, feedback sessions,
and Q&As with me. You can learn more at
patternrebels.com. Finally, thank you so
much for watching. If you like this class, you
can hit the follow button by my name so you don't
miss my future classes. You can also tap my name to see all of my classes
here on Skillshare. If you have any questions, drop them in the Discussions tab and feel free to leave a view
if you enjoy this class. I would love to
hear your thoughts. Don't forget to upload your
project here in the gallery, and if you share
it on Instagram, tag me with Maya Faber. I would love to see
what you create. Thanks again for joining me, and I hope that you
enjoy this class.