Transcripts
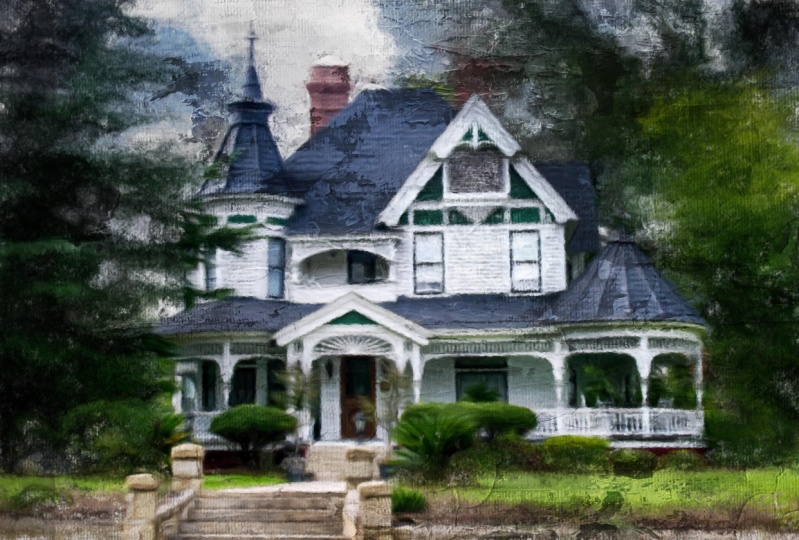
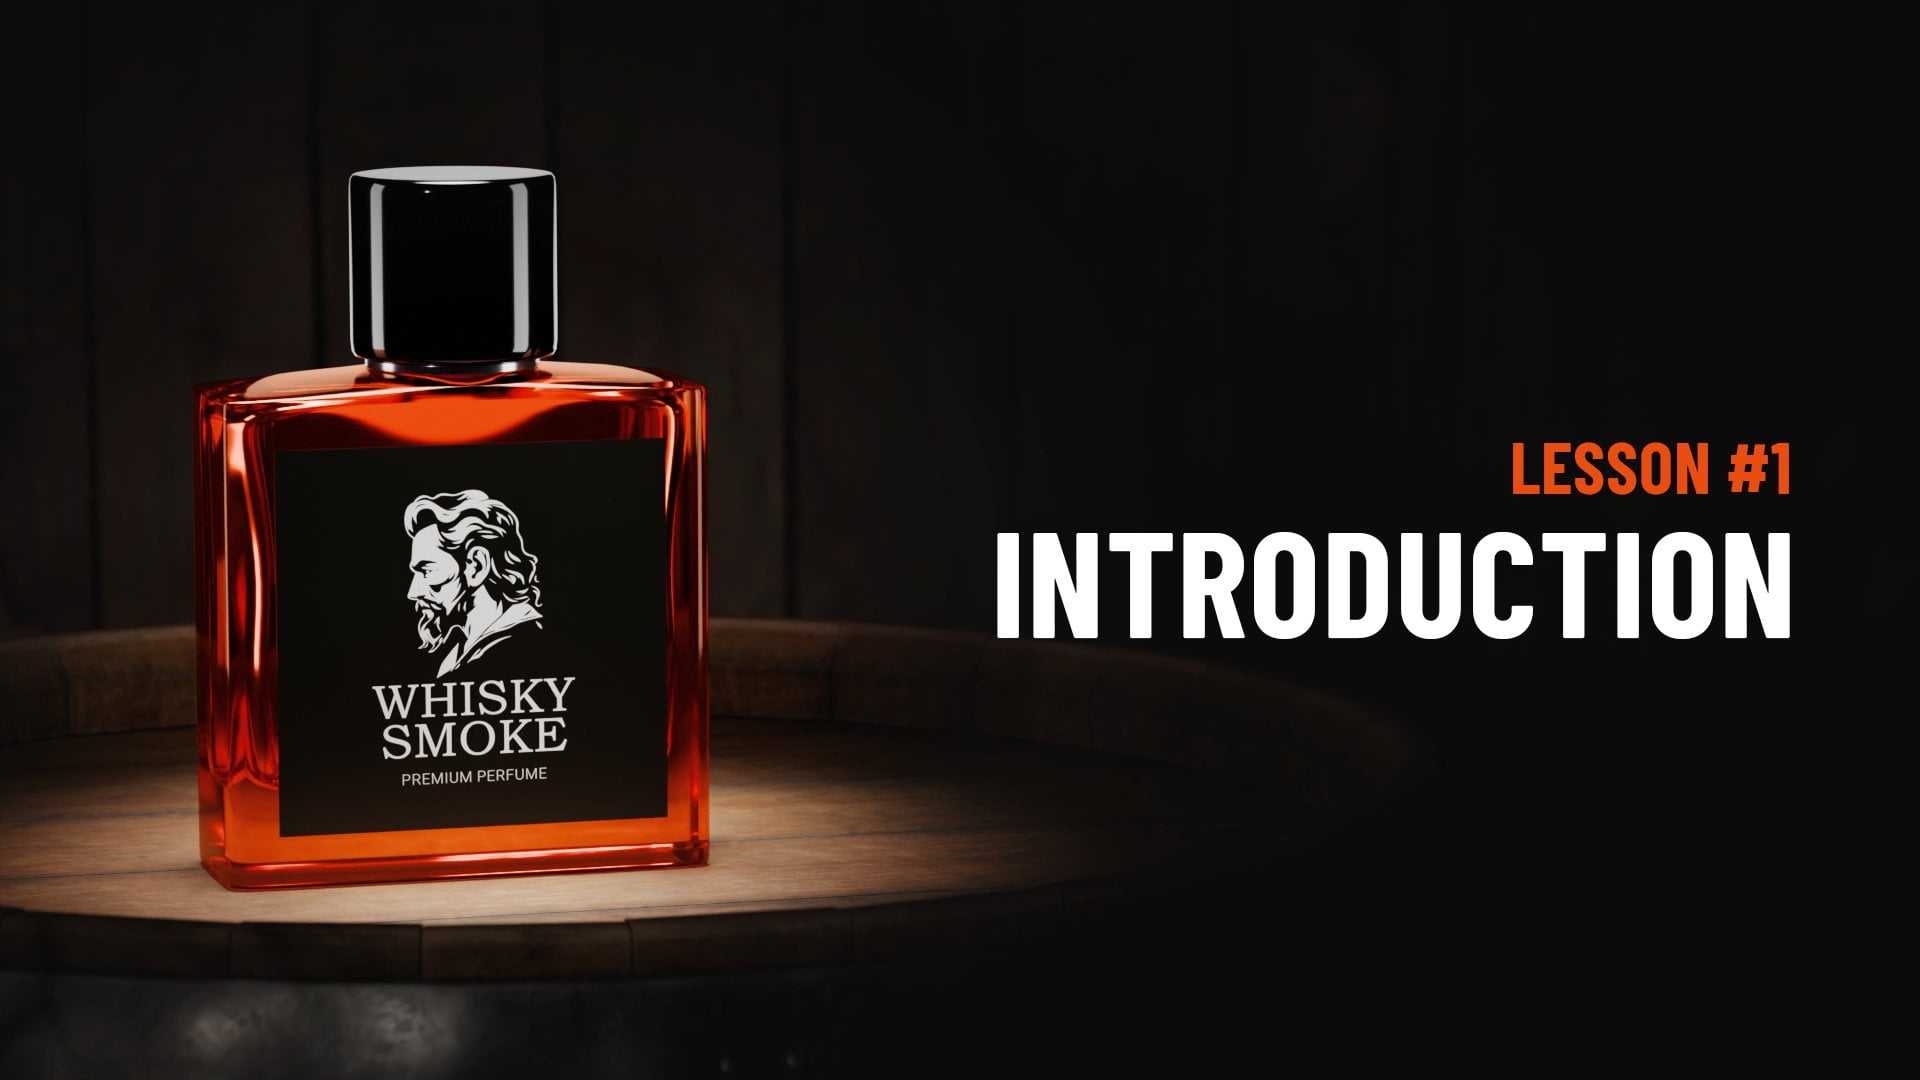
1. Introduction: Hello guys, my name is Alex, and in this short video, I will make you a little introduction for this class. Less than 30 minutes, you will see a whole process of transformation. Any image, too realistic, oil quaint picture. I will explain you each step of our York where he simply and clearly. So now let's talk about each tutorial, this class with more details. In the first lesson, we will make the necessary preparation. We will download all additional materials like textures and brush and import them into f for the show. After that, in the second lesson, we will create a canvas and work with the background. You will see how appropriately use brushes for creating realistic oil paint effect. In the third lesson, we will continue painting on our image and make some layers to increase details. After that, in the fourth lesson, we will add a realistic brush strokes texture, and reveal all details, the main objects. And finally, bonus lesson. Let it be a little surprise for you, but I'm sure you will very excited. So guys, if you want to learn how easily to transform any image into oil paints, artwork and the role now to this class and make together Sanford amazing. See you there.
2. Preparing: Okay, my friends, let's begin. But before we start, you need to download additional folder with special textures and special brushes for this course. So download this folder and open. Here we are. And in this folder we have textures. Textures with the brush strokes and kind of a structure. And also we need special brushes. And now we need to set up these brushes into our Photoshop. Let's open the Photoshop and let's pick the brush to click here. And after that, click on the arrow here, and click on the gear. Find here, import brushes. And let's open our additional folder with our brush. Pick this brush set and click load bottom. And now our brushes successfully imported into for the show to them. Let's scroll down. And here they are. So now we are ready to start our work. And I were waiting for you in the next lesson.
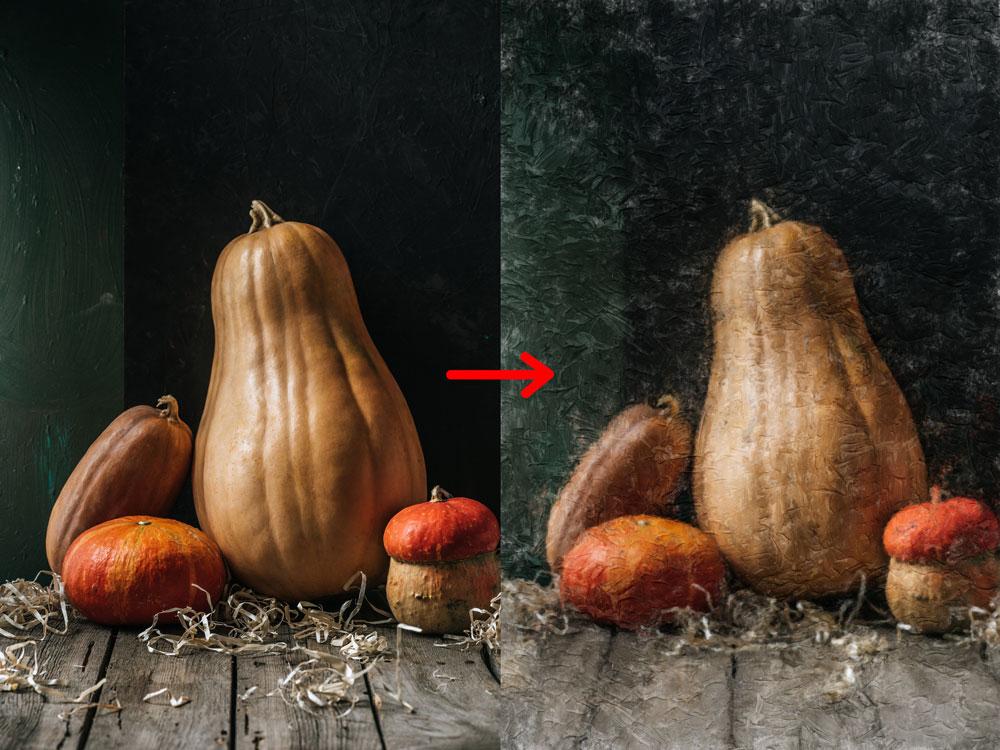
3. Canvas and background: Okay guys, Let's begin to convert this image into oil paint a picture. And now let's open the folder with the textures and find here the canvas texture. Drag it into our document and scale it up. Something like this. After that, press Enter button and turn off this layer 4. Well, so in the next step, we need to make five copies of our background layer. Let's do this. Click on the background layer and press Control J hotkey. But before we create other copies, we need to stylize this layer. Let's go to the filter. Stylize and find here oil paint or parameters of this filter depend on the image you're working with. And in this case, I increase all sliders to the maximum to make more stronger effects. Sample like this. In my case, I have a large image. So because I make a more stronger pack, something like this. After that, Let's click OK button. And now we have this effect before and after. And now, let's make a poor copies of this stylized player. Press Control J or Control J, or Control J and Control J. So and now we have a four copies of our stylized layer. Let's rename them. Rename this layer to five, These 24321. In the next step, we need to turn off all of these copies except the first copy. Click on the I icon. Enter know all of these layers. Okay, let's drag the canvas layer to motto and bolded here. Then let's pick the first coping. And let's go to the toolbar to find here. And Art History Brush Tool here. Click on this too. And now let's make selection of this layer. Press Control a hold key, and click to delete button. Then select our image, press Control D, and turn on the canvas layer. Click here. Don't worry that we deleted this image because we will recover it little bit layer. And now we need to create a new empty layer. Click here and rename this layer to the clouds. Be sure you have a black and white colors on the pellet. Okay? And after that, let's go to the Filter, Render Clouds. And now let's go to the Image Adjustments and find here threshold. Press. Okay, and let's go next. And the next step, we need to select all black areas on our image. To do this, let's go to the Select Color Range. Click on the selection check box and click Okay. And now we have all black areas selected. And then click the selection tool and make a right-click on our image. Self here may cover path. Click, Okay. And now all settled areas transformed to work path. Then let's pick an Art History Brush and find our special brush. Here. We need oil brush, vk. Let's select it. Okay? Said APA is 250 and area 250. Okay. Then let's pick a pen to turn off the clouds layer and select the first layer. After that, Let's make a right-click on the image and make a stroke path. And this list we select and Art History Brush. Click on the similar way, pressure and click Okay. And now we have something like this. Let's press Escape button to remove the Work Path. And let's delete the clouds layer selected and press Delete. So on this step, our lesson is finished. And in the next step, we reveal all details in the frame.
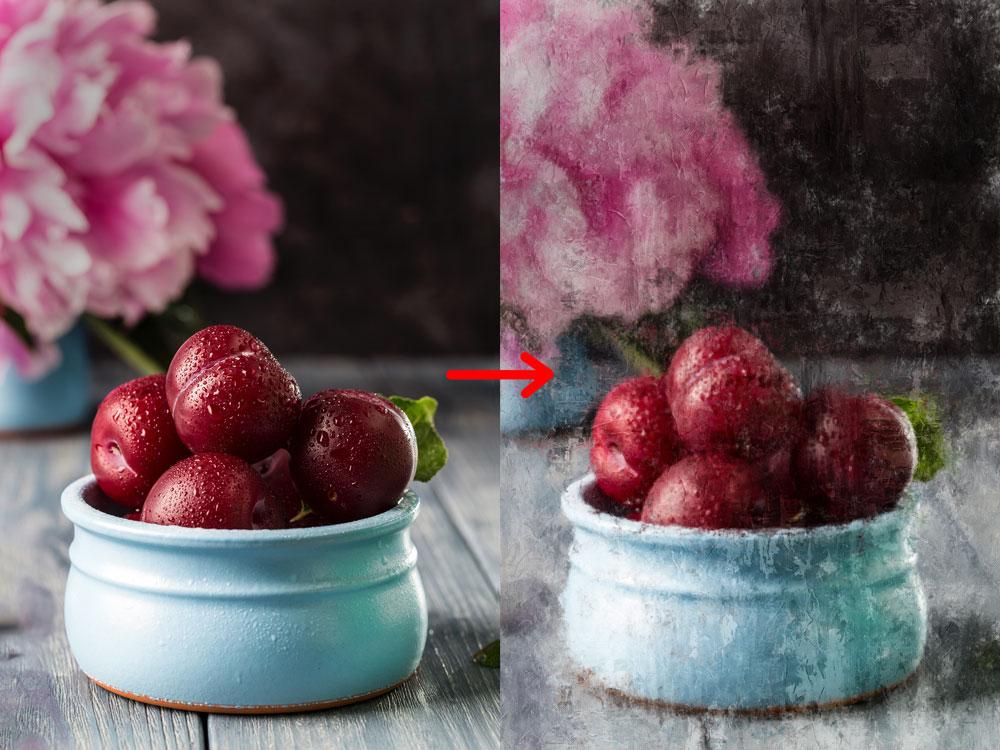
4. Oil paint effect: Okay, welcome to the third lesson. And now we will increase details in the frame. So now we need to repeat all steps from previous lesson. For other layers. Let's pick the second layer. Turn on it. Press Control a. And the elite, this picture. After that, the selected press Control D. And make a new layer. Click here. Rename this layer to Klaus. And let's go to the Filter Render Clouds. Then let's go to the image adjustments threshold. Click OK again, and make a selection. Let's go to Select Color Range. And click Okay. Then make it work, but pick a selection to make a right-click on the image. And find here make a work path. Click OK again. Turn off this layer. Peak the second player, and pick the Art History Brush. Then we need to change our brush here. Find here, well brush medium and pick the pen tool. Click here. After that, make a right click on the image and make a stroke path. Select the Art History Brush here. Quick simulate pressure and click OK. Press Escape button to remove Work Path and the leap, the clouds layer. Okay, let's take a look before and after. Now we have more details on this layer. And now let's repeat all these steps. On the third layer. Click here. Turn on it. Press control a. The WEP. Control D to deselect. Make a new layer. Click here. Rename this layer to clouds. Let's go to the filter. Render wells. Image adjustments, threshold of them. Select Color Range. Alkane, maker, right click on this image and make a work path. Then pick the Art History Brush. Change the brush here. Find here oil brush, medium two. Okay. Pick the third layer and select the band to make a right-click on the image. And find here stroke path. So as History Brush, simulate pressure and press Okay. Let's vary the clouds layer to reveal effect. Okay. And press Escape button to remove my work path. Let's see before and after. Our image looks more and more detail. And now repeat all of the sections on the poor player. Click on it. Turn on. Press Control, a deleted control D to deselect that make a new layer clouds. Let's go to the Filter. Render Clouds. Image adjustments, threshold, and select Color Range, gain. And the selection to make right-click on the image maker work path. Okay. Pick the Art History Brush and change the brush here. Now we need oil brush from all selected. Click the pen tool. Don't forget to select the four player. And make right-click on the image. Find here, stroke path, select here, Art History, Brush and click. Okay. Then with the clouds layer and press Escape button. Before and after. Looks good. And now we have one more layer left. Turn on. This layer. Press Control, a two-week control D to deselect, make new layer clouds. Let's go to Filter, Render Clouds. Image adjustments, threshold. Okay, Select Color Range. Okay. Peak the Art History, Brush and change the brush here to oil brush small, to pick the fifth layer and pick a selection tool. Click on the image, make it work path. Click Okay. Select the Pen tool and make a Stroke Path. Click here. Oh, okay. Though it the clouds layer. Press Escape button to remove a work. But let's see before and after. Now let's make a group for this layers. Hold shift keying, Click on the top layer, and click on the first layer, and then press Control G. Rename this group to details. And let's see the before and after. Okay, So we're all done in this lesson. And I will wait for you in the next video.
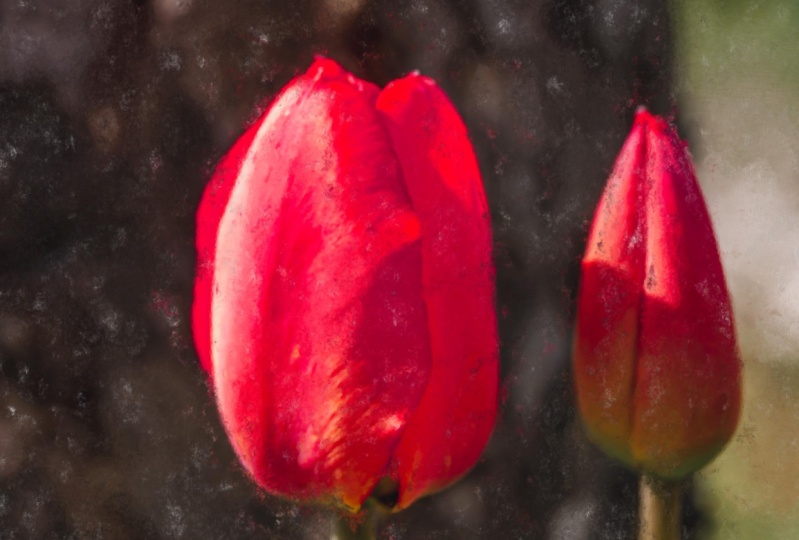
5. Brush strokes and finishing touches: Okay guys, we continue with the details and now we need to reveal the main objects in the frame. So let's make a copy for the background layer. Click on it and press Control J. Drag this layer to the top. And let's go to the Filter. Stylize. Oil paint. Increase all sliders to the maximum. And click OK again. After that, press Control a and press Delete button to remove our image. Then press Control D to deselect. And let's pick the Art History Brush. Change the brush to brush in detail. Click on it, and paint over main objects in the frame. Something like this. Oh, okay. You don't need paint over all image. Only my objects here. Here. And the subject on the table here. Great. Take a look before and after. Looks nice. And in the final step, we will add a texture with the brush strokes to make oil paint effect more realistic. Let's Open Images folder and find, hear any texture you like. I think this one will be good. Drag it into our document. You can try all textures and choose the better for your image. Then scaled up. Press Enter, and change the blending mode for this layer to overlay or soft light. I think soft light will be better. Also, you can change opacity for this layer if you want to make the effect more realistic. Something like this. Okay, now let's rename this layer to strokes. And this layer, two main details. Okay, so now our artwork is done. Let's see before and after. I hold Shift key and click on the top layer and on the bottom layer. Then press Control G. Rename this group to oil paint. Ok, and let's see, before and after. So now our work is done and I hope you enjoy this result. If you have any questions, don't be shy and asked me in the comments. And don't forget to see a bonus lesson.
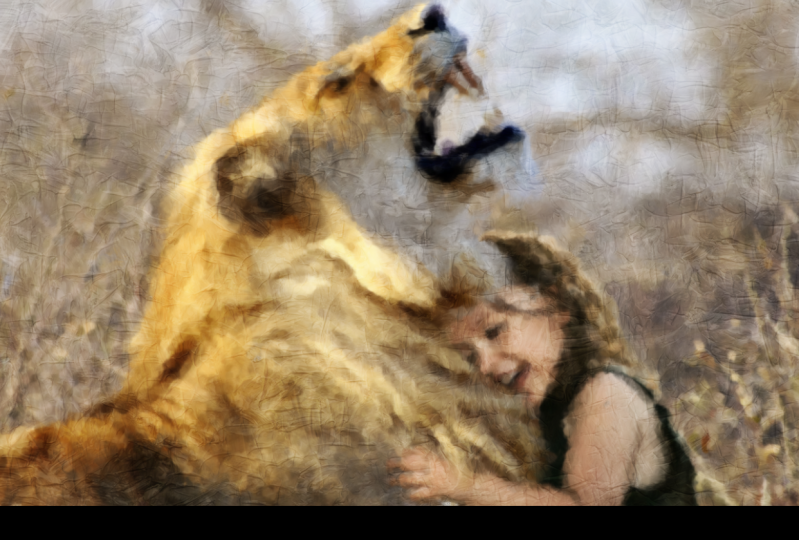
6. Bonus Lesson: Okay guys, Welcome to this bonus lesson. And now I want to make a little present for you. I prepared a special action that will help you to make oil paint effect fully automatic. If you've never heard about Photoshop actions before, don't worry. I will explain everything very clearly with all details. So the action is a special script that will helps you to process your images fully, automatically. Let's begin and you will see for yourself, before we start, we need to open the actions palette. To do this, let's go to the window and find hear actions. Okay, the panel opened. And now click on this icon and Load Actions. Let's open our oil paint folder and find here ATN file. Here it is. And then click load. And now we have a new group on the pilot. We have two actions here. The first one is the grade effect. It's the main action. And the second action will help you to add brush strokes to your image. Okay, Let's begin with the first action. Selected and click on the Run button here. Okay, we have a message, press, Continue and choose a Canvas texture. Then place it into your document and scaled. Okay. Click, Continue. Open your oil paint folder. Find here the canvas texture and place it into your document. Scaled up half of that breath and or bottom and action. We will continue your work. Another message, paint over the objects where we want to increase the details, okay, click on this top and bottom and went over the main objects in the frame. I think that will be enough. And now main effect is done. If you want, you can add strokes texture with the second action selected, and run it. Click Continue and choose a texture. Click continue and find. Hear. Any texture you want. Maybe a third. Click on the place, bottom. Scaled up, and press Enter. Okay, all done. Change the opacity for this layer if you need, okay, with change of base to a little bit, may be 85 or 84. Okay. And now all done with this sections, we made oil paint effect fully automatically. I attached actions to this tutorial. So download it and use it. I hope you enjoyed the result. Okay guys, Thank you for watching this class and see you in the next videos.
 Alex Kuzmichev, Graphic Designer