Transcripts
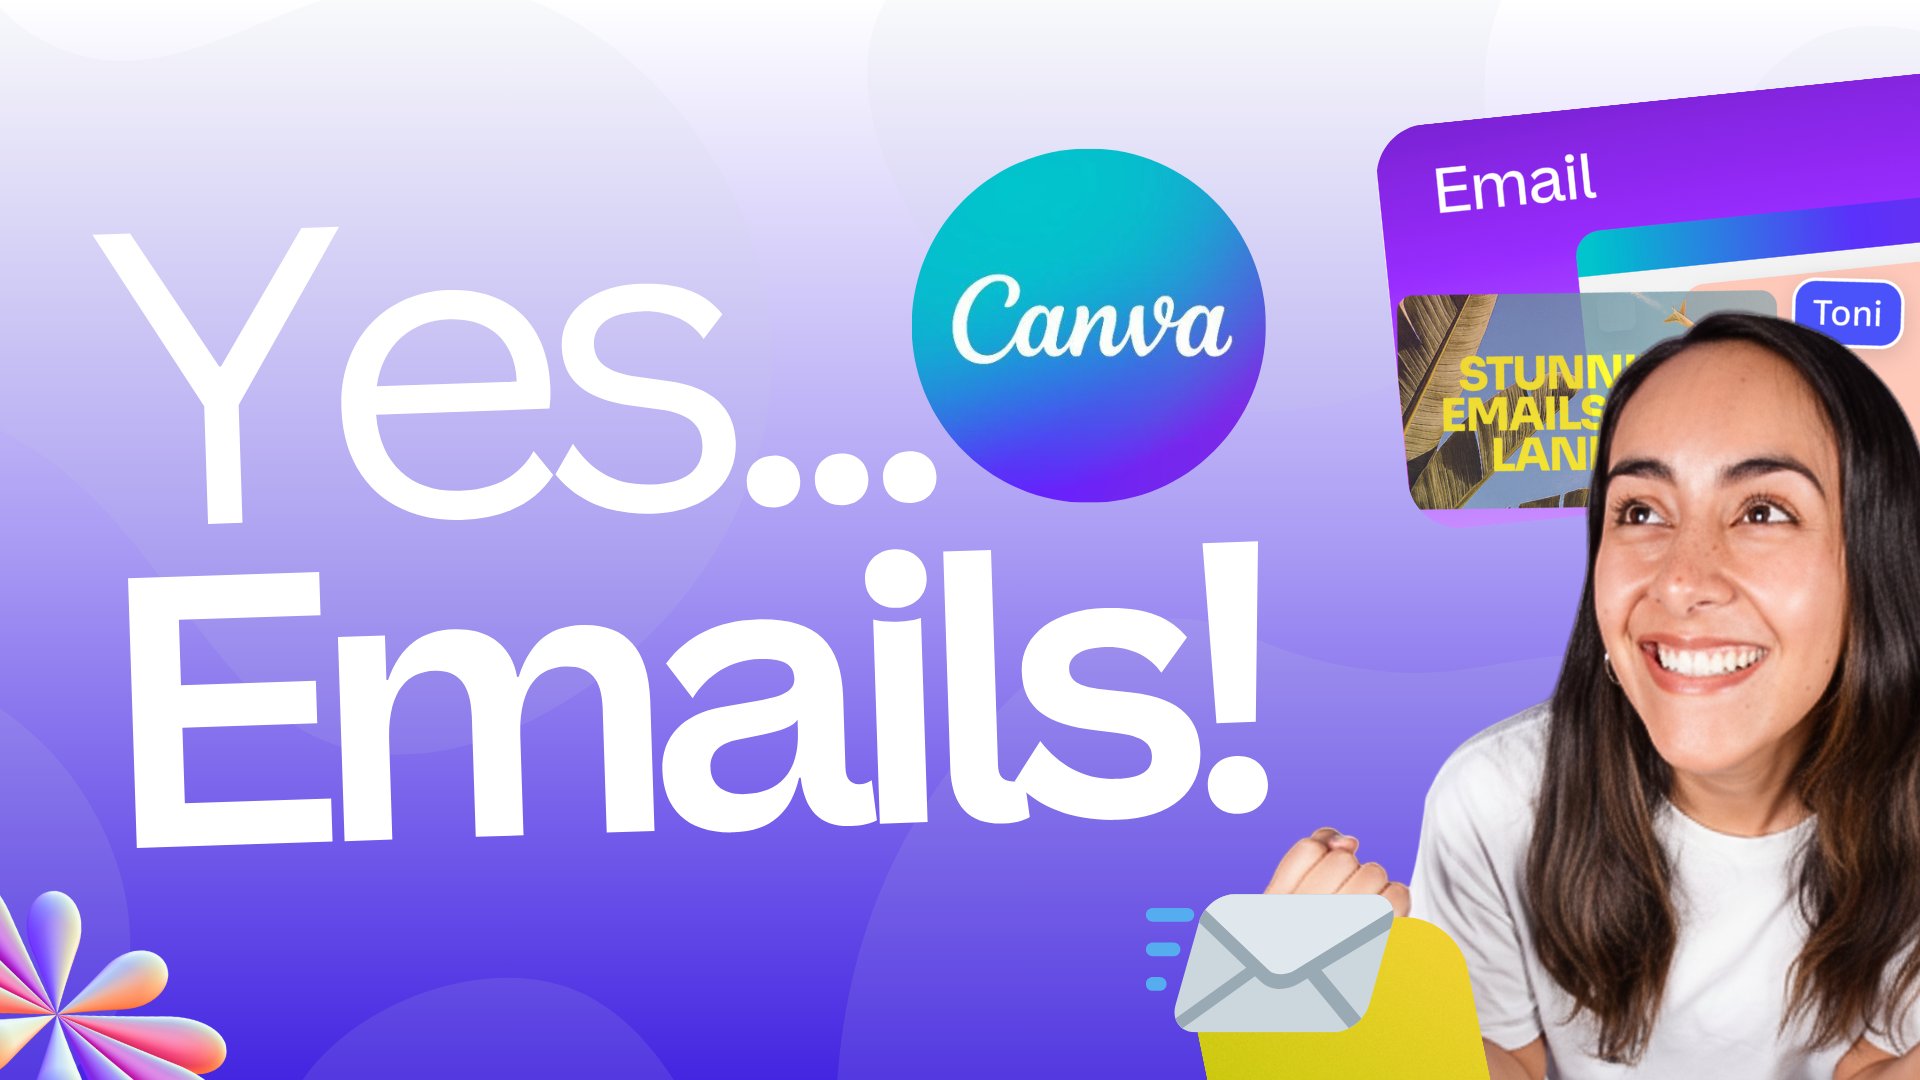
1. Class Introduction: Canva just added a
brand new way to collect emails right
inside your design. That's right. You
heard that correctly. Can now create beautiful
forms directly in Canva, whether it's for a lead magnet, an RSVP page, or even
a quick feedback form.
2. Where to find Forms: Alright, let's discover
these new forms in Canva. I am here in a
presentation document, but it doesn't really matter. This will work in any document. And something else, I want
to say from the get go, is that this feature is
available to all users. So that's the good
news. Let's head over your elements staab. This is where
things are going to happen for you when you
are searching for forms. If I scroll down and I get to all of the little
icons right here, by the way, I love the
redesign of these icons. See a new category of icons
that says forms right here. See it says new right
here, this purple capsule. Let's click on that and discover what the forms are all about. I can see a few
different categories. Okay? So I have my
business forms. So these are like email
captures, contact forms. Let's see. Lead capture form. They look pretty cool, actually. So you have about eight to ten different templates right here. I see another category
for education. So here we'll find kind of mood checks with
this form right here. How are you feeling? So you can choose the mood. Okay, let's say I'm super happy about all these
new Canva features, submit that, and you see my
response has been saved. So where has it been saved?
3. Share your Form with others: Now, let me answer a question right away because I know
this question is coming. How do people interact
with my form? Well, the easiest way
is that you need to share a link to this Canva
document with someone. And you don't want that
someone in most cases, to be able to edit
your Canva document. So what you want to share
is the public view link. So just head over this share
button, click on that, and then you will want to find the button that says
public view link. I think everyone can create a public view link,
so click here, then click Create public
view Link right here. Canva will give you a copy that. And I'm going to
copy this link and paste it in my
browser right here. And I can see that now I see
the experience full screen. I see the form, full screen, and you see, it's something
I can interact with. So if I love this event,
I can give you a five, give some feedback,
great talks, fun people. But would you attend again, yes, for sure, share my feedback. See my response has been safe. That's how you share
your form with people. So I can see this
as super useful. You could create a QR code, for example, with the
public view link. Put that in your presentation. And so people can scan the
QR code on your slide. They will open this little
form on their mobile. So maybe you would
embed this form in a story kind of document so that it
looks great on mobile.
4. Let’s see the Form from a mobile device: If I just paste the link right
here on my mobile phone, I want to show you the
experience here on mobile. So you see here because
I'm using a presentation, the form appears
to be quite small. But people can zoom in by
simply pinching and zooming in, but maybe I would
recommend to get the most optimal experience
to create a Canva Website, add the form to this website, and then publish the website. That way, you make sure that
your form will adapt to the device you are
using to view it because Canva websites
are responsive. So that's probably
much better than to use your form in a
presentation like I
5. How to view the responses information: Well, I can see right here
with my form selected, I can see a new
floating menu and I see this button right
here with responses. When I click here, I can
see this pop up showing some insights about the
responses to my form. So total one, so I have one submitted answer,
responders anonymous. So I guess you could
probably see who, if it's someone in your team
interacted with your form. So that could be
a good thing for a teacher because I guess
with Canva Education, the teacher knows who are the different students
in their class. So this would be showing right here the
name of the responder. And then so we see the
value also, the timestep. How are we feeling five? Okay? So basically,
these little emoji, going from sad to happy have
been attributed a value. So five being the maximum
level of happiness, I guess.
6. Customize your Form: Alright, now, obviously, you
don't want to be limited to just for the templates that have been
created here for you. So you can obviously
create your own form. Okay, let's get back
to the elements. Let's get back to
form right here. And I'll show you, for example, like a little radio experience. Let's see, like feedback just use this one as our
base. So I have this. I'm going to
collapse this panel, and you can see with
the form selected, you can start changing
all of the colors. So here there's a nice gradient
which I actually like. But if I wanted
something more on brand, I could change that color. So you can customize this gradient by clicking on its little settings
button right here. So let's say I want to change this one for color
right here, this red. So you'd have now this
red and gray gradient. So it was actually
better before. So let's just choose a
different accent color. Instead of that pink
right here, let's say, I want to use this green
color. This looks nice. So this is how you start
customizing your form. But if you want to customize
deeper or further, you obviously can use the
edit button right here. So you can change the questions, customer feedback,
so your email, you can change that by drop
us your email, for example. You see, and it
will automatically adjust right here on the page. Let me zoom in a bit so you
see what's going on here. Drop us your email.
I'm customizing this first line right here. So that's the first box, okay? The first question see you can make this a
required question. Let's make that a
required question. You see the little asterisk
coming up right here next to your line of text because it's now required can
move it up and down. You can duplicate this
section or you can delete it. Then there is your
second section. So this is change question type, and you can see all of
the questions right here. You have 12 types of questions. You have short
answer, long answer, multiple choice,
checkbox, email, number, single choice quiz,
multiple choice quiz, mood meter, linear
scale and star rating. For example, if I
want to add a pole, I add a pole right here and
I can give that a name. Okay? So where did you hear from us. This is
something interesting. So it could be, I don't
know, maybe from YouTube. Another option could
be LinkedIn. Okay. So let's just keep it
two simple answers. So where did you hear from
us, YouTube or LinkedIn? So you can select whichever is the correct answer let
me go back to Edit. So again, if you like this on your page and you don't
see the edit button, it's because your form has not been selected. So
click on the form. You should see your edit button
and you should be able to come back here and add more
questions if you want to. So this one, for example, if you want to
name that section, where are you coming from?
Where are you coming from? Where did you hear
from us? So yeah, what I think we should do here is instead of where did you
hear from us right here, we should have it here. So maybe an ad. So you have your answers,
you have your title, so this looks more like the proper way of
asking this question. So that's the new
forms in a nutshell. The real good use case that I see right here is
collecting emails. Okay? This is your ultimate lead
magnet because let me show you what happens when I
actually fill up that email. It's going to show up in
my Canvas sheet, right? So I'm going to get into present
a mode here to show you. I'm going to add my email
Hello at timorndi.com. If I submit this form, you see now response save
back to my document, click on the form and
see the responses. You see now Ronnie Hermosa, and then drop us your email
hello at temrndi.com. So if I click here and
get access to my sheet, what you'll see is that
the email has been successfully corrected in the
second column right here. So this is actually a great improvement
because you can now collect their email and store them right here in
your Canva sheet. Since you can already
design your email in Canva, all you need to do is to have an email management platform and copy that HTML
from your email, paste that in your
management platform. You have your email
perfectly designed, and you can simply import your emails from
this canvas sheet. So you can import all
of the emails at once, and everything you
will be collecting in this canvas sheet
will be ready for you to use for your email marketing. So I see this as a game changer, definitely a great
feature to have. I love that Canva, left that
feature forms for free. So wonderful feature.
Definitely check it out.
7. Access to the Sheet with the responses: And then I have this button
right here, view responses. When I click on this, I see kind of like a summary of my
responses right here, his data, and then I
have a link to a sheet. So this sheet right here, Canva Sheet is going to
be my command center, I would say, for the
responses of my forms. And that's really interesting
because from here, I can rename this
sheet and give that a name like mood
check, Class four B. Let's say you are
teaching in class four B. So this is the mood check. So you'll have your timestamp very cool because
you can kind of do a mood check every day with and you will keep
a track record of, like, how are your students
feeling every day? Okay? So that's pretty cool. I love that the answers will be collected right here
in a Canva Sheet. Let's get back to our form. Okay. I just wanted to show
you the full experience. Let's delete this one and continue to explore
the templates. And the elements, I'm
going to go back. So we have business,
education, events. Events are going
to be very useful for all of us
organizing webinars, cohort courses or I don't know, just like community meetings. Let's find the first one
or the second one looks. Click on this one right here, make that bigger, so we can
all see what's going on here. I'm going to
collapse that panel. Okay, so it says event feedback. Okay, so it's a feedback
form for an event. How would you rate this event? 1-5, let's say, let's
give it a three. Share your feedback.
Event was good, but food could be better. Okay? Sometimes we just go to an event because we feel
a little bit hungry, and if the buffet is not
up to your expectations, well, you might give the
organizers a bad feedback. Attend future events?
Yes, maybe, no. Let's say maybe
food is improved, and then I can share feedback. Similarly, when I go back
here, click on the form, see my responses,
I will see, Okay, Ronny Hermosa, how would
you rate this event? That's three out of five
feedback event was good. I see everything here. I guess this will
create another sheet. Every new form will be linked to a separate
sheet, I guess. Let me see there. Double check. Yes. You see, this
is a new Canva sheet that I can also rename. And now I have some info about the responder, okay,
Ronny Hermosa. Okay, this is great. I see
a lot of potential for the
8. Outro: All right. So I
hope that by now, you understand what
Canva forms are and how you can leverage them to
start building your audience, start collecting these emails, that data from your audience.
 Ronny Hermosa, Your Go-To Canva Guru