Transcripts
1. Introduction: I bet you became an
artist, designer, or content creator because you wanted to make
creativity your career, and you wanted to create projects that you
were excited about. But maybe you've realized how
tricky creativity can be, and when you have total freedom to make
anything you want, it's easy to feel uninspired. Maybe you want to share your
artwork on social media, but you have no
idea what will get engagement and be fun
for you to work on. If any of this sounds familiar, this is
the class for you. Hi, I'm Ashton Womack. I'm an artist and
surface designer. Long before I became an artist, I used to dream of
earning a living with projects that fit my
style and interests. What I thought I wanted was to create with absolutely no rules. But since actually
working as an artist, I've learned that
setting boundaries and rules and limits actually
boost my creativity. In this class,
we'll learn how to create a simple but
powerful project, a creative challenge
that you can share with your audience that will grow both your art skills and your social media following. Design a unique
creative challenge that aligns with your goals and create graphics for an Instagram carousel
in Adobe Express. And we'll talk about ways to make your
challenge a success. As a brand ambassador for Adobe, I use Adobe Express
to create all sorts of social media graphics
and assets for my business. The Tools and Express
will help us create on brand social media graphics
really easily and quickly, so you can get started on
your challenge right away. Class is all about designing
a creative project that aligns with your brand
and creative goals to build a community
with the same interests. By the end of this class,
you'll be ready to start your challenge and invite your audience to
create along with you. Challenges have helped
me build my brand, grow my social media following and ignited my
creativity as an artist. And I'm excited to
share what I've learned with you.
Let's get started.
2. Class Project: Your class project is to plan a simple creative
challenge and follow along with the
tutorial to create graphics for your Instagram
post in Adobe Express. To share your finished graphics with myself and fellow students, upload the photos to the your project
section of the class. And after you've
announced your project on social media and
followed through and completed the challenge
along with your audience, you can come back to your
project section here on Skillshare and update it to let us know how
the challenge went, give us a little recap and share some photos of your
artwork if you'd like to. Also providing a simple
download for this class, which is a PDF with questions that will help you design
your creative challenge. If you have any
questions along the way, post them in the discussion
area of the class. I can't wait to see
what you create.
3. Tools and Materials: So to complete your
class project, you just need three things. First, you need a notebook or your preferred digital Notes app to brainstorm
your challenge, or you can use the
provided worksheet. Next, we'll design our challenge graphics in Adobe Express, so you can find the
app for desktop or mobile at adobe.com
slash Express. I'll be demonstrating with a
desktop app on my computer, but you can follow along with
the mobile version as well. Adobe Express is
my preferred app for all kinds of
social media graphics, and I can't wait to
show you how the tools in Express are perfect
for this kind of project. You already love and use Adobe programs like
Illustrator or Photoshop, then you can just login with
your Creative Cloud ID, and you'll be able
to access your Creative Cloud libraries
right there in Express. Don't worry if you haven't
used Adobe Express before, I will walk you
through step by step, and you can absolutely use the free version of
Express for this project. Finally, you'll use your
Instagram account to share your posts before and during the challenge to
grow your community. So get your supplies ready, and in the next lesson, we'll talk about how to create
a successful challenge.
4. Create a Successful Challenge: In this lesson,
we'll talk about how to make a creative
challenge successful. There are three keys to making a successful
creative challenge. Your challenge needs
to be personal, practical, and invite
participation. So let's break each
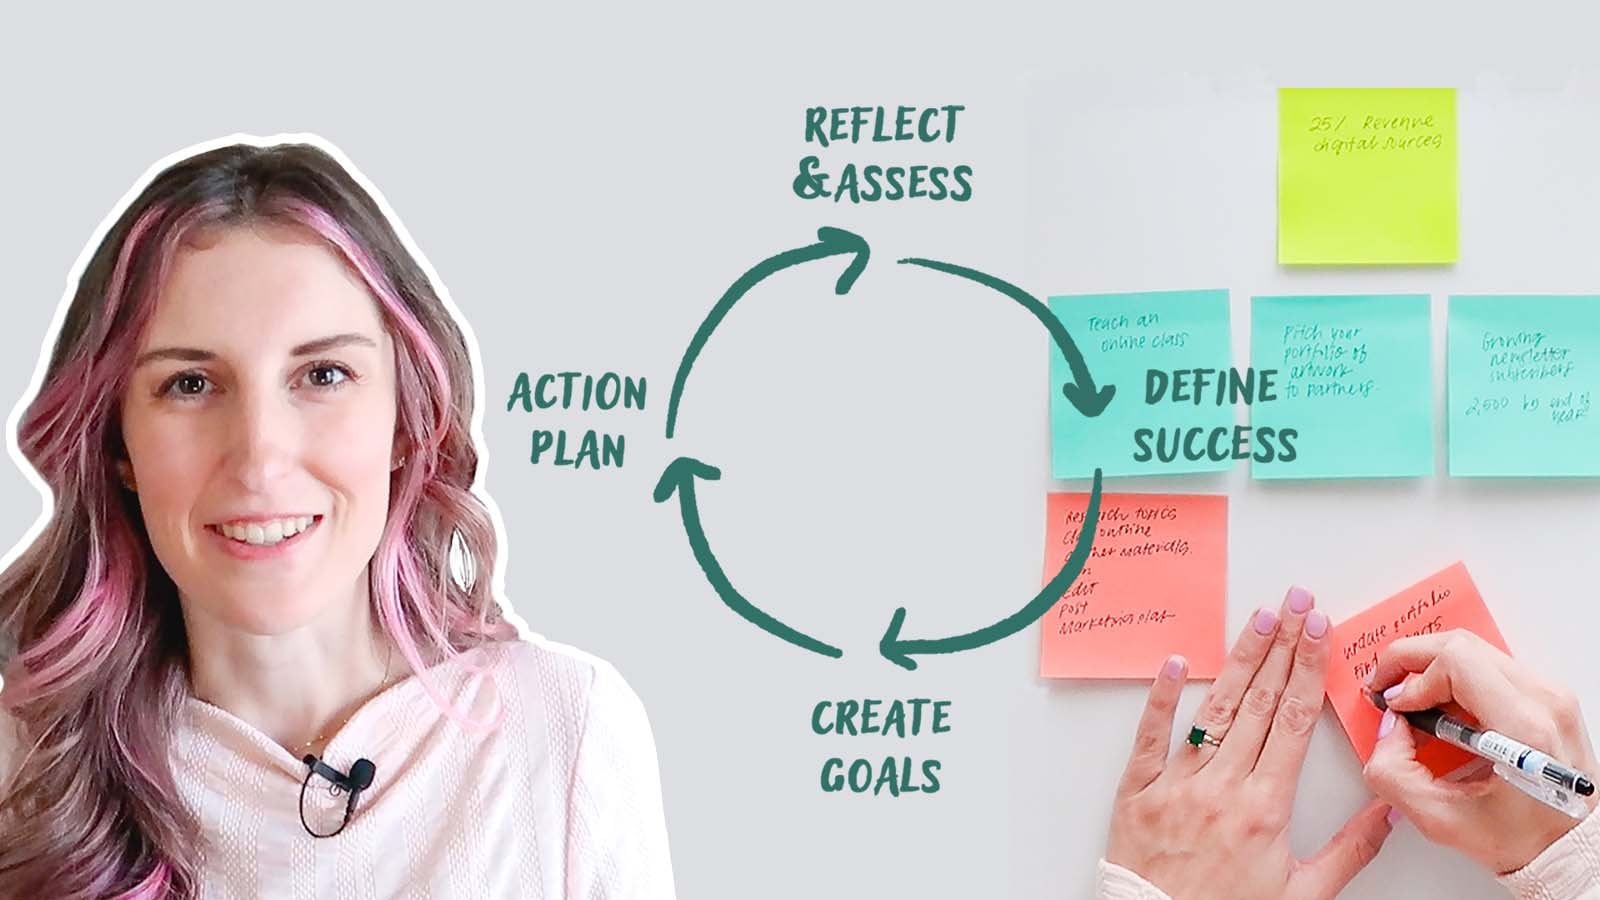
of these down. First, your project
needs to be personal, so it should be aligned
with your bigger goals, and if you have a business
aligned with your brand. So think about what you hope
to gain from the challenge. Are you looking for
personal artistic growth in your style or learning and
practicing new materials? Do you want to share
your art with others and connect with a
like minded community? Are you looking to add new
pieces to your portfolio? Or maybe it's a mixture
of all of those. Knowing your goals
will help you start to think of a challenge that
is aligned with them. Second, your project
should be practical. What I mean by
practical is it has a clear actionable
project for yourself and your audience and a
clear timeline on when the project should be completed and when
it should be posted. You'll want to have
a good balance between how difficult and
time consuming your project is and what the
time frame is for the project so that it's sustainable for both
you and your audience. So, for example, for a more
intensive piece of art, maybe the challenge would be
shorter, like seven days. And for something more simple, like taking a daily photo, you could do a longer project
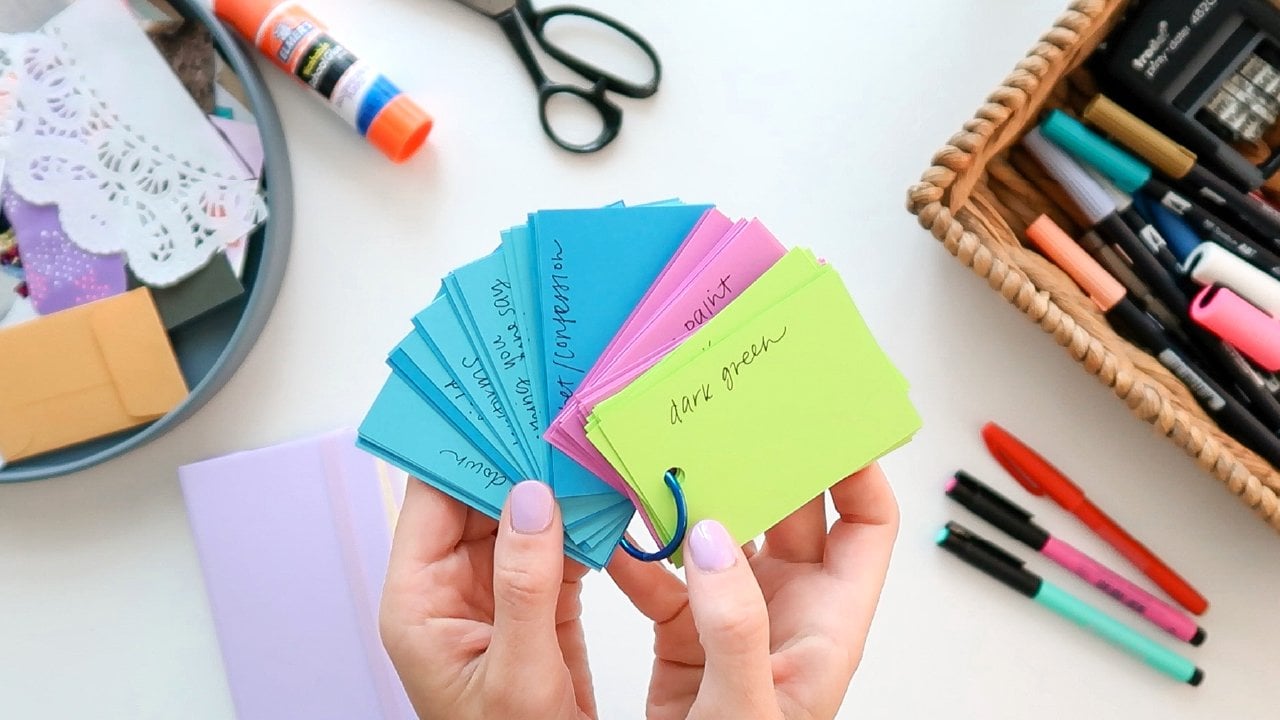
such as 100 day project. Of my favorite challenges was a month long
journaling challenge, and I provided 31 days of
prompts for my audience. So I wanted to make
them broad enough that people could participate
at different levels. They could simply write their
responses down on paper, or they could gather
more art supplies and create a drawing or painting
or a collage in response. And so the prompts
were broad enough to invite different
levels of participation, but specific enough
so that no one was left wondering what they
should journal about each day. Guided them through
with 31 prompts, and I also created an
optional download with more details for those who were looking for a little
bit more guidance. Lastly, we want to invite participation with
the challenge. So for growing
your social media, it's a great idea to ask others to co host the challenge
alongside you. People who are in a
similar industry, have a similar audience and
create similar content so that participants will want to follow and engage with
all of your accounts. Like providing lots of prompts for my challenges
because that makes the post sharable and savable even by people who aren't
interested in participating. They may just want to
save the post for later, and that will help to gain
traction on social media. You definitely want to invite participants to share the post, tag you, and use a dedicated
hash tag for the challenge. And as the host, it's very important to follow through with the challenge and engage with your audience
along the way. So take action. Answer the following questions
about your challenge. How can you make it personal, practical and invite
participation? What is your goal
for this challenge? This be a seven day challenge, a 30 day challenge, once a week for a few weeks, you decide the timeline. And what exactly would you
like your audience to share? What is the finished project? And how can they share
it on social media? And finally, invite
participation with a detailed theme
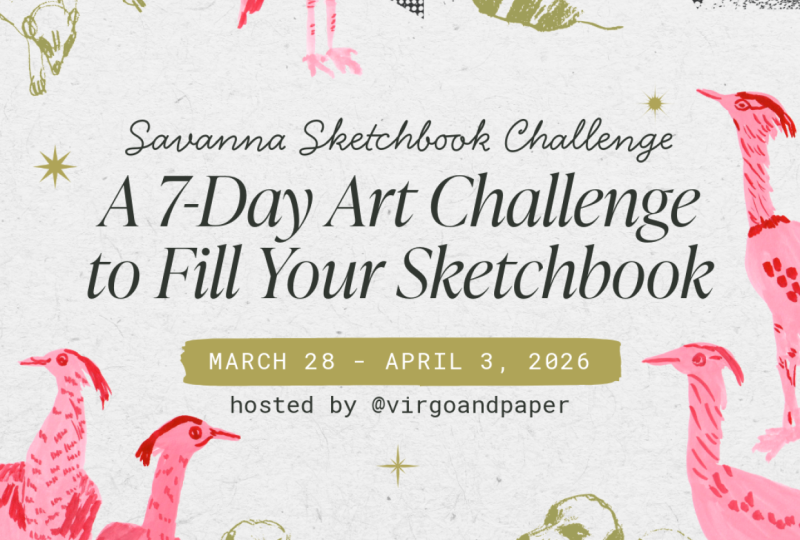
or a list of prompts. So for my next challenge, I'm thinking I'd like to
dedicate more time to my sketchbook practice and practice drawing and
painting animals. So I'm thinking about doing a seven day sketchbook
filling challenge where I provide a list
of several animals. People can choose an animal each day and fill a
sketchbook spread. So take a moment to answer
these questions for yourself, and in the next lesson, we will actually
write down our copy.
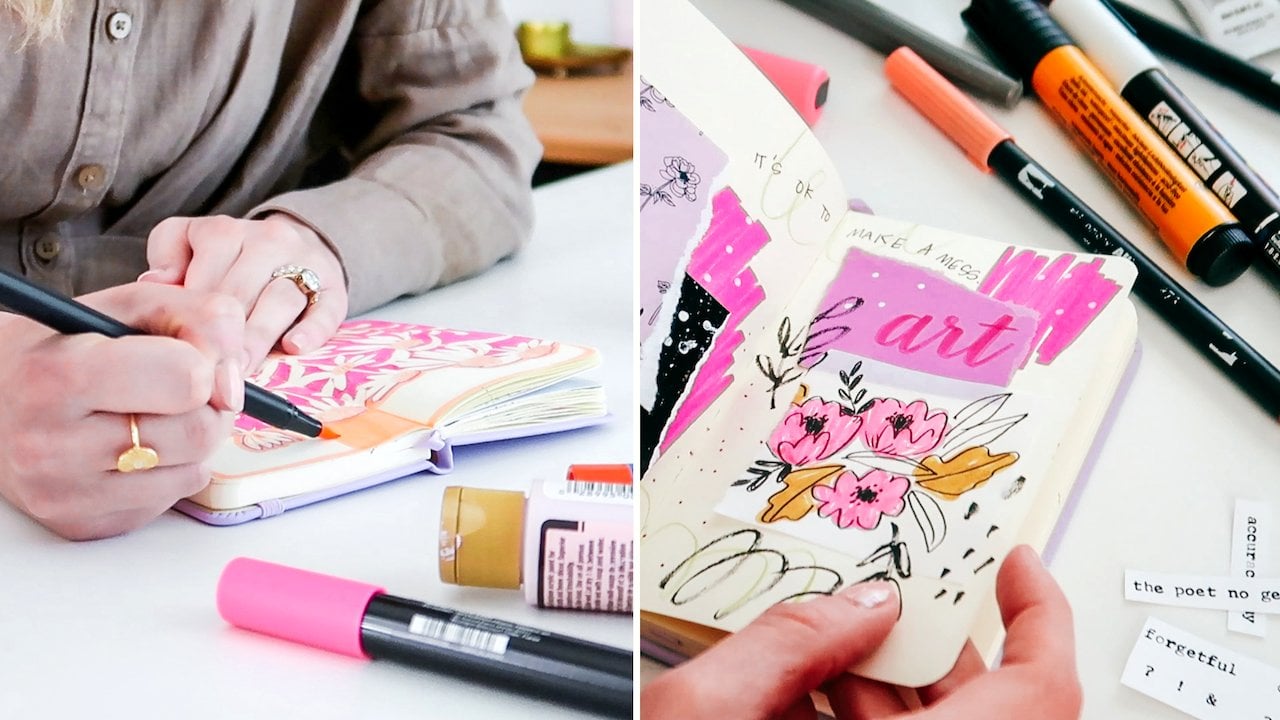
5. Plan and Write Copy: Before I design anything, I find it really helpful to have all of the copy written
out in advance. This makes the design
process a lot easier. In this lesson, we'll write the copy for Instagram carousel. I recommend posting
this announcement post one to three weeks before
your challenge begins. That will allow time for
the post to be seen and participants to
gather their supplies and prepare for it to start. So, the more preparation that your audience needs
to participate, the earlier in advance I would recommend
posting this post. But I would recommend
at least one week. So we'll write the copy for
three different slides. The first one is a title slide, so you'll write down a title for your challenge and a hash tag, and I do recommend looking on Instagram to
see if anyone has used this hashtag before and try to come up with
one that's original. You'll write down the dates of your challenge and the hosts. So that's you and any co
hosts, if you have them. The second slide will
be a prompt list. So you can either write a theme and give enough details so
that people can follow along. Or you can give specific prompts for each day of your challenge. And the third slide will be
how to join sort of post with simple instructions
for your audience that include a simple
description of the project, what the theme is and
when they should post it, how they should complete it, and if there are certain
materials that they need to use. And finally, let them know
how to share their project on Instagram and who they should tag and which
hashtag they should. Optionally, I like to add another slide where
I share supplies or just an example project or
other information that shows your personal connection to the topic and motivates
your audience. So take action. Decide
when you'll post your announcement and when your challenge will begin and end. Decide on a title and a hash
tag for your challenge, and write a detailed
theme or a prompt list, write simple instructions
on how to join. And finally, I recommend
putting this all together in your Instagram caption to just summarize it all in the
caption of the post, as well. Once you have your
copy written down, you're ready to go to the next lesson and start designing.
6. Design Graphics in Adobe Express: In list lesson, we'll put
together everything we've learned and design some sharable graphics in Adobe Express. So now the fun part, we're
going to get started by going to adobe.com
slash Express. And if you have used
Express before, you'll see the button right
here in the top right to go directly to Adobe Express. And if not, you
have the option to start a 30 day free
trial of Express. You can also use the free
version of Adobe Express, and either one will work
fine for this project. Again, you can use the mobile
app or the desktop app. And here, I'll be
demonstrating the desktop app. So we're going to click
to go to Adobe Express. There are multiple
ways to get started. I like to go over
here to the left and click this blue plus
icon to get started. I'm going to click on
social media and ads. I want to make an Instagram
Carousel size document. If you'd like to make graphics for a different social
media platform, you can explore all of these
different size documents. I'm going to go to the top and
choose Instagram Carousel, and press Browse templates. Now here you'll find a bunch of Instagram Carousel templates, and you can also search
for specific themes and styles to find exactly
what you're look of course, you can start with
a blank document, but I really love to start with a template because
it kind of gives me placeholders for my text and gives me some
ideas to start with. So I'm going to search for Art challenge in the search bar, and you can see
there are a bunch of templates that might work
perfect for an art challenge. So I'm going to use
this one at the top. This is actually one I had saved before that I didn't
end up using. So I'm going to
use this template. I like the overall style, but this red color and the fonts don't
really fit my brand, so I'm going to
change a few things. This template was actually
a square template. So the first thing I'm going
to do is resize my document. So right above the graphic, I'm going to click
on Resize and go to social media and ads and then choose
Instagram Carousel, and then press Resize. This will give me a couple
of different options. So I'm going to
choose the third one. I like that layout the best. And then I'll just do the
same with the other pages, quickly resize them for
Instagram Carousel size. I like to set up margins
for my document, so I'll go to file
Bleed and Margins, and then I'm going to change
my margins to 50 pixels, and I'll press the lock button to make them the
same on all sides. I'll press Show margins and
then apply to all pages. And I like to do this one to make sure things are
not too close to the edge of my design and make sure they're
even on each side, but also so I can make sure all of my slides have
the same margins. I'm going to just quickly name my file art challenge carousel. Over on the left hand side, you have a bunch of
different tools. So this is where you will find different content you can add from media to different shapes and images. You can add text. You can upload images and files. You can browse
stuff that you have uploaded before or your
creative cloud libraries. One of my favorite features of Express is the brands feature. So I have my brand
saved in here. Here I have colors, logos, fonts, all of the
things I regularly use. And so I like to start here, and I'm just going to
press Apply brand. You can press it as many
times as you want to kind of shuffle through different
color combinations. So I'm going to try a few
different combinations. As you can see, it
kind of applied my brand throughout
the different pages. I think I'm going to
go back to brands and play with applying
the brand again. I just want to see a couple of different color combinations. So I think I like this if I
change the background color. Let's put it back
to a lighter color. And then I kind of
like the green fonts. I'm going to delete
a couple of things from the template that
I just don't need. And here's where writing our copy in advance will
save us a lot of time. So I have a document here where
I've written out the copy for all of my slides well as
my Instagram post caption. So when I'm designing my slides, this part will be really easy. I'm just going to
select my titles and information for this slide and copy and paste it right in. So if I select one of the text boxes and
then right click, you can press Paste
and match style, and that will paste
your text right into the template with this font
and color already applied. So I'm just going to copy and paste everything onto my slide. Once I have all my text
copied and pasted, now I'm just going
to play with these fonts and colors a little bit until I'm really happy
with how everything looks. Of course, my brand fonts
have already been applied, but I do want to show you
the recommended fonts, and this is really cool if you don't have fonts that
you've already saved, or if you're just looking for something a little
bit different. So with the textbox selected, you'll see recommended fonts
over here in the text bar. And if you click on View All, there are fonts that are
tailored for your design. There are all kinds
of different fonts, and if you find a
category that you like say contemporary fonts, you can view all to see
even more in that category. So this is a really fun
way to discover new fonts, and I know I could definitely
spend a ton of time in there just playing with
different combinations. You have your text
boxes selected, you can in the edit
window, click on position, and I love these
align tools built in because you can easily just click to center your text box, center it horizontally
or center it vertically or align it with the top or
bottom of the page. Okay, I'm happy with
the text layout here. I'm just going to
delete a couple of elements I don't want to use. And I'd like to apply a
text effect to the date. So I'm going to use this shape background just so that the date of the
challenge really stands out. Mm hmm. So now that I'm happy with the text
and the font and the colors, I'm going to play around
with these graphic elements. And while I do really
like this template, I want to see if I can use
some of my own artwork here. So I want to show you how you
can add different elements. If you go to add content on the left side,
you'll see elements. And here you can see there's so many different
things you can add. There are design assets, different backgrounds, shapes, icons, all kinds of things. So, for instance, if I
was to type in supplies. In the search bar, I
just want to show you how many different
things you could add. So there are all kinds
of images in here. You can filter by the
ones that are free or premium depending on
which version you're using. So these are just some of the free elements that you can use. And I'll also show you how
to add your own things. So if I go back over here to
your stuff and libraries, you can see that I have access to my Creative Cloud
libraries in here. So I can add my own
elements that I've saved, things I've created in
Photoshop or Illustrator. And I can do the same thing from brands because under
my brands library, I have saved some more graphics. So I have saved animals, sketches and paintings
from my sketchbook. I edited these in Photoshop, and then these in Illustrator, and I just added them to
my Creative Cloud library. So I can also easily add these playful
sketches into my design. So I'm going to see
how this looks instead of using these elements, and I'm going to save
these elements right here. I'm just going to copy
and paste them to another slide for just a
minute so I don't delete them. But I want to see how my
own sketches look in here. So I'm going to go
back to brands, and I'll just click on these items one at a time
to add them to my page. So now I'm gonna spend a few
minutes just playing with these elements and
arranging them until I have a layout
I'm happy with. So within Express, there are so many different ways
you can edit your images. When you have your
image selected and you go to the edit menu, and effects, you can see
there are Photoshop filters. There are different
tones that you can do, and you can apply shadows. I love to do duo tone, so there are a bunch
of options built in, and you can also do custom
to choose your own colors. I really like the
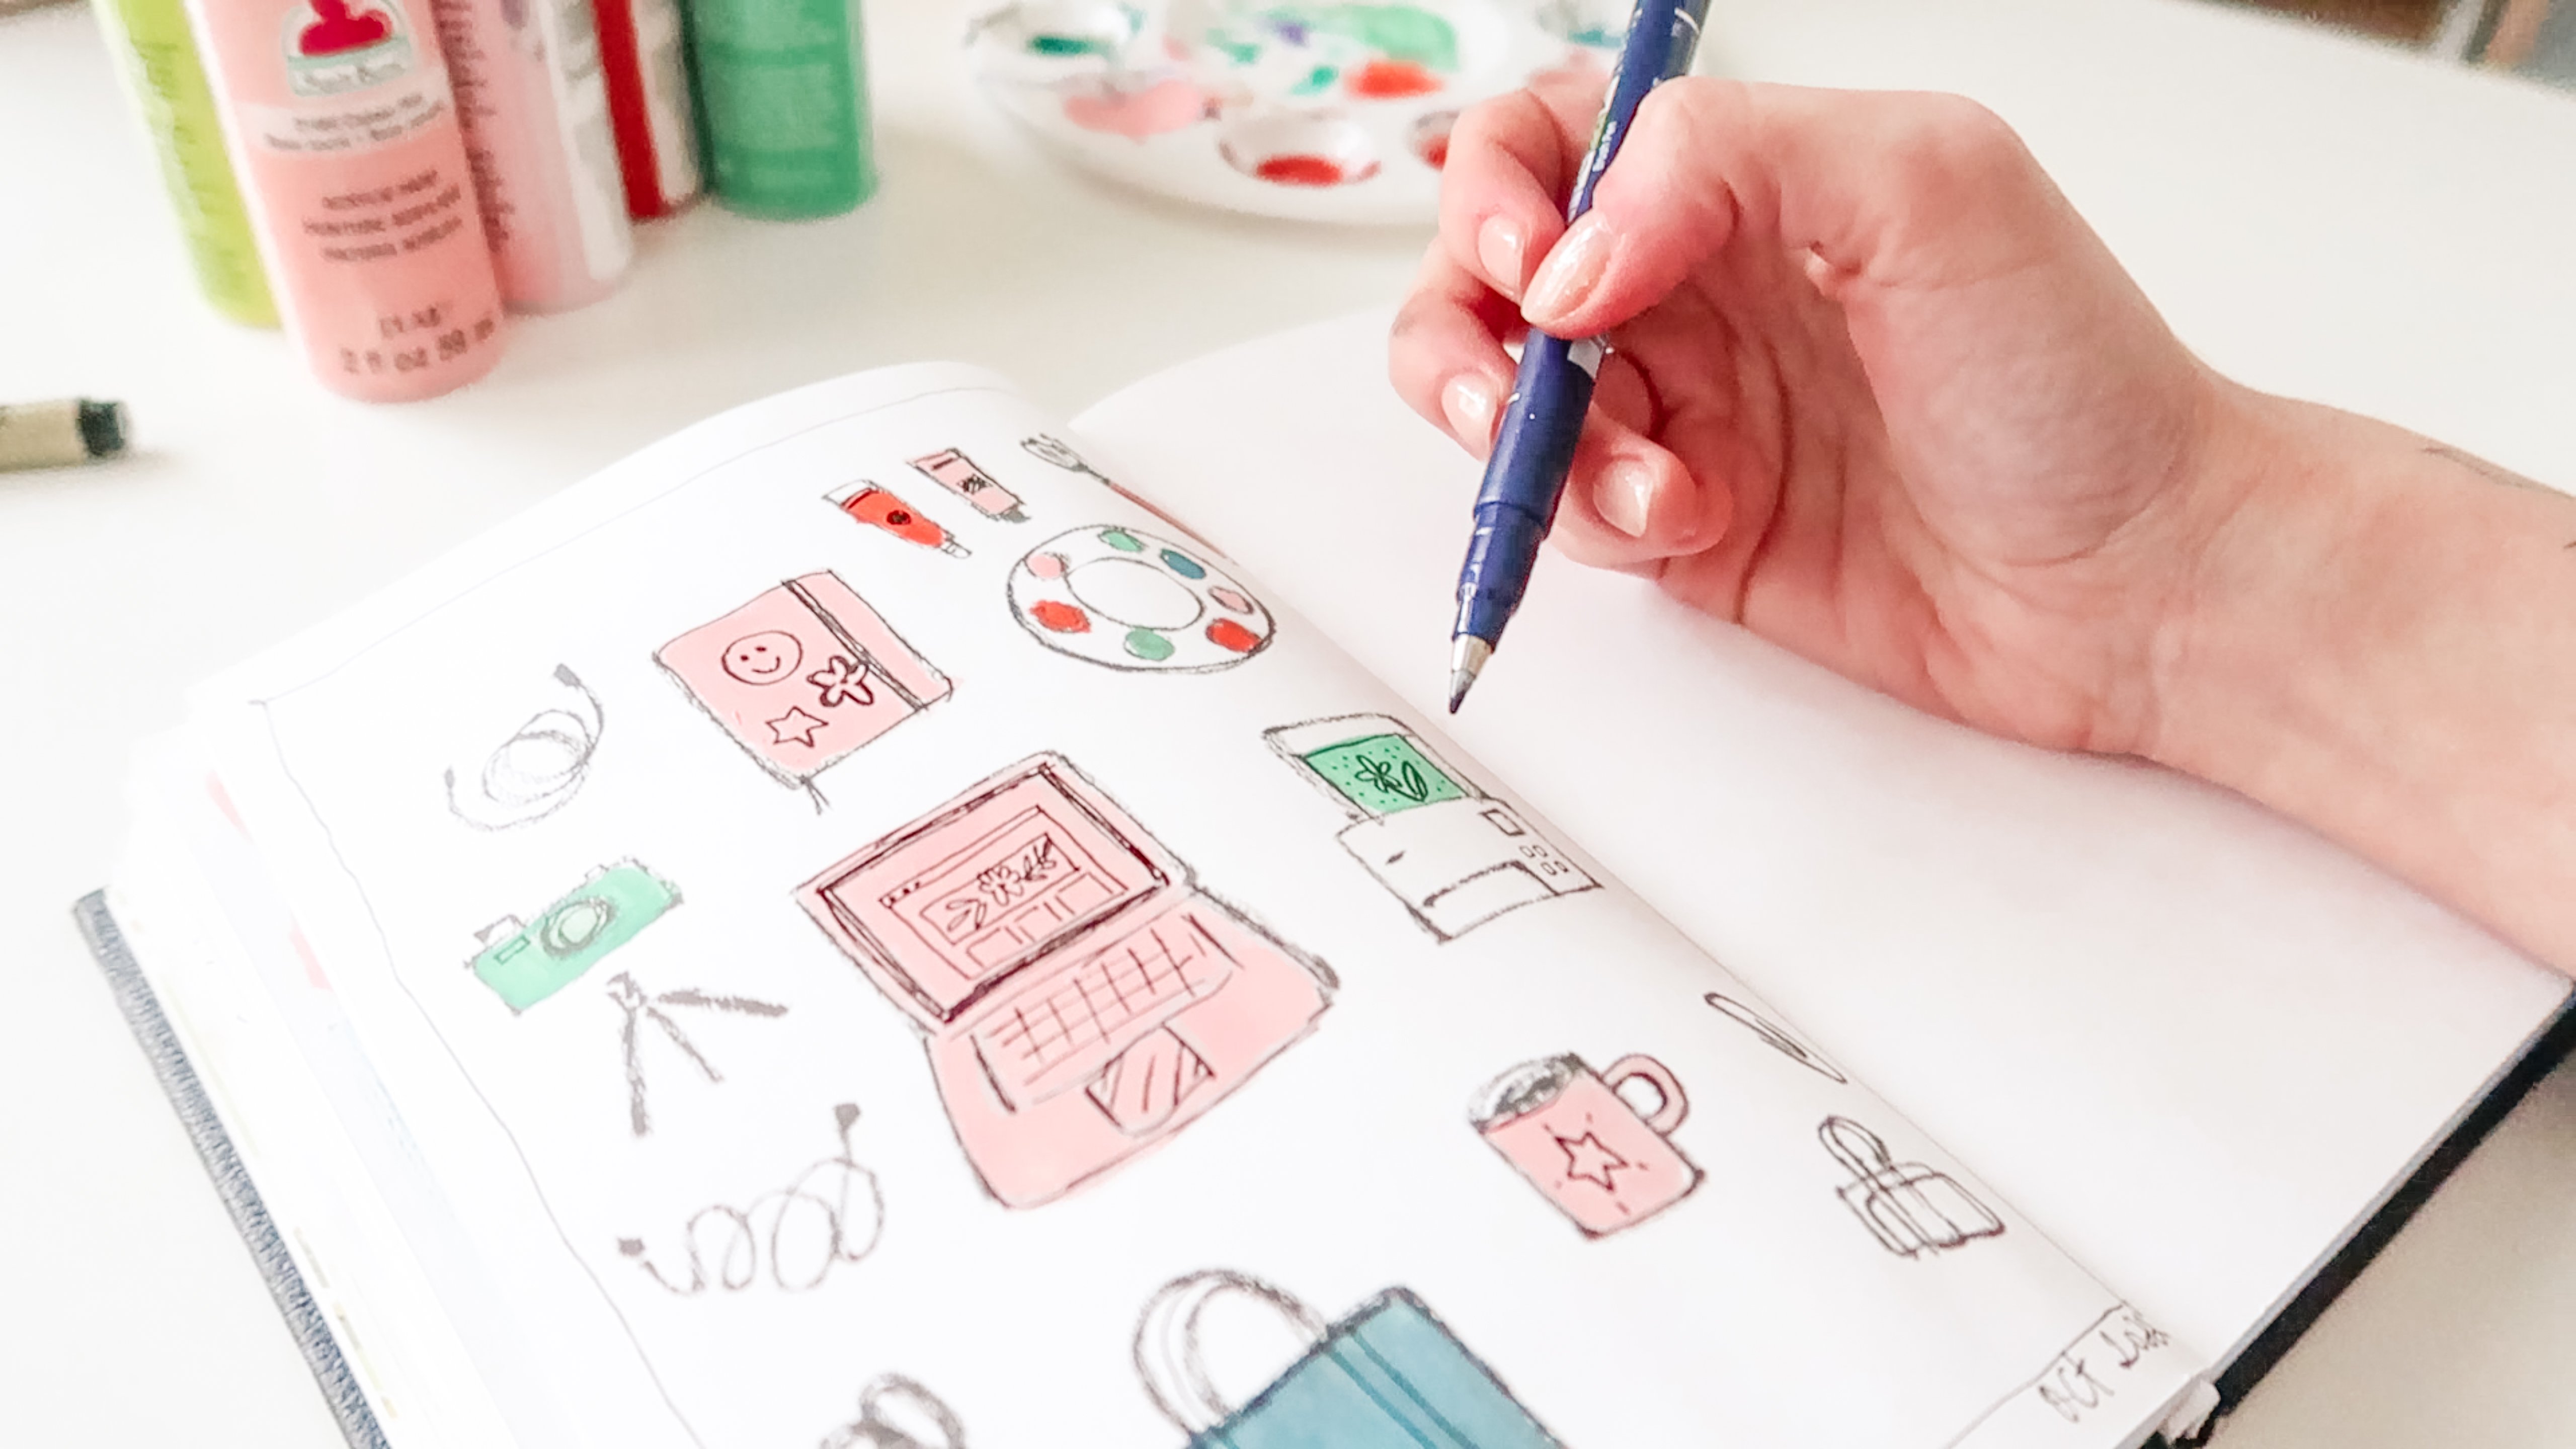
bright pink color of these bird paintings. So I want to kind of
make that my theme. And I'm using my own drawings for my sketchbook
because I want to give an example for my audience of
kind of what I'll be doing. Okay, I really like
the personality of these birds and mir cats. They're very playful,
and I just think it's really fun and kind
of attention grabbing. Okay, so once we
have this design, slides 2 and 3 will
be really easy. I am just going to
duplicate this page and use this as sort of the
base for my slide number two, which is going to
be the prompt list. Want to use some
of these elements from the other slides
from the template, but I want to match the style
that I came up with here. So I'm just going to copy and paste these elements
here and then match the same opacity that
I used on the first slide. And once I have my text pasted, I'll just play with these
elements again to make sure they frame my text nicely. Finally, for my third slide, I'm going to duplicate
my first slide again so that I have all of
those graphics ready there. And then I'm going
to delete this text in the middle and use this prompt list as a
template for my text. So for this third slide, this is going to be how to join. I'm just going to double
check these images here to see if I wanted to
use any of these elements, and I don't think I do, but I might play with that. Yeah, I think the
stars might be fun. Maybe I'll add that
on one slide and just change the colors with
that duo tone feature.
7. Resize Designs for Other Social Media Platforms: So looking at all three
of my slides together, I'm really happy with
how they work together. I think they're really
fun and they kind of capture the spirit of what
my challenge is all about. I want to show you one more
cool feature in this lesson. So if you decide to share
these on Instagram, maybe you also want to repurpose these graphics for other
things like maybe you want to share them on your
website or blog or send them out in your email newsletter or
something like that. So I want to show you
something really cool. I'm going to duplicate
all of these pages, just select them all, and
then press duplicate pages. Now on my duplicates, I'm going to resize
these with one click. And so I love this feature because I can easily
take something like an Instagram carousel and change it to be an
Instagram story, perhaps. So I'm going to go
ahead and do that. And then, of course,
it gives you several different
versions of your layout, so you can pick the one
that you like the best. And then this is another
really cool feature. When you have certain social
media size templates, you can go to File and you will find the
social safe zones feature. So I'm going to turn this on
and select Instagram Story. You can select Instagram
Story ad, Instagram Real. And what this does
is it gives you a template that shows you
where the safe zone is. So what that means is
you just want to make sure that all of your text is within those boundaries
so that when Instagram adds different buttons
and features and things, that will ensure all of
your text is readable. So that's a really helpful
feature within Express. And you can see how quickly and easily I was able
to resize my design for a different format where you can resize it
for a different platform. So take action.
Finish working in Adobe Express until you're
happy with your graphics. And next, we'll talk about
posting or announcement.
8. Export and Post to Instagram with Adobe Express: So let's talk about
posting your announcement. First, you can download
your graphics right in Adobe Express and then post them to your Instagram
account directly. And now the fun part, we get to post the carousel to announce
the creative challenge. So I'm going to go to Post and then select
each of my pages, starting with my title page, then my prompt list,
and then how to join. So I'll double check and make
sure everything looks good. Lately, I've been loving
using the suggested audio, but you can also go to
Audio down here and look at suggestions of songs for you
or songs that you've saved. So now you can type in your
caption or like I did, you can paste in your
pre written caption. And I'm just going to make
sure that I'm happy with my spacing and make sure
that you tag your co hosts, if you have any and
include your hash tag for the challenge so that people can click directly on that. Under more options, I would recommend adding a
reminder so I am going to call mine Savannah
Sketchbook Challenge and choose a start
time and date. I'm choosing 10:00 A.M. In the morning on the day
that my challenge begins. And then you can
choose an end date, as well, so I'm
going to do that. And then you can either go
ahead and post or I prefer to schedule my post so I can plan out my
content ahead of time. And I'm going to
schedule this to post one week before
my challenge begins. And then I'm going
to press schedule, and my post has been scheduled. One other tip that I have is you can go to the top right
corner of your post, press those three dots, and then scroll down and
press Pin to main grid. That way, your challenge
is visible to anybody who visits your profile
during this time. Or you can also use the built in scheduling features in
Adobe Express to connect Instagram or your other social media accounts
so that you can schedule this post in advance and plan your content
at a broad view. After you've posted your
announcement on Instagram, make sure to complete
the challenge, follow through and post on schedule along
with your audience. Forget to comment,
share and engage the posts from participants
as the challenge goes along. You can share their
post to your stories and even create a highlight on your Instagram profile
showing participants work. And don't be afraid to
send direct messages, cheering people on and thanking
them for participating.
9. Final Thoughts: Congratulations. You've
completed the class. I hope you're feeling
motivated to begin your creative
challenge and build a community around your
art on social media. If there's one thing you
take away from this class, it's how motivating
a creative challenge can be for both you
and your audience. We talked about how
to use Adobe Express to create social media
graphics in this class. And I want to
encourage you to try Express for other
projects like documents, presentation slides,
short form videos or YouTube video thumbnails and so much more at adobe.com
slash EXPRES. You enjoyed the class, leave a review and let me know what
your biggest takeaway was. Your review will help the class to be found by other students, and I really appreciate it. I'm looking forward to seeing your challenge in
the student gallery, and you can also
share your project with me directly on Instagram. So if this class inspires you to host your
own Creative challenge, tag me on Instagram or
send me a direct message. So I can see the
challenges you're hosting and cheer you on.
 Ashton Womack, Artist & Surface Pattern Designer