Transcripts
1. Introduction: Oh. If you've ever started an
art journal, sketchbook, or really any creative project, you've probably experienced
the frustration of facing the blank page. It can be hard when
you're feeling creative and you have all of your supplies
in front of you, but suddenly your
mind goes blank. You can't think of
any good ideas, and you have no idea
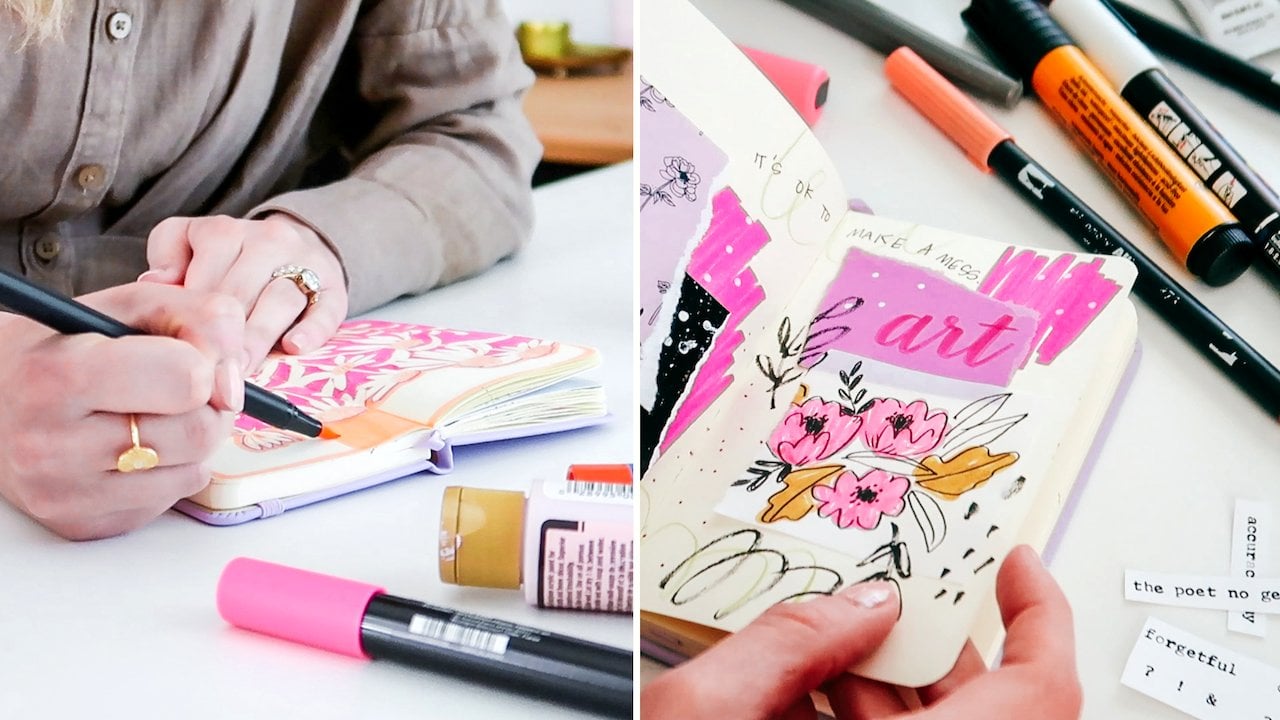
what to create. Hi. I'm Ashton Womack. I'm the artist
behind Virgo Paper, where I create artwork for all kinds of stationary
and lifestyle products. I also teach classes
here on Skillshare, where I share my passion
for art journaling. All of this depends on coming up with new
ideas all the time. In this class, I'm sharing
a technique that I use when I'm feeling stuck
to come up with new ideas. We'll create a deck of personalized art prompt cards to help you come up with ideas
for your own projects. I'll be sharing how I use this activity for
my art journaling, and I'll share examples
from my own journal. Outside of art journaling, I encourage you to apply
this to any kind of artwork. Creating a personalized
prompt deck will give you a formula for
generating your own ideas, and I hope this class
will leave you feeling inspired instead of
intimidated by the blank page.
2. Class Project: Your class project is to create your own personalized
creative prompt cards. You can snap a photo of
your finished card set and upload it to the your
project section of the class. You can always
come back and edit your project later to add photos or a description of any projects that your
cards have inspired. I can't wait to see
what you create. Let's talk about the supplies
that we'll be using. First, we'll be doing a
brainstorming exercise, so you will need some scratch
paper and a pen for that. It might be helpful to refer to work that you have made
in the past as well. I am using my cards to come up with ideas for
art journaling. So I have my art journal here
so that I can refer to it. To make the cards, you'll
need some card stock or paper in two to three different
colors of your choice. I'm using this Astrobrts
65 pound card stock. We're going to cut our
paper into small cards. So you'll need a
paper trimmer or a ruler and some scissors to
cut the paper down to size. You'll need a pen or marker
to write on your cards. So these cards can really take any format that you would like. They could be any size
that you would like. But I would encourage you
to think about where you would like to use them and how you might want to store them. I am going to be creating
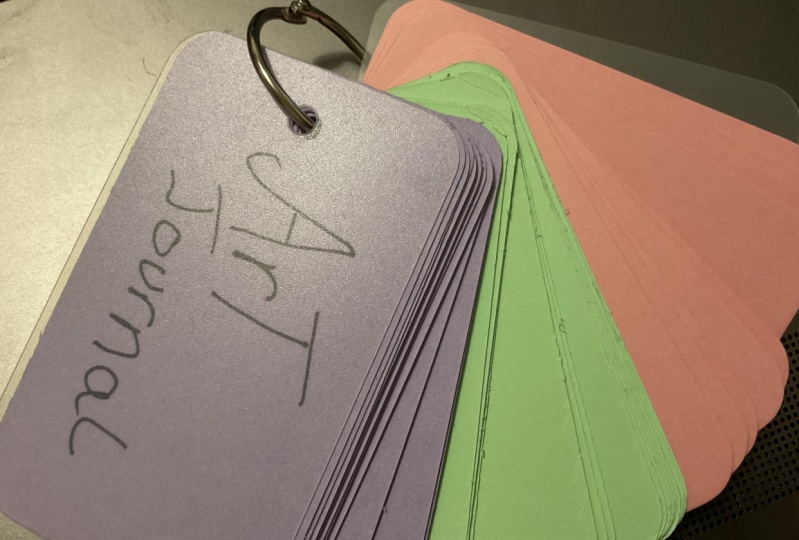
my cards to 2 " by 3 ", so they'll be relatively small. And I am going to be using a hole punch to punch a
hole in each of my cards. And then that way, I can use a 1 " book ring to hold
them all together. So this process is
really flexible. You can really use any
materials that you like. I would just recommend that
whatever you use to create your cards is not too precious or too difficult
to recreate later. So that's why I'm using just some card stock
and a paper trimmer. These are supplies
that I already have on hand in my office. And so I would just recommend
picking something that you could easily add new
cards to your deck later. I like to do that periodically. So just make it
accessible for yourself. I'm also including in this class a printable card set with a variety of different
prompt ideas already filled in for you, as well as a blank version, so you can create your own cards quickly if you'd like
a little shortcut, and you can download that under the projects and resources
section of the class. When you have your
supplies ready, proceed to the next lesson where we'll start the
brainstorming process.
3. Brainstorming: In this lesson, we're
going to brainstorm the creative prompts
that are going to go on each of our cards. I know that just
thinking of a bunch of good ideas out of the blue
can be really difficult. So this exercise will
get our wheels turning. We're going to create our prompts in three
different categories. So I'm going to create
three columns on my page. The first one will be medium. The second one will be subject. And the third column
can be a bit smaller. I'm going to push it all the
way over here to the edge, and it will be color. So starting with the
medium category, medium can include the materials that you use in your work, such as watercolor
paint or collage, and technique could be something
like using a paintbrush or ripping a collage piece of paper instead of using
a pair of scissors. We're going to list as many as we can think of
for our own work. I encourage you to think
about your previous work. You've done in the materials and techniques that you enjoy, as well as some new ones that maybe you would
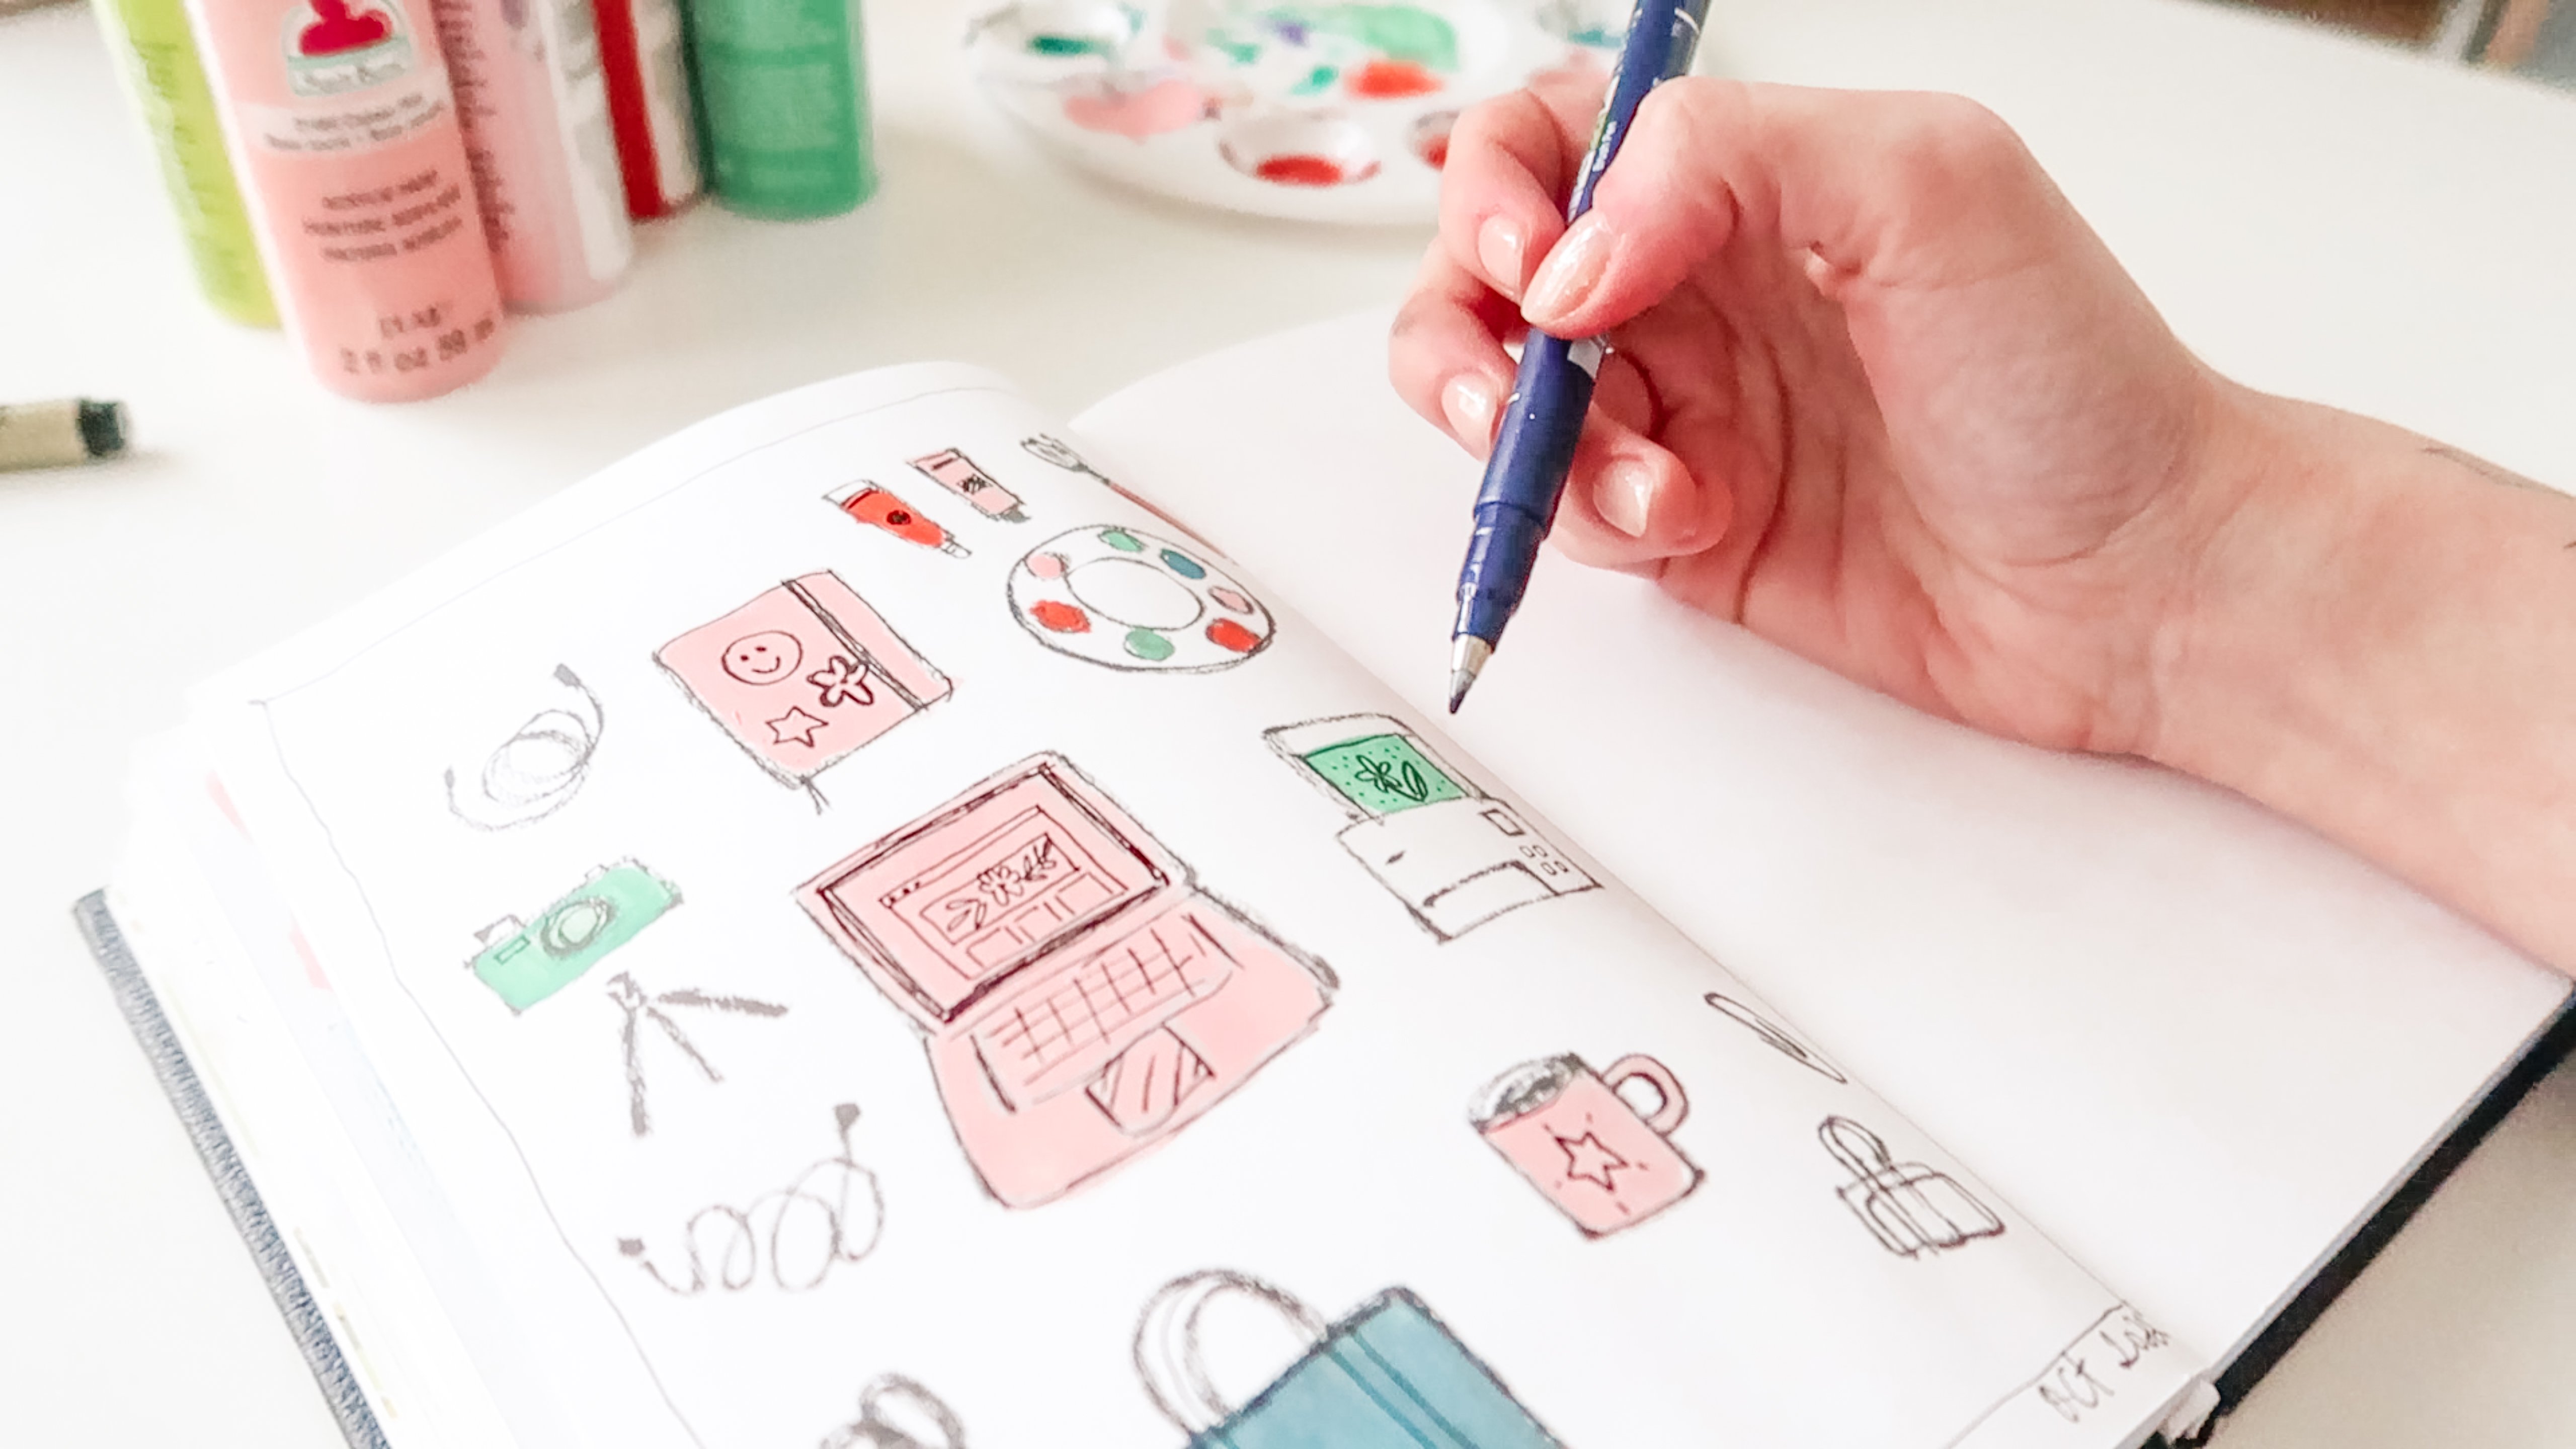
like to try out. So I have my current art journal here so I can kind of flip through and look at my own work and see if that will give me
some ideas to start with. I also encourage
you to think about the elements and
principles of design. If you're unfamiliar with those, I'm just going to quickly
list through them for you. The elements of design
are line, shape, form, space, color,
value, texture. Some people will also include
typography as an element. Principles of design include
things like balance, contrast, emphasis,
movement, pattern, rhythm, unity or variety. And I'll give you some examples of those as we go through. So I'm just going to
start at the first page. So for instance, on this page, some of the materials
that I've used would include colored pencil, as well as markers. I've used acrylic paint, and I've applied that
paint using a card. That's a technique
that I use a lot, and I really enjoy, so that will be on my list. And looking at the elements
of line and shape, I can see that I have a lot of these little
dashed lines with markers. I really like to use those in my work as
well as lots of dots. And I also have some
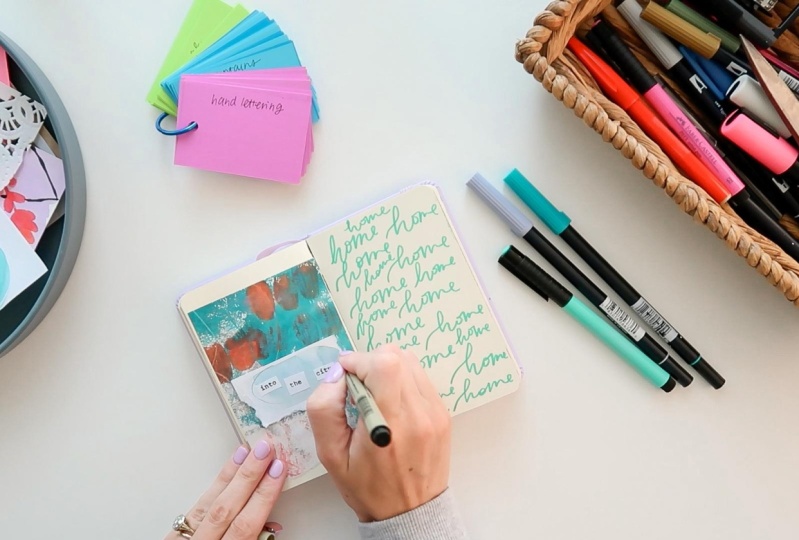
hand lettering. I've also used a paint pen, and while I'm thinking
about materials, I don't see it on this page, but I just thought of
using a ballpoint pen. That's something I
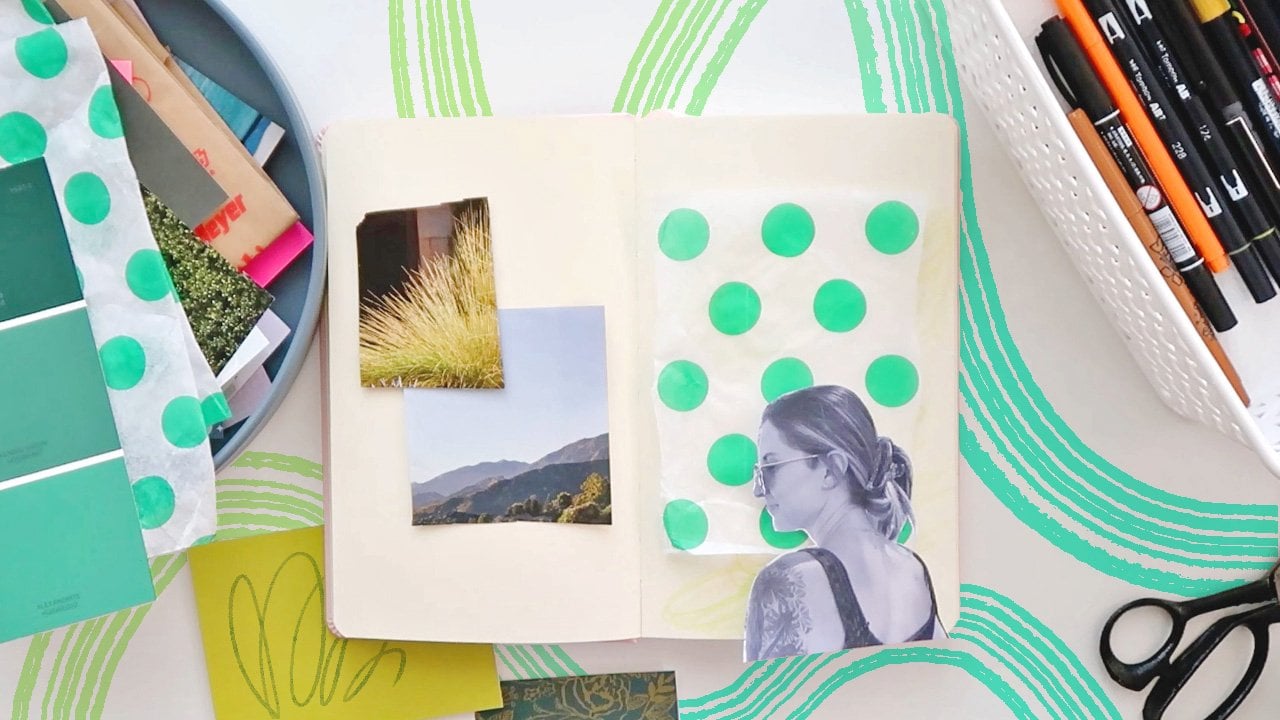
would like to do. Moving on to the next page, I have on this page a photo, and it's a self portrait. That is a subject. I'm going to put that over
in my subject column. If your mediums
inspire a subject, go ahead and write those down. Another subject that I
frequently use is florals, and I can see here are some
colors that I frequently use. You'll see a lot of
lavender, green. I also use pink, Aqua, gold, I'm just going to go ahead and list
a few other colors that I would like to use. And your prompts can be really broad or really specific.
That's up to you. I would say when deciding how broad or how specific
to make your prompts, just think about
what inspires you. So for instance, if you
are a watercolor expert, then watercolor might be too
broad to include in medium. Maybe you want to use a very specific watercolor
technique instead. But if you've never tried
watercolor paint before, that might be a great prompt just to try it for
the first time. So it can be broad or specific depending on what you
would like to create. I have two pages
here including nots. That's a subject that I enjoy
drawing for some reason, splattered paint and collage. I see repeating colors here. Doing a monochromatic
color collage is something that I like to do. I'm going to put that
on my list as well. And that's bringing to mind a
couple of other things that I would like to do that
I have not done before. So, I would like to include
some metallic paint. Or a metallic marker. And maybe adding a
pocket onto my page. I'm just going to skip ahead
to another page. Let's see. Okay, let's see. This was
something that someone said, so I'm going to include
that in this subject. Something someone said or
something you heard today, as well as handwriting
or journaling. I know it can be hard to think
of subjects in particular. So I encourage you
to think about the themes that you commonly
explore in your work, as well as maybe some new
themes that are inspiring. You can think about
time and space. So time meaning seasons
or day of the week. So I'm going to include summer in winter or time
of the year, holidays, I think I'd like to
include birthday, maybe like a birthday
reflection or then and now, seeing how something
has changed over time. And then space
thinking about space, I like to think about
different places. One that I explore a lot, my work as a meadow or a field, but I think I'd also like to
include a farm, Mountains, maybe the ocean, maybe
my house or home, city that you live in,
town that you live in, and maybe locations that
you've never been to, where you would like to go to, dream vacation, as well as you can think about
the five senses. So sights, sounds, emotions, tactile elements, With seasons, I would kind of include weather, rain, thunderstorms,
snow, that kind of thing. And you don't have
to include them all. Just include the
ones that excite you things that you're
interested in exploring. I'm going to include in
the morning and nighttime. And we can think about
hobbies as well. I wrote down sewing. I'm going to write
down music quotes and something you read. These are all good things
to think about music. I'm going to put one
particular song, maybe to inspire my journaling. So we have a pretty
comprehensive list, and you can keep adding
more as you'd like. At this stage, you can go back through your list and maybe decide if there are
some that you've listed that you're just not
interested in exploring. You can cross those
out, and know that we can always change our cards
later if we'd like to. So work on your list, and when you are
happy with your list, head to the next lesson where we will create our card deck.
4. Create Your Prompt Card Deck: In this lesson, we are going
to create our deck of cards. In the class project lesson, we discussed format a little. So I am going to be creating
my cards to 2 " by 3 ", and I have decided to hole punch mine as well so that
they can be stored on a ring. And that size is large enough to give me just
enough writing space, but small enough to
be very portable. So I think that will
work really well for me. Going to use three
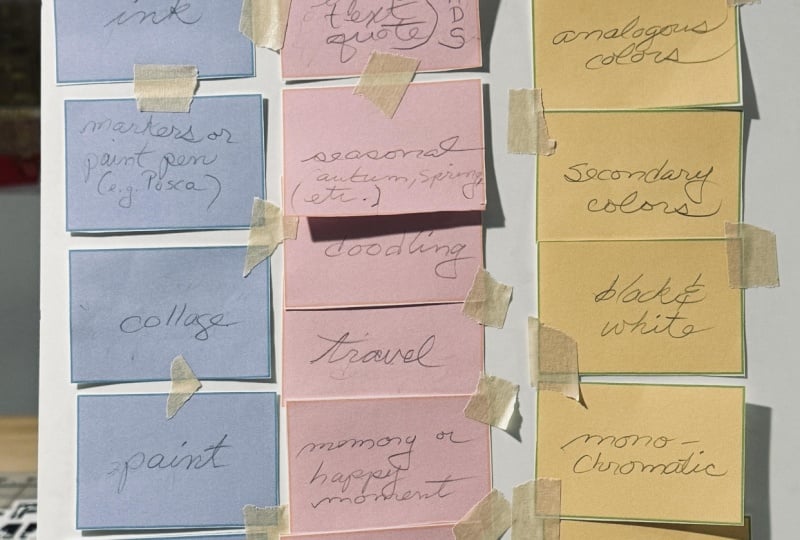
different colors of paper for the cards. So we can refer to our prompts that we came up with in the
brainstorming lesson. To see how many cards we're
going to need in each color. So looking at the options, I have a stack of a lot of different
colors of card stock. So I'm just going to choose
three different colors for my medium subject
and color categories. Okay, so subject is
my largest category. So I have two different
shades of blue. I'm just gonna keep my
subjects to blue paper, and keeping in
mind that subjects might be something I want to
add more of in the future. Green I'm going to use
for my color category. And finally, this purple I'm
going to use for medium. So I'm just going to
start cutting out my cards using my paper trimmer. If you're using an 8.5 by 11 sized piece of
paper like I am, you'll be able to get 132 by three cards out of
your sheet of paper. If you start by cutting a
three inch column vertically, and then another
three inch column and then a two inch column, and then cut across horizontally to make
two by three cards. Okay, so now I have cards
in three different colors. I am going to go ahead and hole punch all of my cards before
I start writing on them. Okay, I'm going to grab one
of my metal jump rings, book rings, I should say. And I'm just going to make
sure that where I have my hole punch placed that it works really well
with the metal ring. So I think I'd like to just hole punch them on one side
right in the middle. Okay, so that should
work really well. I'm just going to hole
punch all of my cards now, and I'm not going to worry
about putting them on the ring until I'm
ready to store them. All right. And the
next step is going to be to actually fill
out our cards, referring to our prompt list. So I'm gonna get
started over here with the medium category. So I have some extra
space here on my card. So I like this because I can write my prompt at
the top of the card. And then this is going to
give me room to iterate. So let's say I want to cross this prompt out
and change it later, or maybe I want to
add some notes. So I have hand lettering
as a prompt here. Maybe I want to add
hand lettering in a certain style or hand lettering with a
certain marker or pen. And so I can iterate and change
my prompts if I need to, based on feedback
from my own projects. So like, if I draw this card, And I actually use this
ini project and I decide, Maybe I want to make
this prompt a little bit more specific. I
can do that later. Moving on to the
subject category. And finally, let's work
on the third column. Okay, so now we have all
of our cards complete. We can kind of test them out. So I'm just going to them a bit and show you
how I would use these. So we have our medium
subject and color. So let's grab a random
card from each stack. So here's a great
example of a prompt set. So we have colored
pencil, farm and Aqua. So when you pull your
first set of cards, you might immediately have
some ideas coming to mind. This is a good
example of how color can be a fun wild card. So colored pencil farm, I immediately start
thinking of some farmland, probably a lot of
green or brown. And then the inclusion of Aqua just kind of
gives it a fun twist. Let's do another example. Markers, mountains, and gold. I'm going to really shuffle and grab from the middle
of my deck here. Metallic paint or
marker, knots, and gray. So I encourage you to pull
a few sets of your cards, kind of test them out and
see if they're working. And this is a way you
can kind of edit. I really like how mine
are playing together. But at this stage, if some of these proms
are not inspiring you and are not bringing
to mind some neat ideas, then you can go back through your deck and determine if maybe you need to
remove some of them. Maybe some of them aren't
inspiring you in practice, or if you need to
add some more or kind of make some of these proms a little
bit more specific. And even if they're not perfect, I would encourage you
to go ahead and start using your deck
for your projects. This is an ongoing process. So you can always create
new cards as ideas come to you and take away some that maybe are
getting a little bit sale. So I am really
happy with my deck, and I'm going to go ahead
and put it onto my ring. Oh.
5. Art Journaling Process: This lesson, I'm going to use my prompts to inspire
a journaling page. I thought it would
be fun to show how I actually use my prompt
cards in practice. Now, I'm going to draw random
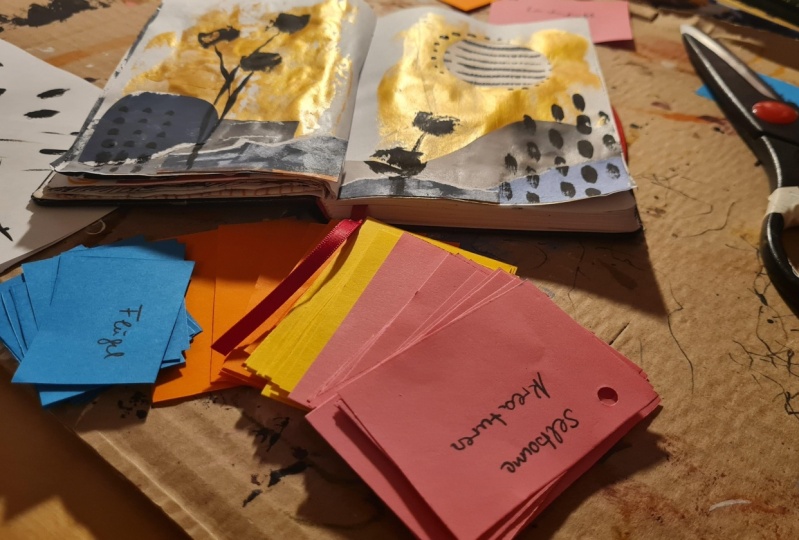
card from each of my texts. So my prompts are color collage, buildings, and color red. This is going to be
an interesting one. So color collage is a technique that I
actually love and use a. And that is to just create a collage ing a
monochromatic palette, just focusing in on one color. My next prompt is
buildings for a subject, and then I have the color red. So I think because I
drew a color collage, of course, it seems
like it has to be red. And then I need to be
thinking about how I can incorporate buildings
as a subject as well. So this is going to be a
fun, creative challenge. I'm going to see what I have for red materials and
supplies right now. So I went on a little bit
of a scavenger hunt in the things that I like to
collect to use for collage. So some of my pieces just
have a little bit of red. I have a little
piece of a stamp, so there's a little bit
of red in the flag there. This little painted piece, some red florals on this
little pattern swatch. I found a picture of the
Golden Gate Bridge that, of course, is red. I took this photo on a
vacation a few years ago. Funny because this is red, but it also kind of goes
with my buildings prom. I mean, I know a bridge
isn't a building, but it is a structure, and you can see that I
like a lot of florals. So this is probably the closest
thing I'm going to find. I have some red in
this little piece of artwork here as
well as this one. Then a photo with some red
flowers in the background. So I am going to
see what I can do, and I have a couple
of red markers. I think I'm going
to start by just grabbing a couple of the items
that I really want to use. And I'm just going
to start tearing. These pieces and see
what springs to mind. And this is what I
really love about the color collage prompt is there's really no right or
wrong way to get started. I'm just going to start placing
my elements down and see, if anything, sparks inspiration, see how I like the elements
to play off one another. So I thought I would
use this large piece, but now that I see
the smaller piece, I kind of like this. And this actually sort of reminds me of the
shape of a building. So maybe I can sort of create, like, a little city scape. I really do like
this bridge photo. This is very exciting. Because often, when
I'm traveling, I like to take film photographs
of just really anything. I end up with a lot of landscapes in buildings
and things like this that don't seem really
interesting at the moment, but for some reason, I'm just compelled
to take a photo. And so I'm really excited that now I finally have
a use for this photo. I really like this
view of the bridge, I don't so much want
that in my composition, but maybe I could end
up covering that up. I really like these
two pieces together. Laurel print and then this photo layered on
top of each other. I'm just going to I think, maybe I'll grab scissors
and just cut this piece. So I really like
those two together. I think I'm just going to
glue those down right now. I really like the
contrast of having a more full page on the right and then a more empty
page on the left. And I think I'm just going to layer this right in the corner, just to fill the page
a little bit more. I think I'm going to
glue this down as well, and then maybe go in and add
something else with markers. I think I'm going to leave
this left page really simple and just add some more
detail to this right page. I'm going to add some dots to bring in the dots
from the left page. Then I think I'm going to do
a little bit of scribbling. So that way, I kind of repeat
that element over here, but then it's almost
like my scribbles become a piece of tape kind of holding down
the collaged elements. I feel that I need to just add a little bit of
these dots on the left page. So I'm just going
to do that where I already had dots
on this piece. But I'm just kind of
making them the same. And that way, it kind of
ties these pages together. I'm looking through some
really small cutouts that I've saved to see if there's
anything else I might want to use. Oh, this is fun. So this little
cutout says warning, and it does not
contain the color red, but warning with the
little warning symbol makes me think of the color red, makes me think of,
like, an alarm. And so even though
this doesn't have red, I think it would make a
nice addition to this page. Okay. Maybe I'll just wedge
it in here on the left page. I know I said I was going to keep the left page more empty, and it is definitely lighter
than the right page. But I just really feel like I need to follow my intuition
and put this over here. Just adding a little
bit more glue to some of these edges
that are peeling up. Alright. So, I hope you enjoyed
seeing this quick process and how I actually interpret
the prompts onto the page. I really didn't come
to this page with any other ideas for it other than what my
prompts brought up. So I think it's a great example of how inspiring these can be. And I think we created a really
fun and compelling gage.
6. Final Thoughts: So we are done creating our creative prompt
cards for now. Remember that this deck can evolve along with your
creative process. You can always add new cards as you become inspired
by different things, and you can always take some away if they no
longer interest you. I hope you'll enjoy using
this card deck to inspire your artwork and find it to be a helpful tool for
generating new ideas. If you enjoyed the
class, leave a review, and let me know how you're
using your card deck. Reviews help the class to
be found by other students, and I really appreciate it. If you'd like to explore
art journaling further, join me in my other skill
share classes where I share art journaling
techniques and tips for creating a daily
journaling practice.
 Ashton Womack, Artist & Surface Pattern Designer