Transcripts
1. Introduction: Hi, I'm Elizabeth and welcome to my class Altered
bookmaking sketchbooks. I love bookmaking. I love finding all sorts of different ways to
create new sketchbooks. And in this class, we
are going to be altering a found book and turning a hardcover book into a
personalized sketchbook. This has become one of my favorite ways to create my own
personalized sketchbooks. And I'm going to show
you two ways to add your pages so that
you can either have it be a bound and done. Or one where you can put
sections of your pages in and out and have it be more of like a fluid travel sketchbook. I'm a professionally trained
artist and art educator. I'm also a published author
and illustrator with a children's book as well as an original illustration
coloring book, and I've been teaching on
skill share since 2020. On Skill Share, I
create classes where I share my creative passions,
my artistic techniques, my different creative
things that are getting me excited on my artists journey, and really encouraging
students to follow along as to hopefully inspire them
on their creative journey. I love approaching different
art making processes and use a wide range of
art media in my classes. And in this class,
I wanted to give you some control
over personalizing your own sketchbook and sharing my passion for
altered bookmaking, especially in relation to
sketchbooks with my students. This class is intended
for creatives of all skill levels as an entry
point into sketchbookmking. It is a fairly easy
process to do, and it's a nice alternative to bookmaking that maybe you
haven't explored in the past, and it's really fun
to go thrifting and scavenging for old
books that you can give new life
as your sketchbook. I hope you'll consider
joining me in this altered bookmaking
sketchbook class.
2. Class Project: For our class project,
we are going to be sourcing an old
hardcover book. You can find this at
your local thrift stores or maybe even around
your own house. It could be any hardcover
book and you get to choose what size
you want to work with. The thicker the binding,
the more sketchbook pages you'll be able to fit inside. So kind of think
about what sketchbook you're interested in making and how thick you want
your sketchbook to be. Then we are going to
be learning how to gut that book in preparation for giving it new
life as a sketchbook, how to reinforce the spine, the sewing techniques needed
to create signatures. So those are the
sections of sewn together pages within a book and then two ways to attach those to the hard book cover
that you've prepared. There's a list of materials
that you're going to need for class over on
the class description. But let's head it over to the
next lesson to take a look at what you're going
to want to have on hand. See you soon.
3. Materials: The materials for
our class are fairly straightforward as far as
book binding materials go, but we are going
to need to either find at home a
hardcover book that we're going to then
give new life as a sketchbook or go out to a
thrift store to source one. Think about what
size sketchbook you are interested in making
and the thickness of your binding is going
to determine the number of paper signatures that
you create for the inside. How thick do you want
your sketchbook to be? You might want to
pick up a couple of different hardcover books if you're going out to a
thrift store because this can be quite an
addictive process and who doesn't love having more
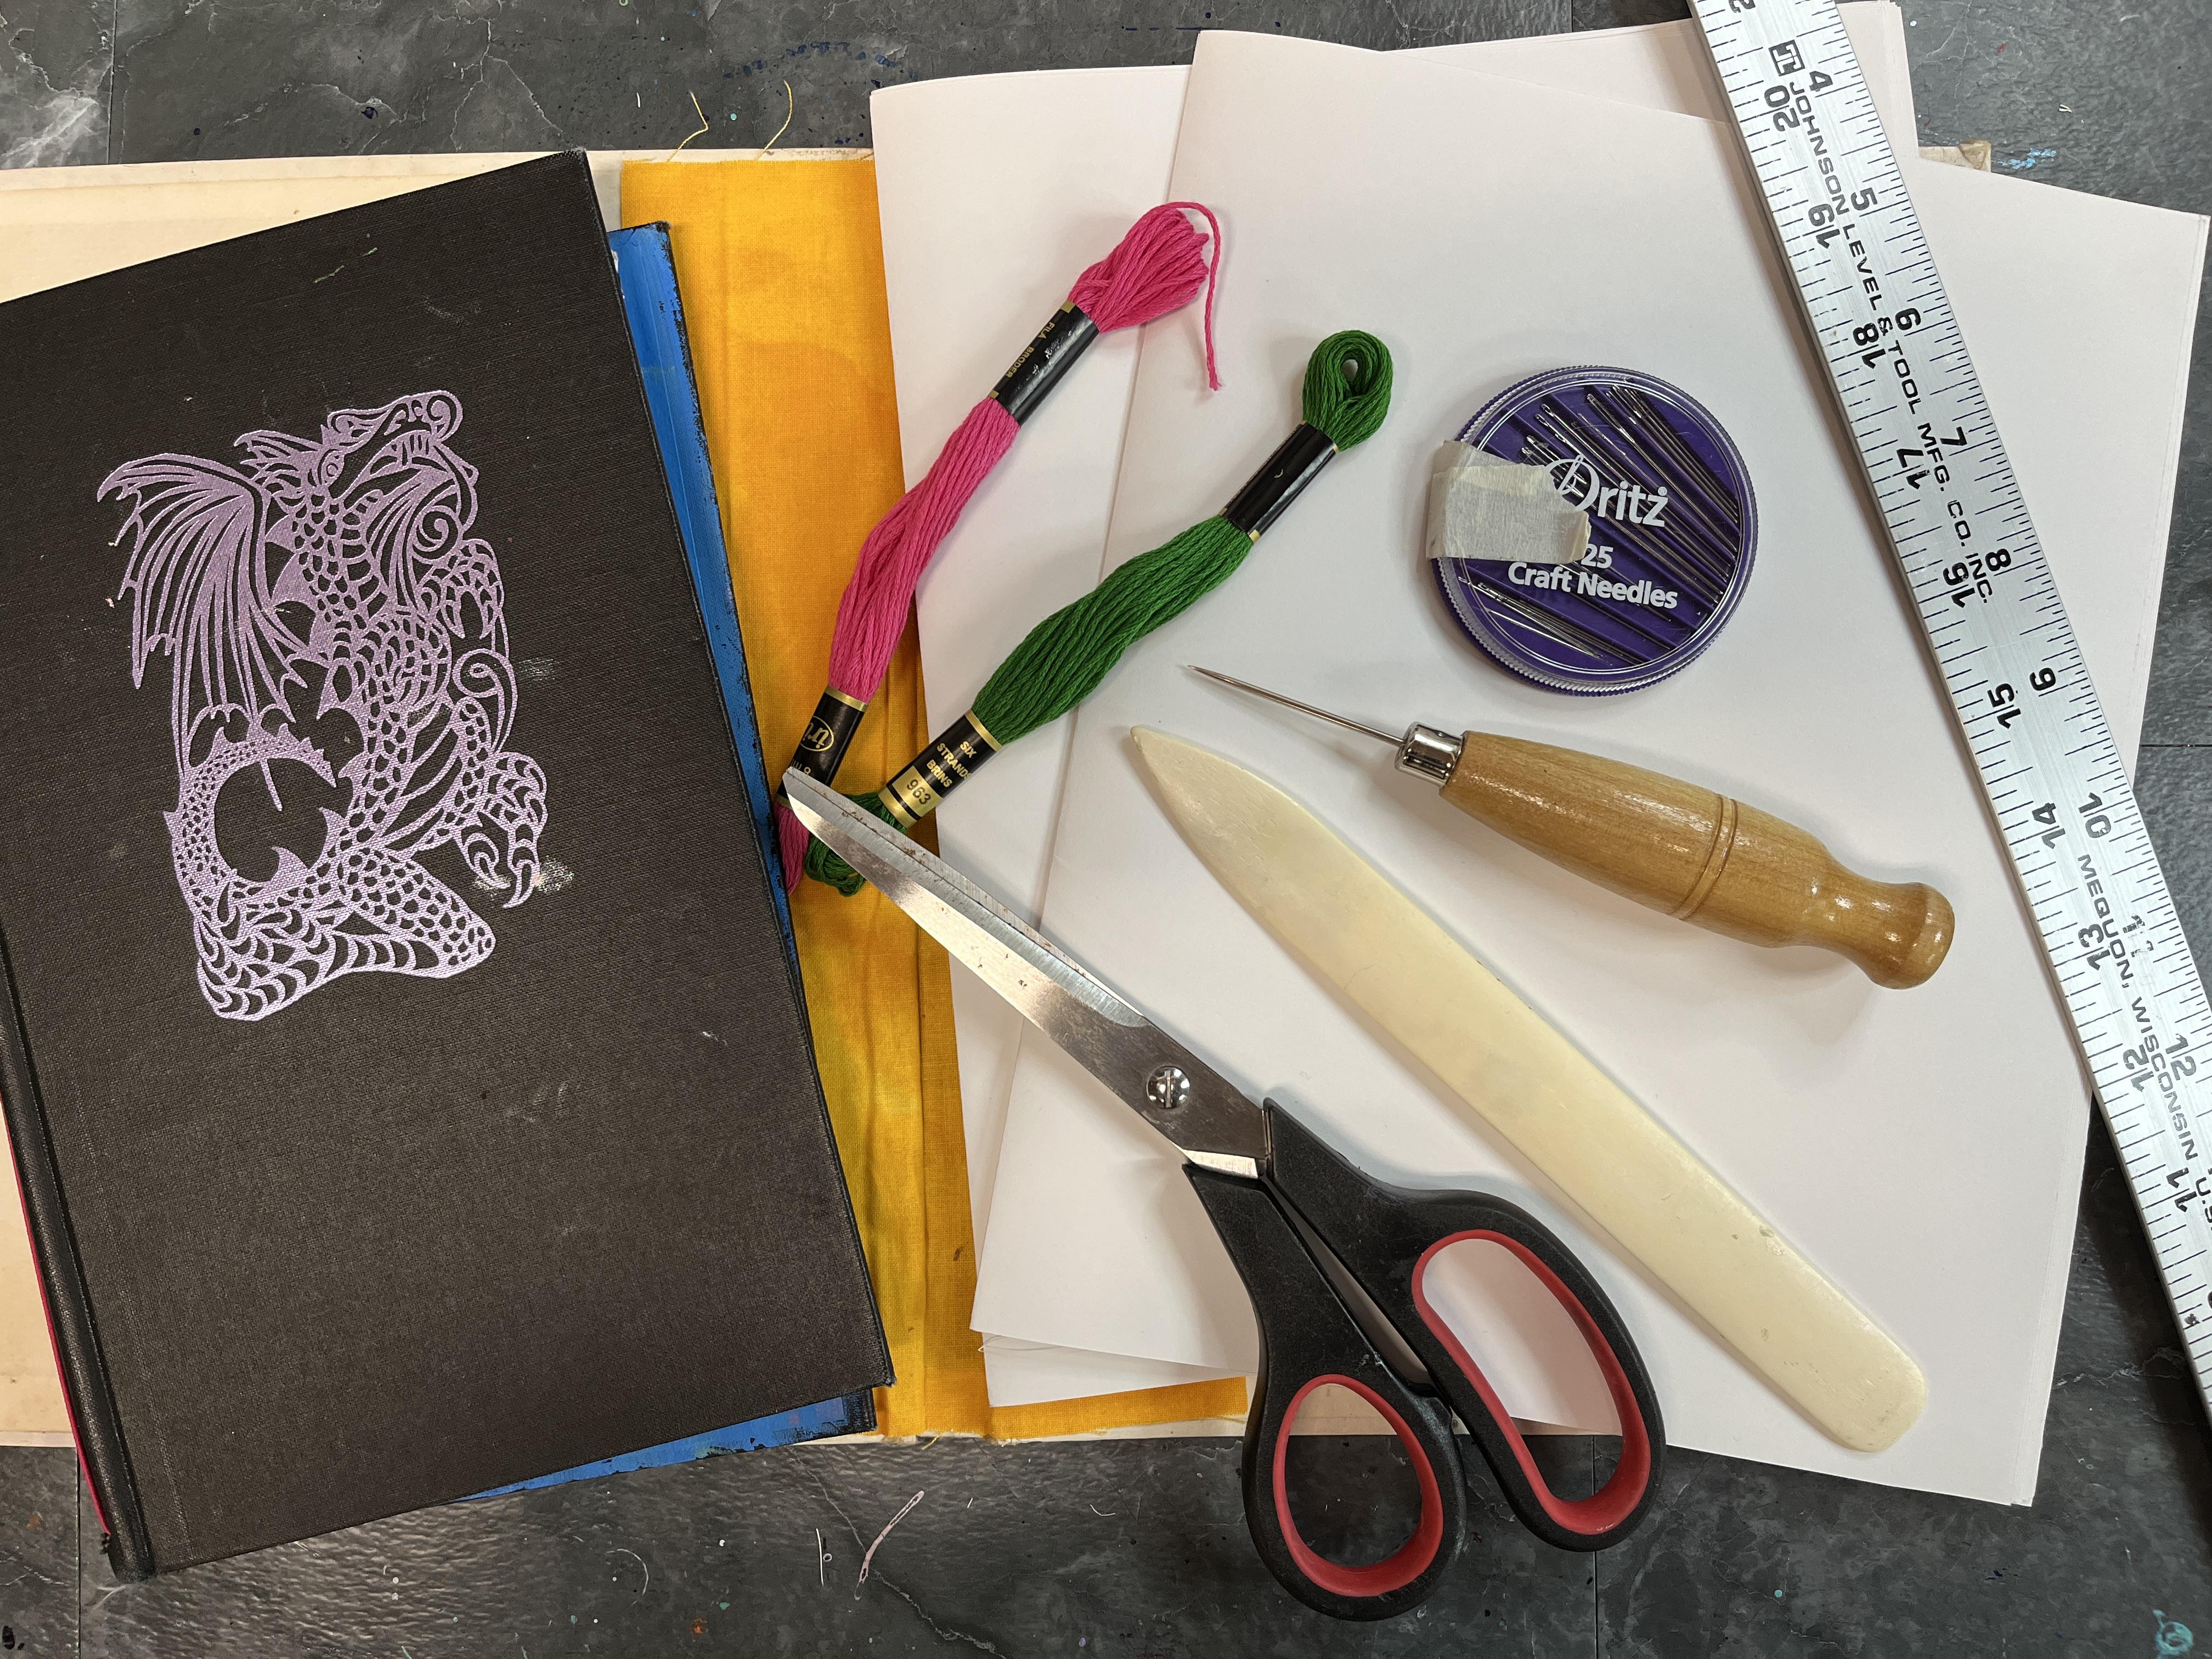
sketchbooks on hand. Let's take a look at what supplies we're
going to want to have. So to start off, you're going to want to have an old
book of some sort. Then it's going to have
its pages still inside. This one I've already gutted. So the easiest way to gut the
inside of your book is with an exacto knife because you're going to be cutting out
the inside of the pages. And then to reinforce
the binding, you're going to want to have some sort of piece of fabric. This can be felt. This can be just kind of a
thin cotton strip. It doesn't matter,
but it needs to be a wide enough strip
that it's going to go over the binding of the book, the inner binding, and then overlap the covers a little bit. So something like that
works really, really great, to glue that down, I like to use bookmaking glue. This is a PVA glue, but you could use any kind
of white liquid glue. A little bit goes a long way. So it would be a
great investment in future bookmaking projects, and you could also use it for
other adhesion techniques and paper projects, too. For the glue that comes in here, I like to put it in a small cup, and then I'm going to apply
it with an old paintbrush. This is just an old
acrylic paint brush. For the signatures of our book, I'm going to do you can do a mix of whatever kind of
papers that you want to. This is a pretty big book. If I'm doing this
one, then I need paper that is the
full width of this when I open this up because
then that gets folded in half and then we stitch those together to
make the signatures. But some examples of
papers that you could consider if you're going to
be drawing primarily into it, then any sketching
paper works great. It doesn't really matter how thin or thick it is
as long as you can easily fold several pages together to make each
individual signature. If you want to do
more watercolor or mixed media work
inside your sketchbook, you're going to want to go
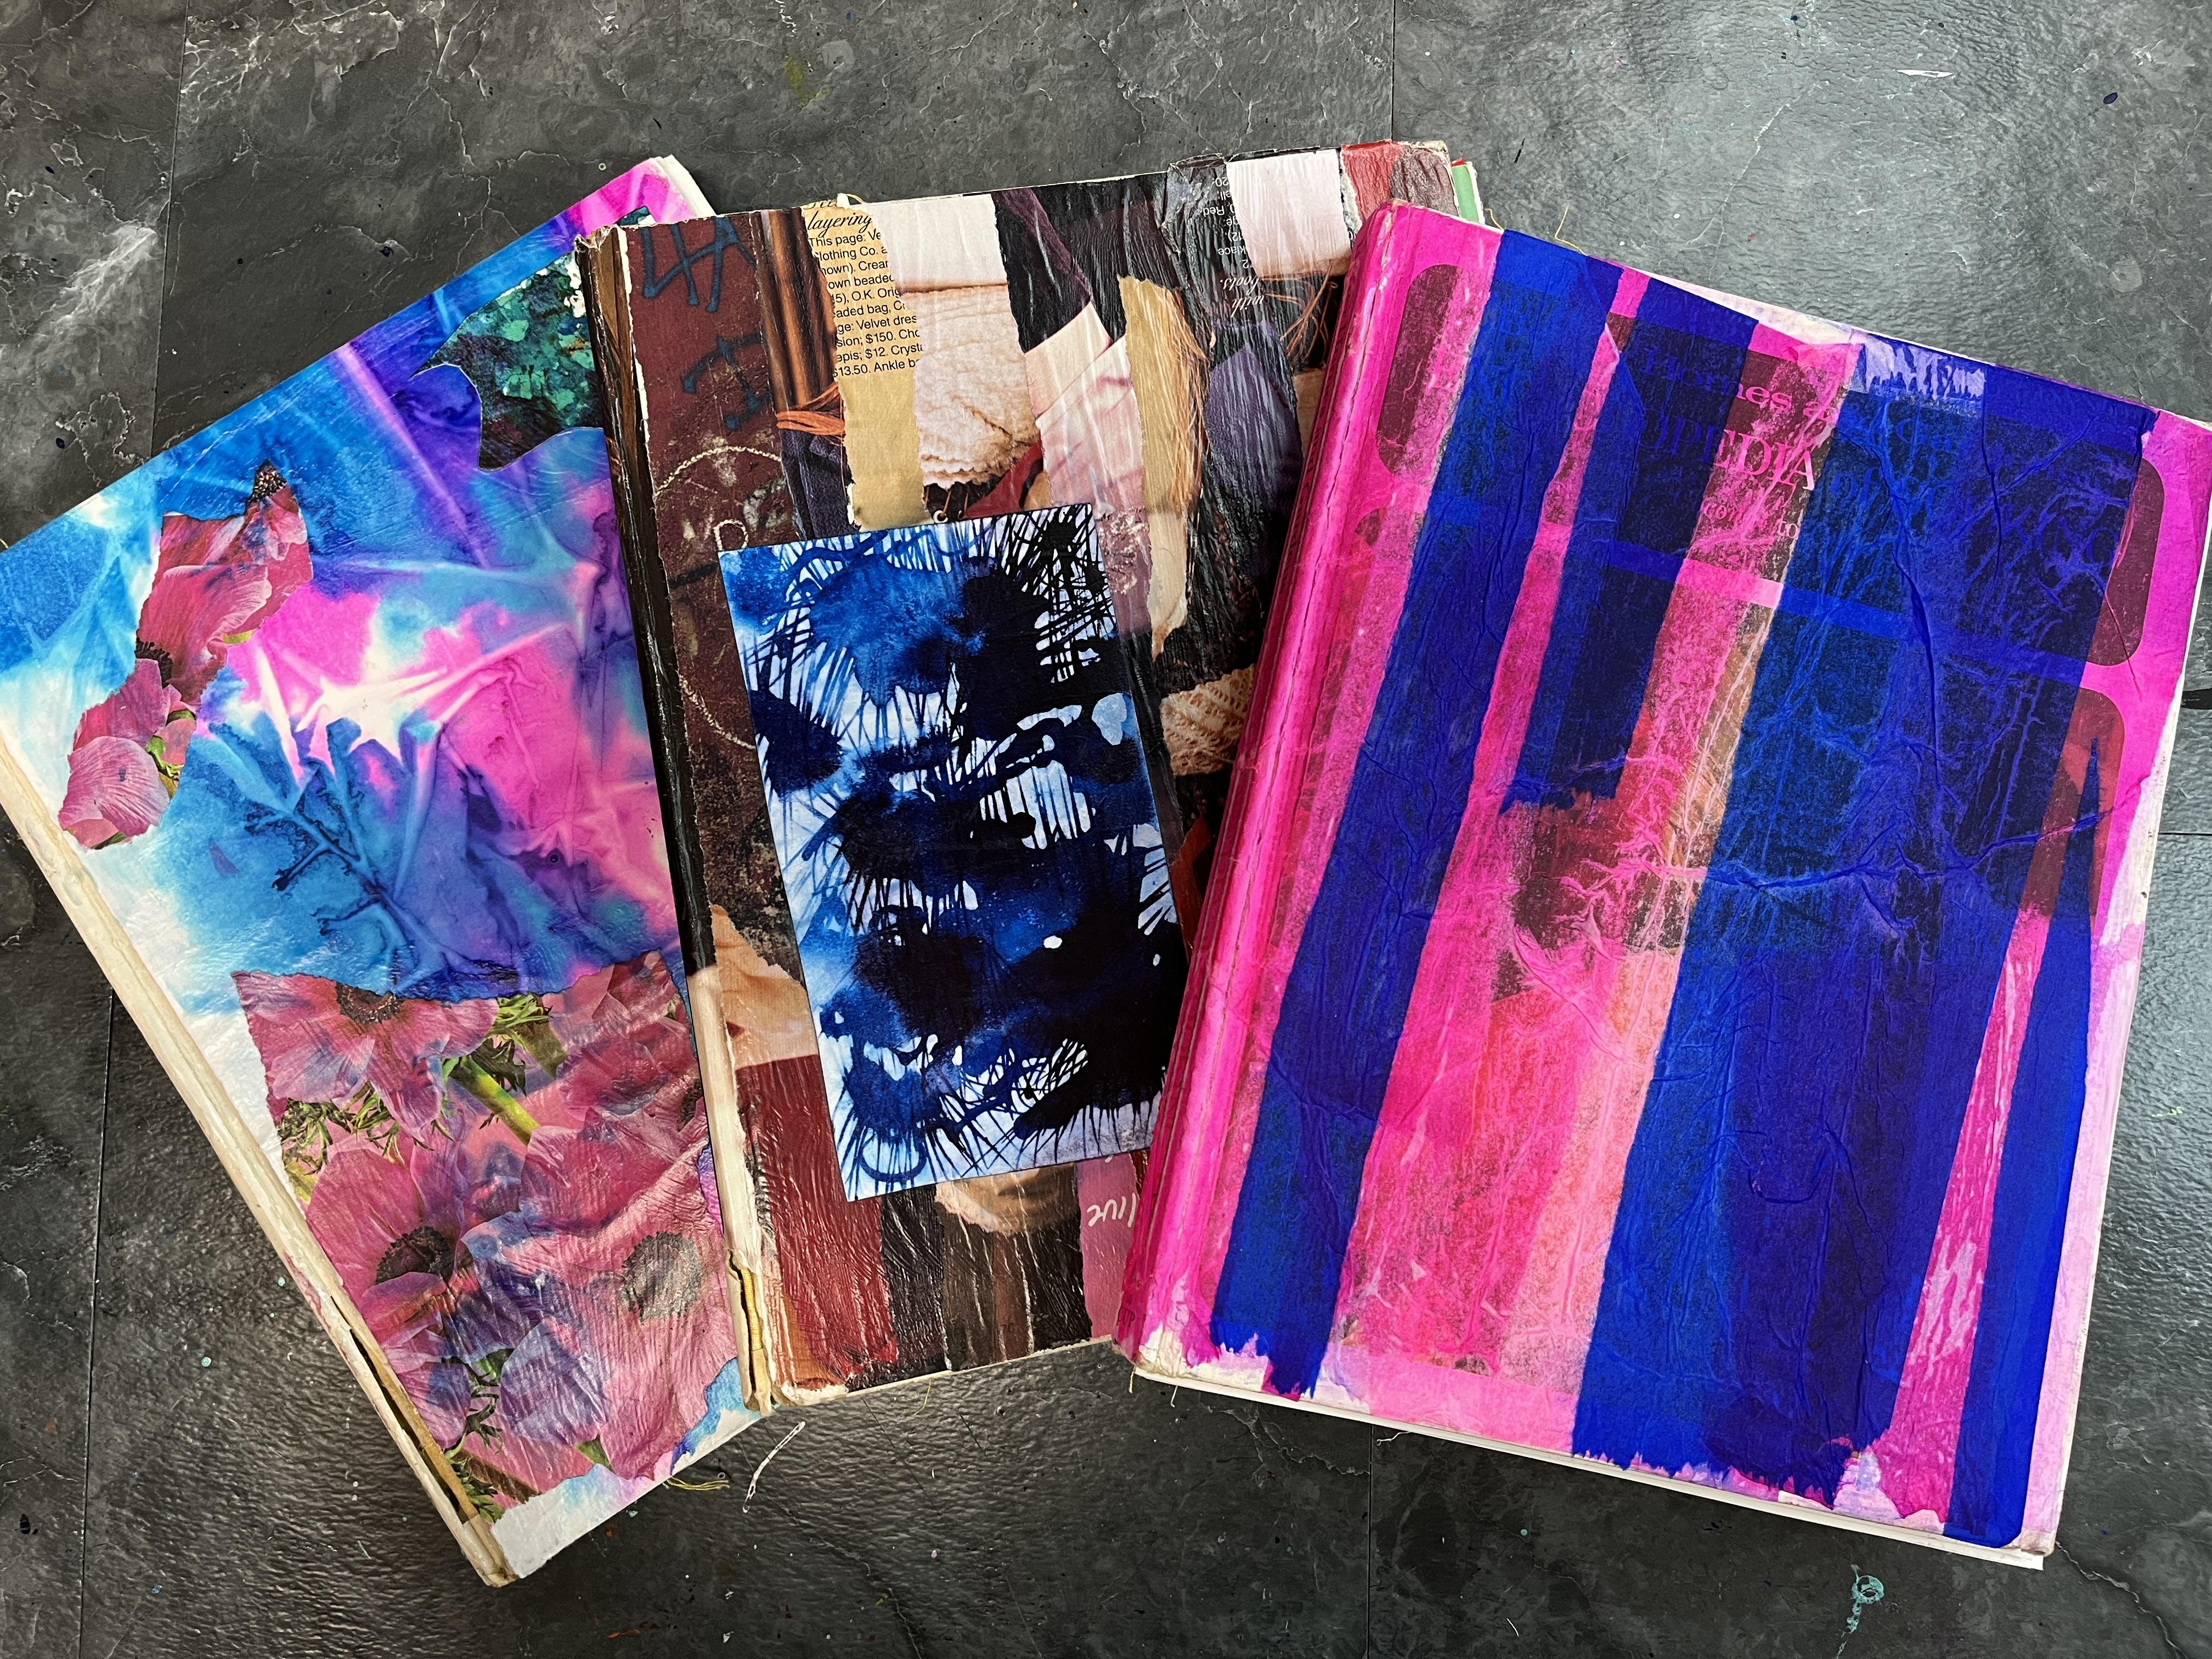
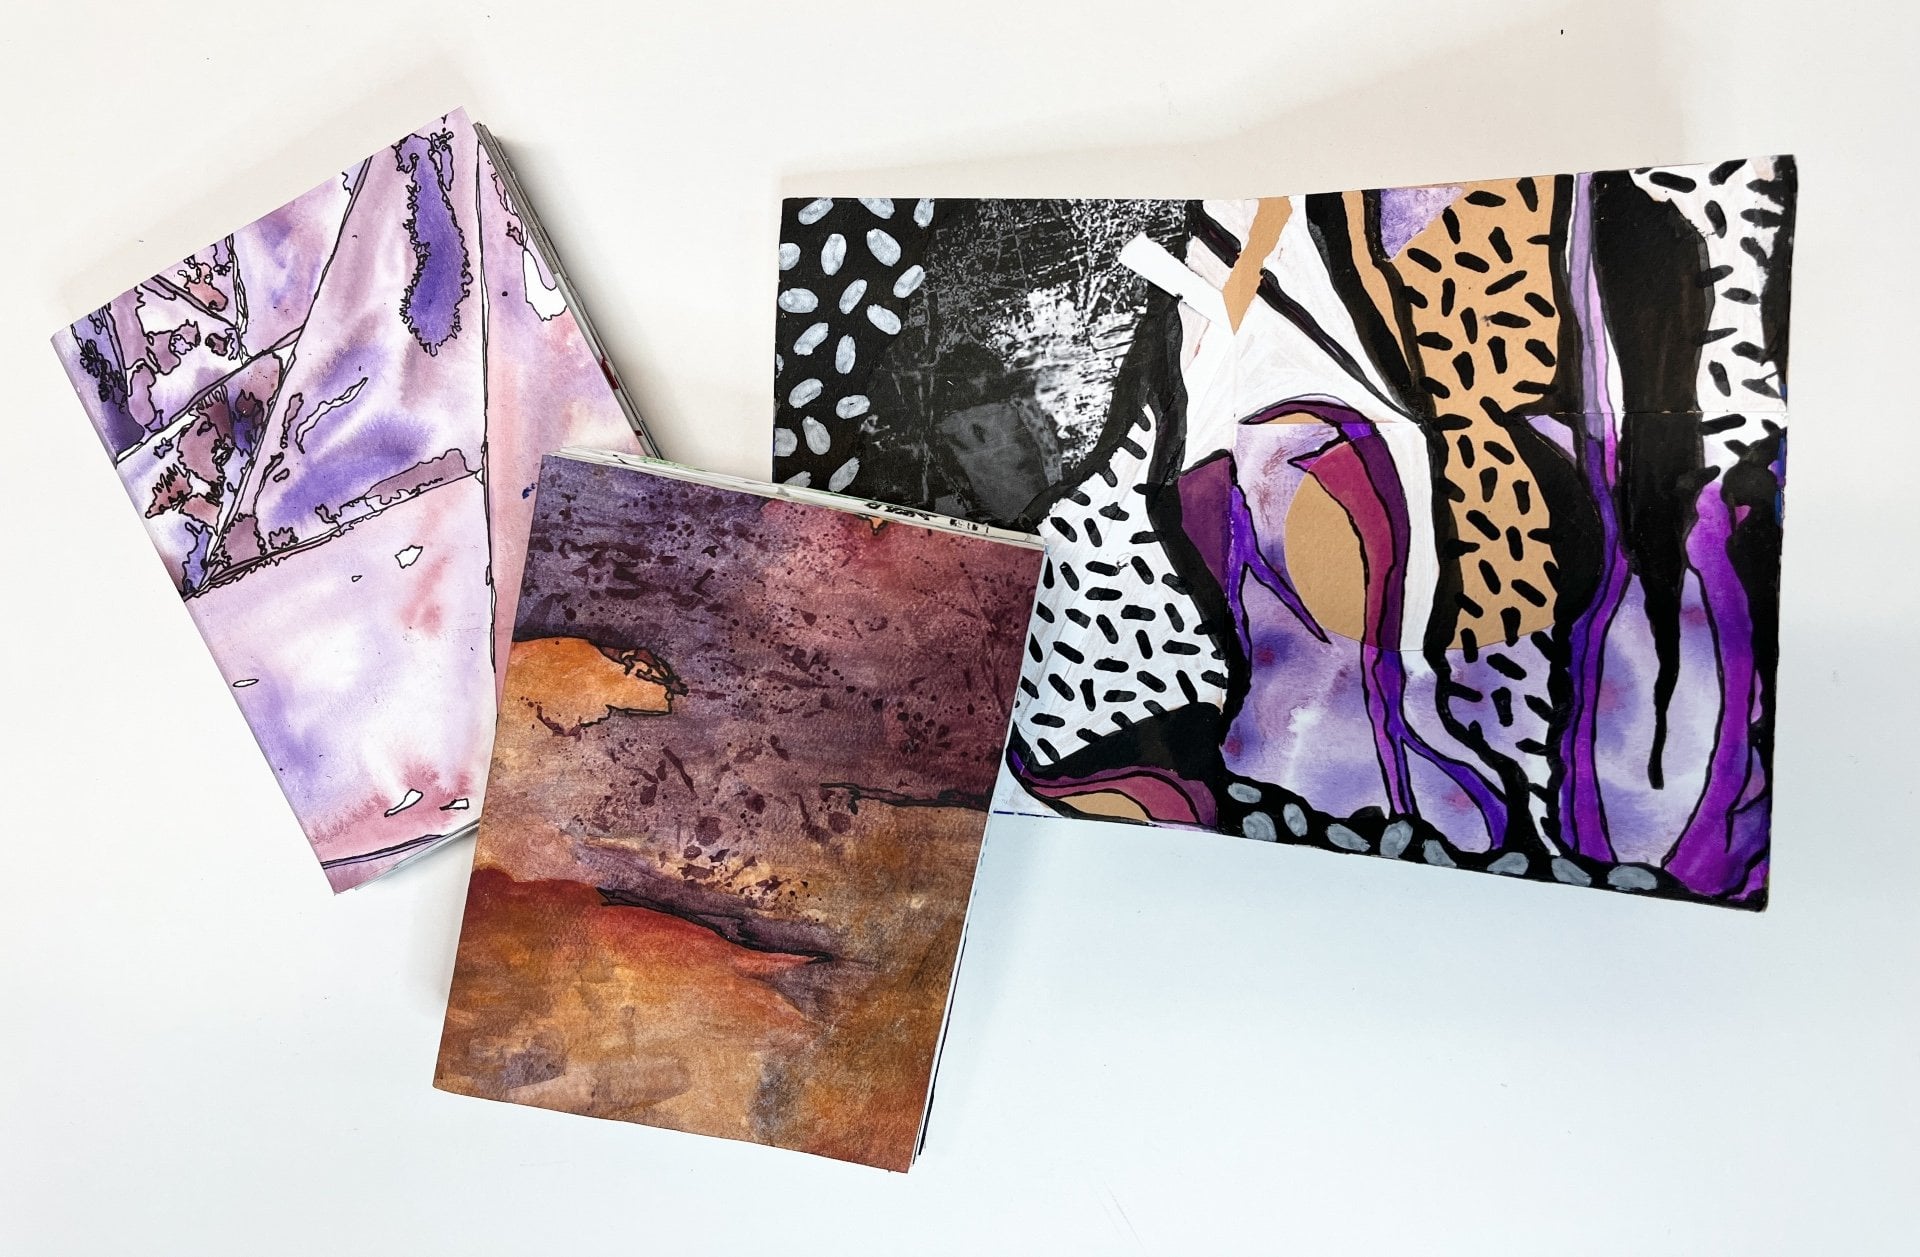
for a mixed media paper or watercolor paper. When it comes to mixed media
and watercolor papers, I really like Hanson's brand. This one is the exact same book, but this one's been filled. So this one has two signatures, but I've done a lot of collaging and mixed media work into it, so my pages are pretty thick.
Just this is four pages. This is one full sheet, folded in half and
then stitched in. So four sheets that are about nine by 12 give or take
would make one signature. So we are going to want
at least eight sheets of whatever this
width is doubled. We're going to want to
have some scissors on hand and then to do the actual
sewing for the signatures, I like using embroidery floss. Each strand of this
has six threads to it, so you can easily thin it to
get quite a lot out of it. Embroidery floss is
pretty inexpensive. What I like about
embroidery floss over sewing thread is that it's a little bit sturdier and
a little bit thicker. Sometimes the sewing thread can cut through the
paper a little bit, and then you're going to
want to have some needles. These are craft needles. I like these or
embroidery needles because they have
a bigger eye on the needle because I
need to be able to get at least half of this thread through
that needle easily. Then the last thing you're
going to want to have on hand is either an owl. This is for making
holes in paper so that you can stitch through that to sew
up the signatures, or you can just use a
regular old push pen. The ones like this are
nice because it gives you something to hold onto
when you push through it. When you do do that
pushing through, you're going to want
to have a scrap of cardboard or a cutting
mat underneath it. The cardboard
actually works better because the pin can go
into the cardboard without going through to
the bottom surface and ensure that it goes all the way through to the full
width of the point, the full width of the needle so that you get a
really nice hole, so it's easier to sew it into. That is all that we're
going to need to create our altered
handmade sketchbooks. Now that you've gathered
up your art supplies and potentially
made a field trip to your local thrift
store to find the perfect hardcover
book for this project, let's dive into our first
lesson as we prepare our book for its new
life as a sketchbook.
4. Prepping Hardcover Book: So the first step to
get our hardcover book ready is to gut the inside. So this is a hardcover book that I've already
got it in prepped. But the first step is to go
in with an exacta knife and cut along the edges where
the inside registers, the pages inside the book
are glued to the binding. So you're going to go ahead and slice as many times as
you need to to, like, loosen the inside pages so that you can take
them off of the binding. Then we need to reinforce
the binding a little bit. So a great way to do that
is with a piece of fabric. I like to use PVA glue, but you can also use any liquid
white glue that you have. And I brush that onto a
piece of fabric or felt, anything that you have, it just seems to be wider than your binding so that it goes over part of
the front cover, the binding in the middle, and then part of the back cover, and it needs to be the
height of your book. Then you're going to
brush glue all over that piece of fabric so that
it's going to adhere really, really well because this
is an important part of stabilizing our altered book. Then you're going to
go ahead and take the fully glue covered piece of fabric and
you're going to lay that over so that it covers the inner binding section of
your book and then overlaps, like I said, the front
and the back cover, and then smooth it down really
good and make sure that you press into the creases so that it really molds
to the shape of the inner binding of your book and then set it aside to dry. Now that we have prepped our hardcover binding by
reinforcing it with fabric, we are now going to prepare to get our signatures ready
to go inside our book. So I've got my paper
and I've measured in roughly where
I want things to go as far as the vertical line. And then I figured out roughly where the top and the bottom holes are going to
go and then the middle one. And then I used my L to
puncture through those. And what that's going to do is that's going to give
me a template that I can use to do the
holes on the binding. As you work on this, you'll figure out what
works best for you. I need that vertical
line to help me figure out where my
template is going to go. I found that just
drawing it right on the fabric and marking
the top and the bottom with my ruler for each of the two vertical
points for where my signatures are
going to get put into my hardcover
book worked great. Not measuring it. I'm
just eyeballing it, roughly one third and two thirds in so that they're fairly
evenly spaced out. Then I can go ahead and take
my template where I have my holes and I can use my
pencil marks on my book binding and line that up with the holes and just
make sure that I hold my template paper really still so that I can then
start puncturing the holes. You can work in any
order you want to, but I like to work at the
top and then readjust as I need to making sure things are still lined
up as I go down. But as long as you
have the initial holes going into the
binding of your book, then you can take the template
paper off there and you can work back into that
hardcover a little bit more. So I'm scooching
over my template while I have things
lined up with my next mark because I'm
doing six holes altogether, three holes for each signature, and I'm going ahead
and I'm doing the initial puncture for where the holes are going
to go through my template. Now I've got my six holes, and then I can really
go in with the owl or the push pin and I can
push in there to get it to go through the
binding and to get it to be big enough so
that I can sew into it. I do a swirling motion so it's widening
the hole a little bit so that I can
get my needle in. They don't have to
be terribly wide because we're sewing this one. So a needle is not very thick. Even the bigger ones that
we're using for this that have the larger
eyes a little bit. So just kind of go in there with your owl and kind of wiggle, wiggle and swivel
around to get all six of your holes
nice and solid. The biggest point is just
to get them even all the way through because the
binding is pretty thick. So you might have to
kind of go back and forth and play around
with it a little bit. And if as you get
into sewing it, you find that you're having a hard time getting
through the binding. You can always get out your
owl again and you can, you know, make your holes
a little bit bigger. In the next lesson, we'll
begin preparing our papers.
5. Preparing Sketchbook Signatures: So now we have to figure out how big we need
our papers to be, get them cut down
and prepared to sew together to create the signatures
inside our sketchbook. So the first step is to measure
the height of your book. So how tall is it from the very top of the book to
the very bottom of the book? And then you need to
figure out how wide it is. And when you do the width, there's two ways you can do it. You can open up the book and
you can measure all the way from the edge of one cover to the edge
of the other cover. But sometimes it's helpful to
do it with the book closed, but go from the very edge of the binding side all the way to the section of
the page that opens. And then when you double that, that's going to give
you your width. So the height of your book
times double the width of your book will be what we
need for our inside pages. So I'm using Canton
mixed media paper. I really enjoy this type of paper because it gives
me a lot of flexibility, and I really like to
work mixed media. And this way, whatever I want to do inside
my book, I can do. So now I'm just
marking my paper. I'm using giant 18 by 24 sheets of paper so
that I can cut that down. I always work with
giant pads like this so that I have
a lot of flexibility for what I can cut
my paper down to. So I'm just getting all of the papers ready for the inside. This is my first
section of paper, to set that aside,
out of these sheets, I can get two big stacks of full sketchbook
spreadsheets that I can use. So a tip that I find
really helpful is to mark your paper in two spots when you're measuring
to cut paper. I find that often the
ruler will wiggle on me, and we're cutting so much
paper for our sketchbooks, and you really want that
paper to be measured accurately so that your book comes together really
nicely in the end. So if you do a
measurement toward the top of the paper and a
measurement toward the bottom, and then you can line those up, and then you can use
your exacto knife to cut along the edge. And the exacto knives work
much more effectively if you use less pressure
and you just do more cuts. You'll get a cleaner
cut to your paper, and then you can still work in a large stack so
that you're really maximizing your cuts
to paper output. So now I'm stacking up the
two sections that I've cut, and I still need to do a
tiny bit of trimming to make them line up with how
wide my sketchbook is. So my sketchbook was 8
" when it was closed. I'm going to cut it
a little bit bigger because when we fold
our signatures and when we stack the sheets to put together a segment of signatures or a segment
for a signature, we're going to lose a
little bit of the paper, and I'd rather have my
pages potentially stick out a little bit than have to worry about them being
a little too short. Now, often when you look
at a hardcover book, you'll note that the pages are a little smaller
than the book itself. You could adjust for this
so you could tweak it, but I'd rather err
on the side of the exact same size as my cover and not really
worry too much about that. The reason why the pages
are a little smaller on a hard book is so the
pages are protected. So the edge of those
pages are kind of protected because they're
inside a little bit. But for an altered sketchbook, I think it doesn't
really matter. But if you want to kind of
get technical about it, you could always cut in a little bit from your
original measurement. So I'm trimming off the edges, so I'm going to have these
extra strips that I can then save for collage or
any future anything. And I'm going to use
one of those strips later for another
step in our process. So save at least one of those strips or
make sure you have one for later on in the
process. This is a bone folder. You don't have to
have one, but it's a really handy dandy
bookmaking tool. It's to really get a crisp fold. So I'm going to fold
my first sheet over, and I like to do them separate. You get a much
cleaner fold if you do them one individual
sheet at a time. So then I start the process, and then I use the bone
folder and run that over the folded edge to get
a really sharp crease. If you don't have a bone folder, you could always use
the edge of a marker or if you have a shorter ruler, anything that is kind
of a hard surface that you can kind
of manage and hold, like I'm holding the bone
folder will work great. But you could also just
crease it with your fingers, too and just give it
a really nice grease. So now I've creased
every single sheet of my sketchbook paper, and I'm going to get those
organized into two signatures because that's what
I've decided I can fit inside the hardcover
book that I'm using. So I'm going to divide
this stack in half, and then I'm going
to put the pages inside each other so that I have what will become
a sewn signature. So I'm going to start
with the top one, and I'm going to go
ahead and open it up and take the next sheet down and just kind of, like,
keep stacking them up. So you can, I'm stacking, you know, the next sheet
on top of the other one. You can work the
other way too, where you can kind of keep filling the outermost
page with your pages. But ultimately, you want
to get everything nice and stacked and assembled before you move on to the next step. Now I'm going to do the
exact same thing for the second signature that I'm creating for my
altered sketchbook. Consider how many signatures
you can fit inside your sketchbook and what media you might want to work
on in your sketchbook. Because if you collage into the pages and you
paint into the pages, they're going to get
a little thicker. So it's always nice to have a little extra binding
space between signatures. So even if it feels
like maybe you could fit more pages
or more signatures, always err on the side of having a little extra room because
anything that you do to it, those pages get much thicker, and you're going to want to
have a little extra space. So now I need to prepare
to prep my paper, to sew my paper, to actually
crit my signatures. So I'm getting my owl out. I'm going to get out
my crafting needles, and then I've got my
embroidery floss on hand. So like I said, you can use the owl or you can use
a push pin like this, which works great because
it's got a handle. It's going to just be something
that punctures through the pages that can create a big enough
hole to sew through. And then I'm going
to end up using two different colors
of embroidery floss. I'm going to use one
to sew the signatures, and then I'm going to
use another one to show how to sew the
signatures to the book. So let's head on over
to the next lesson to sew our signatures.
6. Sewing Sketchbook Signatures: The Now I'm going to
take my two signatures, and I'm going to get
those ready to be sewn. So I'm going to open them up to the center and then so that I've got a nice even
stack and I make sure that my fold is lined
up nice and neat. And then I'm going to use the same template
that I used for the binding cover to
do the inside holes. Finally, it helps to fold it at this stage so
that it's really easy to kind of figure out
where those holes line up. And then when you
have that fold, it's going to lay
inside the gutter that your signature creates when it's opened up to its
centermost point. Once it's lined up,
I can go ahead and puncture through my
template hole and then all the way through that point in the folded
sketchbook gutter, and then I can do
the same thing with the center and the bottom. As long as I have
those initial sections marked with the owl, then I can then
take the template off and really make sure
that I have punctured all the way through
the full stack of sketchbook pages so that there's a nice even hole created
through all three parts. That's really important
for making sure that it's very easy
to sew it later on. Don't want a giant hole, but we want to be able to pass our needle through very easily. So I've got one signature done, just giving a little fold. I'm going to go ahead
and do the same thing to my second signature. So I'm going to go ahead
and open it up again, make sure everything's lined up, and then puncture
through all three parts. Now I'm ready to get my
embroidery floss ready to sew. So to measure this out, I pull it one length of
the sketchbook height, two lengths of
sketchbook het and three lengths of the
sketchbook height, and then I trim it off. You can measure it
if you want to, but it's just as easy
to pull it and eyeball it and I err on the side of having a little bit
of extra thread. Then in brdry floss, when it's at its full state, when you buy it at the store, there's actually
six strands there. You can take it apart into different sections depending on how much floss you want to use. I like just taking the
six strands and dividing that in half and that
gives me three strands, which provides a nice, sturdy amount to do
stitch for a signature. Because I'm doing two
signatures in the book, six strands makes perfect sense because I'm measuring once, and then I've got both of my sections of
embroidery floss ready. Pulling it apart can
be a little tricky. You have to be a little patient because as you pull it apart, those strands have
been wrapped around. They're twisted up a little bit. So you have to kind of
untwist them as you go. So patience works really is an important key here to really kind of get
those untangled. If you do get a little
bit of it not like I did, you kind of pull the
different sections this way and that and it'll
untwist itself. And now I can go
ahead and get out my raft needle and
get that threaded. The great thing about this
sewing technique is that the only knotting that
you're doing is at the very end when you are done sewing your signature together. So we just need our needle, and then we're
going to thread it through the eye of the needle, leaving a little short tail and then all of the rest of the
length that is going to be then what we sew through the different
sections of our signatures. And now I'm ready
to begin. I like to go in through the
center hole first. You can go in through the
outside or the inside, but wherever you leave the
tail end of your stitch, that's where your
knot is going to be. So because the outer fold of my signature section is going to be attached to my book cover. That's going to get
hidden in the long run, so it just makes so much
sense to do it there. Here's where you might
find that you need to do a little bit of widening of the holes that you initially punctured
through your signatures, but it works great. So I'm going into the
hole from the outside, leaving a little bit of a tail. We just need a couple inches, four or five to be
on the safe side, and then we're going to go to one end of our signature and go back through that hole and pull it nice and tight without
pulling our tail through. Then from the outer side, we're going to go all the way to the opposite side
and we're going to go in through that
outer hole again, pull the string through until it's tightened all
the way and then go back out again
through the center hole. And then at this point, what I like to do is make sure that my two strand ends on either side of my
connecting thread. Pull that nice and tight. Be careful because thread
can rip the paper. But we do want it nice
and tight and secure. So I get it nice and
tight, and then I'm going to double or
triple knot it just to really make sure that my sewing isn't going to
come undone in the long run. And once you have two
or 3 knots in there, you can go ahead and
trim off the exe thread. We did overestimate the
thread quite a bit, but I'd rather err on the side of too much thread
than not enough. If you wanted to use a little less than three lengths of your sketchbook height, you absolutely could.
Then there we go. We have one sewn signature nice and secured ready
for our sketchbook. We're going to do
the exact same thing with our next signature, and you're just going to
continue this process until all the signatures that you've decided
to create are sewn. Now both of mine
are sewn and I am ready for the next
step of my project, which is option
one for attaching my signatures to the inside
cover of my sketchbook. Let's head on over to
the next lesson to learn the first option that
you can choose for attaching your signature pages
to your sketchbook cover. See you there.
7. Option 1: Attaching Signatures to Cover: Now that we've sewn together
the signatures of our book, we're going to sew
those signatures to the spine of our book cover. So we're going to do the
same stitching method that we did to attach our signatures together
so that we're actually creating an attached
segment of pages. So we're going to get
our embroidery loss, and we're going to pull it
three lengths of our book. So whatever the height
of your book is, it's going to be
three times that. You can just eyeball
it and pour it a little bit beyond that
and then snip that off. And then just like before,
we're going to split our six threaded
embroidery floss into two sections of three. It just takes a little
bit of patience before it likes to tangle up because
it's all twisted together. So you just slowly separate out the strands so that you
have two sections of three. And then I'm going to go
ahead and thread your needle. And again, there's no
knots until the very end. So we just need enough
of the thread through the needle eye so that
we can start sewing. So we're going to sew
one signature at a time. So we're going to go through
the center of our signature, and then we're going to find
the center hole that we created in the binding
of our sketchbook. And then we're going to go
down to the bottom hole of the cover and kind of get
the needle through there. This is the easiest
way to do it. I just kind of keep
everything really loose, and then find the hole at the
bottom of your signature. And then you're going to pull
that through all the way until you're leaving
5 " or so of tail where your thread initially went through the
center hole of the signature and then go up to
the top hole of your signature and get
it through that section. Then you're going to go
through the top hole of the sketchbook binding,
the hardcover binding. Then you go back down through the center hole of the
binding cover so that you have your two thread
ends on the center of your signature on the inside of the sketchbook when
the signature is open. Then you can double or triple, not that once you've
pulled everything tight so that your
signature section is right up snug against the inner binding
of your hardcover. And then after you have
two to three nuts, you're going to want to
trim off the excess thread. And then you now
have your signature sewn nice and snugly into
the binding of your book, and if you are doing
two signatures, you are halfway done with finishing this
stage of your book. So now I'm going to do
the exact same thing with my other signature. Now, you will notice that I sew the back most
signature in first. I like working back to front and when I'm creating
a new sketchbook, I just feel it's a
little bit easier. If I was doing it front to back, I would just end up
flipping it and sewing it backwards it's kind of going to navigate that
other signature a little bit when you're putting
in additional ones. So this is just
kind of a nice way to do it so that the
uppermost part of your sketchbook is the
one that you're working with every time you're
working through. So back to front works really great for sewing in
your signatures. And then depending on
how thick your book is, how thick your cover is, you could put in as many more
signatures as you want to. But for mine, I wanted to
have some excess space, like I said, for doing collaging and painting and
mixed media work. My pages will grow as I
work back into this book. Having a little
extra wiggle room in my binding has become really helpful for me to
consider each time that I make any
handmade sketchbook, but especially when
I'm working back into a repurposed hardcover book
to make it into a sketchbook. And everything from here on out is exactly the same as what we did when I was sewing in the first signature
of my sketchbook. So I'm going to go ahead
and speed up the video a little bit since you don't
need to watch this again. But you could always slow
down the playback if you wanted to see
it a second time. But it's the exact same
process that I went through to attach the first signature to the back half
of my sketchbook. So this was permanently sewing the signatures in heading over
to the next lesson to see a alternative way that you
can attach your signatures to the cover where they can be moved in and out of the
sketchbook as you wish.
8. Option 2: Attaching Signatures to Cover: Here's another way
that we can attach our signatures to the
cover of our book, but this allows us to put our signatures in
and out of the book. So the first step,
just like before, we need to puncture holes
into the binding of our book. So I've got my same guide
that I used before, and I'm going to kind of
mark the top and the bottom so that I can easily
line up the holes of my template so that I
know that I'm making them straight because once
you start putting holes in the binding, they
are stuck there for good. So I'm going to
put some cardboard underneath so that
I can puncture through the cover easily and not damage the surface
beneath my art table. And then I'm lining
up my guide with one of the pencil marks that I put at the
top and the bottom, and I'm using my L to puncture through the
binding of the book. And it works really
nice to kind of put it, stick it through and
then kind of wiggle it around a little bit
to get it started. And then you can move your
template out of the way and you can puncture through and really kind of wiggle it around. The circular motion allows me to widen the hole
because for this one, we're going to be putting
through some elastic cord. So I really want to make
sure that it's big enough to feed that through because I'm not going to be using
a needle for this. So now that I've
got that punctured, I'm going to measure
out my cord. So this is just fun
elastic boarding that I found online on Amazon. I'm sure you can get this in sewing sections or craft
sections of your store, but I'll include a link to it
in the project description. So you can see what I was using. It comes in a huge pack with a whole lot of it
for a really good price. You'll get a lot of
arding which you can use hopefully for a lot
of different things. You go ahead and you put it through one of the holes
and pull some out, and then you're going to
pull it down to the bottom. What we want to have
is we want to have the doubled up distance
between your two holes. But we also want to
make sure that it's nice and tight so
that it's going to hold the signature inside the book and not
wiggle wobble it. So I like to pull it a little
bit taunt and then cut off the excess and then make sure that it's got kind of
a nice spring back to it. So the elastic is going
to be nice and sturdy. If it pops out the holes,
it doesn't matter. You can have it tie on the
inside or on the outside. I like to have it tie
on the outside so that the inside of my signatures
lay as flat as possible. So I'm going to pull
it nice and tight, and I'm going to go ahead
and double or triple knot it just to make sure that it's not
going to come undone. And then once that is set and I have it nice
and securely knotted, I'm going to go
ahead and cut off the extra of my elastic, just so that it's a nice
clean finish on the outside. I did accidentally puncture
the top, the middle, and the bottom because I was using the same template that I had made for sewing the signatures to the
inside cover of the book. So that's why you'll
see when I flip the book and we see the
exterior of the cover, that's why I got
those extra holes. But we don't need them for
this step because we're just creating an elastic band that's going to hold
our signatures in. So trimming off the
extra for the elastic, and then I'm going
to go ahead and do this one more time through the other two holes of my book. Now let's take a look at how our signatures go inside
this type of book. So this is a smaller one
that I've done. Same thing. It's got two signature sections, and you can see
how you can easily open it up to the middle, pull the signature section out, and that one is sewn, so the signature is
forever put together, but it can go in and out of any sketchbook
that you want to. So the sections just
slide in and out, and then you close them and they stay inside the sketchbook. It's pretty amazing because you can continually make
new signatures. So you're constantly refreshing your sketchbook, and
at any point in time, you could just leave
your filled signatures in there and have it
be a finished book. So you do the exact
same thing for as many sections as you can fit inside your
hardcover book. This is another
example where I use the same size cookbook
for my cover, and then the elastic, I can just take the section out, put it to the side,
put a new one in, and I can also move my signatures between
different sections. And it holds them
and they're pretty great. It's really wonderful. It's also nice if you want to do some different mixed
media approaches and let your section dry. In our next lesson, we'll take
a look at one way you can decorate the cover of your
hardcover sketchbook. See you there.
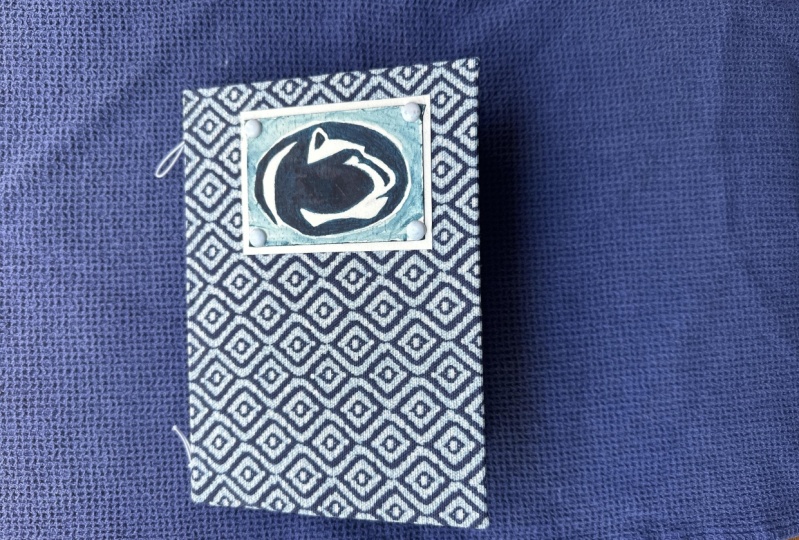
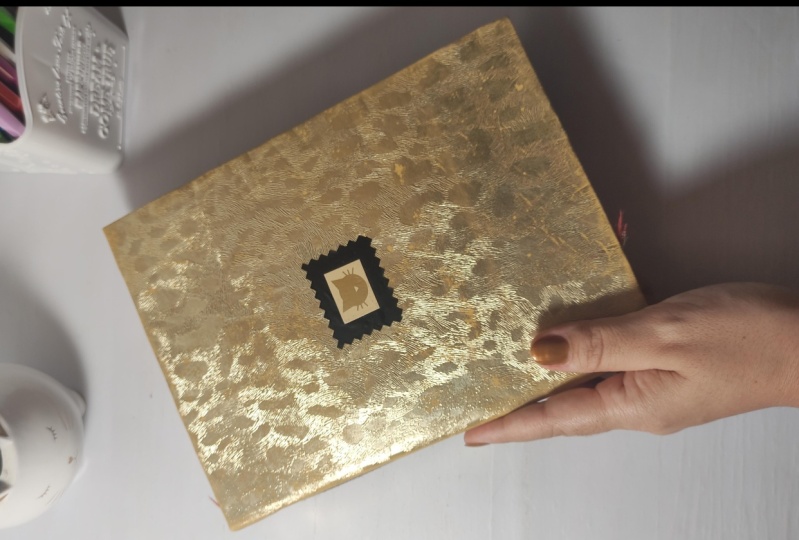
9. Decorating Book Cover: There's a variety of ways that you can decorate
the front and back cover your hardcover
altered sketchbook. For this one, I just wanted to do something really simple, so I grab some fun
colors of tissue paper, a water down some of my
liquid glue in a cup, and now I'm just painting the glue across the surface
to give it a little adhesion. And then I'm going over it with torn strips of tissue paper. The tissue paper is going to become transparent
as it gets wet. So there's that
fun play of seeing whatever cover you originally started with showing through, but you can also layer
it up so that you don't see any of the
imagery underneath. I kind of like that play, and I love the fact that I'm using an old cookbook for this. So it's kind of
fun to, you know, see the corn through
in some of the spots. And the great thing
about this is I don't have to be
terribly precious. So you'll see, you know, some of the strips of tissue paper are getting
a little warped. Here, I forgot to put down
some glue beforehand. I didn't have to do
this because the glue is going to absorb
through my tissue paper, but it just kind of helps keep
it in place a little bit, and then you can go back into it on top with a little bit more of the liquid kind of
watered down liquid glue to create some more adhesion. And then it's just a
matter of building up more and more layers and kind of getting it as
thick as you want to. So I kind of started with
my base brighter pink, put in a little bit
of the lighter pink, and I'm kind of going back
and forth just to kind of build up some
richness of color. So like I said, here
I'm using tissue paper, and it's very transparent, especially as I wet it
with the water down glue. But you could do this
exact same process with any collage
materials that you have. And then the thicker the paper, the harder it's going to
be to kind of conform to the bend in the
spine when you actually close the
buck back up again. But as long as you focus on the main front and back covers with those thicker
collage materials, collaging it will
work just fine. And you don't have to
do the water down glue. Like you could
just do glue glue, but I do often find that I need a little bit of
sealant over the top. So the liquid glue acts as an h sieve to get
things to stick, but then it also acts as kind of a sealant to make sure that everything
sticks just fine. So as far as my design goes, I'm really just, you know, intuitively grabbing
from the colors that I pre selected for my cover. I wanted to have some of
that dark blue in there, just some really fun pops, and I'm kind of
playing around with thick and thin strips
and letting it get, you know, distorted and the
tearing of the process. So this is just a really
fun, quick way to do it. You could put as much care and plan into your cover
design as you want to, but it's a really fun way to give a little
personal flair to the outside of the
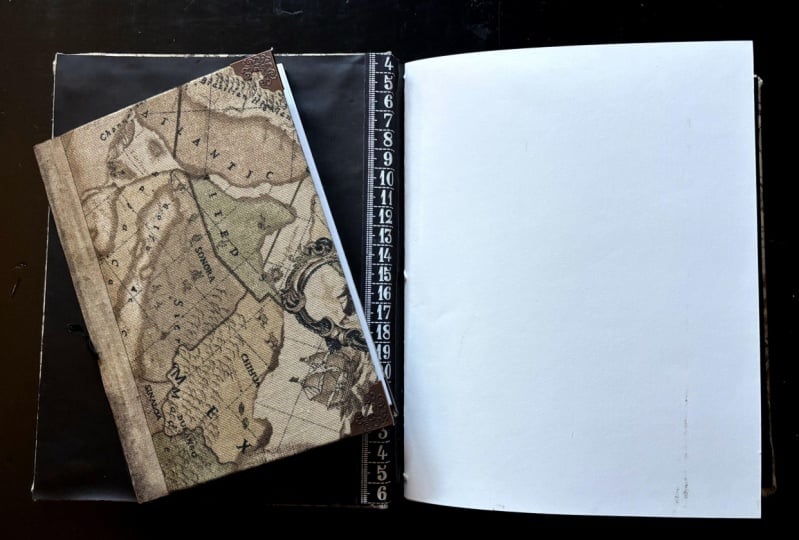
sketchbook because the inside when you
begin is blank. So it's a blank canvas
for you to play with, explore it, and try all sorts
of new fun creative things. But starting with the cover just kind of helps kind
of introduce you to your sketchbook and
get you excited about the possibilities of what you can create
on the inside. Now we've explored
altered bookmaking and handmade sketchbook
bookbinding approaches, and you have created your
own altered book sketchbook. Lesson over to the
next lesson to wrap up the glass. See you soon.
10. Final Thoughts: Okay. Thank you so much for joining me in my class, alter bookmaking sketchbooks. I hope you are excited about the freedom of creating
your own sketchbook and giving new life to
a hardcover book that may not have had such an
exciting life beyond this. I'm super excited to
see what you created, hear about your journey, and really find out the
different ways that you are planning on using your sketchbooks in your
creative journey. Be sure to pop on over to the Projects and Resources
sections of class. Click the Create Project
button and share some photos of the
sketchbook that you created. As well as how it went, how was your experience
doing altered bookmaking as an approach to creating
your own unique sketchbook? Maybe what are some adventures you plan on taking
your sketchbook on? You can also update
your project anytime. If you do take your
sketchbook out and about on different adventures or even just around the house or
in your creative space, take some photos and
share that with us. I love seeing sketchbooks
out in the wild and finding all of the fun places that they go and things
that they capture. You can also share these over on the discussion
section of class too. I would love to hear
how your process went taking this class and
working on this project. Please consider taking the
time to leave a review. It's a great opportunity to reflect on what
you've learned, how you might apply
it in the future, and just share insights
on a student to student basis with
other students that might be considering
checking out the class. I really appreciate your
feedback as I consider class revisions and future class maaking that
I have going on. I also love to connect
outside of Skill Share. If you're over on Instagram, sharing what you're up to or where you're taking
your sketchbook, be sure to tag me at Elizabeth
Underscore Welfare so we can encourage each
other and stay connected on our
sketchbook adventures. You can also follow
me over on YouTube. On my channel, I
share art practices, art approaches, ideas about creativity and art
studio processes, take you on art
adventures that I take by sketchbooks on and just all things creative
that I have going on in my world that I
share my followers. Thank you so much for
joining me in this class. I am so excited for you to have your own unique altered
sketchbook that you can take anywhere you go and a process that you can
repeat over and over again as you fill up
that sketchbook to create new ones. I'll
see you next time.
 Elisabeth Wellfare, Artist, Art Educator