Transcripts
1. Intro: Hi, my name is ia Llamozas and I'm a collage
artist. Collage is a medium that I love. It started as a hobby, but slowly it has become
my full-time job. I am very passionate about it, which is why I love teaching. In 2020, I started
hosting online groups, has led me to work with over 350 students from
all over the world, as well as with corporate teams from amazing
companies like Etsy, Target and Apple among others. I also enjoy selling my work, doing commissions and
collaborating with brands, whether it's local brands here, Tenerife in the Canary
Islands where I live. Or international brands like
Airbnb or Neubau eyewear. As a mainly self-taught artist. I wanted to create this class
to share with you the tools and the tips that
I have found work best when creating
an analog collage. Collage is all about
cutting and gluing. And that's exactly
what we'll focus on. We'll look at tools and tips and complimentary things that you'll need for you to make
your collage creations. I created this class
with beginners in mind thinking of
the things that I would have loved to know
from the very start. Even if you don't
have your tools yet, this class will help
you because you'll know exactly what to look for
when you're in the store. For the class final project, I'll be sharing
different exercises, on the different lessons
that you can do to actually get comfortable and practice with the
different tools. I'll be, also answering any
additional questions that you have in the
discussions tab. My goal for this class
is to help you take away all the guessing part
so that you know what tools you need
exactly for what. These tools have actually
improved my collage practice, and I hope that they
do the same for you. Thank you for being here
and let's get to it.
2. Welcome: Welcome. I wanted to start this class
by showing you my studio. This is normally where
I create and work. And this is what
it looks like when it's not messy and I'm creating, I'll probably be changing the display for
recording purposes. But I wanted you to see
how I have two big tables where I like to work and
also, use computer time work. And I like having space in the middle to get
messy on the floor, or also even to do yoga. My favorite thing about
the studio is the light. I am lucky enough to have
this big windows and this wonderful chair that my studio assistant, Lola,
actually loves. And I really love the
view and the light, but I do have a
street right below. So excuse me, there's
any background noise. Now that you've seen my studio, I wanted to go over the different tools that
we'll look into this class. We're gonna be looking at
scissors and different types, exacto knives and
exactly what to use, each one for. Gluing material as well as
complimentary tools. We'll start on the next
lesson looking at scissors.
3. Scissors: Scissors are the
best cutting tool. I'm gonna be sharing
the ones that I use the most in my
personal practice. The regular, normal paper
scissors are actually great for cutting any type of paper, magazines or
even thin card stock. There of course, are
in different sizes. I actually like
bigger ones because they feel very
comfortable in my hand. But you can also
get smaller ones. And depending on where you live, there might be brands
that you already know. Fiskars in the US or
Ernest Wright In the UK. But in general, if you
go to your local arts and craft store and there'll
be plenty of options. And Big Sisters are great
for cutting anything. Also for doing
kind of rough cuts where you leave an
outline around the image. You can check out more detail, an in-depth conversation about
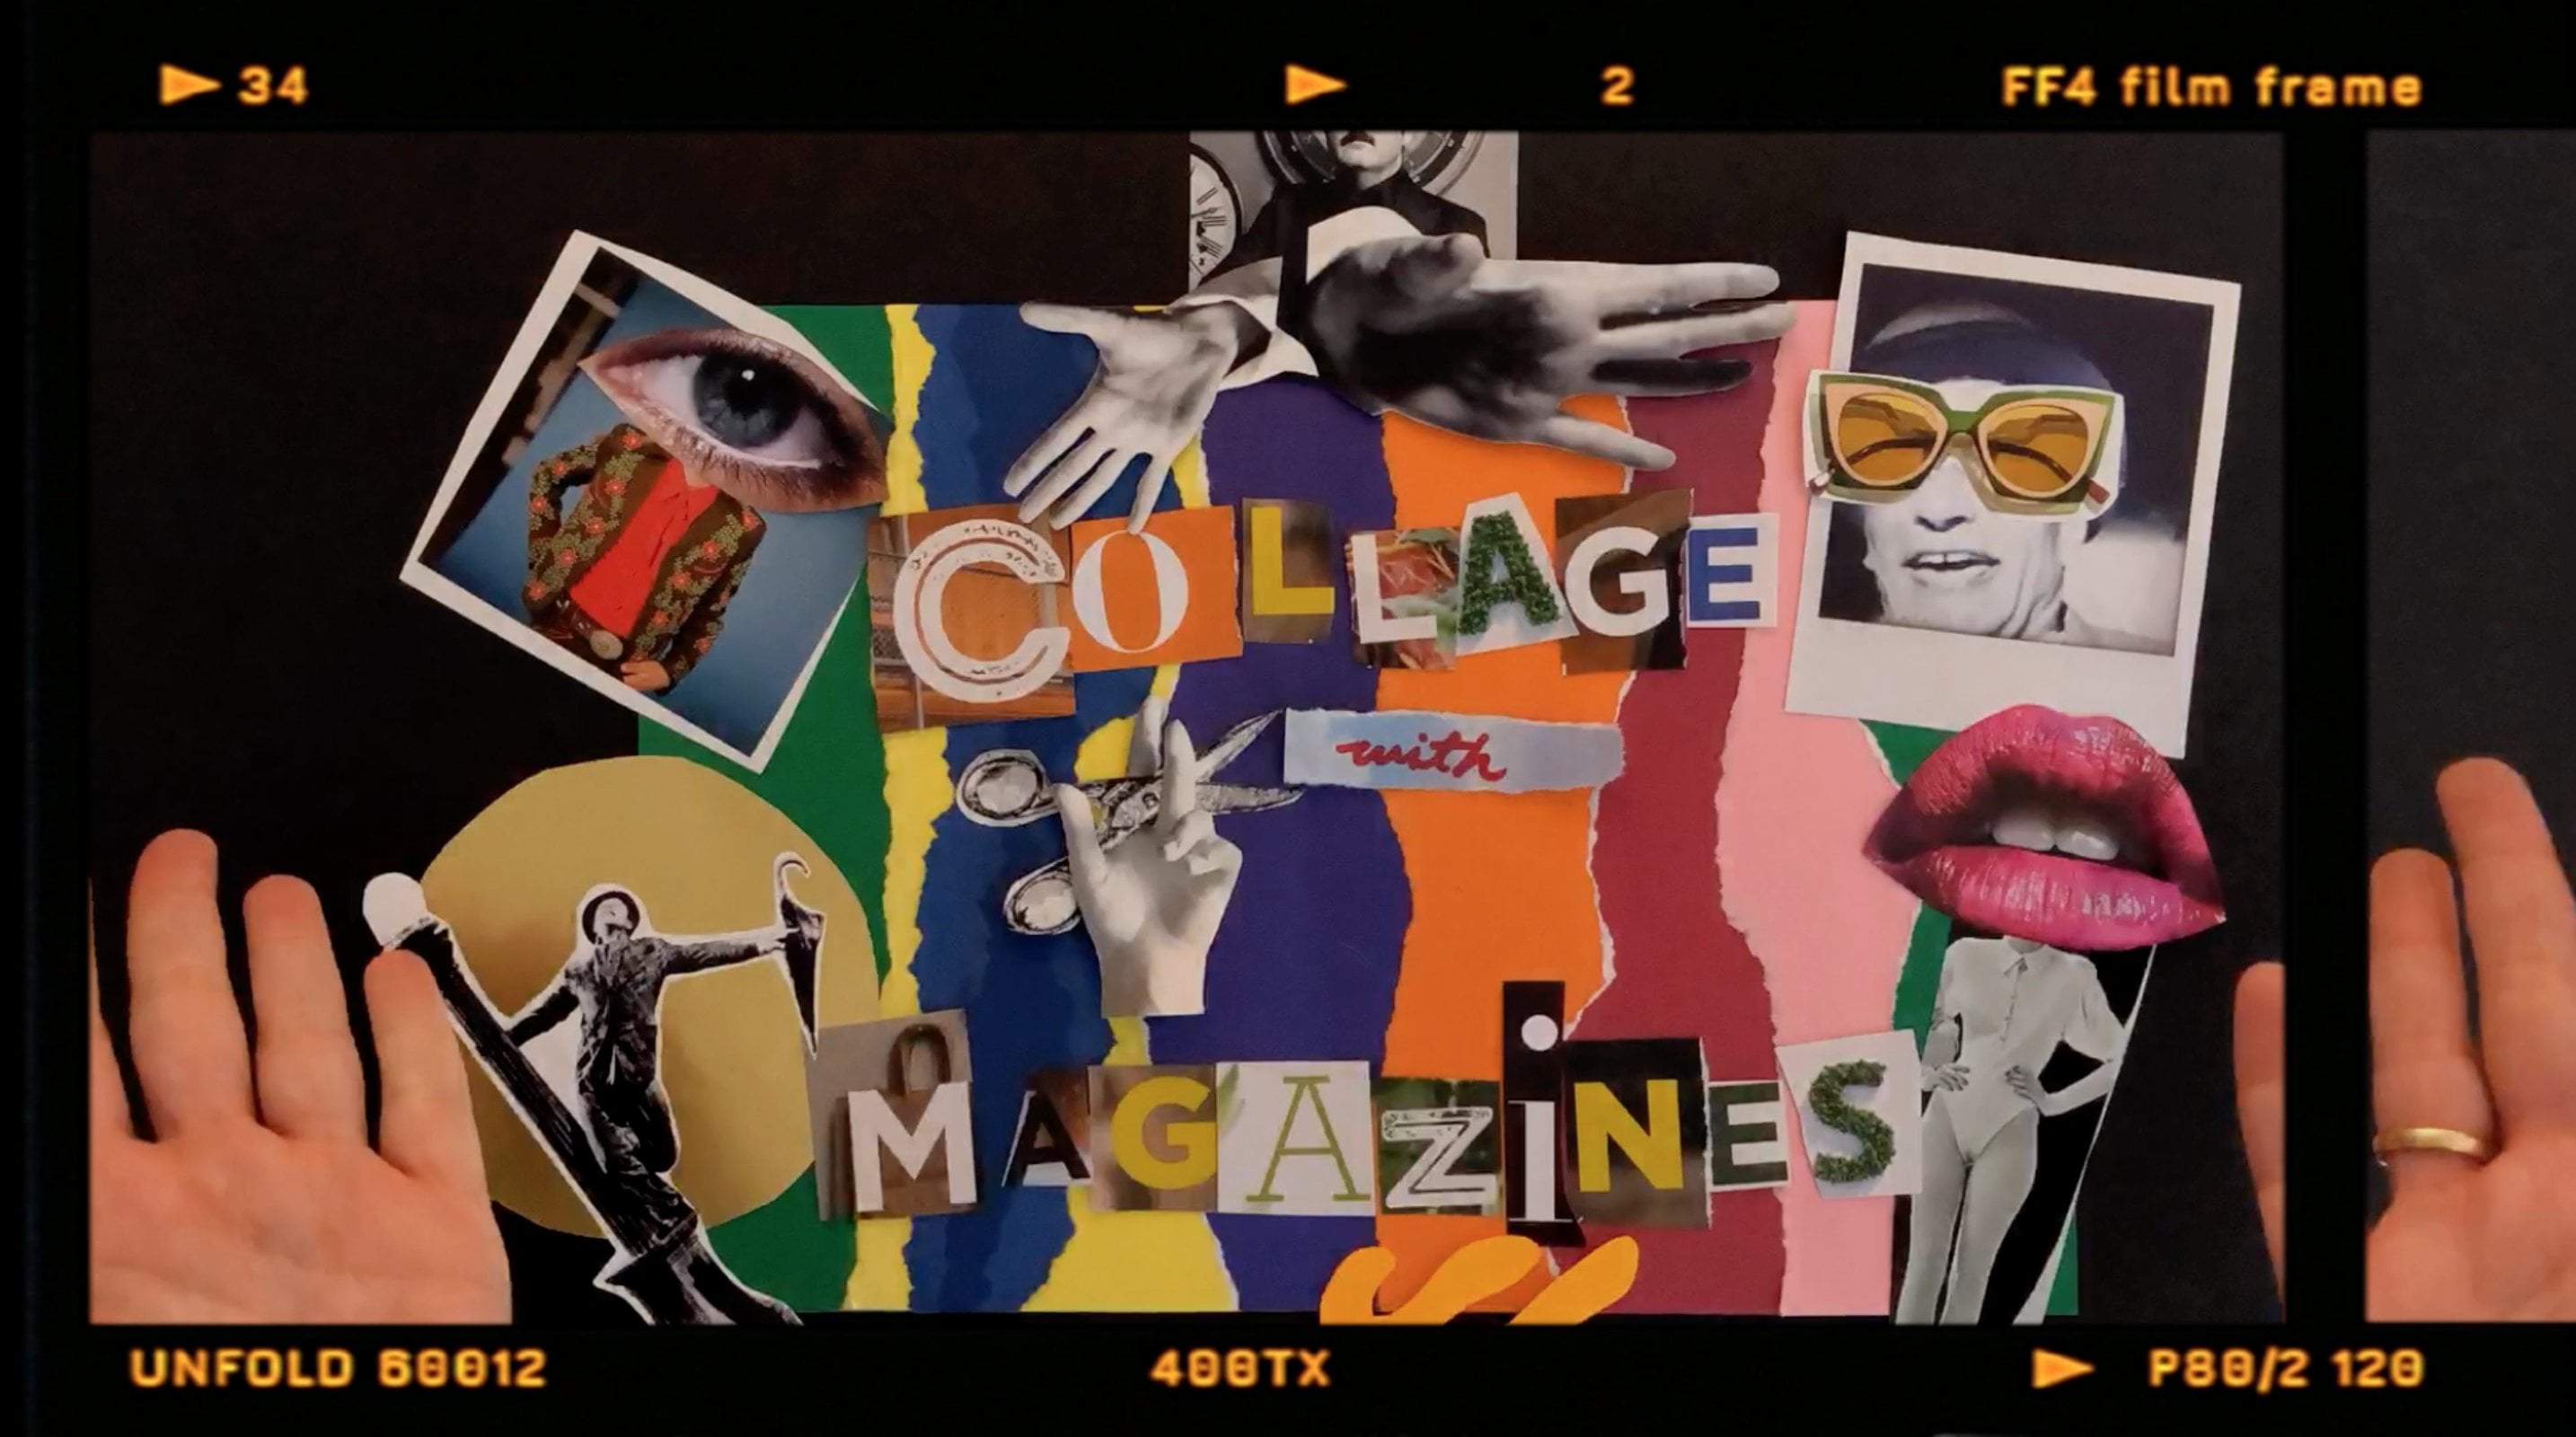
different types of cuts in my other class name collage with magazines that I'll
be leaving a link for you in the resources tab. For smaller cuts and more detailed cuts like
for example, this one. I like to use smaller scissors because since the blade
itself is not that long, it is actually more
comfortable to see exactly what your cut
is actually going. Then you can of course, find tons of other
types of scissors. I like to use this
one's, for example, that have a curve that
are also great when you're using to cut small
curves are circles. And this one's I
also like to use. Sometimes you can
see that they have an uneven edge that actually
creates like a zig-zag. That can be a fun and cool way to change the edges
of your paper. For this lesson's exercise, I suggest that you go through
any magazine and select four images, two bigger ones
and two smaller ones, preferably with lots
of details in them. Cut them using both a regular
scissor and a smaller one. Alternate the two to see what feels better or more
comfortable to you. Don't just take my word for it. See what works best for the scissors that you
have at home as well. In the next lesson, we'll go over the exacto knifes.
4. Craft Knife: When I began making collage, I would only use scissors. But the moment that I added the cutting knife or the Exacto knife into my toolkit, I began actually making more
professional collages and I felt more confident to try out different styles
and techniques. So this is what I
call Exacto knifes, Exacto is actually a brand. So some people also call
them cutter knives. To try to differentiate into the two types of
different knifes. We're gonna call this
type a craft knife. And this type that has
as you see, a different blade, more pointy, we're going
to call an art knife. We're going to start
with the craft knife. This one you might
already have at home. It actually is great
for opening boxes, or cutting straight lines. I'm going to show you first how to have a new fresh blade. Sometimes you can change
completely the blade, but also, if you notice these ones
have kind of lines like dents that you can cut so you have a fresh tip
and a fresh blade. In particular, when you notice
that when you're cutting, it pretty much starts to tear
and not to make a clean cut. It is time to have a new
blade or to cut your tip. What I'll usually do is
that I use the same cap, that the Exacto knives have. And you see that right on the other side there is
actually a little dent. So you can put it where pretty much the line
of the blade is. And then you can
just cut it off. So now you're going to
have a fresh blade. I like to use the
cutter knife, the craft knife to cut things
out of magazines. I also like to tear them out because the texture that
they leave is beautiful. But if you want to make
sure that you don't wrinkle it or that you
take the full page. You can also use
your Exacto knife. You have to also be careful because depending
on the pressure, you can cut more than
one page at a time. I also used to craft
knife for cutting straight lines. And for either
of the exacto knives, whether it's the cutter
or the art knife, you are going to use
complimentary tools. For example, to
protect your table. I recommend using a
self-healing cutting mat. They come in a variety of sizes. I usually use this one. I do have also a smaller
one that I take, for example, when
I'm traveling or working or smaller table. And also great about the
healing matt is that they have reference lines to make straight cuts which can
come in very handy. Also, something that
works really good is actually having
a metal ruler. The metal helps
because that way, the knife wound cut into the
plastic ruler for example. And also some rulers
actually have like a cork backing here on the back. And that can be great also to help you for it not slipping. Although I recommend if you don't have one
that has a cork, is to actually apply
some pressure while you're cutting and that
will keep it into place. So to summarize, I like
to use a craft knife to actually cut out images
from books or magazines, or also to cut straight lines. As for as exercise
in this lesson, I recommend that you
use the craft knife to cut out some pages of a
magazine or even an old book. And then with the mat
and a metal ruler, you can cut the images out from the pages in pretty
much squared images so that you get to practice
and feel comfortable with the grip of the knife and
the use of the ruler. Also, remember you might want
to practice and cut the tip so you know how it works and also have a fresh
blade to start with.
5. Art Knife: The art knife I
like to use to make more freestyle cuts and lines, and also to easily access the
inner part of some images. You can see that the
blade is actually quite different than the
normal craft knife. It is more pointy and sharp. It also looks like a scalpel. And actually, lots of people use a real scalpel to use
as their art knife. They come in a variety of
styles and brands as well. But in general, I look for two things when
choosing an art knife. The first one would be that you can actually change the blade. You can see that this
one is actually, very nice art knife, but you can change the blade so when it goes so it
can be a problem. With these ones. You can easily unscrew the blade and change it for a new one
whenever you need to. The other thing
that I look for in a knife is that it's
actually comfortable. You should grab them
almost like a pencil. This one is great, but I actually like to find
these ones that have kind of a rubber part here where you put your fingers so that it's actually more comfortable
around this area. Now into how to use this tool, the first thing I
want you to know is to not get discouraged. It takes practice, so
it's hard the first time, but the more you practice, the better you will get. It's also not just
about your skills. Some papers are harder to
work with than others. For example, really thin
and delicate papers like magazines or newspapers,
can be tough. And also if it's a
very thick card stock, like more than 200 grams, it can also be
difficult because you would need to go
through several times. In general, I like papers that
go from 160 to 180 grams. And that is what I have
found that it works the best with this type of Exacto knife. As for the cutting, it will look more
clean and smooth. The fewer stops that you make. You will find with practice also when you need
to change the blade. But in general, a dull blade pretty much it doesn't cut all the way through or even
torns more than it cuts. Also when I start a new project, I like to change my blade. But remember that
this is analog work, so you don't have
control Z or Delete. So stop and look at what
you want to cut so you can think and plan it
out before you start. Some tips before starting. For example, here, if we were to cut out this woman in general, I suggest starting inside out. This way. You don't have a thinner paper and it's not as compromised. So here for example, I would actually start cutting the slits from the arms first. Also I rather do sometimes
the harder cuts first. So when I'm tired, I can do the easy fast ones. Something to keep in mind is
to move the paper as you go. You don't want your
hand to be an, a very uncomfortable angle. So it's better to move
the hand as you go. And you can also go back, for example, here I
went a little wide. I could always make that
cut a little bit better. Also, something to keep
in mind is the pressure. You will learn this
with experience, but you don't need to
pressure too much. Also, like I
mentioned, remember, the best way to grab art knife
is actually like a pencil. Because sometimes if people grab it like this for too long, applying the tip of their
fingers directly to the knife. It can leave a
mark and it can be a bit unpleasant after a while. Something to also keep in mind is when you're
cutting things out. If they don't come
exactly out right away. For example, I'm going to
give you an example here. If they don't come
out exactly all the way instead of pulling it, because you can see
here how this I pulled. It's best to go
over it once more. That way you don't end up with those types of torn in
the middle of the paper. Let's try it here again. You see when I tried
to pull it out, instead of tearing this part, I would just see
where it's stuck. And I would put my
knife right on top of there until it easily comes out. And in general, enjoy
the cutting process. It's pretty much like painting. You should aim for it to be an enjoyable process rather than an exhausting or scary one. It is a manual labor
that requires precision in deed and especially love. And if you pay attention
to the details that will show actually
in the final result. For this lesson, I think it is great idea to do a precision and cut exercise that will give you confidence and practice
with the art knife. Here you can find on
the resources tab, this page with different
geometric shapes that you can print
out to practice. You can see we have
different geometric shapes. And we're going to
start with the circles. Curves, especially
small curves are the hardest and straight
lines are usually easier. When you're working on circles, the least amount of stops, the fewer ones you make, will give a better result. But it's also okay
if it's not perfect, remember you're doing
this with your hands. As I mentioned, remember to
move the paper as you go. And if you make a mistake by accidentally cutting
into an image that you're cutting or a shape. You can always try to solve it, adding a bit of tape right on the back to see if it stays put. When you're doing things like
squares or straight lines, it actually helps to make all the lines in a similar
direction at once. Especially when doing squares. You don't have to do
the cut that precisely. You can go further so that way, you know for sure that it will
come out at the first cut. If you feel that it didn't go through the entire
way on the first cut. Remember to do it again. I hope that this
exercises will help you practice and gain
in a little bit of confidence with precision
before you move on to cutting some other images
like maybe magazine ones. I'll see you in the next lesson. We will, we will go through different tips and
techniques for gluing.
6. Glue Tips: Now that we've gone over
everything related to cutting, I want to move to the glueing tools. For magazine collages. I usually use a glue
stick and once again, please feel free to go
over to my other class, collage with magazines to
check more on tips and in-depth conversation
about how to use the glue stick for pretty much
glowing magazine collages. It's also depending on
what you're growing, you might like to use
other types of glue. For example, I love pressing flowers and once they're
all dried on flat, I can actually incorporate
them into my art works. And for this, for example, double-sided tape actually
works very great. I also can use it
sometimes in magazines, but I don't really like to
use it much because after a while you can actually see streaks where the tape has gone. So for that, I actually
like to use the glue stick. Also something that you can
try to do is if you want to use a more heavy-duty
all-purpose glue, for example, or double-sided tape and don't
want it to show with time. You can actually add
like thin card stock, a little piece of it right
behind the paper that you intend to do with
example with glue stick. And then you can actually
add the double-sided tape or the all-purpose glue for when gluing it on
the final surface. That can help you to
also make sure that it's actually more durable in general. For more
mixed media projects or for projects that I'm using
mostly thick card stock. I like to use this
all-purpose glue. But actually this brand, UHU the nozzle
is quite thick. And when you press to
make the glue come out, it comes like in a
really big quantity, which is hard to control, and it mostly makes
the work look messy. So one of the complimentary
tools that I love to use are these plastic bottles that I
actually bought on Amazon. And they are great because you can fill them up with the glue. And because they
have a very thin noozle you can actually
control the quantity. And remember, when
you're doing something, you don't actually need to add glue to the entire surface. Just makes sure
that you add glue around the edges
and a little bit in the middle to make sure
that it stays put there. Also something great
about these bottles. is that they have a little cap so it doesn't dry
the glue inside. Also, another tip that I have found is if you lose the cap. You can also use a pin pretty
much from a sewing pin, or a needle. Actually. You can put it right inside the noozle so it
stops the air also from coming in and then
you can easily take it out to continue to use it. Also things that are
complimentary tools and that worked really comfortable are actually a pair of tweezers. I like using the tweezers. So sometimes I can move and
pick-up objects easily, especially if it's an object
that maybe already has glue, or it's a small object. And you want to make sure that you don't damage it
when picking it up. For this lesson's exercise, I recommend that you
use the cuts from the previous exercises in the different lessons and
create a composition. You can practice using some of the different tools
or different types of glue to see what works best and what you're
more comfortable with. Also remember that seeing how the paper and the
glue change over time can also be a great way of knowing what works best
for your own practice. The next lesson, we'll talk about the takeaway
of this class.
7. Takeaway: I hope that this class
has been useful for you. And you know now which tools you need and what to look for
when you're buying them. We have also covered
how to use them. Now all you need to
do is to practice. You can use the exercises that we've seen through
to get started. And also feel free to ask me any other additional
questions that you might have on the
Discussions tab. I will give you my honest answer and share with you what
works best for me. And remember, it's okay
to feel clumsy at first. These tools require
precision and practice. You'll get the hang of it with time. Also remember you're
working with sharp knives, so please work slow
and try to stay concentrated so you can
keep all your fingers safe. I hope that these tools make your collage practice
more fun and give you more ideas and what you
can actually create. As I mentioned,
the really change my practice and I hope they
can do the same for yours. Thank you so much
for being here, trusting me and
learning with me. Remember you can
follow me here on Skillshare to stay in
the loop of new classes. And it's been a pleasure
to share my tips with you. Happy collaging. Bye.
 Ia Llamozas, Collage Artist