Transcripts
1. Introduction: Today we're diving into a foundational element of
guitar playing scales. Understanding scales
on the guitar isn't just about memorizing
patterns on the fret board. It's about unlocking
the essence of melody, harmony, and expression. I'm Lancelot Houston and I'm a musician
producer and teacher. In this class, you'll
explore fundamental scales that will open up a world
of musical possibilities. You'll start with
pentatonic scales, a five note scale, revered for its simplicity
and versatility. You'll learn the major scale, a cornerstone in Western music. Finally, we'll take a
look at the minor scale. The minor scale has an
incredible range of expression. You'll also explore
various rhythmic patterns that will challenge and refine
your finger coordination. This is designed to meet you at your skill level
and take you further. By mixing practical exercises with some knowledge
of music theory, you'll not only be able to seamlessly play through
these exercises, but know what you are playing. By the end, you'll have
gained a new confidence in both the play and theory
behind the guitar. So grab your guitar
and let's get started.
2. Class Orientation: Today you're going to
learn how to play major, minor, and pentatonic
scales on the guitar. By the end of this
class, you've learned some patterns that will serve as a foundation to your playing. In my project, I'll be
demonstrating how to play these scales and put them
together to create an exercise. All you'll need is a
guitar to get started. Here's what I'll be looking
for in your class project. Playing through the scale
patterns seamlessly, using a metronome to keep time and subdividing
with different rhythms. You can submit your
project by recording yourself on your phone or
another recording device. Next, we'll take a look at the basics of scales
and the theory behind.
3. Foundation: What Are Scales?: Before we get into how to
play scales on the guitar, let's build a foundation of understanding by
covering some basics of music theory and looking at the differences between
these scale patterns. So what are scales? A scale is when multiple notes are grouped together within an octave in ascending or
descending order of pitch. In order to best
understand this concept, I think it'll be helpful to
move over to the keyboard. First, some basics. There are 12 different noes. This is known as a
chromatic scale. Here we're looking at all
the notes from C to C, going from a low
sea to a high sea. This is called
Noctave. The notes in between consist of both
black and white keys. The white keys of the
piano are A, B, C, D, E, F, and G. The black keys
are the notes in between. You might know them
as sharps or flats. When a note is sharp,
the pitch moves up or to the right by one key. The black key to the right
of C becomes C sharp. When a note is flat, the pitch moves down to
the left by one key. So C sharp could also
be looked at as D flat. One way you can
refer to moving from note to note is in
terms of steps. When moving through
the chromatic scale, we're moving in what's
called a half step. For example, C to C
sharp is a half step. Now let's say we
moved from C to D, this would be called
a whole step. It's also important to
note that there are no sharps or flats
between the notes E and F. And now I want to look at the scale for the major scale. Let's see how it's built
in terms of steps. Major scales follow
this pattern, half starting at C. Let's follow this
pattern and take a whole step to D. Next, another whole step
to a half step to then a whole step to G.
Another whole step to A, another step to
finally a half step to reach an octave
above where we started. This pattern can be
applied to any node. Let's take, for
example, starting at E. Let's travel a whole
step to land on sharp. Follow that with another
whole step to sharp. Next, a half step to a whole step to another
whole step to C sharp, a whole step to D sharp. And finally, a half step landing an octave
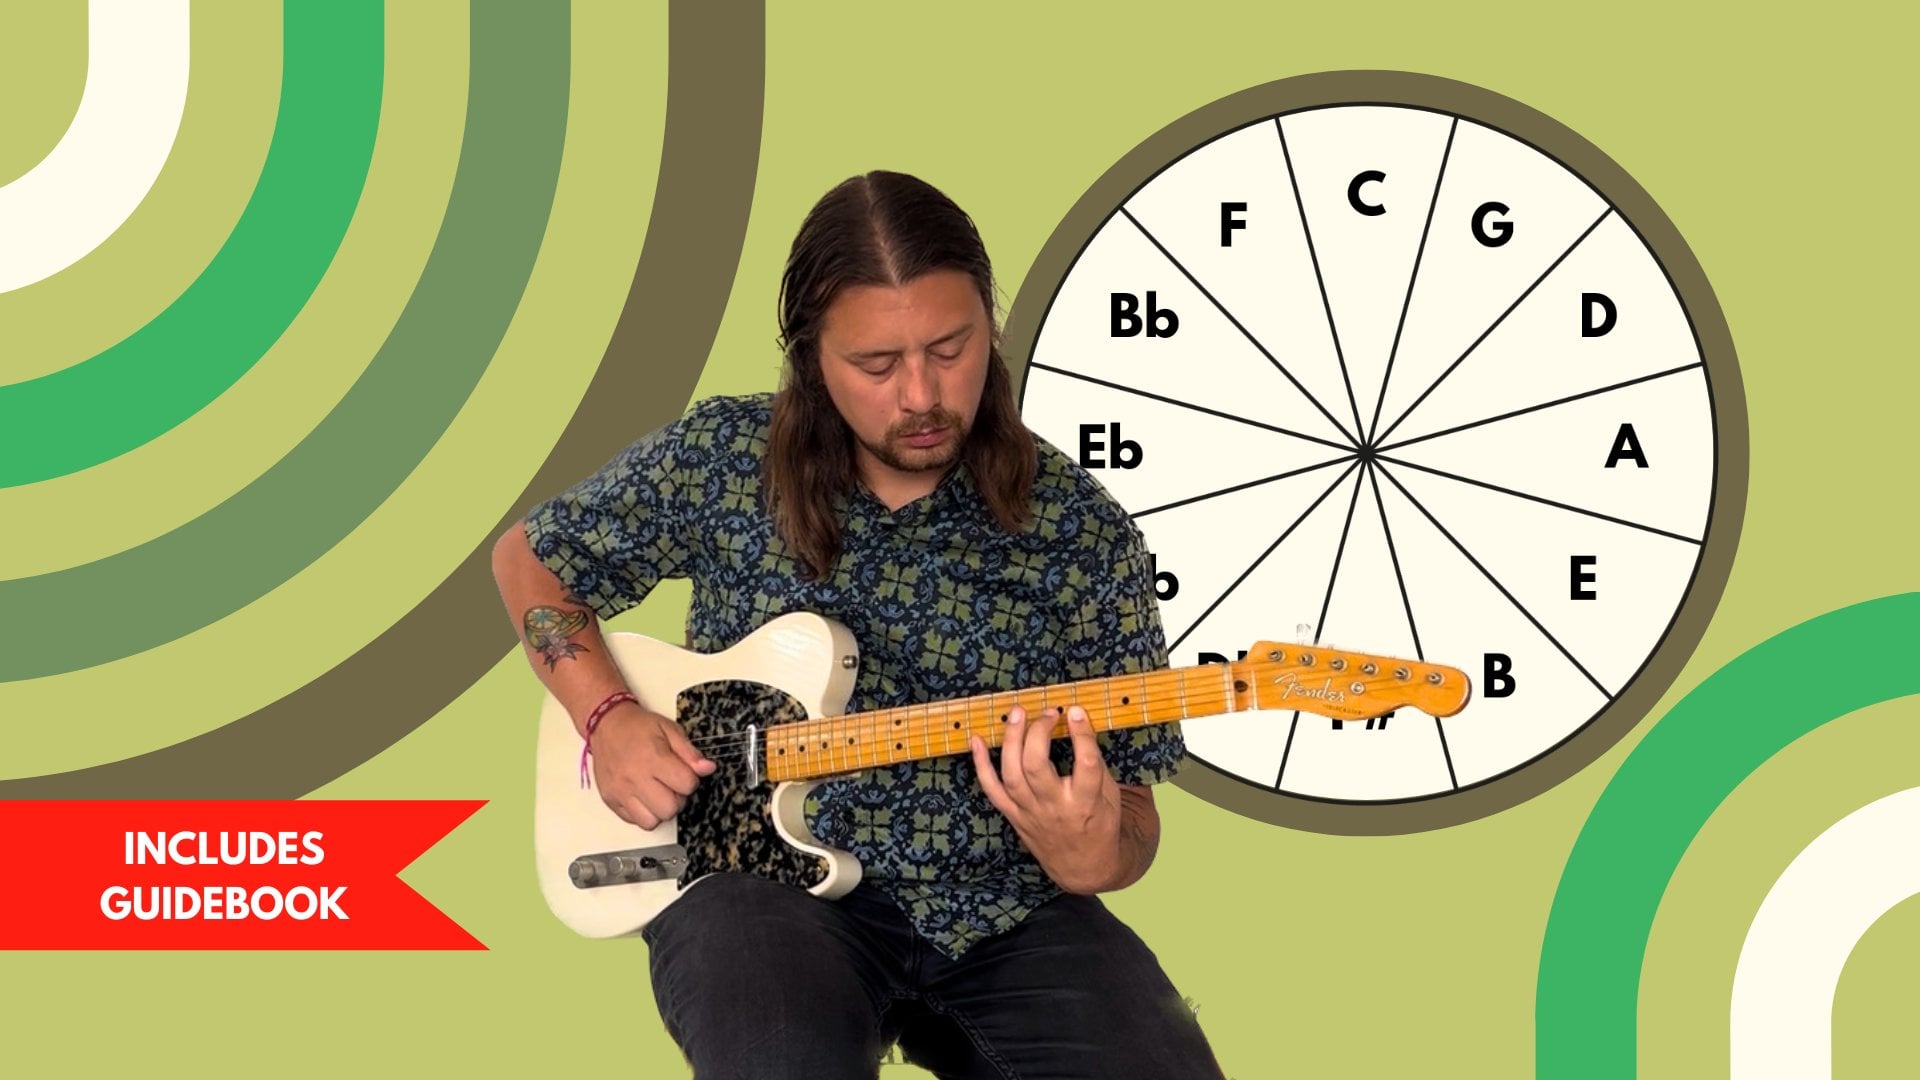
above on another. Now let's take a look at
the natural minor scale. For every major scale, there's what's called a
relative minor scale. What this means is that the
notes of the major scale and its relative minor are exactly the same notes just starting
at a different place. So let's return back to the
C major scale as an example. One way to find
the relative minor is to look at the
sixth of the scale. If we count up to
the sixth note, in this case it's an, the relative minor of
C major is a minor. We can build the minor scale by using the same
pattern as before, but this time we'll
start on the sixth, the pattern becomes
whole, whole. Let's look at it
note by note again. If we start at A, we'll move a whole step to next,
a half step to, followed by a whole step
to another whole step to a half step to step to
finally a whole step to a. Now that we got that covered, let's move on to
pentatonic scales. Pentatonic scales are
simpler versions of the major and minor scales
that we just went over. But we'll remove the fourth
and the seventh notes, leaving five unique
notes, rather than seven. The remaining notes of
the scale are the 1,235.6 Here is the C major
pentatonic scale. Next, let's look at some basics of navigating
around the guitar, and you'll be one step closer in learning how to play through
these scale patterns.
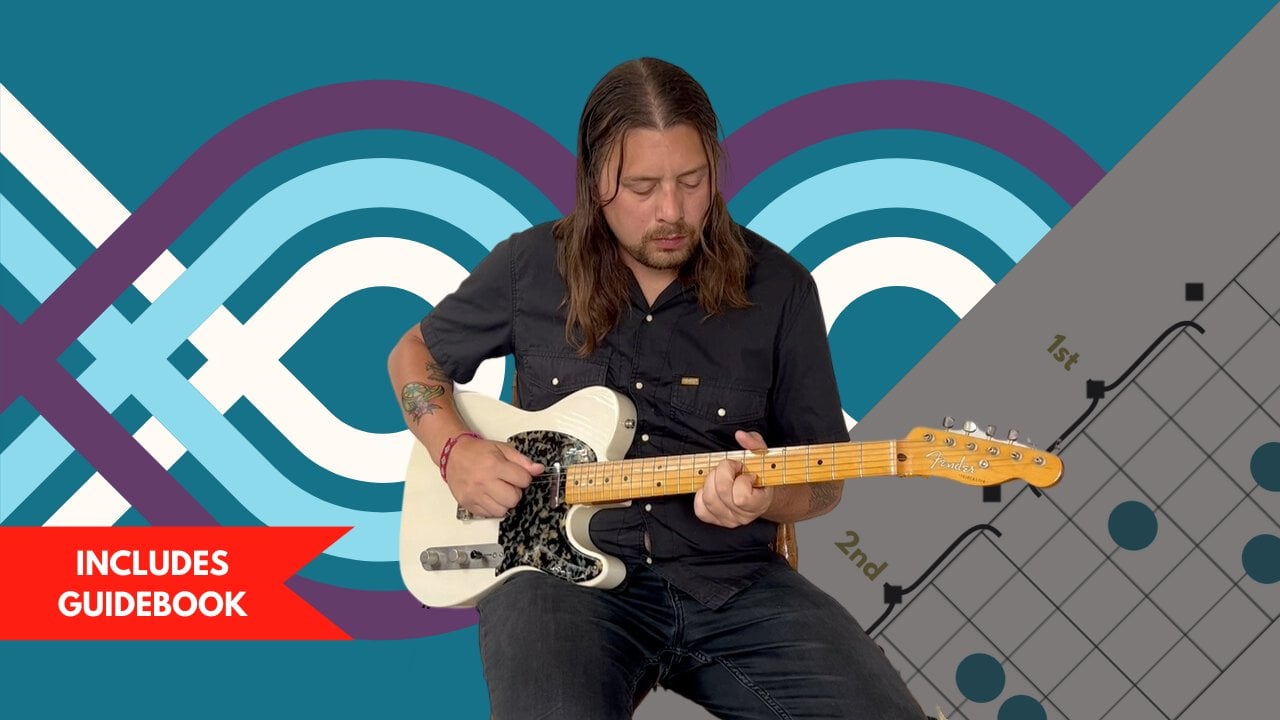
4. Foundation: Guitar Navigation Basics: In order to play guitar
skills seamlessly, you'll need to cover some basic navigation of the guitar ne, it's important to
know the note names of the guitar strings. We'll start with
the first string, or the string playing
the highest note, indicated by the small
E on this diagram. The second string is, the third string is G, the fourth string is D, the fifth string is A. And the sixth string
or the string playing the lowest
note is another E. You'll most likely have fretboard indicators
on your guitar as well. In this diagram, you'll see
single diamonds on the frets, 357.9 and a double
diamond on the 12th fret. The 12th fret is
important because it indicates an octave
above the open strings. So the notes played open are the same notes
at the 12th fret. Next let's go over how I'll be referring to your fingers
of your fretting hand. Your pointer or
index finger is one. A middle finger is two. A ring finger is three, and your pinky finger is four. Now that you've
covered some basics of guitar navigation
and terminology, let's dive into the first scale covered in this class,
the minor pentatonic.
5. Minor Pentatonic Scale: The minor pentatonic scale is often the first scale that
a beginner will learn. Its simplicity, combined
with its expressiveness, has made it a staple in
many genres of music. The pattern that
you're about to learn can be played anywhere
on the guitar neck. I want to start on the fifth
fret of the low E string. Once you're in this position, play the fifth fret of the low E string by
using your one finger. Now stay on the same string and use your four finger to
play the eighth fret. I know it can be difficult
to use your pinky finger, especially if you're
just starting out, but I promise the
quicker that you train yourself to use it and
build its dexterity, the easier guitar
playing will get. Next, you'll move
on to the A Str. Use your one finger to
play the fifth fret. Follow that by using your three finger to
play the Seventh Threat. Still on the string. The next couple
strings, we're going to follow the same
finger pattern. Let's move on to
the D string and play the fifth fret
with your one finger, followed by playing
the Seventh Threat with your three finger
still on the D string. Once again, we'll follow the
same pattern on the string. Use your one finger to play the fifth fret and your three
finger to play the seven. Now we're going to move
onto the B string. Play the fifth fret
using your one finger. Next you're going to use your forefinger to play
the eighth Threat. Moving on to the last
string, the high. Here you'll play the fifth
fret using your one finger. Finish the pattern by using your fore finger to
play the eighth fret. And that's it. I want you
to practice this scale by playing it both ascending
and descending. Once you're feel ing,
comfortable with that, try playing the pattern on
different parts of the neck. This pattern, along with all the others that you'll
learn in this class, can be played
starting on any fret. When practicing the scale, I want you to refrain from
thinking about it in terms of what number you're using and more in terms of what
fingers you are using. I'll demonstrate so
you get the idea. Dad, do congrats on getting
through your first scale. We'll continue to develop upon this scale pattern
later on in this class, but for now, let's move on to another five note
scale, the Major Paton.
6. Major Pentatonic Scale: The major pentatonic
scale is equally as important to its minor
pentatonic counterparts. Both are simple and used in many genres of music
other than its tonality. The main difference is how these scale
patterns are played. When starting the scale pattern, I want you to begin
on the eighth fret of the Lo string using
your two finger. Next, use your four finger to play the tenth fret
of the same string. Now let's move over
to the A string and use your one finger on
the Seventh Threat. Follow that by using your fore finger to
play the Tenth Threat. Next, move to the D string and use your one finger to
play the Seventh Threat. Follow this by using your finger to play
the Tenth Threat. Now let's move on
to the G string and use your one finger to
play the Seventh Threat. O. After that, you'll want to use your three finger and
play the ninth fret. Follow this by moving
to the string and using your two finger to play
the eighth threat. Next, use your forefinger
and play the tenth threat. Finally, we'll move on
to the high string. Here you'll follow the same pattern as the previous string. Use your two finger
on the eighth threat. Play the tenth threat
using your forefinger, just like you did in
the previous lesson. Practice this scale both
ascending and descending. Once you get a handle on that, try again to play this pattern on different parts of the neck. Boo congrats on getting through the major
pentatonic skit. Next we're going to look at a slightly more
complex version of dived into major
scales on the guitar.
7. Major Scale: The major scale is a
foundation of Western music. It's important for any musician to be able to learn and perform. Fortunately, you've
already learned most of the major scale by learning the major
pentatonic scale covered in the previous lesson. Let's take a look at
what you'll need to add in order to play the
entire major scale. I'd like you to
start the scale by playing the eighth fret
of the low E string, using your two finger. Follow this by using your
finger on the tenth threat. Next, move onto the seventh
Threat of the A string, using your one finger. Now we'll break away from
the pentatonic pattern and play the Eighth Threat using your two finger still
remaining on the string. Play the Tenth Threat using your finger after that move to the D string and use your one finger on
the Seventh Threat. Follow this by using your three finger to
play the ninth fret. Next, play the tenth fret
using your four finger. At this point, you've
played through one octave of the major scale. Now we'll continue to play
through the second octave. Moving onto the string here, you'll repeat the same
pattern as the D string. Use your one finger to
play the seventh fret. Play the ninth fret
using your three finger. Follow this by using your four
finger on the tenth fret. Now let's jump to
the string here. You'll use the two finger
on the eighth fret. Follow this by using your four
finger on the tenth fret. Finally, let's move
to the high string. Play the seventh fret
using your one finger. Next, use your two finger
to play the eighth fret, which completes
the second octave. We'll finish out the
pattern by using your fore finger on
the tenth threat. You'll want to practice the scale ascending
and descending. You should also try
practicing the scale in other parts of the neck,
in different positions. Great work on getting
through the major scale. Next up is the last
scale that I'll be covering in this class,
the Minor Scale.
8. Minor Scale: The minor scale is
my personal favorite among the scales that I'll
be covering in this class. I like the emotion
that it conveys, and it's often the place where
I start when improvising. The minor scale is
the trickiest of the scales that we've
covered in this class. But by learning the
minor pentatonic scale, you've already learned
and outlined most of it. We'll start by using your one finger on the
fifth fret of the low. Next, use your three finger
on the seventh fret. Follow this by using your four finger to
play the eighth fret, still on the low e. Next, move onto the string and follow the pattern you
just played on the LowE. You'll use your one finger
to play the fifth fret. Use your three finger to
play the seventh fret. And your four finger to
play the Eighth Threat. Moving on to the D
string here you'll use your one finger to
play the fifth fret. Next, you'll complete
the first octave by using the third finger to
play the Seventh Threat. Next, move onto the G string. But here for the first
time in this class, you'll need to change
your position. You'll play the Fourth Threat
using your one finger. Follow this by using your two finger to
play the Fifth Threat. Finish up this string by playing the Seventh Threat
using your finger. Now we're going to move
to the B string and your hand will need to return
to the fifth position. And start this string by playing the fifth fret
using your one finger. Use your two finger to
play the Sixth Threat. Finish off this
string by playing the Eighth Threat
using your finger. Finally, move to
the high string. Use your one finger to
play the fifth fret. At this point, you've
completed the second octave, but we still have more notes that we can access
in this position. Follow this by playing the Seventh Threat with
your three finger. And finish it up by using your four finger to
play the Eighth Threat. Try practicing this scale, both ascending and descending. You'll also want to use this scale pattern
in different parts of the neck. Congrats. You've made it through
the minor scale, along with all the other scales that I'll be covering
in this class. Next, let's take a look at how
we can get the most out of these scale patterns by incorporating different
rhythms and alternate picking.
9. Alternate Picking + Rhythm: Now that you have a good
handle of how to play major, minor pentatonic
scales on the guitar, I want to show you how incorporating
different rhythms and alternate picking will help you get the most out
of this exercise. Once you've gotten comfortable
with these scale patterns, start trying to subdivide your picking to
incorporate quarter notes, eighth notes, triplets,
and 16th notes. Using a metronome will
help you keep time and increase the accuracy of the
subdivision of your notes. I want you to try all of
these scales using alternate. Alternate picking is
just the practice of switching between
upstrokes and downstrokes. When playing through
these scales, you most likely played each note once and
moved on to the next. Let's refer to this as
using quarter notes. When you got that down,
play through it again. But now subdivide
using eighth notes. Now you're going to
keep the same tempo, but play each note twice. Next, move on to
subdividing by three, also known as triplets. Finally, try keeping
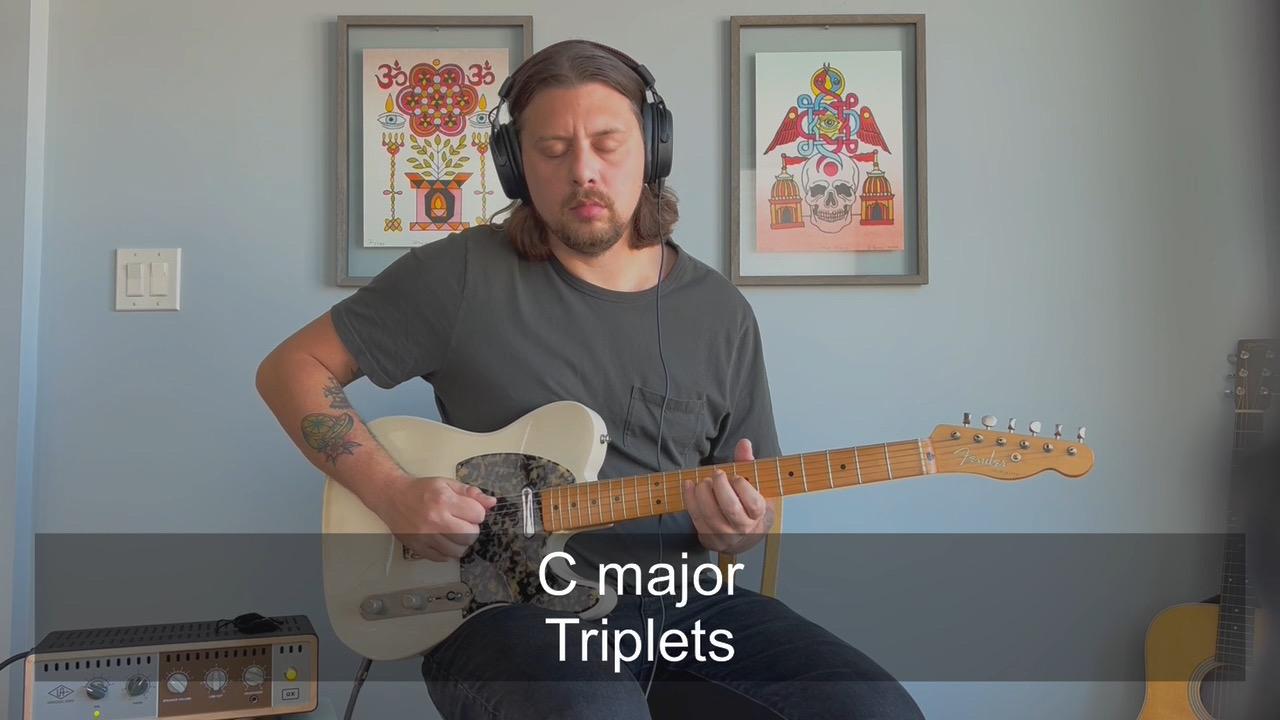
the same tempo, but subdivide into four, known as 16th notes. Now let's put it all
together and I will demonstrate all the techniques
covered in this class, in my class project.
10. Class Project: Now we've reached the point
where I will demonstrate my class project
and put together all the techniques that
we've covered in this class. I'll be playing the
major and minor scales back to back using
quarter notes, eighth notes, triplets,
and 16th notes. You'll see that I also will be incorporating
alternate picking. I'm setting my metronome
to 90 beats per minute. Baby, baby, baby, baby, baby, baby.
11. Conclusion: Congrats on making it
to the end of this. I hope you're coming away
with a deeper knowledge and excitement about the many possibilities
of the guitar. Be sure to post your
final project in the project gallery and post any questions you may have
in the discussion selection. Remember, practice
makes perfect, and I hope to see you in some of my classes in the future.
I'll see you next time.
 Lancelot Hueston, Musician - Producer