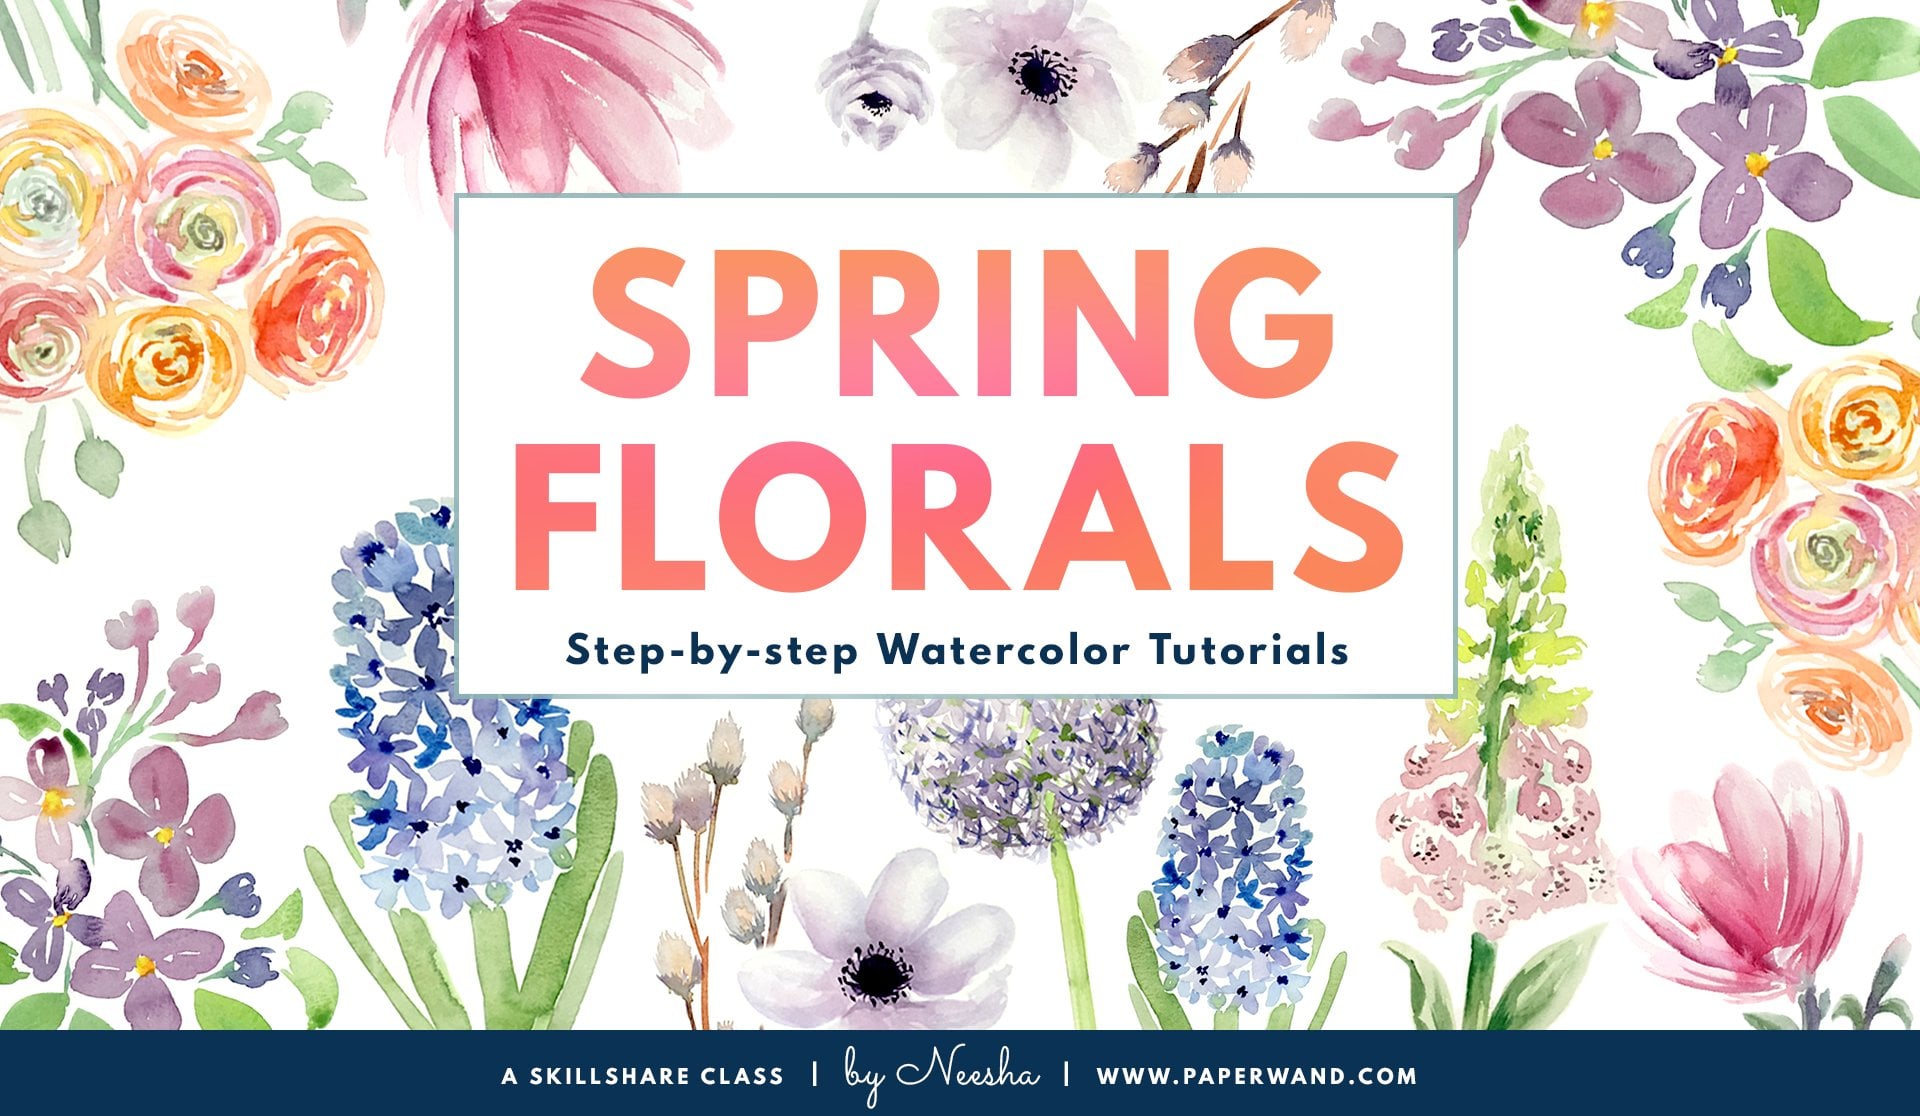
Transcripts
1. Intro: Hi and welcome to my watercolor class. My name is Nisha. I'm an artist, an illustrator. One of my most favorite mediums to teach is watercolor. The focus of this class is glazing and what exactly glazing is how you can use it in your work. I'll take you step by step through some warm up drills and a few exercises, and then we'll do a final project together where you can put it all together and use your new glazing techniques. So join me in the next lesson and let's get painting.
2. Supplies + Prep: Okay, so you'll need some watercolor brushes. I have a variety here, so my large ranges from 12 to 16 the medium is around 6 to 8, and then I have some smaller ones that are zero and one for the detailed work. I prefer to use round watercolor brushes there really flexible, as's faras, different applications, and you can do a lot with one style of brush. So if you have a limited choice, I'd go for the round brush. Okay, so you also need some watercolor paper for glazing techniques. I would recommend ah, high quality watercolor paper, something like Arches, which is known for the thicker 100% cotton style of paper. And they can take a lot of water washes really well without tearing up. Also, you'll need watercolors, and you'll need some masking tape or low tax painter's tape to keep your paper edges down one or two containers of water, paper towels or art rags. I have all the class supplies listed in the class description, including a few more optional ones. If you would like to add to your list and also I have a Pinterest board for reference for butterfly images, so that when we go to our final project, you have a starting point. You're welcome to use your own image or choose one of these.
3. Glazing Color Chart: the first thing we're gonna do is make a glazing color chart. This is different than a standard color mixing chart. Glazing is using one color and then glazing, which means to layer another color on top after the first layer is dry. For my chart, I'm going to be testing five colors, so I'm to make sure I have five boxes going across and five boxes going down, and you can use any of your brushes. I have a flat brush here you can use around Russia's. Well, either is fine, and I'm going to start with my first color, which is the yellow. What we're going to do is just start off by making our first column down the one color So one column of yellow and I'm not mixing this on my pilot, Adul. I'm going straight from my pans set, and I'm putting a light layer straight onto my paper and then you're going to take that same color and paint one square in the row right next to it. When you're selecting colors to test, keep in mind your final project. The way I chose my five colors was that I wanted to use them in my final butterfly painting . The second color amusing is this teal green, and I'm rinsing my brush enough so that I get a light color. I'm going straight from the pan set and then straight on to the paper and just keeping it really light in translucent. So again making sure that whatever I do in the column, I add one square into the row next to it on the left hand side. If you're uncomfortable going straight from your pan set onto your paper, I would recommend getting a separate mixing palette something like a dish or a clean palate , and then make your light water down color before you put it onto your paper. One of the most amazing things about watercolor that I love is how translucent the colors are. So they're perfect for glazing, because when you layer in different colors on top of each other, you get a color mixing that happens directly on your paper versus color, mixing in your palate first with the wet paint and then putting that on your paper. The results are different than pre mixing your colors Well, they're all still wet. I actually really like using both techniques. So depending on what I'm painting, I'll mix and match between the two. Once you have your set of colors done in one layer and they're all pretty even as far as transparency and pigment water ratio, we're gonna let this first layer dry. And if you're impatient like me, you can use a heat gun or a hair dryer to speed up the process, and then, after it dries, will move on to the second step. Okay, as long as your first layer is 100% dry, you can start your second layer. So we're going to be glazing in our colors over each other, starting with the yellow and going straight across that first row. You'll want to keep your paint and water ratio the same as the first layer, so you get an even coat that's translucent, and you can see a little bit of that first layer through the second layer. That's right on top. And when you start this glazing process, you'll start to see subtle color shifts. Some will be a little bit more drastic, but mostly they are subtle color shifts, and you'll get a different color just by this layering technique. So now I'm using a clean palette and mixing up a translucent color because I'm going in for my second layer, and I want to be sure that it's translucent enough. So I'm adding the water and color first in that little well and then making sure it's the right consistency for my glazing. So a couple things to keep in mind while you're doing this process, you want to make sure not to overwork your paper. At this stage, that first layer will come up and start mixing into that top layer if you overwork your brush on the paper too much. So just keep a light touch and work pretty quickly so that you can just put the color down , haven't even and then just let it go, let it dry and not touch it too much. And this might depend on the brand. But in general, watercolors do dry a little lighter than they look, so when they're wet, they look a little bit more intense. And then when they dry, you'll notice that they lighten up, okay, and when you're done, just leave your paper to dry 100%. When it's fully dry, you can start to take up that tape and take that off and then just peel it off slowly and then peel back gently so that you don't rip your paper. So now that you glazed here, watercolors will be able to see clearly how you can adjust colors. Shift tones. You can take a color, make it warmer, make it cooler just by layering another color straight on top. What I find really interesting is that even with the same two colors, say, for example, this green that is on that row and that yellow mix to make a yellow green. But the same colors when I had the green first made a slightly different color. So it matters which order you put your colors down in as well, which is why you do a color chart so that you can see the results and test everything out first, and you can see when the same color was layered twice. Then the color was more intense. And then there are other ones that are less obvious, like the red and green that were layered, and you get more of a purple e muddy color now, depending on the order, you put it in. These two are the same. One is really great out looking color, and one is more of a purple looking color. And that's because one had the green first and one had that read first. So depending on what your project is and what you're going for, you may want a more vibrant purple. Or you may want a dollar color, and maybe you're doing a shadow, and this would be a great way to add that in. So from just five colors straight out of my watercolor pan set, I've got all these other colors to choose from and use. Taking a look at that reference image that I have, you'll see that there's a lot of greenish blues and purples all kind of blending together here. So we're gonna use this glazing technique and build up these colors in our final project, especially looking at some of the blends that we caught with that teal green and that violet and that blue. I'll know which order to put them in and which ones to do first. But don't worry. We're going to do a warm of exercise to get a little bit of practice, and then we'll jump into the final project
4. Warm Up Exercises: you want to use the same type of paper that you'll use in your final project for these warm up exercises? I have two columns here that are gonna be split in half. One side. We're going to do what on wet technique, just so you can understand how to control your water and you're mixing in two different ways. On the right hand side will do the glazing method, which is the wet on dry technique. You don't have to use the ruler like I am. If you want to, you can, but it's also perfectly fine to just roughly freehand some box shapes. So in the left upper box, I'm going to start with a purple and then keeping that really wet. I'm going to blend in. Ah, blew along the bottom and the two colors. We're gonna mix right in the middle, so both colors or what? So this is what on what technique, and they will naturally blend together on the paper as the paint dries. You'll see me using that paper towel a lot to wipe off any excess water, so keep a rag or towel on hand, and if you get too much water on your paintbrush. You can just dab it off that way, All right, so the box that is next to it on the right will be our glazing box. So I'll put in that purple first and then pull down the color so that it fades into clear water at the bottom. And then we'll let that layer dry completely. And just like we did in the color chart will glaze over the second color after it's dried. Alright, So back to the wet on wet side, we're gonna do two different colors. And when you're doing these warm up exercises, remember that your boxes can't touch each other while they're wet. If they do touch, you're gonna get a lot of what paint mixing with each other, and your boxes will get all mixed up. So I've got a little bit of space in between each of my boxes. So because the top one, which has the purple and blue, are really close to each other on the color wheel, those air analogous colors I am purposely choosing to colors that are complementary for this bottom box. So red and green are opposite on the color wheel, and you'll can already see that when they mix, they're gonna make that sort of murky sort of darker color. Maybe a little purple e. Depending on your paint, you might get a different neutral in there. So when it's wet on wet, it'll mix together on its own. And then you can see how that looks compared to the right box, which will be the dry glazing box. Once you have it set, you can use your hair dryer or heat gun to speed up the drying process. Then we'll go on to the next step. So I'm going to flip my paper around just so it's easier to do the color transitions here, and then with the glazing side, we're gonna put down our second color. That first layer is 100% dry, so I'm going to blend out that red on the top and then on the bottom at the blue and blend that one out. So as you can see from the top boxes there with the red and green, it's a lot easier to get a color blend that you like with the glazing technique. When you have what on wet, it's a little bit more unpredictable because as the water dries in, the paint dries. There's not much control that you have, so when you're doing it dry, you can really precisely laid down that color in the exact intensity that you want. All right, so the top right here of the page is going to have four boxes, and we're going to practice going light to dark and remembering our light source is, say, from the top, right. For these ones, that means that the color will be more intense towards the bottom left and a lot lighter with more clear water in the upper right. This is a really good exercise to practise your brush control, to practice how much water to paint ratio you'd like. If you get too much paint on that upper top right area, you can use your paper towel or rag to dab away some of the color in the water. In general. Watercolors. Pretty flexible. A song is it stays wet. You can mix it up. You can change the color. You can remove it with your paper towel. You can pick it up with your brush. Using a dry, clean brush, you can pick up someone I call it back in, but once it dries, it's a lot harder to less with it. Okay, And then under the four boxes, I have four circles and I'm doing ah, yellow, red and blue First, just the primary colors. And on the 4th 1 I'm gonna do a neutral, which you haven't done yet. In this exercise, it's just a black with the water down translucent layer. And then I'll show you how we glaze on top of these to shift them and change them. So, looking at the color wheel, you can see that the red and greener across from each other, they're complimentary. So when you layer those on top of each other, you'll get some kind of a neutral. And then colors that are next to each other on the color wheel are analogous, so the yellow on the other green are analogous, so you can see the red and green here, how they mixed and the kind of canceled each other out in the middle, where they blended. And in the top boxes we have the purple and blue, which your next to each other on the color wheel, so those would be considered analogous, and they actually enhance each other really nicely. So the top row is now dry. And because this box was purple, I'm going to use an analogous color, which would be blue to build up the shadow there and add some more richness into it. And then the same thing with the right hand blue box, something that would work really well, would be a red, and that would make a nice violet purple in the shadows. You can practice this exercise with all your colors that you want to use and test out and see how you can get neutrals with complementary colors and how well analogous colors work together. Something I also want to mention is this brand doctor pH. Martin's makes the concentrated watercolor. This series is so intense, and you only need a tiny little drop to add into your pains. I sometimes mix them up with my regular set of watercolors, and I can get some really beautiful glazes with them, so show you a few of them now, so I've got a little rose color here and then a purple and a blue, and then I'll blend them out past the really saturated one, so you can see how they look when they're little bit diluted and more transparent. So using that first circle, which is yellow allowed in that pink as a glaze, and I'm gonna do a really light, subtle ones, you can see how it color. The color shifts a little bit too more orange with pink layered on top of the yellow. That 2nd 1 I'll make more intense just to show you how much stronger you could do it. And if you really wanted a very vibrant shadow, you could do that. So blue and orange or direct opposites on the color wheel, which makes some complimentary. If you wanted to neutralize the shadow on this blue ball, you would use a complementary color. Someone put a little bit of an orange glaze right here, and to show you how easy it is to take down and intensity of the color, you can see how almost immediately that color just gets almost de saturated and it looks almost like it goes back in the space, so color glazing is a good way to pull things into a background or foreground, depending on how you use the color and then for something neutral, which was this light grey circle, which was black. You can actually completely shift it and add in a color and make this, say, a cool blue sphere with a shadow. I could have chosen a warm one if I wanted to make it more golden or orange Color Glazing is a really powerful technique, and I hope you have fun with it. Practice all of these as often as you like, with all the different color combinations that you like. It's really good to experiment with your set of colors and see how you can play around with them. I'm just going through and labeling this so it's a little bit easier to see on camera. And you can keep this next to your color chart as well and have it on hand so that when you do go to paint, you couldn't have a quick reminder of how you can use your watercolors. Here's the close up of that. What on wet Compared to the dry, wet on dry glazing technique there really similar? I think the benefit of glazing is that you just have more control over your color and your water and with what? On what? It's a little bit more spontaneous and unpredictable, and that might be what you want. So it depends on what you're painting and what you're going for. So looking at our reference picture that we're going to do for a final project, there are some little dots and speckles on these butterfly wings. They're dark blue, dark, bluish purple. So one thing to practice and we can do it right here. There's a little space. Just make small wings and then we're gonna fill them in and try to get that same effect of the speckles on the wing. The key to getting that kind of effect all depends on the amount of water that you put down so you don't want too much water and you don't want too little water. So it's sort of like finding that Goldie locks amount of water. That's just right. So I laid down a light blue color, and then I did a little lifting up in that bottom left corner. So it's a little lighter, and then, with the end of my brush and adding a little purple into the right side of the wing. So it's just damp enough that you can see the color spread out a little bit. It's not spreading out too much, and it's not just staying there as a sharp dot. So that's what you're looking for. A little bit of a fuzzy spreading out of color. So now show you where is gonna be too wet and too dry. So again we'll make that little blue wing on both of these. So the one on the right has too much water, and you can see that when I touch it, it just blends too much. So that is definitely too wet and too damps. You wanna wait until that was a little bit drier? To do this technique one in the middle, I'm going to start over. Just gonna use ah, paper towel and dab up what was there and start again. So long as it's what you can do things like that where you can completely change your mind . So let's start that one again. Let's make it blue, and then I'm gonna wait for to dry a little bit and then I'll show you what looks like when it's too dry. Eso used the hair dryer to speak. You have. And there we go. That's what I was looking for. So you see that it doesn't blend at all into that blue. And so you get to dry to wet and then just right. This is a fun technique to practices well and practice different textures. And now that we're all warmed up, we're ready for our final project.
5. Final Project: all right. So the image I provided is one of the Pinterest images. I printed this out in grayscale just because I don't need it in color So you could draw this out on your paper freehand. Or if you want to just do with a simple way of transferring it, you can take a light coating of that pencil on the back, just the outline of the wings, and then we'll flip it over and trace it. You can also use carbon paper, graphite paper if you have it. I just find this to be really quick and easy way using firm pressure. You can transfer that outline of the butterfly onto your watercolor paper. You might also want to have the color version next to you so that you can take a look at it and refer to it if you need to while you're painting. Also, I'm going to take down my paper just so doesn't move around too much. And I'm gonna start with a little light purple wash on the wings. So this is similar to the exercises that we did in our warm up, where there is a little lighter area and a darker area towards the outer part of the wings . I want to remember your light source, and in this image there's a little bit of light coming from the center of the butterfly, where the wings are the most trans listened. This is the first layer, so it will be really light. We're gonna always go like two dark with watercolors. It's much easier to add color than it is to take it away. And then you want to let that first layer dry completely before we start glazing while it's drying. I'm going to do the body of the butterfly and using that dark purple start putting in that little Nairo shape. And to add in a little highlight, you can do something called lifting. I'm just scrubbing a little area here with the end of the paint, brush with clear water and then using a paper towel to dab away that water. And it picks up some of that paint and enlightens that area and gives it the highlight, right, so we're gonna be doing a lot of glazing. So I'm putting down tape around all the edges so that this paper doesn't buckle up on me and we'll start by figuring out which color to glaze first in the reference image you can see there's a lot of purple and violet tones, so I'm gonna go in and start glazing that right over my purple layer. As much as possible. I try to use the white of the paper as my bright and white areas and tried to preserve those with watercolor. You can use your paper towel to dab away any extra water and paint along this. What? You could pick that up and create natural highlights. Remember, when you're doing the glazing, you can also add it to the body of the butterfly. Seeing carry that color all the way through right, referring back to our color chart. I'm gonna go with a bluish green in one of these areas. So it was the blue and that teal green mixed together. We'll make sure that layer is really drive before you start your next deglazing layer. And this teal green color is only along the bottom half of the bottom wings, so blending out the edges and so that they are softer. And then when that drives, how glaze over Ben and add some more shadows So now to brighten up some of that color, I'm adding in the doctor beige Martin concentrated watercolors and having a little bit of a glaze layer right in there so that those wings are a little bit stronger and color. All right, so we're gonna let this layer dry 100% and then move on to some of the stronger details with a more opaque paint. So this is the watercolor with little bit of water and mostly a lot of pigments. It's a lot stronger at this point. You can also switch over to your detail brush which a little bit smaller and start putting in some of the line and some of the smaller details along the body and the edges of the wings. Now, with a little bit more of a diluted purple, you can start putting in some of that wing pattern there, these little thin lines. So just remember whatever you do to the right side of the butterfly, you'll keep it symmetrical and do the same mirror image on the left side of the butterfly and again, just start light and build up and get stronger with your layers as you're more sure about where you want those lines now, just like we practiced in that warm up exercise we're gonna add in that why did texture right along the bottom of the wings and a little bit on the top? And remember that it's the not to what? Not to dry technique. Being a paper towel on hand will be good. You can have a way any extra paint that's bleeding too much in a similar technique for the top of the wings. The only difference is that instead of dots, these were going to be a little bit more like stripes, like fuzzy strikes along the lines. I'm going in and adding a few more violet and purple areas here. Just don't match the image a little bit closer, okay, and then when you're done with that, you can remove the tape and you can see all of your glazing up close. One thing I notice is I put a little too much pink close to that butterfly body, so because it's dry, I'm gonna use a little bit of my white coping paint here and bring back a little highlight area in the center of the butterfly. So first without diluting it and straight from the container matting a little highlight onto the butterfly body and then, with a little watered down version of the same paint, I'll put in a little bit of a highlight on the bottom of those wing a little on the top and what that bait out and dab away with the paper towel on the edges. Just soften it, and I'm also adding a little bit along some of the wing areas, just a few highlights and then suffering them out as well. Because you have areas that are white, you can go over with a glaze and have more of a highlight glaze layered in also. So thank you for joining me in this class. It was so much fun to do glaze painting with you, and I hope that you check out some of my other classes and post your work. I would love to see it
 Neesha @StudioNeesha, Watercolor & Patterns | Illustration Studio