Transcripts
1. Welcome!: Welcome to the mini chorus
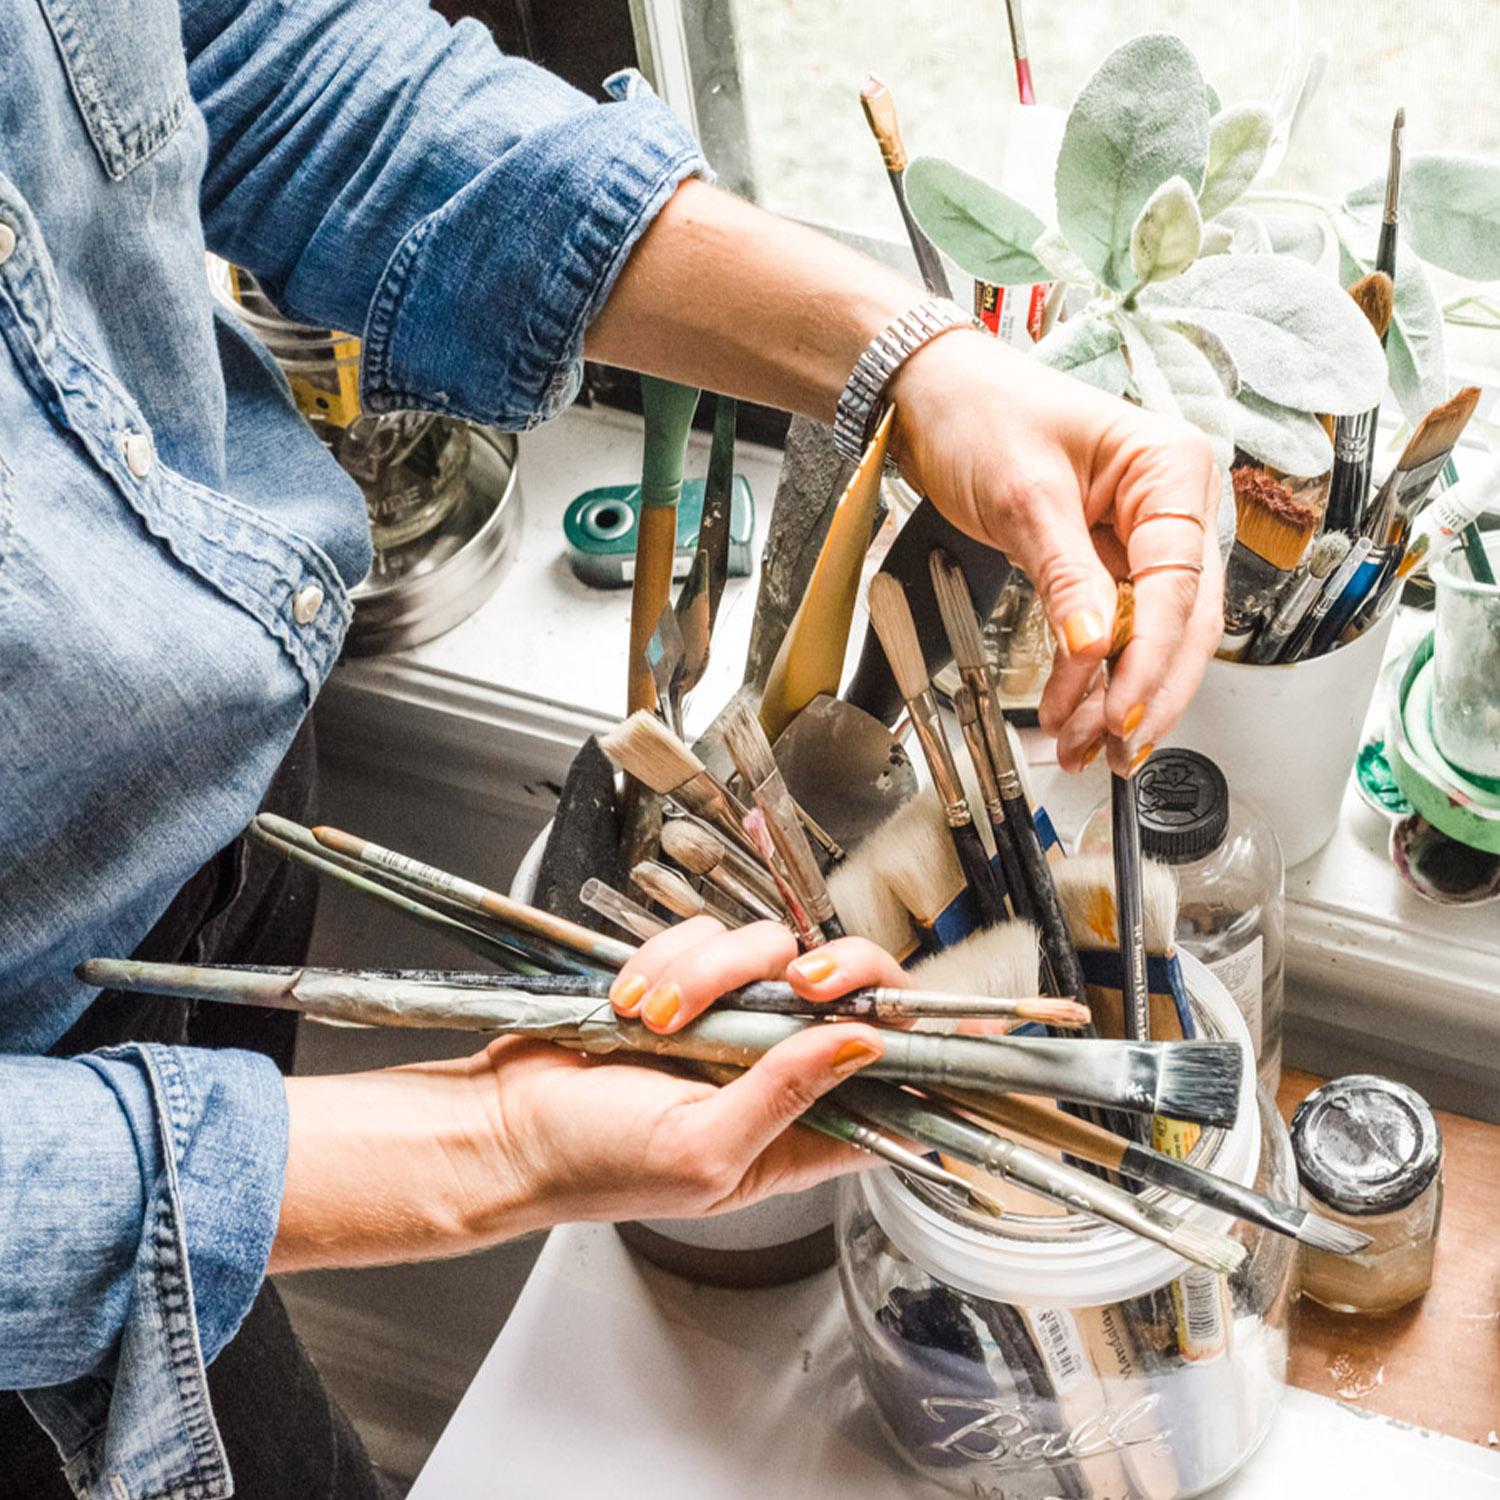
on oil painting materials. My name is Kristin Chronic, and I'm so glad
that you're joining me in my messy studio. I am a professional
painter and I've shown my work in
museums and galleries. I sell it online and I paint
weddings live at the event. If you were anything like I was, you are curious
about oil painting. You may have noticed that you really like the way it looks, but you just don't
know where to start. I've been there, I remember
feeling overwhelmed and disheartened when I would even think about that corner
of the art store. I did not go to art school. I learned to paint
through willing artists, showing me the way. And that's exactly what
I'm here to do for you. Your goal is just to nurture a hobby or become professional. I'm here to help you if you have nothing but time
on your hands or you have to squeeze in a creative
practice during baby naps or after a long work
day, I made this for you. Painting and oil may not
be intuitive at first, but with a little
guidance and practice, you can learn to make
lovely paintings of your own in this very
forgiving medium. I have painted nearly
every day since 2014. The one thing I have discovered
is that learning to paint oil is like taking
a really long walk or tending to a garden. Not a fast process,
and the best way to partake is to simply
enjoy each step. There is no rush and the
creative journey never end. Most likely, each time
you step to your canvas, you encounter a new challenge. When that happens, meet the challenge with
courage and grace, Knowing that you have
already accomplished so much by simply showing up. The first step is to just
get started to do that. You will need a few supplies. The purpose of this mini
course is to introduce you to the bare minimum you need
to explore oil painting. Each video in this
lesson will cover one topic with a just
get started action step. There will also be further
recommendations of each. If you are interested, we
will discuss paint mediums, brushes, palettes, surfaces, and various studio
and safety notes. At the end of this
course, you can find a downloadable book that summarizes the following videos with the Just Get
Started supply list. As well as further
recommendations on where you can purchase, as well as any extras you
may want to consider. Are you ready to dive
in? Let's get started.
2. Class Project: The class project for this skillshare
course is going to be to share one of the
paintings that you make. This is a foundational
course that will give you a
lot of information about paint mixing and
color theory and values. It's up to you which
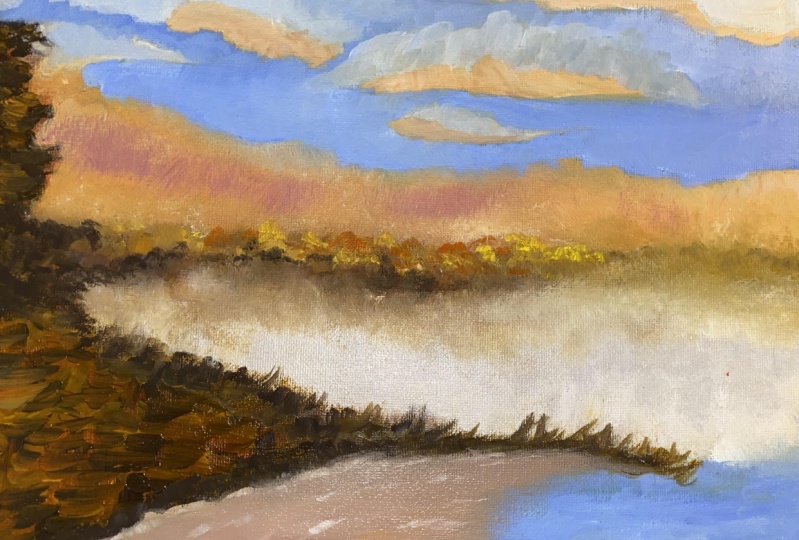
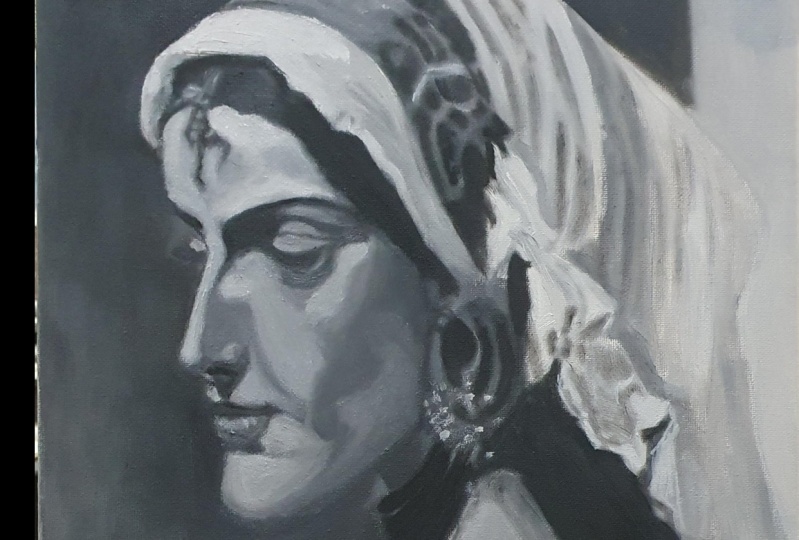
one you want to share. There will be a full demo that
you can follow along with both in a black and white image as well as a full color image. Once you have your
favorite piece done, go ahead and share
it with the class. I cannot wait to see your work.
3. Space Considerations: The first thing to think
about before you purchase anything is where you will physically practice
your painting. Whether you are painting
inside your home at a separate studio or on
your dining room table, there is a space set
up for everyone. If you have kids or pets and you are painting
in the home, it may be beneficial to have a space you can
close the door to. I personally have
kids and a dog, and I paint out of a
spare bedroom in my home. If you do not have any extra
rooms, that is just fine. I will offer some suggestions
on how to modify and keep your furniture and curious loved ones away from your paint.
4. Oil Paint: What You Need: The person was,
Obviously that you will purchase when starting an
oil painting is your paint, which is also the most fun. In this lesson, you will become familiar with the
makeup of oil paint, some simple yet
versatile palettes, brands to consider when buying your first couple
of tubes of paint. Just get started. If you want to get started at the
minimum investment, go ahead and get a yellow, a red, a blue, and a white. You can find the exact colors
I recommend in the book. The budget friendly option is to purchase them in
student grade quality. For gambling, that is 1980 student grade is a little bit less potent than
professional grade paint. It's a great place to start if you want to save a
little at the beginning. However, it may
not last as long. In its essence will
paint is very simple, It's pigment suspended in oil. Because of their
commitment to safety and their simple approach
to oil painting, I will be teaching
everything using gamblings, artist colors,
paints and mediums. They are not sponsoring this. Rather they are truly the brand that I've
come to trust and adore after years of painting and trying
different things. There are many wonderful
other brands out there and I will reference them in the
book if you are interested. I will be teaching
everything using gamblings, artist colors, professional grade
paint, introductory set. They offer a set that I
will use to teach from if you would like to try
a few more colors than just the primaries. And the introductory
set is in your budget, that's a great place to start if you would like
to add to that. I would also recommend the following colors to
round out your palette. A cadmium yellow medium, manganese blue hue,
and a burnt sienna. Once again, it comes
to the titanium white. If you wanted to try something
a little bit different, you can also try
the radiant white. It's a softer version of radiant white that I find
to be a little bit more workable in the E book you can download at the
end of this course, I will make recommendations for a few other palettes if you're
looking for some variety.
5. Mediums for Oil Painting: You're going to learn about
is oil painting mediums. The purpose of this
lesson is to familiarize you with what those bottles
do and when to use them. You can use mediums for
a variety of purposes, but the most common is
to thin down paint, to clean your brushes, to manipulate drying time,
and then to varnish. The basic oil
painting mediums are solvents, oil, and varnish. Before I explain further, you just get started. List would be a 16 ounce
bottle of Gamblinsam, 16 ounce bottle of Gamblin, Safflower oil, and
three mason jars. Varnish won't be
necessary for early on. Solvents can be used to
thin down paint and to speed up dry time as well
as to clean your brushes. I will teach you
more about this in my fundamentals of
wool painting course. My recommendation for
solvent is Gamblings Gamsol. It's odorless and mild and it's made for all of
Gamblins products, which is mostly why I love it. I would never recommend ever using commercial grade
paint thinners or turpentine as they
have associated health risks with them and
compromise on quality. Gamsol is a safer alternative, but it is still solvent. I recommend storing
it with caution. In jars that can be sealed and keeping it out of reach
of children and pets, drying mediums are another
way to thin down paint. The first and the most
necessary is oil. It's oftentimes the same oil that your pigment
is suspended in. Depending on the color, options for drying oil
include linseed oil, walnut oil, poppy oil,
and safflower oil. Each has different properties, such as color and dry time. After years of painting and oil, I have personally found
I have no preference at all for everything that I do. I will be using safflower
oil by gambling, There really isn't
a wrong choice. You will need some
containers to keep these in regular mason
jars work great. I recommend keeping one jar
for your oil and one jar for your solvent and then possibly a third for your dirty solvent. Over time, when it gets dirty, V particles will settle
to the bottom and it will leave the clean
solvent on top that you can pour out
into your pull jar.
6. Varnish for Oil Painting: The last medium I want to
talk to you about is varnish. After painting is finished,
you can varnish it. I will teach you more about this in the fundamental class, and I would not recommend buying any varnish until you
absolutely need it. At the beginning. You'll be
doing a lot of practice. It doesn't really
require varnish, but it's good to know
about it anyways. Well, painting
dries by oxidizing, and depending on the type
of varnish that you use, varnishing too soon can
impair the oxidizing process. The great thing about Gamvar is that it allows
oxidation through it. As long as your painting
does not move whenever you touch the thickest
part with your thumb, it's safe to varnish. I know Gambar, but sounds
very similar to Gamsol. Gambar is a varnish and it comes in matt, gloss, and satin. I prefer gloss because it brings up the bets of colors the most. There are other types of
varnishes you can use as well. There are spray varnishes
made especially for oil. There's acrylic varnish
which you should not use if you're painting in oil because it will not stick to it. There's also varnish such as mar and other varieties as well. I won't be going into
those in detail, but I just wanted to let
you know they exist. Finally, you eventually
want to varnish. I would recommend setting
aside a separate brush for it. You can use a brush just from the hardware store or you can splurge and buy a
brush mint to varnish, such as this one by
gambling and tracheal. I have found investing in a quality varnish
brush to be worth it, as sometimes your house
paint brushes can shed and that's the last thing
you want in your painting.
7. Palettes: Places to Mix Paint: Before I begin, I want
to clarify something. There is a palette and
then there is a palette. And this can be confusing. The palette I'm
referring to here is the hard surface
that you physically use to mix paint on a palette. Also can be the word
used to describe the color paint on a painting or the
colors that you choose. Those words are used interchangeably and they
are spelled the same. However, for this module, I will just be talking about
that one surface. And I will be talking
about specific colors in the paint module as well as further in my
fundamentals class. Next, you need a place
for your paint to live. This is where your
palette set, a place. I'm going to teach you all about the Pals that
I like to use, including show you my very first palt when I
started painting. If you are just getting started, I'd recommend
something as simple as wax paper taped to
a hard surface. Or my personal favorite, Jack Richardson's Gray
matters palette paper. You can keep it in
a palette saver which has a lid you can seal, which helps keep the paint wit longer and curious
hands out of it. In this lesson, you
will learn about options for palettes
and oil painting. The first option is
a wooden palette. These can be porous. I'd recommend taking
a paper towel or a rag and coating it in oil before you first
add paint to it. You can also wipe it
down and clean it off with oil after
every painting session. It gives it a nice shiny glean, which is really helpful
whenever you're painting. Some artists do let the paint build up. This is
my first palette. I was learning how to oil paint. While it looks really cool over time I found it makes the surface really
hard to work with. I wouldn't recommend doing that, but that's the choice
that you can make. Another type of
palette that you might enjoy is a glass
or marble palette. Glass palettes are tempered to withstand use and are also
very comfortable to work with. They offer a really hard surface that makes it really
easy to mix paint. They should be cleaned
off after painting sessions with a rag
or palette knife. I have personally found that cleaning them to be
too much maintenance. However, they are a great
option for some people. My personal favorite
is palette paper because I often only have time
to paint in short births. I don't like having to
clean a palette after every session I use gray Matters Palette
paper by Jack Richardson. And it's wonderful I store
it in a plastic palette. Savor that lets me squeeze and mix paint while
popping on the cover. If I need to store it for
a couple hours or days, if the paint dries clean is
super easy and I can a paint from the middle of the
pile for future sessions and store on the
next piece of paper. All you have to do is tear off the sheet and throw it away. Some artists even put the
palette in the freezer or add a cotton ball with
clove oil to help the paint dry slower in storage. Finally, if you want to
keep it really simple, you can just use wax paper. You want to tape it to a surface so it doesn't slide a mix. It's a great way to start. Wax paper is white, which can sometimes make
it hard to see value. I do like these
middle gray colors if you haven't
noticed in a palette. However, when you're
just starting and you don't want to make
a huge investment, wax paper works just fine.
8. Demystifying Brushes: Buying paint brushes is another really fun
part of oil painting, but the options can be
wide and overwhelming. Before we get into the
nitty gritty of brushes, I want to give you my
just get started list. My favorite brand
for stiff brushes, which is really good
for oil painting, is Princeton Catalyst. I would recommend,
at a bare minimum, you get a round
brush size two and a flat brush and
sizes 24.10 Also, you need to get a palette knife. You can get a lot of
really affordable sets in plastic or metal
that will do great. Or if you just want
to buy one, make sure it has straight edges. That way it's easier
to mix paint with. I will include links
to specific brushes in the book to make it easier
to find what you need. Keep on watching for a more detailed discussion
about brushes. Ultimately, this comes down
to artists preference. And it's good to try as
many things as you can. However, when you're
just getting started, I recommend keeping it simple. At the end of this lesson, you will be able to identify
different shapes of brushes, different stiffness,
and have a good idea of what you need to purchase for the first time as
you're getting started. Brushes can be
distinguished by the shape. Types of brushes
include round, flat, bright, Filbert,
Eggbert, and liners. They can also come in
synthetic or natural bristles. Both of those can come in
hard and soft varieties. This truly comes
down to preference, and I encourage you to try as much as you can to
find what you like. However, to get started, I would recommend both
the Liquitex freestyle and the Princeton catalysts as brushes that are
good in quality, but still more affordable
than some of the splurges. If you would like to splurge, I would recommend both
kel and rosemary. They are exquisite brushes that hold their shape for
a very long time. I want to point out a
couple of differences with some of these brushes and how you can possibly use them. I like to use rounds for mostly drawing and
sometimes covering space. Flatbushes flatbrushes
and brights are very, very similar as they both
have that square edge. However, as you can
see, flatbrushes are much longer than brights. This gives you less control
as a painter and has a much more painterly
quality to your painting. The same goes with
Filberts and Egberts. I don't personally use these
too much in my painting, but once again here you can see these are the same size brushes, but the egg bird has a much longer bristle than the filbert. Both of those have
a round shape. The type of brush mark you'll
get will be a little bit different for the type of
painting I'll be teaching here. I will be using
rounds and flats, and usually in the stiffer
options in the E book, I share a couple recommendations
of which you can choose. Let's talk about knives. Mixing paint is much
cleaner and more efficient. With a painting
knife, you can find some extremely affordable
plastic sets that work great, as well as metal ones if you don't want to
purchase an entire set. A single medium sized
knife like this will be very sufficient for
all of your mixing needs. For the most part, I am not
painting with a palte knife, so I don't need a whole lot. And I recommend that you
start with the basics. One more thing. The artist I first learned to paint
from used to tell me, big canvas, big brush, small canvas, big brush. I'll teach you more
about how to use those larger brushes in
my old painting courses. But until then, go ahead and get at least one larger size.
9. Surfaces, Substrates, and Canvas: My just get started recommendation
is arches oil paper. The largest size they
offer is 12 " by 16 ". And I would recommend sticking
with the largest size. The best part about painting on paper is if you
want to keep it. This brand is archival
and it can last. However, it's also
not too precious. It does absorb a little
bit different than canvas and some artists
don't prefer it. I will teach you in my
fundamental scores how to prepare it so that it does
receive paint very well. Just like brushes and paint, the options for painting and
surfaces or straits are in. In this video, we're going to talk about paper versus canvas. Rough versus smooth,
cotton versus linen. And acrylic primed
versus oil primed. I would highly recommend
starting with oil. Paper arches works great. And the best part
is if you want to keep a painting on paper, it's still archival
and is meant to last. However, it does absorb a little bit different
than canvas, and some artists don't prefer it when you're
just starting off. It can be helpful
to use a surface that doesn't feel as precious. In my fundamentals of
oil painting class, I'll be using oil paper for
all of my demonstrations, and I will show you
how to prepare in a way that makes it workable. If you prefer canvas, I'd
recommend starting with panels. They offer a lower profile
and take up less space. You want to keep them,
you can also frame them. Finally, stretched canvas is
a great option to consider. This does take up more
space in your studio, but it also does not
need to be framed. Even though it can be.
You'll typically see these in 34 inch and
1.5 inch depths. You'll want to look
for the ones that have the staples on the
back, not on the sides. You will need to frame them
if staples on the sides. When you're picking up canvas, you may notice some things
like cotton and linen. Rough and smooth. This comes
down to artist preference. For example, this is a very smooth cotton
and this is linen, which is pretty
much always smooth. Over the years, I
personally have come to prefer a
very smooth tooth. However, it really is
something that you should try out and
discover for yourself. I'll link all my
recommendations in the book. Finally, you want to pay
attention to how it's, if you buy primed
panels in canvas, I'm not going to be teaching you how to prime them yourself. If you see something
that's oil primed, only oil paint can
be used with it. However, this is right
here is acrylic prime, which means I can paint
either acrylic or oil on top. It's just something to be aware of whenever
you're buying it. Oil prime is typically
more expensive. Buying something
that's acrylic prime will work just great
for your oil painting.
10. Safety Notes: There is a common misconception
that oil paint is a toxic version of paint over
others such as acrylics. The opposite is actually true. Acrylics are loaded with chemicals, plastics,
and ammonia. But when using quality oil paint from a trusted manufacturer, the make up is
actually very simple. It's oil and pigment hazard could come in the form
of solvent that you use. However, Gam saw, as
I mentioned earlier, is the sakes on the market as well as the
pigments that you use. Some pigments can contain heavy metals in toxic
compounds such as cobalts, cadmiums, leads, and arsenics. The reason why I trust
Gamblins over all of their oil paint manufacturers is they're committed to safety. Colors that commonly use lead are flake white
enables yellow. Gamblin was the first to develop alternatives to these
lead based pigments. Gamblin does use cobalts and
cadmiums in their color, but again, they are
committed to safety. The pigments they
use are insoluble. While it's not
advised to eat paint, they are largely insoluble in
the human digestive track. The hazard for
these metals comes mostly if inhaled as a dust. But in this class, we won't
be sanding any paintings. I'm not being paid to
talk about gambling. It really is the brand that
after years of research, I have come to know interest. I'm personally comfortable using heavy metals as long as they
are in the Gamblings brand. If you're using a
different brand, I can't guarantee
the safety of it. I will be providing
some alternatives to some of these
beautiful colors. In my book, I will include gambling safety information in the book that's included
with this mini course, so you can determine
for yourself whether you are comfortable with
using heavy metals or not. If you are still
not comfortable, I will include a couple of
alternatives that you can use. I would also recommend
wearing gloves to protect your skin and working in
a well ventilated room. Extra nice to haves
can include space, space to make, and space
to let things dry. A corner of the dining
room definitely counts, depending on the needs
of your household, you may have to have a space that you can close the door to. As a mother, I feel comfortable
painting in my own home, but I do keep the
doors closed and teach my children not to touch
certain things in the studio. Another nice to have
is a brush cleaner. When you clean your brushes, you will want to wipe your
brush with paper towels and a rag to get as much of
the pain off as possible. And then probably
use the solvents such as gan salt, to
get the remaining out. However, sometimes it
still isn't clean enough. It's worth investing
in a quality oil soap. I have tried many and by far my favorite one is the
linseed oil soap by Trichl. I will include a link to it and some other varieties that
you can try in the PDF. Next, it's really nice
to have an easel. You can absolutely paint
on the flat surface. That is all you have. However,
if you have the means to, I would strongly urge you
to invest in an easel. Good posture is important
in oil painting, and you will want
something that allows you to look at the canvas squarely. I recommend that you use a standing easel if
your health allows. You don't have to buy
anything expensive, but you will want to
make sure it's dirty. For most painting I do, I use a basic less
than $100.08 frame easel that I got online for
extremely large paintings, I actually just placed
them on the floor. The last thing you're going
to want to have on hand is something to wipe your brush
with as you're painting. And after you clean,
paper towels work great. However, sometimes
they can shed. For that reason, my
absolute favorite thing to work with is cheesecloth, the kind that you get
at the grocery store.
11. Conclusion: When you get your
supplies, enjoy it. Opening up a box of fresh
paint and brushes is about as satisfying as popping open a can of tennis balls
for the first time. It's so full of promise and possibility and it
smells good too. I know it can be
tempting to save the best painting supplies
for when it's special, but I really encourage
you to resist that urge. One of my mentors
told me something a long time ago that has
helped me so much. I'm passing it on to
you. The only waste to paint is the paint
left in the tube. Don't be afraid to use it. And I can't wait to
teach you how I have a fundamental opening course that I know would
be helpful to you. In the course, I will teach
you the fundamental rules of old painting and how to start and finish your
very first old painting. My goal is to help you
nistify the process and get you painting and falling
in love as soon as possible.
 Kristin Cronic, paint with curiosity