Transcripts
1. Introduction: Hi, my name is Julia Mata. I'm an illustrator and comic book artist living in New York. I write and illustrate my own comics, as well as sell those comics with the collective, Spicy Mango Comics, which is a women of color run comics collective. The reason I'm really passionate about comics and why I've chosen it as a medium, is because you couldn't have any type of world within comics. It's an infinite medium with infinite possibilities. The barrier to participating in comics and starting your own, is very low in terms of materials that you need. This class is for anyone who has been thinking about making their own comic, but has found it a little intimidating to start. What we're going to do, is we're going to break down the steps of how to make a comic into really the most basic elements that you'll need to conceptualize and write your own story. Throughout this class, I'll be showing examples from my ongoing comic book series titled Crisis, as a way to illustrate some of the points that I'll be teaching on. I'm going take you through the brainstorming part of my process, which includes creating your own character, setting, layout, and plot of the comic. By the end of this class, you'll have your own slice of life comic, which will be story boarded, penciled and inked, and ready for the next step of sharing it out with the world. Comics can be an intimidating art form. It's my hope that by breaking this down into simple steps, we can make it feel a little bit more obtainable. Let's get started.
2. Brainstorming From What You Know: Before we even get started drawing, we want to think about what's the world that we're building? Who are the characters who are going to be in this world, what are their motivations, and what setting we're going to put them in? Because we're doing a slice of life comic which means, pulled from everyday life, that's essentially what we're going to use as our inspiration source. Speaking from my process, I'd like to pull experiences that I've personally had, or that somebody that I know has had, or maybe just some chief myth that I hear on the bus and incorporate that into the comic book process and the storytelling. While you're brainstorming for your comic, it can be helpful to think about a conflict that you want your characters to experience. Now, because we're writing something from everyday life this doesn't have to be a large-scale conflict, it can really be something very small and simple and like an every day annoyance. For example, maybe your character is really particular about their cleanliness, and maybe they work in a restaurant, and then someone goes to the restaurant and take their shoes off in the restaurant. Now that there could be the whole basis for a comic in it of itself because you have the setting that the character is in, you have the tendencies of the character, and you also have the conflict which they're experiencing which is someone's foot out at the restaurant. Now, the reason that I like this approach is because from a storytelling perspective it makes a storytelling easier and more authentic to be writing from something that you know.
3. Story Basics: Establishing Setting: The reason that the setting is important is because it gives some background to your character, where they're situated but also how they respond within different locations. The setting is also the location where your entire narrative will unfold. So you want to think about the setting as a character in and of itself. Now, with those examples in mind, take some time to think about the setting that you want your comic to take place in, as well as the experience you want your character to have. For example, maybe your character is having a really overly personal and awkward conversation inside of a cab. In this scenario, your comic can take place inside of the cab, but it can also take place in multiple settings as long as you have one overarching story arc to tie it together.
4. Story Basics: Generating Your Slice of Life Character: So if we're writing a fictional character, it can be helpful to imagine that character as someone who can take attributes from people who we know on our everyday lives. So for example, one of the characters in my comic, her name is Mighta. She is based off of my cousin in some aspects, but I also synthesized her with a friend of mine. So she contains personality attributes of the both of them. This can be a way to approach generating your characters. So some questions to ask yourself as you're creating your character. One, who are the characters you need in order to tell the story correctly? Two, what's the demeanor of these characters? What's their personality like? How do they express it? Three, identity. What identities does the character have, and how does that play into the storyline? Here you might think about things like age, race, gender orientation. Four, what does the character want or desire? What are the motives that they have? Connected to that, number 5, what will they do in order to achieve those wants or desires? Six, dialogue. How does the character talk? Is there a particular way they express things or a way that they speak? Seven, what will the character do to move the storyline along? What will they express? What actions will they take?
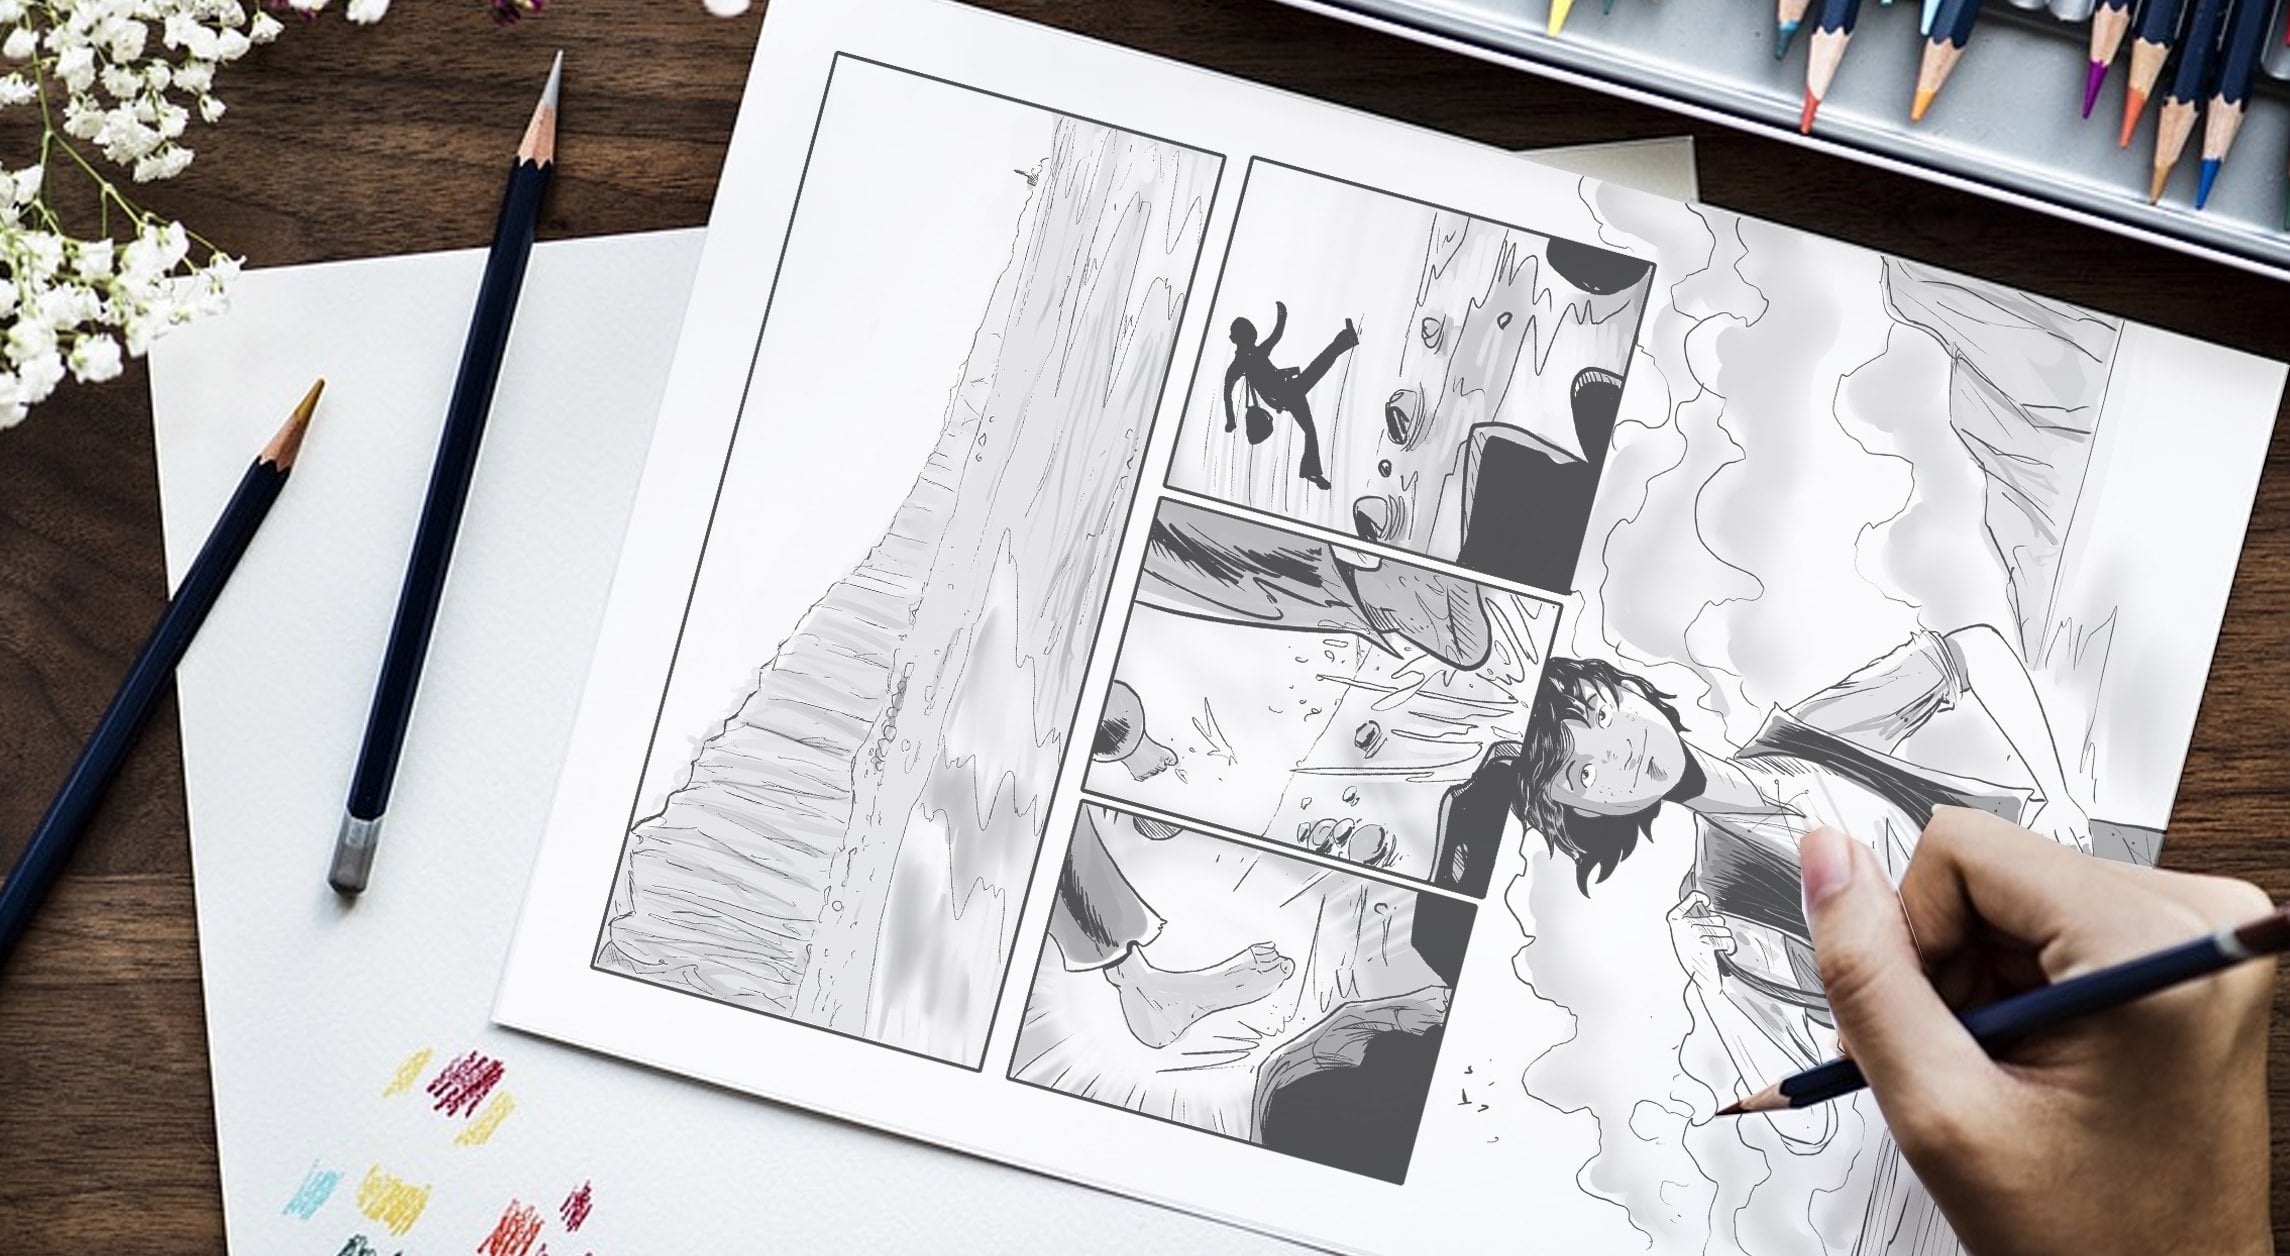
5. Sketching: Visualizing Your Story: Now that we have our character, setting, and scenario all imagined, it's time for us to think through the perspective of angles, and how we want to visually imagine our storytelling to take place. What we're going to do is we're going to go ahead and sketch out that story. The reason for this is because, not only does it help you save time by planning things out, but it also helps you save materials by not doing a drawing on your nice paper. In terms of style inspiration, I've been really influenced by the Hernandez brothers and Adrian Tomine by their really linear, clean-looking drawing style. Use other artists as your inspiration. But also don't get too caught up in trying to emulate somebody's style. Your style is going to come from your own perspective, the way that you get comfortable with your tools, and also years of practice. Spend some time getting to know what that is that you want to express and how you want to express it. Also, knowing that whatever you're bringing to the table is very unique to yourself and that only you are able to do that, so don't worry about trying to make your drawing style look like somebody else's, just do what feels natural to you and take inspiration from other people as you move along. Now take your story arc and briefly sketch it out over however long you've determined that your story is going to be. I use a really basic, not that fancy sketchbook. It doesn't matter what exactly you are using for this. Just take some time to lay out how you're imagining the story is going to look from different angles. You're going to use this opportunity to think through the lens of a director. What are the different shots you need to tell your story correctly? For example, if you're introducing a setting for the first time, you might want to do a wide panel because that will enable you to show what it looks like in a larger shot. But if you're doing an intimate dialogue between two people, it might make more sense to draw close-ups of their face back and forth. Think about those different angles as you continue to sketch out your story. The best advice that I can give you for thinking about how to panel your comic is to look at other artists whose comic resonates with yours and see how they're laying out their comics as an example. Essentially, when you're doing the layout, when you're doing those angles, you're thinking through the lens of a director. But obviously making a comic is cheaper than doing a movie. You get to control every aspect of it. You're creating an entire world, so you really call the shots here. In this quick sketch, I've laid out something that I've previously written down on paper, which is the basic bones of the comic that I want to do. In this intro to the comic, I have a character who's going outside. I want to set the scene a little bit, so I have some larger panels here that will have entire shot of the room that they're in. Then as they're meeting this new character, I wanted some close-ups of the face of the character so you could also get a sense of, not only what they look like, but also their personality as they're introducing themselves for the first time. I knew that I wanted this section of the comic to have a dreamy flashback feeling. I also have this larger panel here at the bottom that divides up the intro of the character hints from these little condense panels into a larger panel, so that it feels like easing into this more dreamy, I guess atmospheric space. Before we move forward, take some time to sketch out your story from start to finish using the character that you've created. Again, this doesn't have to be something very polished or clean or done, you're just getting an idea of what it is that you want to spend more time on in the next step, which is penciling.
6. Penciling: Tools & Techniques: Penciling is the final step before you go in with your permanent medium, which is the ink. What you're going to need to do the penciling is not too many things, you're going to need a Bristol board, I use 11 by 14 Bristol board. The reason that I use a larger size than the actual page that we're going to be printing out, which is typically an 8.5 by 11 sheet of paper, is that by doing a larger size of paper it enables you to get in more details, than if you were drawing exactly to size of 8.5 by 11. Also when we're working on the 11 by 14 Bristol board, we're going to have to do a little math to make sure that everything stays at the correct ratio. I have here the math that we use for this. When you reduce this down, so it fits on a half sheet of paper printed, It means that you need to draw this at 21 cm by 32.5 cm, or eight and a quarter inches by 123 quarters inches. This is essentially the blown-up version of what's going to end up being your printed final product. One technique that I use to draw text bubbles is really simple, you want to draw two circles at the level of distance that you think would take to fill it in with your text that you have. Then you're just going to draw an arc connecting those two circles at the top, at the bottom. Then just do your little arrow pointing to the person's mouth. This is a useful technique because sometimes it can be hard to keep that like round shape of the bubbles. It can help you sort things out better. Now you're going to be translating that storyboard that you did previously into the Bristol board here with more detail. While you're doing your pencil drawing, remember that the final product will be an ink. Also takes on time to mark out where you want some areas to be filled in with the black ink, or that you're going to fill with some other type of technique such as crosshatching or shading and where you want some areas to have light because you're later going to reproduce that with the ink.
7. Inking: The Final Step: For the final part of this process, we're going to ink out the pencil drawing that we did in the previous step. This is the definitive moment of all of this. Everything that we do now is going to be permanent here on the paper. What you're going to need for this part of the process is you're going to need water. You're going to need ink. A lot of the ink that's more easily available is water-based ink, but I tend not to use that because the water makes things smudge more. What I prefer to use is acrylic based ink, which you can get at most art stores. You also want corrective fluid here. The corrective fluid is if you make any mistakes, you can go over it and white and you won't be able to see whatever it is that you did earlier. You also would like to have a bunch of different types of pens and a bunch of different sizes of brushes for all the different moments where you're going to do fine lines and also larger and more filled in black areas. The final thing that you're going to need is a nice eraser. I like to use a white eraser. This will be for after we're completely done inking everything, we're going to go in and erase stuff, so it gets rid of all these pencil marks. You're now done with all of your inking, and you've completely covered the page and finished up your drawing. What you're going to do now is you're going to leave it alone at least for a half an hour, but I recommend you leave it alone overnight or for several hours before you go in with your eraser to erase all of those pencil marks from earlier. The reason for that is so that you don't smudge anything that's not completely dry. Let it stay, let it rest, work on another project and then come back to it in several hours. Now you can go ahead erase all your pencil marks up, finish any last bits, and then you should be done with your project.
8. Congratulations, You Did It!: Congratulations you did it. You've made your comic, you're completely done with it and now you're ready to share that comic out with the world. I encourage you to upload it to the project gallery so that other people who have taken this class can learn from your work, and vice versa. As you continue to move forward with making more comics, you're going to encounter what's one of the best parts of the independent publication world, which is the community of other creatives who are doing comics, and scenes. You'll find that it's a really fruitful, and supportive community, now that you have your comic completely drawn out, you can also think about printing, and how it is that you want to print. You can take it really simple, scan it on your computer, print it out at the public library or at Staples, or you could go the fine art route. You could print it using the resell graph printer, you could print it using screen printing. The options are really expensive, so think about how you want to put this comic out in the world, and what it's doing for you. It can be a web comic as well, and that's an equally valid way of sharing out your work. Thank you so much for joining. I'm really excited to see everybody's work and your comics. If you want to see more about what I'm doing, you can find my work at JuliaPMartha.com, or you can go to spicy mingo comics.com, until next time.
 In-Process, Storytelling + Media